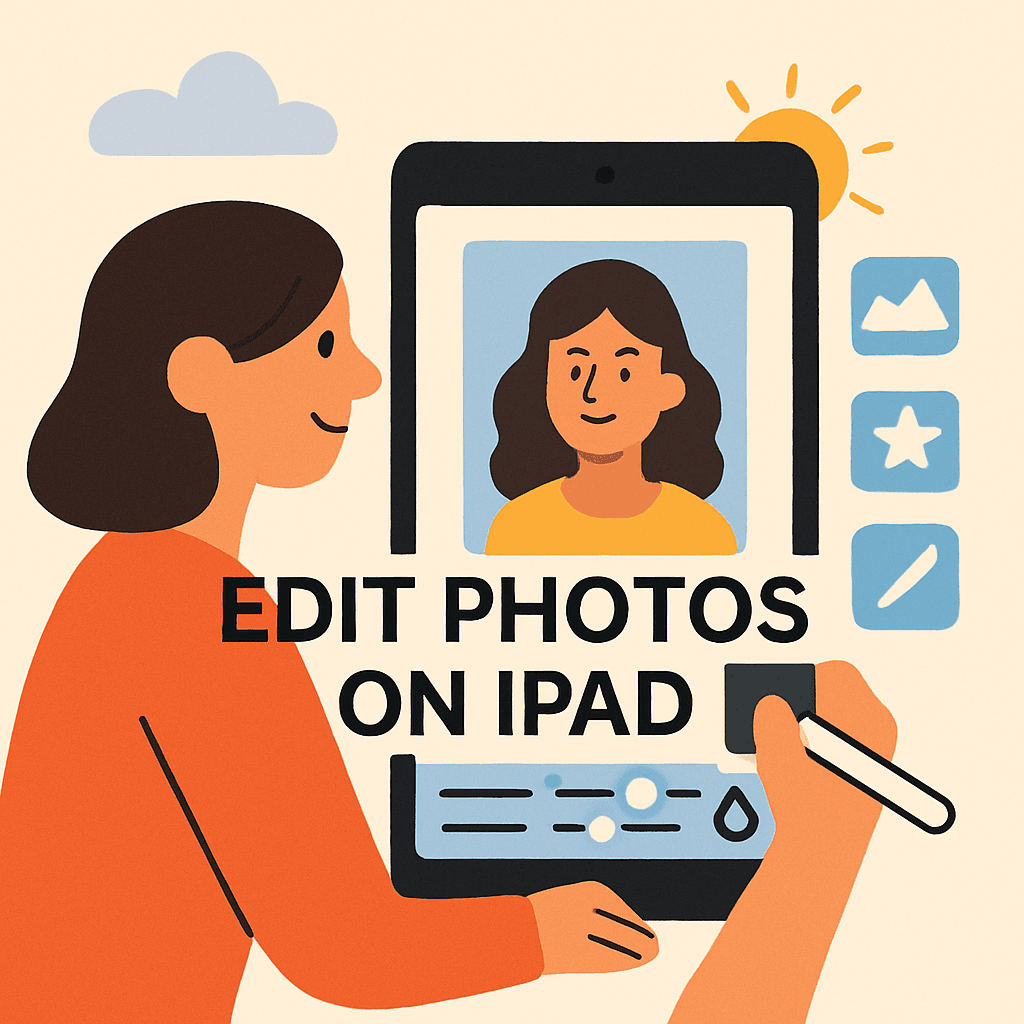
You’ve been frustrated by messy edits and apps that slow you down. If you want a simple path from capture to a polished image, this guide shows how to edit photos on ipad without losing the original file. You won’t need a desktop to get cleaner, better-balanced shots.
Expect sharper photos, fewer distortions, and a faster workflow across apps. We’ll cover non-destructive edits, RAW-friendly options, selective masking, and sync tips. You’ll also discover a surprising myth about the Photos app most people get wrong.
This is aimed at beginners and intermediate shooters, portrait and landscape creators, and anyone working with RAW or Live Photos on the go. You’ll learn when to use Photos for really quick fixes and when to reach for apps like Lightroom or Photomator. If you’re ready to edit faster and keep full control of your originals, keep reading because the fix is simpler than you think.
Photos app: built-in editing tools on iPad
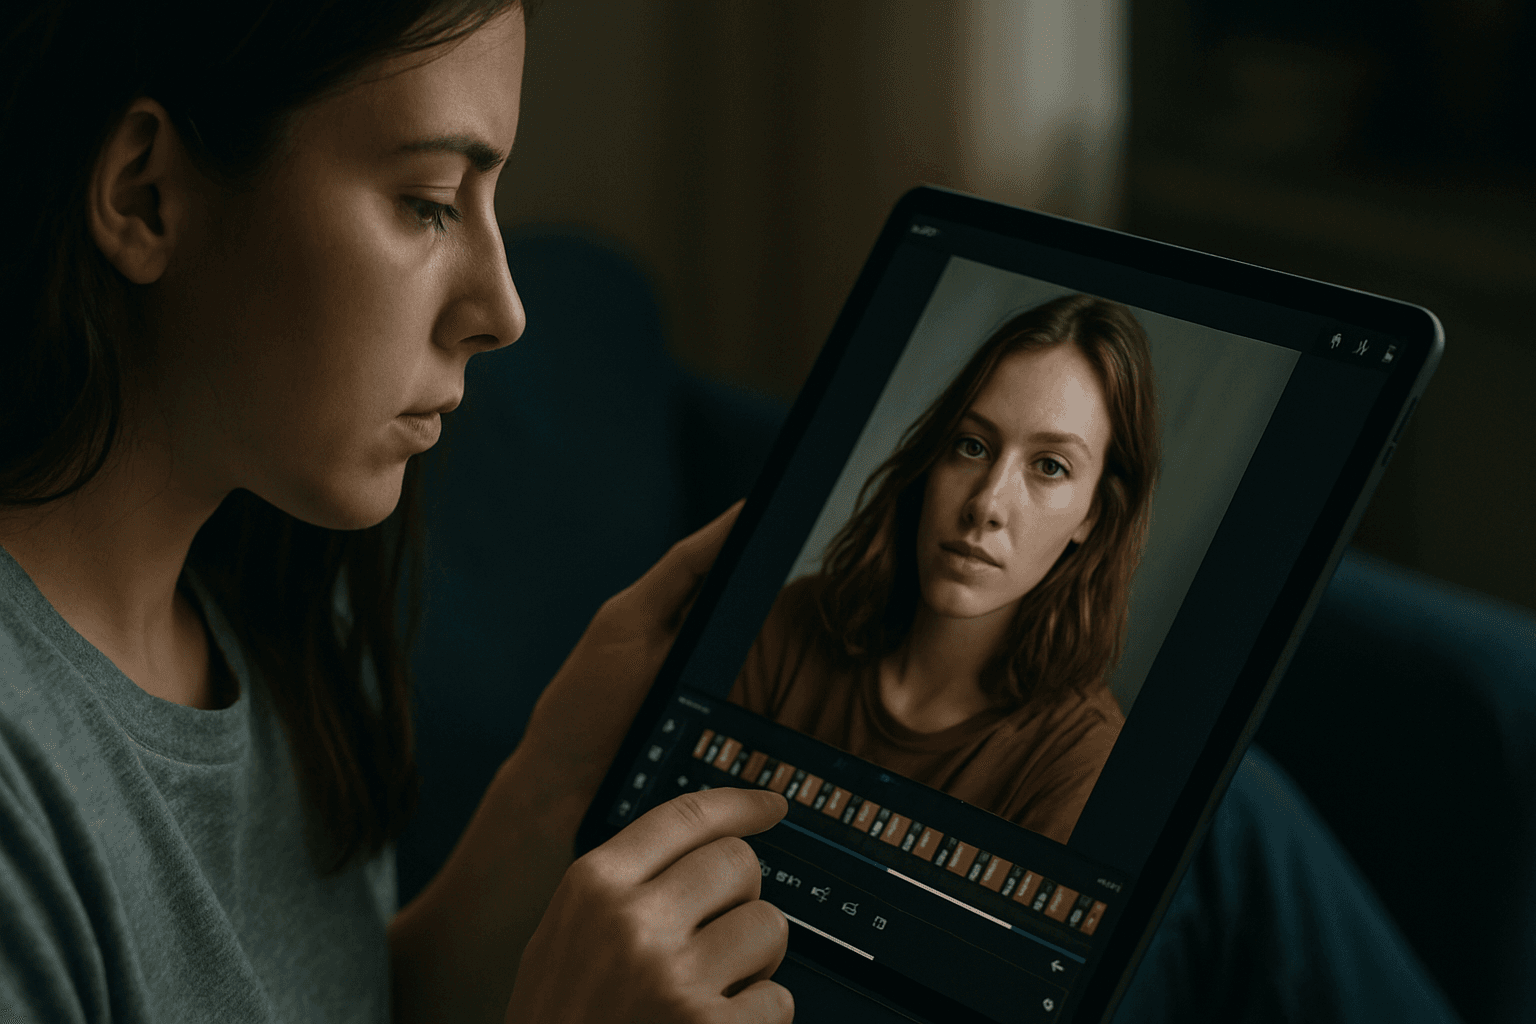
I start every edit inside Photos because it’s fast, friendly, and non-destructive. Non-destructive means the original stays safe, and you can undo everything with Revert anytime. If you’re wondering how to edit photos on iPad, this is the perfect launchpad.
Tap Edit to reveal three tabs: Adjust, Filters, and Crop. Auto-Enhance, the magic wand, gives a smart baseline, then exposure and color sliders refine brightness, contrast, saturation, warmth, and tint. Filters like Vivid or Mono add quick vibes with adjustable intensity.
Composition tools sit under Crop: straighten, rotate, flip, and aspect ratios. I often straighten first using the grid, then crop for stronger framing. You can copy your adjustments to other images using the three dots menu.
Everything you do here can be revisited or reversed, which keeps experimentation stress-free. For deeper reference, Apple’s official guidance is concise and up to date.
Basic step-by-step workflow in the Photos app
Here’s the simple sequence I use when teaching beginners. This mini workflow shows you how to edit photos on iPad without fuss, while keeping your original intact. We’ll touch only the essential controls.
- Import or select a photo, then tap Edit and hit the Auto-Enhance wand.
- Open Crop, straighten using the grid, then set an aspect ratio if needed.
- In Adjust, tweak exposure, contrast, saturation, warmth, and tint to taste.
- Add a subtle Filter, then use the three dots to Copy Edits or Share to export.
Use the histogram-like thumbnails under Adjust as a roadmap: start with light, then color, then details. Small moves stack nicely; big moves can look crunchy. If something breaks, just tap Revert.
When repeating a look, multi-select photos in the grid, tap the three dots, and Paste Edits. For more ideas on workflows, TechRepublic’s step-by-step tips are handy.
Cropping, straightening, rotating, and flipping
I always straighten before cropping, because level horizons anchor the frame. The grid overlay helps line up buildings and shorelines. Adjust the Straighten slider until lines sit comfortably.
Lock aspect ratios when you need specific outputs, like 1:1 for Instagram or 16:9 for slides. The aspect menu includes presets, and you can switch between portrait and landscape quickly. Custom gives you freedom when storytelling needs it.
Rotate fixes tilted scenes or changes orientation by 90 degrees. Flip mirrors the image horizontally or vertically and can correct text reflections or balance directional subjects. When in doubt, rotate first, flip second.
Editing Live Photos and Portrait mode photos
Live Photos capture 1.5 seconds of motion and sound around your shot. In Edit, tap the Live badge to choose a Key Photo, mute audio, or disable Live entirely. Effects like Loop, Bounce, and Long Exposure add creative motion.
Long Exposure is my go-to for soft waterfalls or light trails from a handheld shot. If the effect looks mushy, trim the Live clip’s ends for steadier frames. You can always revert to the still image.
Portrait photos include a depth map, which lets you adjust background blur. In Edit, tap Portrait to toggle it, then use the depth slider to refine bokeh strength. Portrait Lighting tools can be dialed for subtle shaping.
RAW and Apple ProRAW workflows on iPad
iPad handles JPGs and true RAW files, including Apple ProRAW. RAW is unprocessed sensor data, giving more latitude for recovering highlights and shadows. ProRAW blends computational smarts with RAW flexibility.
When learning how to edit photos on iPad at a higher level, RAW matters. You’ll push exposure and color further without banding or artifacts. Expect larger files and slower imports, but richer results.
Photos can render RAW basics, yet dedicated editors shine here. Photomator, Lightroom, and Affinity Photo 2 offer deep control over white balance, profiles, curves, and denoise while staying non-destructive.
Choose an app that matches your pace and device. Photomator is nimble and affordable; Lightroom excels at organization and sync; Affinity offers full control. AppleInsider’s roundup of the best iPad editors is a solid overview.
Selective edits and masking techniques on iPad apps
Masks let you edit only part of a photo, like brightening a face without affecting the sky. Think of a mask as a stencil telling the app where to apply changes. It’s precision without complexity.
Photomator and Lightroom both offer selective masks for subjects, skies, and backgrounds. Their AI can auto-detect a person or sky, saving time on fiddly selections. You can refine with Apple Pencil for perfect edges.
Affinity Photo 2 goes further with layer masks and advanced selections. Combine multiple masks, paint them in, or use AI selections for hair and fabric detail. It’s ideal when you need pixel-perfect control.
Third-party apps overview and when to use each
When Photos feels limiting, I reach for specialized tools. Affinity Photo 2 mirrors desktop power with layers, composites, and robust retouching. Photomator balances speed with excellent RAW and masking tools.
Lightroom Mobile is my recommendation for presets, RAW, and cross-device cloud sync. VSCO shines for filmic filters and community inspiration. Darkroom offers pro-grade sliders and efficient batch edits with AI help.
For quick cleanup, TouchRetouch removes distractions like poles or wires in seconds. I pick the app based on the problem, not brand loyalty. The right tool keeps editing joyful and efficient.
Affinity Photo 2 (app-specific workflow)
My Affinity flow starts with a background layer, then adjustment layers for tone and color. I use AI object selection to isolate subjects, then layer masks to blend edits seamlessly. Curves and HSL fine-tune mood.
Choose Affinity when you’re compositing skies, building posters, or doing heavy retouching. It’s overkill for quick tweaks, but unbeatable for complex, multi-layer projects. Save work as .afphoto to keep edits reversible.
Photomator and Lightroom (app-specific workflow)
In Lightroom, I pick a preset to set the vibe, then refine exposure and color. Selective masks target sky, subject, or background, and cloud sync pushes changes to my phone and desktop instantly.
In Photomator, I open RAW or ProRAW, run denoise, then use Select Subject or Select Sky. I finish with color balance and local contrast, and export straight to Photos for sharing.
TouchRetouch and Darkroom (app-specific workflow)
TouchRetouch is my single-task scalpel. Brush over a distraction, and it fills the gap intelligently. Use the Line Removal tool for cables or seams, and refine with Clone for tricky edges.
Darkroom is for speed with quality. Its sliders are responsive, AI presets are tasteful, and batch tools save time. I often finish an album there after heavy edits elsewhere.
Removing objects, retouching and AI tools
For quick removals, TouchRetouch is unbeatable. It handles power lines, dust spots, and small signs in a few swipes. For skin or fabric cleanup, Affinity and Darkroom offer more nuanced tools.
AI-assisted selections help isolate a subject before retouching, reducing halos and smears. Start with a light hand; two subtle passes beat one heavy-handed swipe. Zoom in and check edges before exporting.
My rule of thumb: if the object is on a simple background, use TouchRetouch. If it overlaps complex detail like hair or fences, switch to Affinity or use Lightroom’s Content-Aware tools.
Exporting, duplicating, copying edits and syncing via iCloud
To protect a version, tap the three dots and Duplicate, then edit the copy freely. If you change your mind, open Edit and tap Revert to restore the original. It’s permission to experiment.
Copy Edits lets you reuse your look across images. Tap the three dots on your edited photo to Copy Edits, select others, then Paste Edits. Share exports via the Share button to Files, Messages, or AirDrop.
iCloud Photos syncs your originals and edits across iPhone, iPad, and Mac. Turn it on in Settings to keep everything consistent. It’s the easiest answer to how to edit photos on iPad and continue anywhere.
Optimization tips for iPad hardware and workflow
Use Apple Pencil for selections and masks; the precision beats a finger every time. Turn on palm rejection for cleaner strokes. A matte screen protector adds paper-like control for detailed retouching.
For large RAW imports, connect a USB‑C card reader or SSD. Import in batches to avoid beachballs, and charge while you work. Keep at least 20% free storage for smooth caching.
Match apps to your iPad’s power. Older iPads thrive with Photos and Photomator; M-series iPads handle Affinity and heavy Lightroom masks. Close background apps before exporting big panoramas.
Troubleshooting common editing problems and limitations on iPad
If colors look off, check Auto-Enhance and tone curves before blaming the file. Reset a slider to zero and rebuild gradually. Comparing side-by-side edits helps diagnose overcorrections.
Photos is capable but not limitless; advanced composites and heavy retouching need Affinity or Lightroom. If an edit feels sluggish, switch to lighter tools or reduce mask complexity temporarily.
When everything goes sideways, Revert is your hero. Duplicate first, then revert one copy to recover the original. If sync hiccups occur, confirm iCloud Photos is enabled on all devices.
Practical case studies and example edits to include
For a portrait case study, start in Photos: Auto-Enhance, crop, skin-tone warmth, gentle contrast, and Portrait depth adjustment. Then jump to Lightroom for a subject mask and a soft preset finish.
For a landscape, Photomator handles ProRAW denoise, sky mask, and color balance. Finish in Darkroom with a subtle filmic preset and selective clarity on foreground rocks. Export and compare versions side by side.
If you prefer to watch and follow, creators like Dan’s Tutorials and Andrew Lanxon demonstrate clear iPad workflows. Combine their approaches with this guide to master how to edit photos on iPad confidently.
What People Ask Most
How do I edit photos on my iPad using the Photos app?
I open the photo, tap Edit, then use Auto-Enhance, the crop/straighten tools, filters, and exposure/color sliders to fine-tune the image; edits are non‑destructive so I can revert anytime.
Which photo editing apps work best on iPad for RAW images?
I use Photomator or Lightroom for everyday RAW/ProRAW editing and Affinity Photo 2 when I need advanced layer-based work; RAW means the unprocessed sensor file and these apps preserve the original while you edit.
Can I edit Live Photos and Portrait photos directly on iPad?
Yes—you can edit Live Photos (choose frames, add effects) and Portrait photos (adjust depth/bokeh) right in Photos by tapping Edit on the image and using the Live/Portrait controls.
How do I crop and straighten photos on iPad?
I tap the Crop tool, use the grid overlay to align horizons, lock an aspect ratio when needed, and use rotate for small corrections or flip when I need to mirror the composition.
Is it possible to copy edits from one photo to another on an iPad?
Yes—Photos lets me copy edits from one image and paste them onto others so I can apply the same adjustments quickly across multiple photos.
How do I remove objects or blemishes from photos on iPad?
For simple single-object removal I reach for TouchRetouch, while I use Affinity or Darkroom for more advanced retouching and AI-assisted fixes; choose the tool based on how complex the removal is.
Can I use iCloud to sync edited photos between iPad and iPhone?
Yes—when I enable iCloud Photos, edits and duplicates sync across my Apple devices so my changes appear on iPhone, iPad, and Mac automatically.
Final Thoughts on Editing Photos on iPad
If you were wondering how to edit photos on ipad without getting lost in menus, this guide laid out the tools and apps so you can work with confidence. The main takeaway is that the iPad gives a fast, non-destructive workflow that scales—from quick fixes in Photos to deeper, layered work in third-party apps. That range makes it ideal for mobile shooters, casual editors, and pros who need on-the-go RAW support and precision with Apple Pencil.
Don’t forget the limit: the built-in Photos editor is impressively capable but still more basic than desktop suites, and some complex composites or heavy RAW pushes will be easier on a Mac. By pairing the simple Photos workflow with recommendations for Affinity, Photomator, and Lightroom and hardware tips, the article turned that initial intimidation into a clear plan you can follow. Try a single portrait or landscape edit tonight and you’ll see how the methods translate—your iPad can really be a capable, creative studio in your hands.


0 Comments