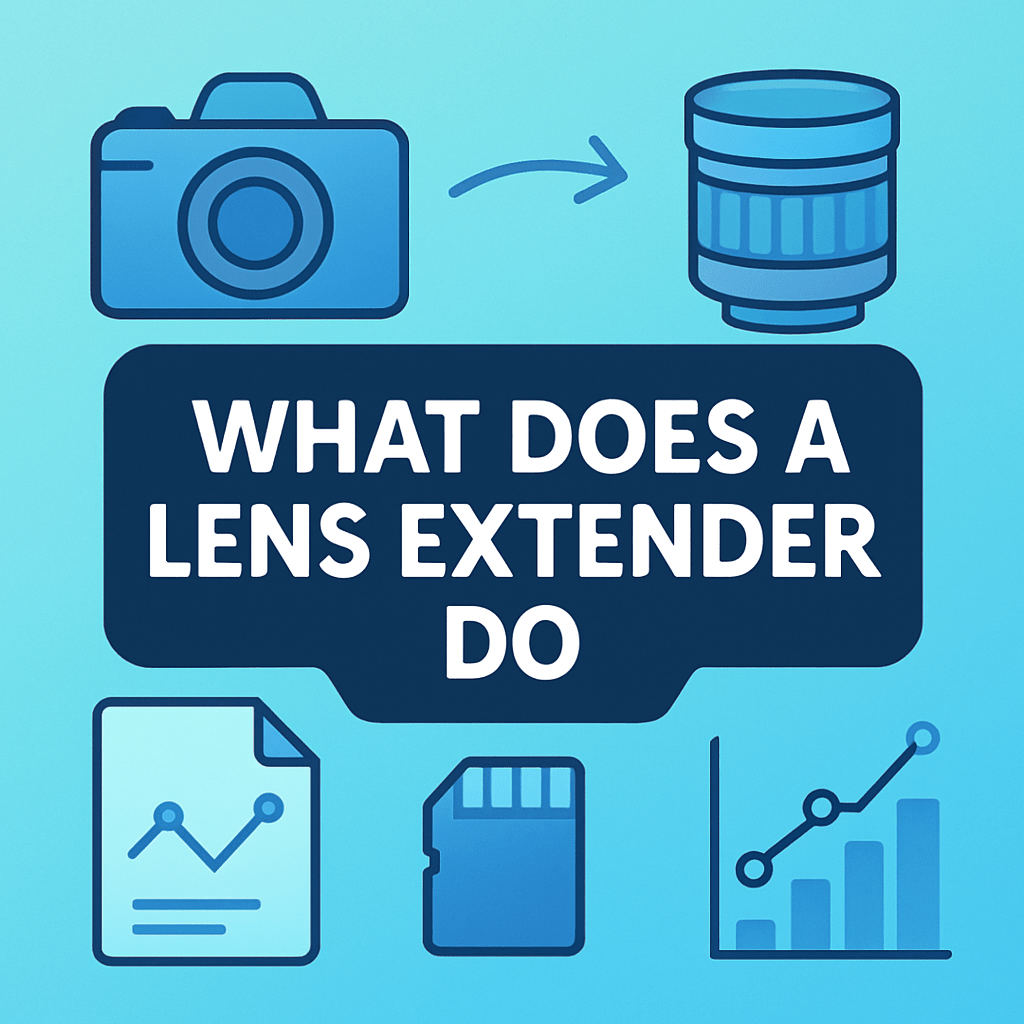
What does a lens extender do — and can it give you extra reach without buying a massive telephoto? This short guide answers that plainly and with real examples.
You’ll see how extenders sit between camera and lens and multiply focal length (1.4×, 1.7×, 2×). I’ll show the simple math and quick conversion examples so you understand the gain.
We’ll cover the trade-offs too: light loss, autofocus limits, and image-quality changes. Expect clear test crops, exposure tips, and a one-page cheat sheet to help you decide.
I’ll also explain compatibility, best lens pairings, and practical buying or rental advice. Short checklists and visuals will make testing an extender with your gear easy.
What is an Extender?

A lens extender, also called a teleconverter, sits between your camera and lens to multiply focal length, giving you more reach while reducing effective aperture and adding some autofocus and image-quality trade‑offs.
If you are wondering what does a lens extender do beyond that, think of it as a small optical group that magnifies the image circle before it hits the sensor. It goes on the camera mount first, then the lens mounts onto the extender, so it is right in the optical path.
The optics are positive elements that enlarge the central part of the lens projection. This is very different from an extension tube, which has no glass and only lets the lens focus closer without changing true focal length.
It is also different from digital zoom or cropping. Cropping throws away pixels after capture, while an extender gives you more subject size in the frame at the moment of capture, though with light loss and some softness compared to the naked lens.
Common use cases are wildlife, birding, field sports, and distant landscapes. It is also used in astro when seeing and light allow, but long exposures and star shape can make it tricky.
Here are two quick examples many shooters use. A 300mm f/4 with a 1.4× becomes a 420mm f/5.6, and a 500mm f/4 with a 2× becomes a 1000mm f/8.
In practice, what does a lens extender do for real assignments? It lets you frame tighter without walking closer, which is priceless with shy subjects or when you are stuck behind a sideline or barrier.
When should you pick a teleconverter? Choose one when you need more reach, can live with losing light, and already own a sharp, fast telephoto. It also shines when renting or buying a longer prime is not feasible for the job.
If you want a deeper dive into the trade‑offs, read a balanced take on the pros and cons to set expectations before you buy.
Teleconverter magnification factors (1.4x, 1.7x, 2x, etc.)
The math is simple and predictable. Effective focal length equals your base focal length multiplied by the extender factor, so 200mm with a 2× behaves like a 400mm lens.
The effective aperture changes by the same factor. A 70‑200mm f/2.8 with a 1.4× becomes roughly a 98‑280mm f/4, and with a 2× it becomes about a 140‑400mm f/5.6.
Think of the popular options this way. A 1.4× costs roughly one stop of light and is the best all‑round choice, a 1.7× costs about one and a half stops and sits in the middle, and a 2× costs two full stops and demands more from technique and light.
Concrete examples help. A 300mm f/4 plus 1.4× gives you 420mm f/5.6 for birds on a sunny day, while a 100‑400mm f/4.5‑5.6 plus 1.4× becomes about 140‑560mm f/6.3‑8, which pushes autofocus limits on some cameras.
A 500mm f/4 plus 2× is a classic long‑reach setup at 1000mm f/8. It is powerful on perched birds or the moon, but it wants a steady support and careful focus.
Stacking teleconverters multiplies both focal length and penalties. A 1.4× and a 2× together make 2.8×, but image quality falls off fast, autofocus often fails, and mechanical tolerances can cause issues.
Handheld shooting usually favors a 1.4×, especially on a 70‑200mm f/2.8 or a 300mm f/2.8. Tripod work with a 400mm f/2.8 or 500mm f/4 can support a 2× when conditions are bright and steady.
Zooms with slower maximum apertures handle 1.4× better than 2×. Fast primes accept both factors more gracefully because they start with more light and higher native sharpness.
For more system‑specific guidance on focal length math, AF behavior, and field tips, Nikon’s overview on using teleconverters is a helpful reference.
Amount of light lost when using teleconverters
The rule is straightforward. New f‑number equals the old f‑number multiplied by the extender factor, so 1.4× is about one stop of light lost, 1.7× is about one and a half stops, and 2× is two stops.
Here is how that looks in the field. If you shoot a 300mm at f/4 and 1/1000 s, adding a 1.4× makes it f/5.6, so you must raise ISO one stop or slow the shutter to 1/500 s to keep exposure.
With a 2×, the same lens becomes f/8, which is two stops darker. To hold 1/1000 s for soccer, you will likely push ISO two stops or work in brighter light.
Autofocus performance is tied to light at the AF sensor. Many DSLRs work best at maximum apertures of f/5.6, with higher‑end bodies maintaining AF at f/8 on selected points.
For example, Canon EOS 5D Mark IV and Nikon D500 bodies can autofocus reliably at f/8 with supported points. Modern mirrorless cameras like the Canon EOS R5 and R6, and Nikon Z9, can maintain AF beyond f/8 with compatible lenses and teleconverters, even down to f/11 or f/22 in specific combinations.
Sony’s flagship bodies also keep AF active past f/8 with supported lenses, though speed can slow in dim light. Always check your camera manual for the exact AF aperture limits for your model and focus points.
Metering and EXIF usually report the effective focal length and effective aperture correctly. That helps exposure stay consistent and your files stay honest for later review.
If you must trade shutter speed for ISO, think about subject motion. Sports and birds in flight often need 1/1600 s or faster, so raising ISO is often the better compromise than risking blur.
A practical tip is to favor 1.4× extenders when light is marginal. Fast base lenses like f/2.8 or f/4 telephotos give your autofocus and image quality the best chance to shine.
How teleconverters affect image quality
Every extra glass group adds a cost. Expect some loss of sharpness, a drop in contrast, extra chromatic aberration, and sometimes more vignetting and flare.
The amount of degradation depends on several factors. High‑quality, manufacturer‑matched extenders on top‑tier primes usually hold up best, while budget extenders on slow zooms show more issues.
Magnification factor matters a lot. A 1.4× usually keeps good central sharpness, while a 2× pushes the lens harder and shows more softness, especially toward the edges.
Aperture choice can claw back detail. Stopping down one stop from wide open often lifts micro‑contrast and cleans up aberrations with both 1.4× and 2× extenders.
Distance and subject detail also play a role. Fine feather texture, text on jerseys, and twigs will reveal the limits faster than smooth subjects like the moon’s disk in good seeing.
For testing, keep it controlled. Use a sturdy tripod, turn off stabilization on the tripod, shoot RAW, keep the distance fixed, and apply identical processing to 100% crops from the lens alone, with 1.4×, and with 2×.
Calibrate focus with the extender attached if your body allows AF microadjust. Small focus errors become bigger at higher magnification, so tuning pays off.
Work clean to avoid flare and haze. Dust or fingerprints on the extender glass cut contrast, and shooting toward bright sources will show more ghosting than the naked lens.
Practical mitigation is simple and effective. Use the matched extender for your system, stop down a bit, and support the rig with a monopod or tripod for critical work.
Quick decisions help on assignment days. Reach for a 1.4× on fast primes when you need a safe boost, and only mount a 2× when light is strong, shutter speeds are high, and the subject is not moving erratically.
If the client needs magazine‑level, edge‑to‑edge detail and light is poor, a clean crop from the bare lens can beat a 2× on a slow zoom. If you own a 500mm f/4, try a 1.4× before you think about buying a 600mm prime.
Compatibility of teleconverters with lenses
Not every lens will fit an extender. Many extenders have a protruding front element and are designed to clear the rear of specific telephoto primes and pro zooms only.
This is why you rarely see an extender on a wide‑angle or most kit zooms. They either cannot mount safely or the optical performance would suffer too much.
On mirrorless systems, compatibility lists are even more specific. For example, some zooms only accept extenders in part of the zoom range to avoid internal element clashes.
Electronics usually work transparently. Modern extenders transmit metering and EXIF, so your camera reads the effective focal length and effective aperture correctly.
Third‑party extenders may vary in reporting and communication. AF speed can slow more, and some combinations may not report the exact effective values to the body.
Autofocus compatibility is a mix of lens speed and body capability. Fast primes like f/2.8 or f/4 keep AF working well with 1.4× and often with 2× on mid to high‑end bodies.
Slower zooms that start at f/5.6 can end up at f/8 or f/11 with an extender. Older DSLRs may lose AF entirely there, while newer mirrorless bodies can still focus but more sluggishly.
Here are proven pairings that perform reliably in the field. Canon EF 300mm f/2.8L IS II or III with Extender EF 1.4× III remains stunning, and the 2× III is strong for static subjects.
Canon EF 500mm f/4L IS II with EF 1.4× III is a birding staple. The 2× III is usable with careful technique when light is good and subject motion is calm.
Canon RF 70‑200mm f/2.8L IS with RF 1.4× gives you a sharp 98‑280mm f/4, and the RF 2× turns it into a 140‑400mm f/5.6 for daylight sports. The RF 100‑500mm accepts RF extenders from roughly 300‑500mm and needs bright light at the long end.
Nikon 300mm f/4E PF with TC‑14E III is a light, travel‑friendly combo that stays sharp. Nikon 500mm f/5.6E PF with TC‑14E III becomes a practical 700mm f/8 for perched wildlife.
Nikon 70‑200mm f/2.8 (F or Z versions) with the matching 1.4× is a safe upgrade for field sports. The 2× is workable for daylight when you need extra sidelines reach.
Sony FE 70‑200mm f/2.8 GM OSS II with the 1.4× is crisp and fast, and the 2× is viable outdoors. Sony FE 100‑400mm GM with the 1.4× is a popular travel wildlife setup.
Sigma and Tamron pro telephotos pair well with their own extenders. The Sigma 120‑300mm f/2.8 Sports with the TC‑1401 and the Tamron 70‑200mm f/2.8 G2 with its 1.4× keep strong IQ when stopped down a touch.
Pairings to avoid are predictable. Consumer 70‑300mm f/4‑5.6 zooms with a 2× lead to f/11 or darker and sluggish AF, and superzooms or kit lenses show heavy softness with any extender.
Mounting is simple but deserves care. Power the camera off, mount the extender to the body first, then mount the lens to the extender, aligning the marks so nothing binds.
Keep the contacts clean and protect the protruding glass. Use the supplied caps and pouches, and avoid swapping in wind or dust, as extra joins invite debris.
In the field, plan your workflow. If a play or a bird is coming your way, decide early whether to shoot bare or with the extender so you are not fumbling at the key moment.
Buying advice is straightforward. Rent before you buy, test with your lens and camera, and make sure the store allows returns if the combo does not meet your needs.
A quick reference helps when you pack. Use a 1.4× on f/2.8 and f/4 lenses for the best balance, expect roughly one stop loss and good AF odds, and shoot handheld or on a monopod.
Reserve a 2× for bright days and steady support. Expect two stops lost, slower AF, and plan to use a tripod or very fast shutter speeds to protect sharpness.
When you borrow or rent, test three things first. Confirm autofocus works on your body with that lens, check sharpness at the aperture you plan to use, and see if the needed ISO introduces too much noise for your client or print size.
If you still ask yourself what does a lens extender do for your overall kit, it stretches the usefulness of the lenses you already own. One small accessory can turn a solid 300mm into a reachy 420mm or a mighty 600mm into a 1200mm with care.
For system‑specific charts and model lists, manufacturer pages are your friend. Canon’s overview of Canon lens extenders is a good place to confirm lens and body compatibility before you commit.
In short, use extenders on fast, sharp glass, be honest about light and movement, and practice your technique. When the scene allows it, they deliver reach you can trust without buying a new lens.
What People Ask Most
What does a lens extender do for my photos?
A lens extender increases the apparent reach of your lens so distant subjects look closer, while keeping your camera and lens connected.
Will a lens extender make my subject look closer?
Yes, a lens extender magnifies the image so subjects appear closer without you moving closer physically.
Can I use a lens extender with any lens?
Not always; extenders work best with compatible telephoto lenses and may not attach or perform well on wide-angle or consumer zooms.
Does a lens extender reduce image quality?
It can slightly reduce sharpness and light, especially with lower-quality extenders, but many users find the trade-off acceptable for extra reach.
Will a lens extender affect autofocus performance?
Yes, autofocus can become slower or less reliable in low light because the extender reduces the amount of light reaching the camera.
Are lens extenders useful for wildlife and sports photography?
They are often helpful because they let you get tighter framing on distant subjects without buying a longer lens, which is ideal for wildlife and sports.
Is using a lens extender the same as cropping in post?
No; an extender optically magnifies the image in-camera, preserving more detail than heavy cropping, though both can be useful depending on the situation.
Final Thoughts on Lens Extenders
If you own a 270 lens or any fast telephoto, an extender is the simplest way to add meaningful reach without carrying a much bigger lens, and that practical upside is the piece’s core benefit. We showed how they multiply focal length, how the math turns a 300mm into 420mm with a 1.4×, and why that gain comes with real costs — roughly one to two stops of light and possible hits to autofocus and image quality. That trade-off is honest: it’s brilliant for wildlife, birding, and some sports situations, but less appealing if you need edge-to-edge perfection or the lowest noise at high ISO.
Across the article you saw the what, the math, the exposure fixes, and the compatibility checks so you can decide based on real tests rather than hype. For photographers who already own fast teleprimes and want occasional extra reach, an extender often turns existing gear into a new creative tool; just expect diminished light and to adapt your technique. With those limits in mind, there’s a lot of creative territory ahead to explore.


0 Comments