
Want to look sharp and camera-ready on every video call without turning your home office into a studio?
Good lighting sculpts your face and renders skin tones accurately. It also keeps attention on you and makes expressions readable. It’s the single most effective upgrade you can make for remote professionalism.
Poor light washes you out, hides facial detail, and can make even a great camera look cheap. Small fixes can make a dramatic difference. Often a small, inexpensive change fixes the problem.
This guide highlights five lights that strike a balance among portability, brightness, and ease of use. We focus on tools that improve on-camera appearance without unnecessary complexity.
Beyond gear, you’ll get clear, practical setup tips for positioning and layering light to avoid flat or shadowed results. We also explain color temperature choices so your skin looks natural on virtually any call.
Whether you work from a compact desk, travel frequently, or simply want to look more professional on client calls, there’s a match here. Expect hands-on advice and quick wins you can implement in minutes.
Small upgrades to your lighting often yield the biggest improvements to perceived professionalism. Read on to find the best light for your workflow and simple tweaks to look your best on screen.
1. Rotolight NEO 3

Rotolight NEO 3 Streamer RGBWW On‑Camera LED Light with HSS Flash
Compact on-camera RGBWW lighting with high-speed sync flash, customizable effects, and soft cinematic output for livestreamers and hybrid video creators.
Check PriceThe Rotolight NEO 3 is a compact, desk-friendly LED that really delivers soft, flattering light — the kind that smooths skin and reduces harsh shadows without looking fake. As a photographer, I appreciate how it makes you look professional even in challenging ambient conditions, which is exactly what you want for client calls or livestreams.
What sets it apart is the wide color-temperature range: 3150K–6500K. That tunability lets you match the NEO 3 to daylight, warm lamps, or mixed lighting so skin tones render accurately and naturally on camera.
It’s also surprisingly versatile for its size: electronic color filters and built-in special effects mean it’s useful for quick content creation as well as video calls. The intuitive touchscreen makes in-meeting adjustments painless, though the advanced feature set can be more than some users need.
Who should buy it? If you want a pro-looking image, need adjustable color temperature, and have limited desk space, the NEO 3 is a strong choice. If you only need a simple, no-frills light for occasional Zoom meetings, its feature set may feel like overkill.
- Soft, even lighting with minimal harsh shadows
- 3150K–6500K tunable color temperature
- Compact — fits limited desk space
- Intuitive touchscreen for quick adjustments
- Overkill for basic video calls
- Controls and settings can be overwhelming
2. Logitech Litra Beam

Logitech Litra Beam Premium Key Light
Powerful flattering key light with adjustable color temperature, soft even illumination, and visibility-optimized beam for pro streaming and video calls.
Check PriceThe Logitech Litra Beam is built around high brightness and a wide beam spread, which gives an even, uniform wash across the face. As a photographer I appreciate how that reduces harsh shadows and renders a clean, professional look on camera with minimal fiddling.
Its mounting flexibility is genuinely useful for small setups. You can mount it vertically or horizontally, so it adapts to cramped desks or odd monitor arrangements. The vertical orientation in particular saves desk space without sacrificing coverage.
Control options are practical: software control from your computer means you can tweak brightness during a meeting without standing up. Be aware, though, the back controls are hard to manipulate by feel, so if you prefer tactile adjustments you may find yourself reaching for the app often.
Overall, this is a solid pick if you want bright, dependable illumination and flexible placement in a home office. It’s especially good for users who value desk space and want quick digital adjustments during calls. If you need battery operation or tactile on-device controls, this might not be the best fit.
- Bright, uniform lighting that looks professional on camera
- Versatile mounting options for flexible positioning
- Software control enables adjustments without leaving the desk
- Vertical design saves desk space
- Back controls are not intuitive without looking
- Requires constant power (must be plugged in)
3. Neewer NL-60AI

Neewer NL-60AI Selfie Clip Light (60 LED, 2000mAh, CRI95+)
Portable clip-on selfie light with 60 LEDs, long-lasting battery, high CRI color accuracy, and adjustable brightness for flawless skin tones.
Check PriceThe Neewer NL-60AI is a compact, travel-friendly LED that photographers and remote workers praise for delivering quality, usable light—especially when you’re on the move with a smartphone or laptop. Its small footprint makes it easy to tuck into a bag and set up in hotel rooms or temporary workspaces.
Setup is straightforward and the controls are intuitive. You get direct control over brightness and color temperature, so dialing in a natural look for skin tones takes just a few adjustments.
Output isn’t as powerful as higher-end studio fixtures, but it provides consistent, even illumination that noticeably improves video-call appearance for most situations. For desk-based calls and small spaces it’s generally more than enough.
Where it falls short is in larger rooms or when you need heavy output; it simply can’t match the punch of premium panels. Also, some users report a slight blue tint in certain settings, so you may need to tweak color temperature or your camera’s settings to perfect the look.
Overall, the NL-60AI is a very practical, budget-friendly choice for people who value portability and ease of use. If you travel frequently or need a simple, reliable light for daily video calls, it’s a smart pick. If you regularly light large rooms or need deep customization and rock-solid build, look elsewhere.
- Compact and portable
- Intuitive controls, easy setup
- Consistent, even lighting
- Affordable and budget-friendly
- Less bright than higher-end lights
- Can produce a slight blue tint
4. Lume Cube Ring Light Pro

Lume Cube Ring Light Pro Wireless with Tripod and Carrying Case
Wireless professional ring light kit with tripod and carry case, adjustable color and brightness, ideal for portraits, streaming, and mobile content creation.
Check PriceThe Lume Cube Ring Light Pro delivers professional-level lighting tailored for both content creation and video calls. Its ring design provides 360-degree illumination that noticeably reduces facial shadows, producing a more even, flattering look on camera.
An included diffuser softens the output for a more natural appearance, which is particularly helpful if you dislike harsh highlights or sharp shadows on your face. It isn’t as bright as some larger ring lights, but in practice it’s sufficient for most video calls and smaller home-office setups.
One of the strengths of this model is its compact, portable footprint—easy to pack for on-the-go work or move around the house. Setup is straightforward, and the brightness and color controls are user-friendly, so you can dial in a pleasing look quickly without fussing with complicated menus.
Keep in mind the trade-offs: if you routinely work in a large, brightly lit room you may find the maximum output limiting and might need an additional fixture. Also, some users report a slight blue tint in certain settings, so take care to tweak the color controls if your skin tones look cooler than you’d like.
- Even, flattering 360-degree lighting
- Diffuser softens light and reduces harshness
- Compact and portable for travel
- Easy setup with straightforward controls
- Not as bright as larger ring lights
- May produce a slight blue tint in some settings
5. Elgato Key Light Mini

Elgato Key Light (2800 lumens) Studio Light with Desk Clamp
High-output studio key light delivering up to 2800 lumens, adjustable color, slim desk clamp design for professional live streams and home studios.
Check PriceAs a photographer who’s spent years shaping light for faces, I appreciate the Elgato Key Light Mini for what it is: a compact, reliable tool designed for video calls and travel. It’s praised for portability and ease of use — small, lightweight, and simple to pack into a bag when you’re moving between locations.
Setup is straightforward and the controls are intuitive, letting you quickly dial in brightness and color temperature without fuss. That simplicity makes it ideal for remote workers and frequent travelers who need consistent lighting without fiddly menus or a big footprint on the desk.
In practical use the Mini delivers consistent, even lighting that noticeably improves on-camera appearance, reducing harsh shadows and helping skin tones read more naturally. It isn’t as bright as larger models, so if you have a big room or need heavy output for broadcast-style setups, it may fall short — but for most video calls it provides more than enough light.
Color control is present and usable, so you can match ambient conditions and avoid obvious mismatches in skin tone. Be mindful that in some settings it can produce a slight blue tint, so a quick tweak of the color temperature will usually fix that and yield a flattering, neutral look.
- Compact and portable
- Easy setup with intuitive controls
- Consistent, even lighting
- Affordable and accessible
- Not as bright in larger rooms
- Can produce a slight blue tint
How to Position Your Lights
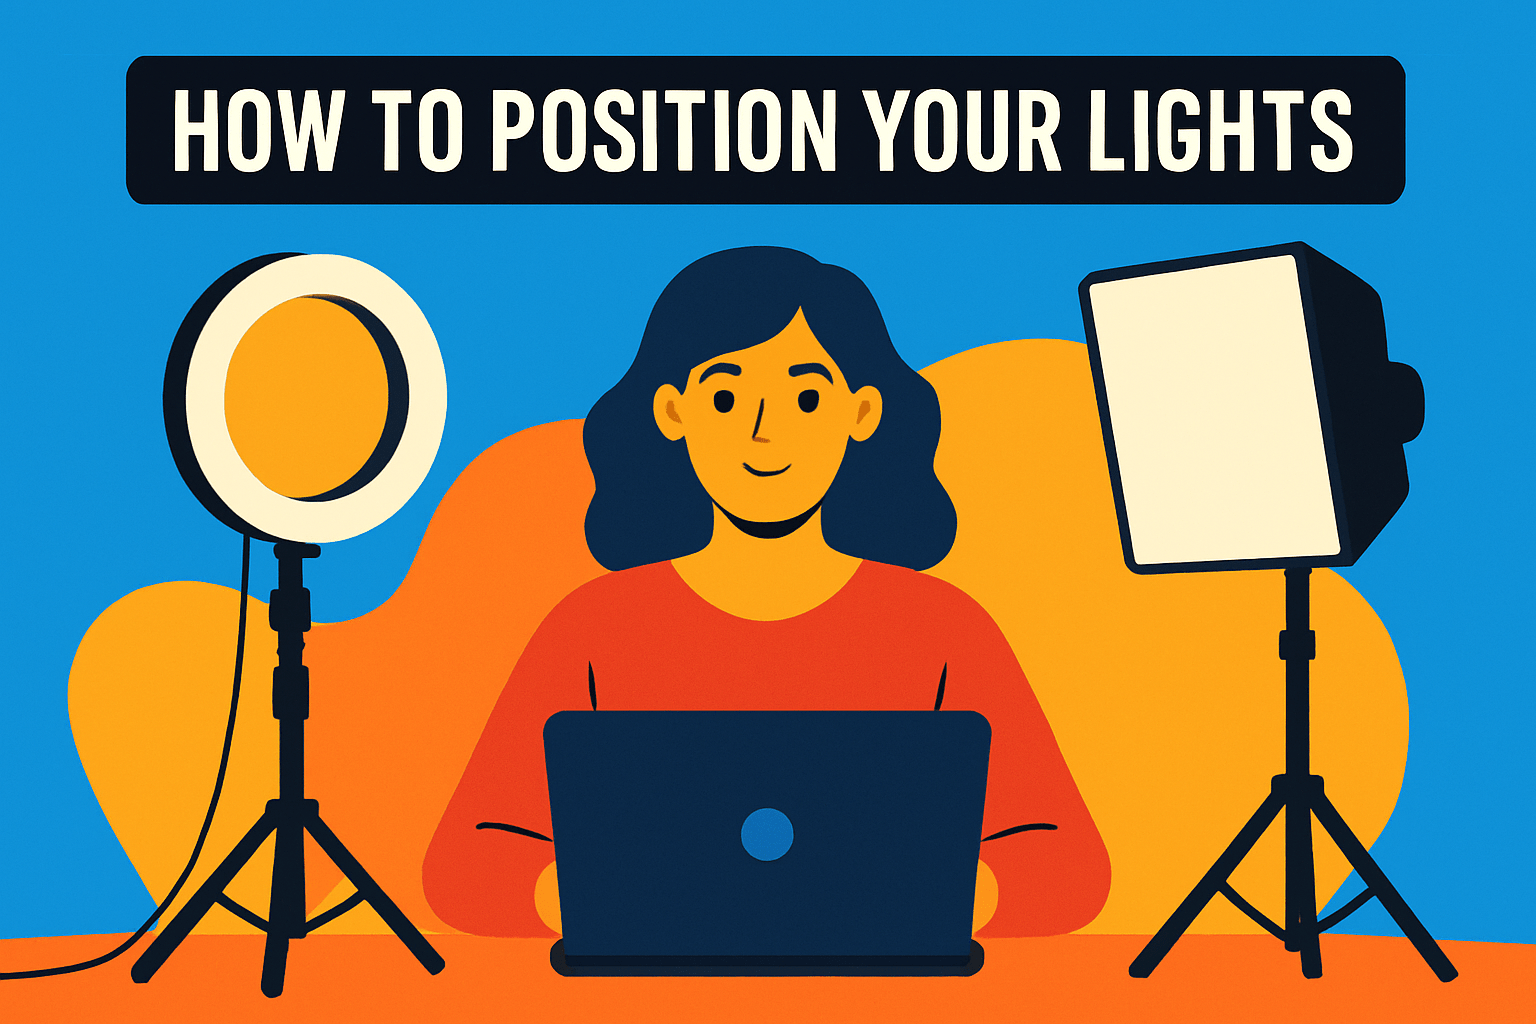
Lighting for video calls is simple once you think like a photographer: make the light flatter and softer on your face and add a little separation to avoid a flat, lifeless image. Place your main light (the key) in front of you at eye level or just above, angled roughly 45° toward your face. This cuts harsh shadows while keeping your features natural and your eyes catching a small, pleasing highlight.
If you can, add a fill source opposite the key to soften shadows and add depth. The fill should be noticeably dimmer than the key — you want contrast, not a perfectly even wash. A second small lamp, a softbox, or simply a piece of white foam board acting as a reflector works wonders when space or budget is tight.
Include a subtle back or hair light behind you to create separation from the background. Even a dim lamp out of frame will prevent you from blending into the wall and gives a more three‑dimensional look. Place that light low and pointed slightly at the back of your shoulders or hair for a clean rim effect.
Avoid lighting from directly above or having a bright window behind you. Overhead light creates unflattering shadows under the eyes and nose, and backlighting will silhouette your face. If you must use window light, face the window and diffuse harsh sun with curtains or a thin sheet of fabric.
Soft, diffused light is your friend. Use diffusers, lampshades, or bounce light off a wall or reflector to eliminate sharp edges and keep skin tones flattering. Harsh, undiffused bulbs highlight texture and make cameras amplify blemishes and shine.
Match all lights to the same color temperature so skin tones look natural and you avoid weird color casts. Set your webcam at eye level and check framing and reflections, especially if you wear glasses; a slight shift in angle often removes distracting glare without changing the overall look.
Finally, test quickly before important calls. Small tweaks to angle, intensity, and distance make a big difference, and five minutes of adjustment will pay off with a much more professional, approachable image on screen.
Understanding Color Temperature
Color temperature is the quiet thing that makes you look alive or oddly washed out on camera. As a photographer I lean toward daylight-balanced tones because they render skin naturally, so I recommend starting around 5000K–6500K and adjusting from there.
Warmer light, in the 2700K–3500K range, feels cozy and flattering in person but often adds an amber cast that shifts skin tones on video. Cooler temperatures above 6500K start to look blue and clinical, which can emphasize blemishes and feel uninviting for a meeting.
If you have a tunable light, use it to match the room and the time of day. In mixed-light rooms—say a window plus warm lamps—either change the bulbs or add diffusion so everything reads the same color. Mismatched sources create odd color casts and distracting shadows.
Small adjustments make a big difference. If your skin looks too pale at 5600K, try nudging toward 4800K for a touch of warmth without tipping into orange. Conversely, if your image feels too warm, raise the temperature a few hundred kelvins until tones look natural.
Diffuse and bounce light whenever possible. Soft light makes color temperature appear more natural and blends better with ambient light. A softbox, diffuser panel, or even a white bedsheet can smooth harsh edges and minimize color shifts.
Do a quick camera test before important calls. Take a short video or snap a still and look at your face on the same screen your audience will use. If skin looks healthy and the whites are neutral, you’re done; if not, tweak the kelvins or move lights until it feels right.
Finally, remember the goal: natural, consistent color. Aim for uniform sources, test visually, and favor slightly cooler daylight for professional calls, warming only when you want a deliberate, cozy tone.
What People Ask Most
What’s the best lighting for video calls?
Soft, even front lighting that minimizes harsh shadows and renders skin tones naturally works best. Tunable or diffused sources that match your ambient light usually give the most professional look.
How should I light myself for a Zoom call?
Use a key light positioned in front of you at eye level or slightly above and angle it toward your face. Add a softer fill source opposite the key light to reduce shadows and keep the lighting natural.
Where should I place my light for video conferencing?
Place your main light in front of you at eye level or slightly above and angle it about 45° toward your face to avoid harsh shadows. Include a fill or ambient light to the side or behind you to add depth and prevent a flat appearance.
What color temperature is best for video calls?
A neutral daylight range is generally most flattering and helps render skin tones accurately, with consistent temperature across all sources. Tunable lights let you match the environment and personal preference for the best result.
Is natural light good for video calls?
Natural light can be excellent when you face the window and diffuse any direct sun to avoid hotspots. Avoid strong backlighting that silhouettes your face and use curtains or blinds to soften harsh rays.
Does a ring light make you look better on video calls?
A ring light can provide even, flattering illumination that reduces facial shadows and creates a smooth look on camera. It’s effective for many setups, though larger or more tunable lights may offer greater flexibility.
How can I improve my lighting for video calls with limited equipment?
Use window light when possible and soften it with curtains or a diffuser, and position any lamp in front of you rather than behind. Bouncing light off a nearby wall or using a simple diffuser will help create softer, more even illumination.
Conclusion for Best Light for Video Calls
These lighting picks are meant to help you look more professional on calls by balancing portability, brightness, adjustability, and price so you can choose what fits your routine and budget.
Think about your workspace size, whether you travel or work from a fixed desk, and how much control you need—position a key light at eye level or slightly above and use soft, diffused sources to reduce harsh shadows.
Aim for neutral daylight tones when possible and keep all sources consistent so skin tones stay natural and a single setup works across meetings and content creation.
If you want to dive deeper, keep exploring the site to sharpen your lighting and on-camera skills—there are practical guides and tips that build on these basics.
Have questions or want setup feedback? Leave a comment below and we usually reply within a few hours.


0 Comments