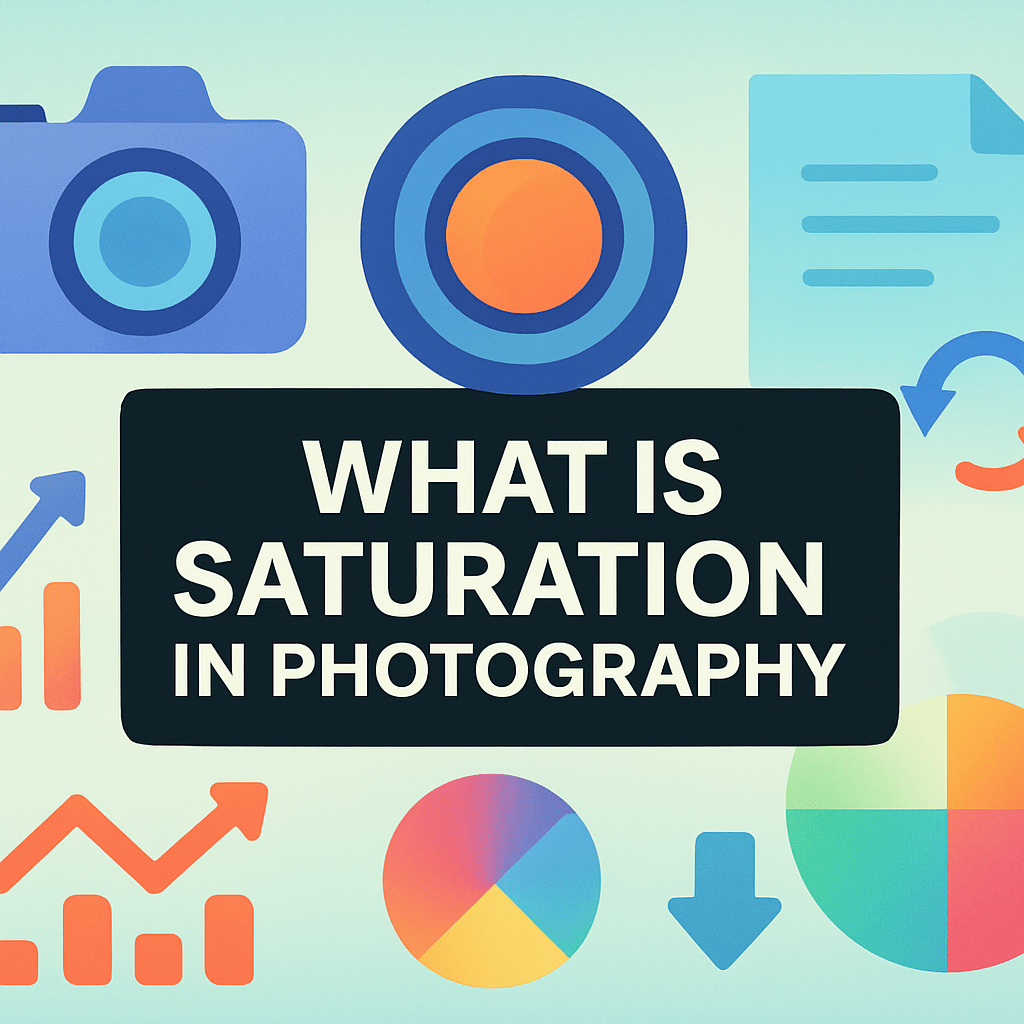
What is saturation in photography? Learn how color intensity can make or break your pictures.
In this short guide we will define saturation in plain words and show how it differs from hue and brightness. You will also get a one-line science note and a simple visual idea to remember it.
Next, we walk through how saturation works in camera and in editing. Expect clear capture tips, RAW vs JPEG notes, HSL tricks, and a step-by-step workflow with slider starting ranges.
You’ll see before/after examples, learn when to use vibrance vs saturation, and get a quick checklist to avoid oversaturation. Read on to make your colors pop without going too far.
What is Saturation in Photography?
If you are asking what is saturation in photography, think of it as how strong or pure a color looks. High saturation makes colors look vivid and bold. Low saturation makes them look muted, washed, or closer to gray.
Here is a simple color saturation definition. Saturation is the intensity of a color, while hue is the color family like red or blue, and brightness is how light or dark it is. This is the classic saturation vs hue vs brightness difference in plain words.
Use an everyday idea. Imagine a cup of paint. Add gray and the color looks duller, so saturation drops. Remove gray and the color becomes bolder, so saturation rises.
For a scientific note, in models like HSV, HSL, or Lab, saturation is the distance from neutral gray at the center of the color wheel. The farther you move away from gray, the more saturated the color becomes.
Picture one scene shown three ways. The first looks pale and desaturated, the second looks balanced and natural, and the third looks punchy and highly saturated. Same scene — different saturation — and a very different mood.
If you want a gentle primer, this overview of color saturation in photography lays out the basics for beginners. It pairs nicely with the examples and tips below, so you can build a strong foundation and practice right away.
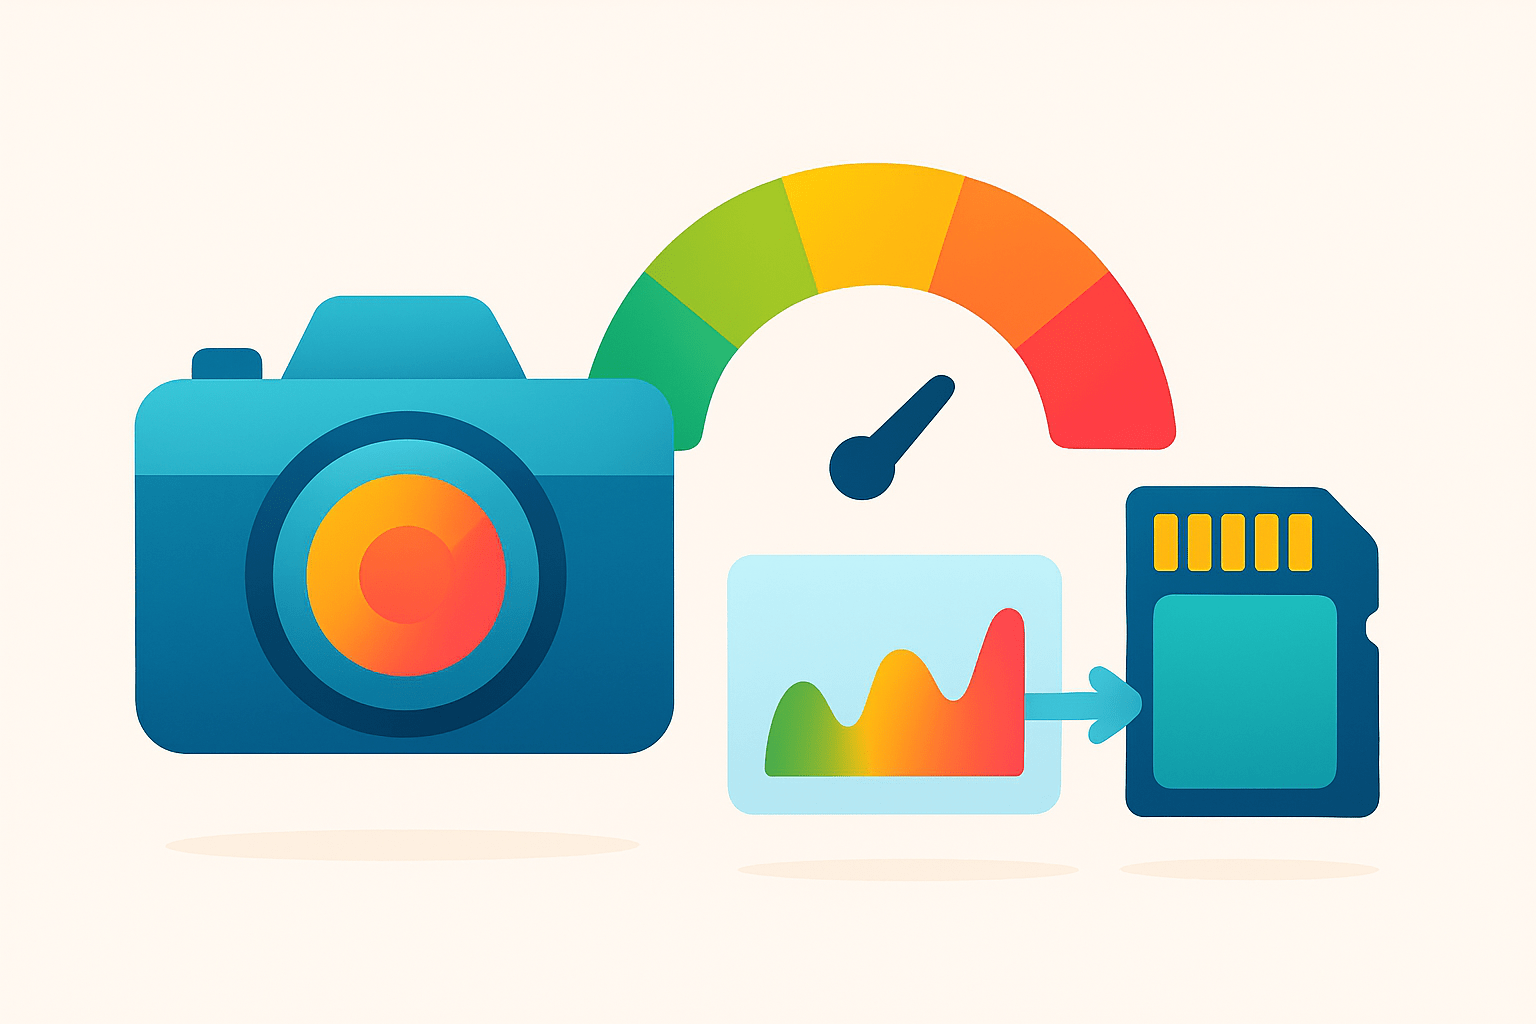
How Saturation Works (capture + color science)
Your camera records color through a sensor covered with tiny red, green, and blue filters. The processor then “demosaics” those signals to rebuild full-color pixels. The balance of those RGB values controls how saturated each color appears.
RAW files keep more color information and give you headroom to adjust saturation later. JPEGs are baked with a camera style, so saturation is already decided and harder to change without damage.
White balance changes relative color ratios and can shift saturation quickly. Exposure and contrast also change perceived saturation, because deeper shadows and richer midtones make colors feel stronger. Small changes in contrast can make a flat image come alive without heavy saturation moves.
Color spaces matter because they define the gamut of colors you can hold and display. sRGB is safe for the web, Adobe RGB is wider for print workflows, and ProPhoto is very wide for editing but needs careful handling at export. A bigger gamut allows more saturated colors, but only if your output can show them.
In editing apps, HSL or HSV let you target saturation for one hue at a time. Lab separates lightness from color, which can help you adjust intensity without changing brightness. Always adjust exposure/white balance first — then fine-tune saturation.
How to Use and Adjust Saturation: Capture & Editing Workflow
Start at capture. A circular polarizer can boost sky and foliage saturation by cutting glare. The golden hour gives warmer light and naturally richer color, while harsh midday light can wash colors out.
Shoot RAW to preserve color flexibility. If you must shoot JPEG, choose a neutral picture style so you are not locked into heavy in-camera saturation that is hard to undo.
In editing, import the RAW and set white balance first. Fix exposure and contrast next to set the tonal base. Then use local tools and HSL to target specific colors before you touch global vibrance and saturation, and finish with sharpening, noise reduction, soft proof, and export.
Targeted control beats global moves. Lower blue saturation slightly to tame cyan skies, and protect skin by easing orange or red saturation instead of desaturating the whole image. Use local masks or gradients to direct attention without turning the entire frame neon.
Vibrance gives a smart, subtle lift and protects already strong colors and skin tones. After vibrance, add a small global saturation nudge if the whole frame still feels dull. For more guidance on balancing these moves, read about optimal saturation and adapt the ideas to your style.
Use these starting points and adjust with your eyes. For landscapes, try vibrance between +10 and +30, and saturation between +5 and +20. For portraits, try vibrance between +0 and +10, and saturation between -5 and +5 to keep skin natural.
Quick cheat sheet: push vibrance first, then add a hint of saturation only if needed. Use HSL for skies, foliage, and fabrics you want to shape, and use local masks to keep skin safe. Review your before/after pairs for landscape, portrait, street, and product shots to see how small changes build realism without going overboard.
When possible, view a screenshot of the HSL panel and the vibrance/saturation sliders in your editor. Notice how small targeted tweaks in one hue can fix a problem fast. A simple color wheel diagram also helps explain how saturation relates to distance from the gray center.
Vibrance vs Saturation — Which to Use When
Vibrance is an adaptive saturation boost. It raises weak colors more than strong ones and protects skin tones from turning orange or red.
Saturation is global. It increases or decreases the intensity of every color by the same amount, which can quickly look heavy-handed.
Use vibrance for safe, general lifting in portraits or mixed scenes. Use saturation for creative effects or when you truly want every color to move together. The rule of thumb is simple: start with vibrance, then nudge saturation if the image still needs energy.
Avoiding Oversaturation: Common Mistakes & Practical Tips
Oversaturation shows up as plastic-looking skin, toxic greens, radioactive blues, or color banding in skies. You may also see clipped channels, where detail is lost in one color. If the image feels loud or uncomfortable, that is your viewer telling you to pull back.
Check at 100% zoom to spot banding and halos. Turn on per-channel clipping warnings, and convert to black and white briefly to judge tonal balance without color bias. Soft proof your export, test on multiple devices, and calibrate your monitor to avoid surprises.
Fix issues with targeted HSL reductions rather than a blanket desaturation. Lower saturation slightly instead of pushing luminance up, which can wash detail. For web, export in sRGB to keep colors consistent across typical displays.
Genres have different tolerance levels. Landscapes can handle more punch, but watch for electric greens and cyan skies that look fake. Portraits need gentle hands, so lean on vibrance and HSL; street and fashion can be muted or hyper, so pick a style that matches the story.
Here is a compact checklist you can follow today. Calibrate your monitor, shoot RAW, set white balance and exposure first, use vibrance before saturation, use HSL masks for problem hues, check edits at 100%, and test your export on multiple screens. This keeps you in control even when colors are bold.
Troubleshooting tips can save a tricky file. Banding often comes from heavy edits on 8-bit JPEGs, so work in RAW when you can, keep gradients smooth, and add a touch of noise if needed to hide steps. For clipped channels, reduce saturation in the offending hue, lower highlights, and use local HSL to recover detail; a short beginners guide can reinforce these habits and help you avoid common traps.
When someone asks what is saturation in photography, you can now answer with confidence and a clear plan. Keep the edits simple, move in small steps, and judge with fresh eyes. Your colors will feel rich, believable, and alive.
What People Ask Most
What is saturation in photography?
Saturation is how intense or vivid the colors look in a photo. Higher saturation makes colors brighter and lower saturation makes them more muted or gray.
How does changing saturation affect my pictures?
Increasing saturation makes colors pop and feel more lively, while decreasing it creates a softer or moodier look. Too much saturation can make colors look fake or distracting.
When should I increase saturation in an image?
Boost saturation for bold landscapes, colorful scenes, or product shots to make them more eye-catching. Make small adjustments so colors stay natural.
When is it better to lower saturation or desaturate a photo?
Lower saturation to create a calm, vintage, or cinematic mood or to fix overly bright colors. Full desaturation will make the image black and white.
What’s the difference between saturation and vibrance?
Saturation raises all colors equally, while vibrance boosts weaker colors more and protects skin tones. Use vibrance for subtle color enhancements without overdoing faces.
What common mistakes do beginners make with saturation?
Beginners often overdo saturation, causing colors to look unnatural, or they ignore how changes affect skin tones. Always check edits on different screens and step back to judge the result.
How can I safely adjust saturation when editing photos?
Make small, non-destructive adjustments and use local masks to target specific areas rather than the whole image. Preview your edits on multiple devices to ensure colors stay realistic.
Final Thoughts on Saturation in Photography
If you started by asking what is saturation in photography, this guide — 270 — walked you from a clear, plain definition to real-world examples and edits that make colors feel alive without looking fake. Along the way you learned the difference between saturation, hue, and brightness, why cameras and color spaces matter, and simple capture and RAW-to-export steps like using polarizers, HSL masks, vibrance, and conservative exports. These practical tools will help landscape, portrait, and product shooters get richer color while keeping skin tones and detail intact.
One realistic caution: it’s easy to push colors past believable limits, which causes banding, clipped channels, and unhappy viewers, so always check edits at 100%, soft-proof on your target profile, and favor targeted HSL fixes over a blunt global slider. If you remember the opening question about making colors pop, you’ve now got a step-by-step path — expose and set white balance first, use local masks and vibrance for subtlety, then nudge saturation only when it supports the story. Keep shooting with intention and you’ll quickly learn when to boost color and when to hold back.


0 Comments