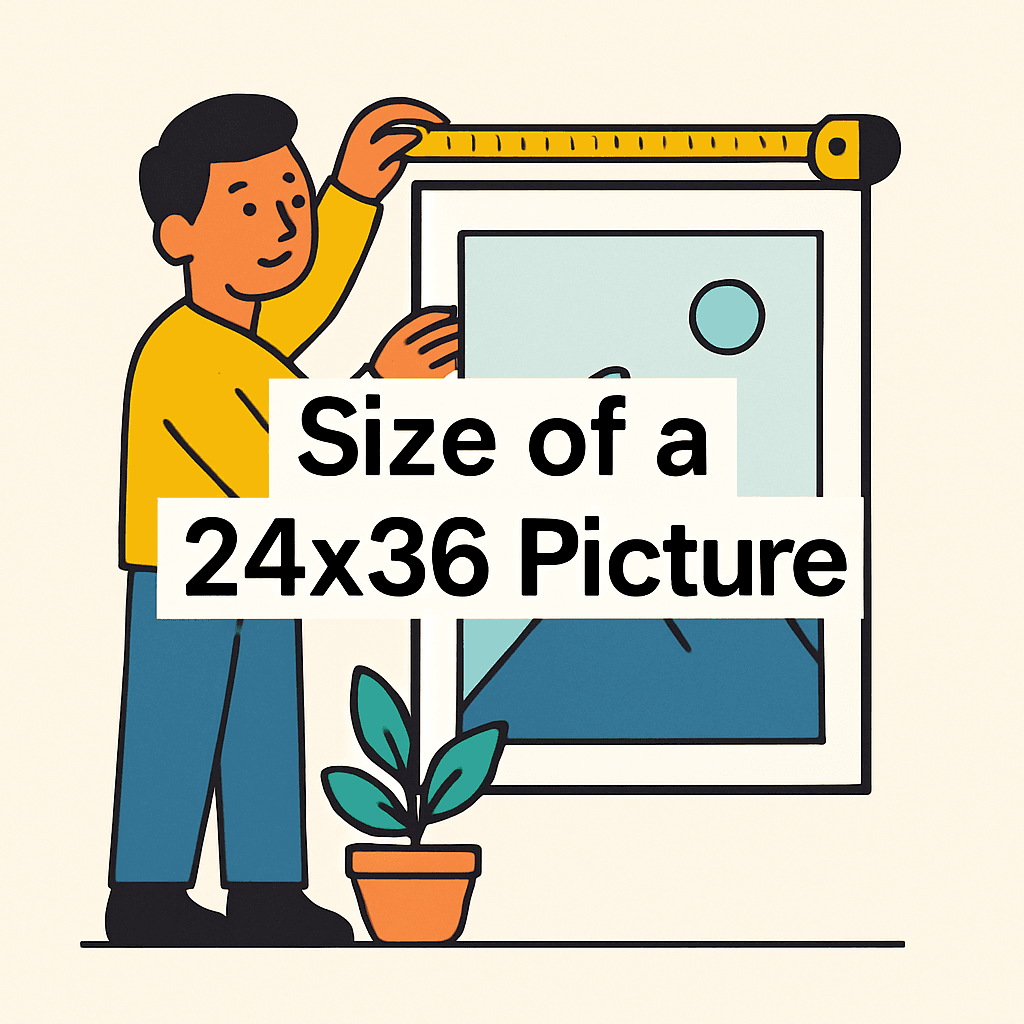
You’re tired of guessing frame sizes and asking, “how big is a 24×36 picture” every time you shop for prints. It wastes time and money, and makes a once-great image look wrong on the wall.
This short guide will give the exact measurements, clear aspect-ratio rules, and simple print-prep tips to keep images crisp. You’ll also get framing, matting, glazing, hanging, and styling advice so prints at that size sit right in any room.
We’ll bust one common myth about scaling images for large prints, and you’ll learn the simple fix pros use. This is aimed at hobbyists, photographers, designers, gallery owners, and DIY framers who want reliable, gallery-ready results.
No deep theory or confusing specs—just practical, photo-friendly steps you can use before you print, frame, or hang a piece. Keep reading because it’s simpler than you think.
Exact Size, Aspect Ratio, and Common Names
If you’re wondering how big is a 24×36 picture, it’s exactly 24 by 36 inches, or 60.96 cm by 91.44 cm. In photo speak, that’s a 2:3 aspect ratio.
That 2:3 ratio matches most DSLR and mirrorless sensors, so you’ll rarely need heavy cropping. In the wild, this is often called a “poster” or “large photographic print.”
If you want context for neighboring poster formats, skim this frame size comparison. It helps visualize scale before you order frames or mats.
Typical Uses for 24×36 Prints
At this scale, impact matters. The size carries across a room, making it perfect for bold visuals and clean typography.
- Movie posters for theaters and media rooms.
- Large artwork above sofas or beds.
- Commercial photography prints in lobbies and retail walls.
In a living room, a single 24×36 print can anchor the seating area. On a gallery wall, I balance it with two smaller frames to keep rhythm and breathing room.
For offices, this size reads clearly from a distance. Product hero shots and brand visuals hold detail without forcing viewers to step closer.
Image Resolution and Print Preparation
For clean detail, start with at least 3600 × 5400 pixels. That delivers 150 DPI at full 24×36 size. DPI means printed dots per inch; PPI is screen pixels per inch.
If your file allows, aim higher for close viewing—200 to 300 PPI often looks crisper. For deeper guidance, I recommend this file resolution for printing resource.
Before sending to the lab, confirm resolution, apply gentle capture sharpening, and remove noise thoughtfully. I like printing a small test crop to check skin texture, edges, and gradients.
Frame Size vs Image Size and Matting Considerations
Mats change the outer frame size, not the print size. A 2‑inch mat around a 24×36 typically needs a 28×40 inch frame, accounting for mat width on all sides.
Frame openings are cut slightly smaller so the print doesn’t slip. Expect a bit of overlap, usually 1/8–1/4 inch per side. When people ask how big is a 24×36 picture on the wall, I include the mat borders.
If you’re browsing ready-made options, skim the common large frame sizes. It prevents surprises when pairing mats and glazing.
Framing Options: Materials (H3)
Metal frames feel sleek and modern, with crisp edges and excellent durability. Wood brings warmth and texture, perfect for classic interiors or natural subjects like landscapes.
Acrylic and composite frames are lightweight and budget-friendly. Acrylic frames resist moisture better than wood, while composites offer stable finishes that travel well for shows.
Framing Options: Depth & Profile (H3)
Shallow profiles keep the look minimal and contemporary. They suit a simple 24×36 print with a single mat or a thin mounting board.
Shadow-box depths accommodate thicker mounts, float frames, or objects like medals. Choose deeper profiles for foam core, gator board, or when you want sculpted dimensionality.
Framing Techniques and Assembly
Select a rigid, acid-free backing and choose glazing wisely. Glazing is the transparent cover—glass or acrylic—that shields your print from dust, UV light, and curious fingers.
Hinge-mount the print to the mat with archival tape near the top edge, letting the paper breathe. Align carefully, then close the frame and check corners for even borders.
Basic tools go a long way: microfiber cloth, blower, cotton gloves, painter’s tape, ruler, and a small screwdriver. I dust-seal the back with kraft paper for a clean, professional finish.
Hanging and Installation Best Practices
Use D-rings and coated wire, anchored by two wall hooks for stability. Heavier frames benefit from French cleats, which spread weight and make leveling easy.
Center art at comfortable eye level, roughly 57–60 inches to the midpoint. Align with furniture edges and keep consistent spacing for visual balance.
Mount into studs when possible, or use rated wall anchors. Add felt bumpers so the frame sits plumb and protects paint from scuffs.
Scaling, Cropping, and Post-Processing for Large Prints
Crop to the 2:3 aspect ratio early to protect composition. Set your canvas to 24×36 inches at the intended PPI so you see exactly what you’ll print.
When upscaling, use high-quality resampling or AI-based tools sparingly. Keep output sharpening for the final step to avoid halos and crunchy textures.
Zoom to 100% and preview at print size to judge noise and contrast. People who ask how big is a 24×36 picture often underestimate how small flaws amplify at scale.
Indoor vs Outdoor Framing Considerations
Outdoors, prioritize durability: UV-filtering acrylic, sealed frames, and corrosion-resistant hardware. Metal frames and gaskets help resist humidity, dust, and temperature swings.
Indoors, glass offers excellent clarity; museum glass reduces reflections dramatically. Keep frames away from direct sun unless you choose UV-protective glazing.
For truly exposed spaces, consider printing on metal or acrylic face-mounts. They handle moisture and cleaning better than paper under standard glazing.
Styling and Real-World Examples
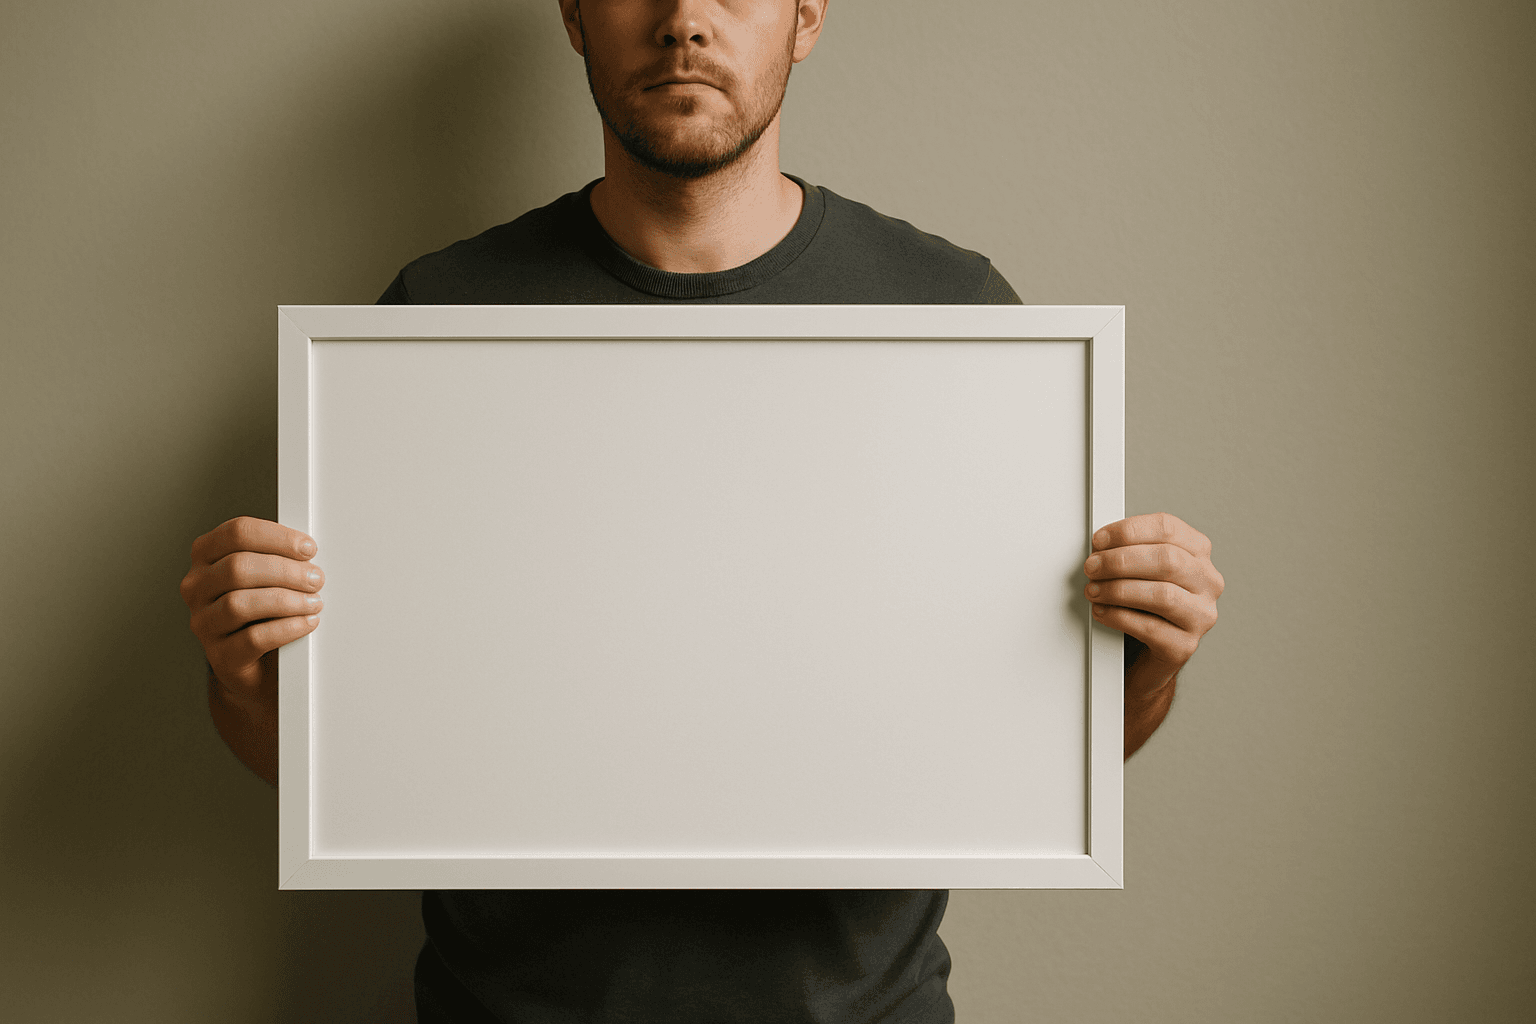
Single statement piece: a black metal frame with a 2‑inch white mat, centered above a sofa. The width feels right when the art spans about two-thirds of the couch.
Grouped gallery wall: let a 24×36 anchor the arrangement. Flank it with smaller 12×18 or 16×24 pieces, keeping consistent gaps for a calm, rhythmic grid.
Commercial display: brand imagery in a thin silver frame with non-glare acrylic. Line multiple 24×36 prints down a corridor, evenly spaced, for a clean, professional story.
Expert Framer Tips and Common Pitfalls
Account for mat overlap so critical edges aren’t hidden. I keep key subjects at least 1/4 inch inside the mat window. Clients asking how big is a 24×36 picture hear this first.
Choose glazing for context—non-glare acrylic in bright rooms, museum glass for premium clarity. Clean with microfiber only, and avoid ammonia near coatings or acrylic.
Don’t push low-resolution files to 24×36 without careful upscaling. Use spacers so prints don’t touch glazing, and hinge-mount to allow natural paper expansion.
What People Ask Most
Can you frame a 24×36 picture without a mat?
Yes — I often frame 24×36 prints without a mat for a clean, modern look, but be aware a mat hides the edge and gives the image breathing room. If you skip the mat, use precise backing and spacers so the print doesn’t stick to the glazing.
How do you hang a large picture frame like 24×36?
I hang large frames using sturdy hardware like D‑rings with braided picture wire, two wall hooks, or a French cleat, and place the center of the image at about eye level (roughly 57–60 inches) for balanced display. For safety, use anchors or studs rated for the frame weight.
What is the best frame material for a 24×36 picture?
I choose the material to match the image and space: wood for warmth and traditional rooms, metal for a sleek modern feel, and acrylic glazing or composite frames when you need lightweight durability. Each has tradeoffs in look and longevity, so pick what complements your decor and use.
How do I choose the right frame size for my 24×36 poster?
Account for any mat width because it increases outer frame dimensions — for example, a 2‑inch mat around a 24×36 print typically needs a 28×40 frame. Also check the frame opening vs visible image area so you don’t accidentally cover important edges.
What type of prints look best in a 24×36 frame?
I find bold, high-resolution photos, fine art prints, and posters with strong composition work best at 24×36 because they read well at that scale; make sure the image crops to the 2:3 aspect ratio. Choose matte or gloss finishes based on glare and the room’s lighting.
Can I scale a smaller image up to 24×36 without losing quality?
You can upsize within limits, but for a full 24×36 at 150 DPI you ideally need about 3600×5400 pixels to avoid softness. If your file is smaller, use careful interpolation or print at a lower DPI for distant viewing, and always preview at print size.
Final Thoughts on Displaying a 24×36 Print
If you ever wondered how big is a 24×36 picture, this guide strips the mystery away and gives you a clear path from file to wall so you won’t be surprised by the final result. We opened with that familiar frustration — buying a print or frame and then realizing the proportions, resolution, or matting didn’t match your vision — and closed the loop by explaining the choices that prevent those mistakes. The real win here is confidence: you’ll know what to check and what to expect before anything gets cut, framed, or hung.
That said, there’s a realistic limit you should keep in mind: a great outcome still depends on honest source files and thoughtful framing, so don’t expect miracles from low-resolution images or mismatched materials. Photographers, home decorators, gallery curators, and hands-on DIYers will benefit most from putting these principles to use. Treat the guidance as practical rules, not strict laws, and adapt them to your space and style.
Look back at the opening question and you’ll see the answer wasn’t just a measurement but a workflow that reduces guesswork and waste. With a few confident choices about sizing, matting, and glazing, you can turn a risky purchase into a striking focal point. Try the approach on one piece and you’ll learn faster than by reading alone—then expand from there.


0 Comments