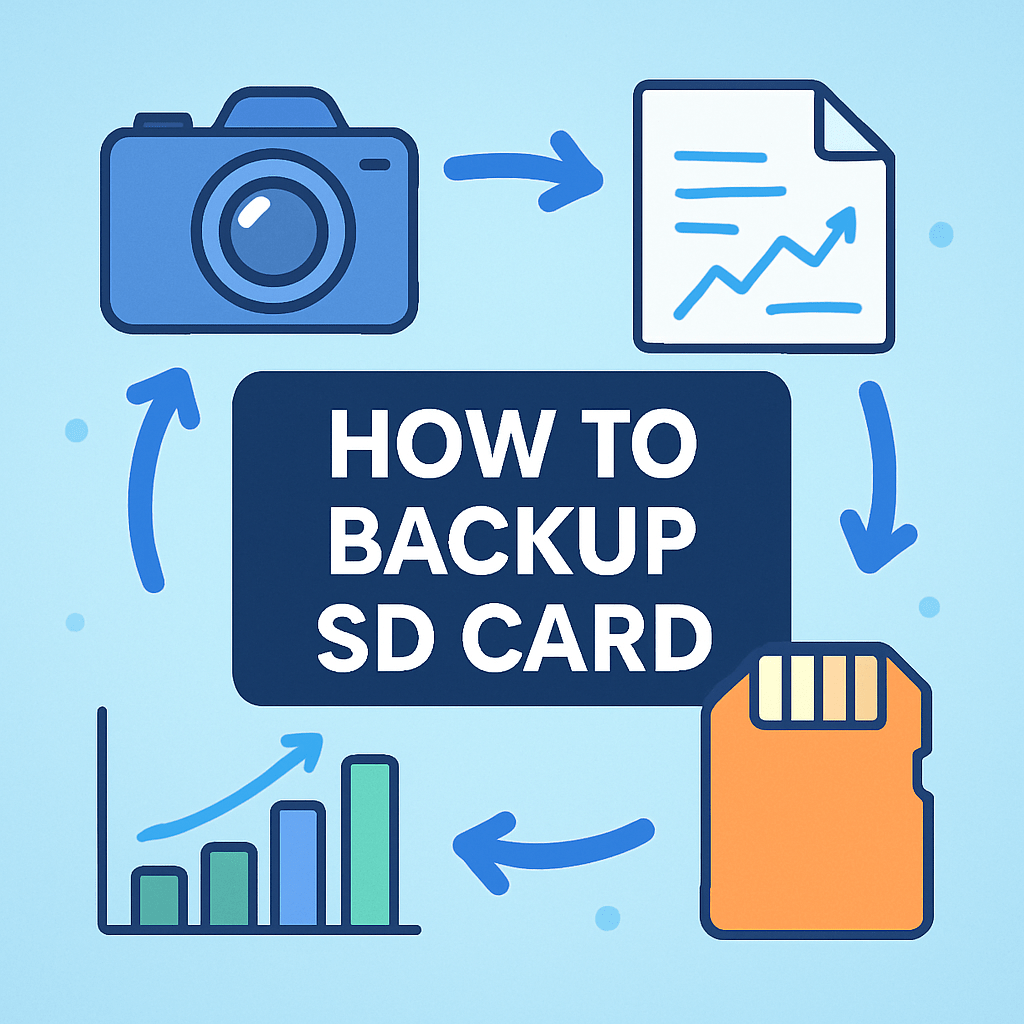
How to backup SD card so your photos and videos are always safe?
This guide gives a quick answer and a simple decision rule. Copy files when you only have photos and videos; make a full disk image when the card is bootable or has hidden partitions.
You’ll get step‑by‑step instructions for Windows, macOS and Linux. It also covers mobile and field workflows for photographers who need fast, reliable backups on the go.
We explain how to restore, verify with checksums, and fix common errors. You’ll also find best practices, a short safety checklist and a handy command cheat‑sheet to keep your backups safe and easy.
How to backup SD card — quick answer and how to choose the right method
If you just need a quick answer on how to backup sd card, copy the files if it holds photos and videos, and make a full disk image if it is bootable or holds a system. If you are unsure, do both: a fast file copy now and a periodic full image for safety.
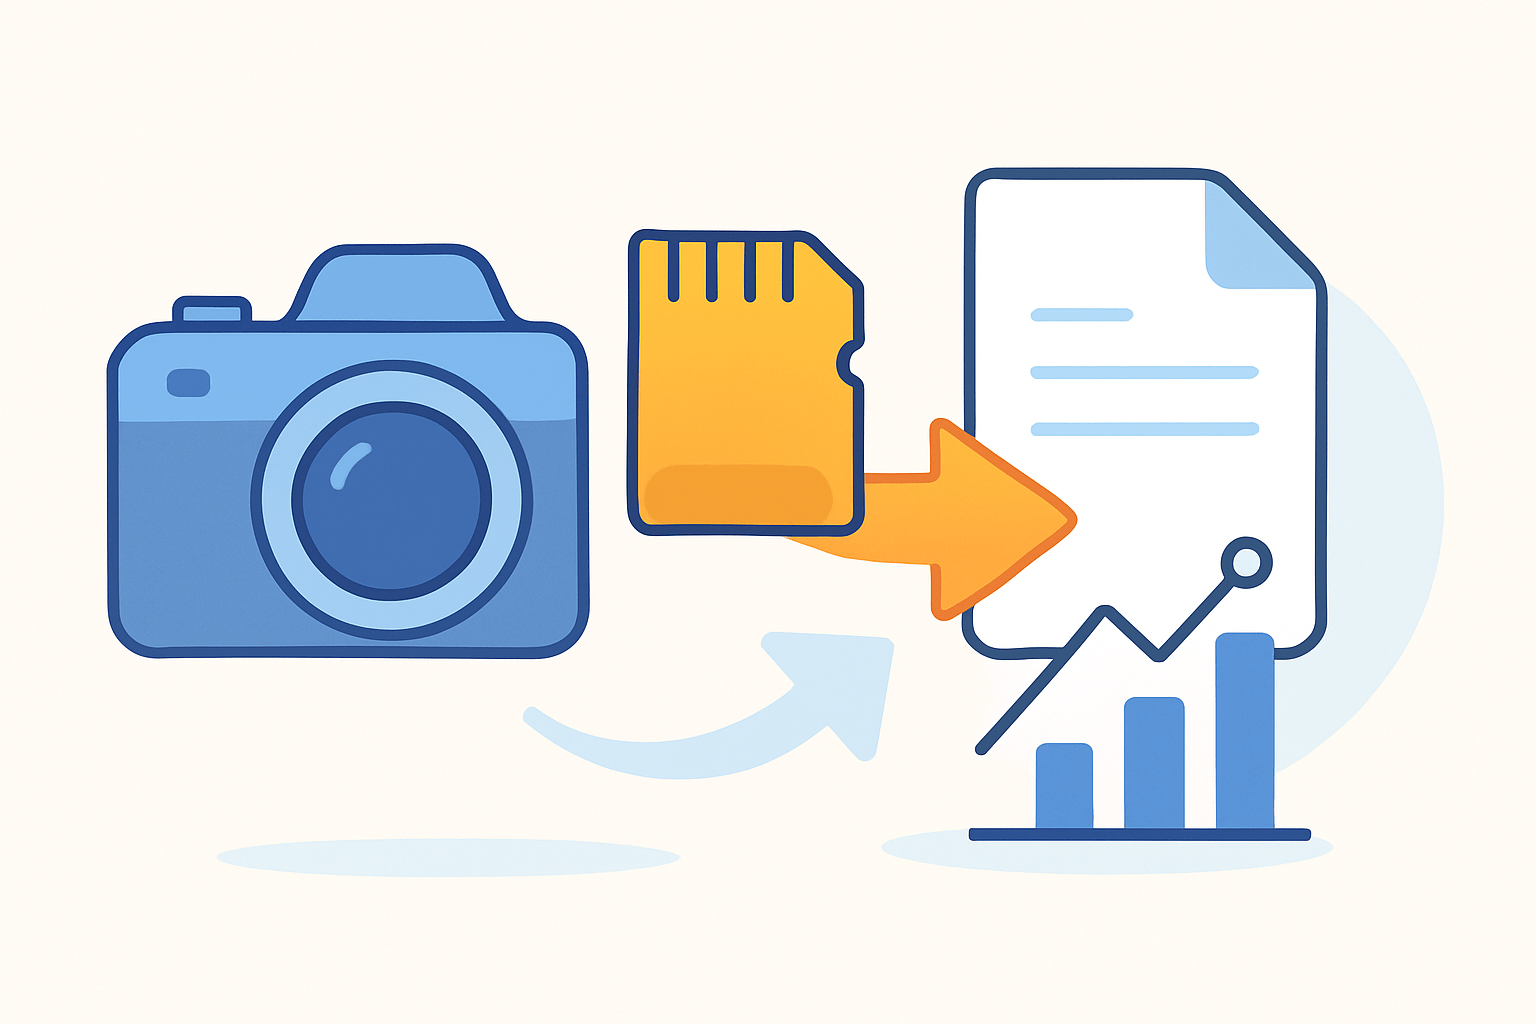
There are two main approaches and each has clear strengths. A file level copy uses Explorer, Finder, or rsync to copy folders and files, which is faster and smaller and lets you pick what to copy, but it does not preserve hidden partitions or boot loaders. A full disk image with tools like dd, Win32 Disk Imager, or GNOME Disks creates an exact clone including partitions and boot records, which is slower and larger but restores everything exactly.
Pick file copy when the card is from a camera or drone and you want your photos or clips in normal folders. Pick a full image when the card boots a Raspberry Pi, retro console, or any device that needs its exact layout intact, or when you want a perfect snapshot of the card state.
Here is a simple decision tree you can remember in the field. Ask yourself if the card is bootable or has special partitions, and if yes image it; if it only has media, do a file copy; if you are not sure or the shoot is critical, do both methods and keep the image offsite.
Quick safety rules: always unmount the card before any imaging step, double check the target drive or file path, and never interrupt an image read or write once it starts. If you make a mistake, stop immediately and see the Troubleshooting section below.
If you are backing up a Pi or retro system card and want a deeper walkthrough, this concise Raspberry Pi guide is a useful companion. It shows how imaging protects boot sectors and hidden data that a simple copy would miss.
Think of visuals you would see here to make this choice easier. Picture a small chart with two arrows, one pointing to File Copy for photos and one pointing to Disk Image for bootable systems, and a reminder stripe that says do both if you are unsure.
Step‑by‑step: Backing up an SD card on Windows, macOS and Linux
Before any platform steps, remove the card from your camera safely and use a known good card reader. Check that your destination drive has more free space than the card and that your cable is not loose.
Identify the SD device so you never mix it up with your main drive. On Windows note the drive letter in File Explorer, on macOS run diskutil list, and on Linux run lsblk to see the device path.
Unmount or eject the card before imaging so every bit on the card is written in a stable state. Eject in the system tray on Windows, use Finder eject or diskutil unmountDisk on macOS, and use umount on Linux for each partition.
On Windows, you can do a fast file copy by dragging the DCIM or project folders from the SD card to your backup drive in File Explorer. For a more robust copy that resumes and preserves timestamps, open Command Prompt as Administrator and run this robocopy command: robocopy E: D:BackupsCard1 /E /R:3 /W:5.
Verify your copy by comparing file count and total size of the source and destination in Explorer, or use a hashing tool like certutil to compute a checksum. A quick check is often enough for photos, but hashes are better for client work.
To create a full image on Windows, use Win32 Disk Imager and select the SD drive letter carefully, choose a filename ending with .img, then click Read to create the image file. To restore later, choose the image file and click Write, and always confirm the destination drive letter before pressing Go.
Imagine a screenshot here of the Win32 Disk Imager window with the device letter field highlighted and Read selected. It helps to see that Read saves an image from the card and Write sends an image to the card.
On macOS, you can copy files in Finder by dragging your card to a dated folder in your Backups folder. To copy with progress and resume capability, open Terminal and run this example: rsync -a –progress /Volumes/CARD/ ~/Backups/Card1/.
For a raw image on macOS, first list devices with diskutil list and find the number for your SD card like disk3. Then unmount it with diskutil unmountDisk /dev/disk3 and create an image with sudo dd if=/dev/rdisk3 of=~/sdcard.img bs=4m status=progress, where rdisk uses raw mode for speed.
Verify your image by hashing it with shasum -a 256 ~/sdcard.img and saving the result in a text file. You can later compare the same hash to confirm integrity before you write the image back to a card.
On Linux, identify your card with lsblk or sudo fdisk -l and note the device like /dev/sdb. Unmount all partitions with sudo umount /dev/sdb1 and any others that show up.
Copy files with rsync for safety using a command like rsync -aAXv /media/user/CARD/ ~/Backups/Card1/ and watch the progress as it preserves timestamps and permissions. For a straight copy you can also use cp -av but rsync is more robust for restarts.
Create a full image on Linux with sudo dd if=/dev/sdb of=~/sdcard.img bs=4M status=progress and then run sync to flush the cache. If you prefer a GUI, open GNOME Disks, select the card, and choose Create Disk Image to save a .img file.
Keep these pitfalls in mind to avoid surprises. Always unmount before imaging, double check the device path or letter, and remember that FAT32 cannot store files larger than 4 GB so use exFAT on your backup drive if you deal with large video clips.
If you face permission errors, run your copy or imaging tool as Administrator on Windows or with sudo on macOS and Linux. If speeds are very slow, try a USB 3.0 reader and cable and avoid hubs that limit power.
Command cheat sheet for Windows in one place helps when time is short. Use robocopy E: D:BackupsCard1 /E /R:3 /W:5 for a solid copy, and in Win32 Disk Imager use Read to make an image and Write to restore it when needed.
Command cheat sheet for macOS is simple to remember. Run diskutil list to find your disk, diskutil unmountDisk /dev/diskN to unmount, and sudo dd if=/dev/rdiskN of=~/sdcard.img bs=4m status=progress to image with a progress bar.
Command cheat sheet for Linux is just as short. Use lsblk to find the device, sudo umount /dev/sdX* to unmount, and sudo dd if=/dev/sdX of=~/sdcard.img bs=4M status=progress && sync to make a verified image and flush buffers.
Quick safety rules repeated here because they save data. Always unmount before imaging, confirm your target path or drive letter, and do not interrupt a running dd or imaging process for any reason.
If you plan to reformat a card after copying, consider making an extra image first for peace of mind. For more ideas on protecting data before a reformat, see this short guide on backup before formatting.
Think of a terminal screenshot here showing dd with a steady status line and bytes transferred. Seeing the progress bar helps you trust the process and wait for sync to complete before unplugging anything.
Backing up SD cards without a computer — mobile and field workflows for photographers
When you are off the grid, a phone, an OTG card reader, and a small SSD can be all you need. Modern Android phones support USB‑C card readers, while iPhones need Lightning or USB‑C readers that work with the Files app.
A quick field workflow is simple and reliable. Connect the SD reader to your phone, open Files by Google or Solid Explorer on Android or Files on iOS, then copy the entire DCIM or project folder to a dated folder on your phone or attached SSD.
Verify by checking the number of files and the total size on both the card and the destination folder. When it matches, eject the reader in the app if offered, unplug gently, and label the card as BACKED UP in your case.
For redundancy, copy the SD to two places in one session if you can. One copy goes to the phone’s internal storage and the second to an external SSD, or to an SSD and then to the cloud when you hit reliable Wi‑Fi.
When bandwidth is poor, go offline first and sync later. Copy to the SSD in the field and leave your phone in airplane mode to save power, then run a cloud sync from the SSD or phone at the hotel on stable Wi‑Fi.
Use apps that handle big files and show progress clearly so you know when it is safe to eject. Solid Explorer and Files by Google are good on Android, and the built‑in Files app on iOS works well with compatible readers and SSDs.
Name your folders by date and card so you never mix a wedding with a hike. A clear scheme like 2026‑11‑01_CardA or 2026‑11‑01_ClientX_Cam2 keeps shoots in order and speeds up delivery later.
Mind power and compatibility, because that is what fails most often in the field. Use a powered USB hub if your SSD draws more than your phone can supply, and stick to readers and drives that support exFAT for large video files.
USB 3.0 or better saves time on big card dumps, and a short high quality cable prevents flaky disconnects. A compact power bank with pass‑through charging keeps the SSD and phone happy while you copy.
Verification on mobile is about being methodical and patient. Compare file counts and sizes, and if an app supports checksums, generate a quick SHA‑256 file for the folder and save it next to the backup.
Picture a clean photo here of a USB‑C phone connected to a UHS‑II reader and a small SSD sitting on a pelican case. That is the entire backup rig for many travel and documentary shooters today.
Wedding photographer mini case study shows how to stay calm on a fast day. After each key event, copy Card A to the SSD via phone, verify counts, label the original, and rotate to Card B, then mirror the SSD to cloud at the reception venue Wi‑Fi.
Travel photographer mini case study shows how to stay light and safe for weeks. Each evening, copy the day’s card to the phone and SSD, check totals, snap a quick phone photo of the folder screen as a visual log, and sync to cloud in the next city.
If your phone refuses to read the card or SSD, do not force the plug and do not keep retrying. Switch to a different reader or cable, check that the filesystem is exFAT, and see Troubleshooting below if it still fails.
Restoring, verifying and troubleshooting backups (image write‑back, checksums, common errors)
Restoring a file copy is as simple as reversing the direction. Use Explorer, Finder, or rsync to copy the backed up folders back to the SD card, and prefer robocopy or rsync so metadata and long transfers survive a hiccup.
Restoring an image puts every sector back the way it was. On Windows use Win32 Disk Imager, pick your .img file, choose the SD card letter, and click Write; on macOS or Linux run sudo dd if=~/sdcard.img of=/dev/rdiskN bs=4m status=progress then sync.
If you prefer a cross‑platform flashing app, balenaEtcher makes image write‑back easy with a clear three step flow. Always confirm the target device and unplug any external drives you do not need during the operation.
Verification after restore is your final safety net. Mount the card and open a few key files, then compute a SHA‑256 checksum of the image file and compare it to a saved hash if you generated one earlier.
For bootable OS images, the best verification is a real boot test. Put the card in the device it serves, power it up, and confirm that it reaches the expected login or home screen without errors.
Error handling starts with the most serious mistake, the wrong drive selected. If you wrote to the wrong disk, stop using that drive immediately, unmount it, and try recovery with TestDisk or PhotoRec, and in the future always confirm the device ID before writing.
If the system says the device is busy, close apps that might be using the card and try a safe unmount. On macOS run diskutil unmountDisk force /dev/diskN if needed, and on Linux use sudo lsof to find processes and then umount again.
Read or write errors often point to a flaky reader, cable, or a failing card. Try a different reader and port, run chkdsk X: /f on Windows or fsck on macOS and Linux, and replace the card if errors persist.
If your image is bigger than the new card, you may need a larger target or to shrink the source before imaging. Use GParted to reduce the last partition on the source card, recreate the image, restore, and then grow the partition afterward if space allows.
Permission denied messages are solved by elevating your tools. Run robocopy in an elevated command prompt on Windows and use sudo for dd and rsync on macOS and Linux so the OS lets you touch raw devices.
If you need to reformat during a fix and want to keep data safe, plan the order of operations and keep backups. For more techniques that reduce risk during a reformat, read how to format an SD card without losing data and then return here to finish your restore.
FAT32 file size limits can also break a restore when video files exceed 4 GB. Format the backup destination or the restored card as exFAT if your camera and computer support it, so big clips copy cleanly.
Quick safety rules again because restores are stressful. Unplug extra drives so you only see the SD in your tools, confirm the target twice, and do not touch the cable until the write and sync complete.
Imagine a compact reference graphic here listing common errors and short fixes, followed by a terminal view of dd showing status and a final bytes written line. That mental picture can keep you patient until the device is ready to test.
Post‑restore housekeeping helps you avoid repeating work. Safely eject the card, update your backup log with date and method, and label the card so you know it is ready for the next shoot.
Best practices & backup strategies for photographers and videographers
A simple strategy keeps your work safe under pressure. Follow a 3‑2‑1 rule with at least two local copies and one offsite or cloud copy for critical shoots, and make your first copy immediately after each session.
Make a quick file copy in the field and take a full image later when you are on stable power. This blend gives you speed on location and a perfect clone for long term recovery back at the studio.
Organization saves hours when deadlines are tight. Use a clear folder format like YYYYMMDD_ClientName_CardA on a fast SSD, and keep a simple log or spreadsheet where you jot the date, card ID, and where the backup lives.
Visualize a simple folder tree screenshot labeled 2026‑11‑01_ClientX_CardA and 2026‑11‑01_ClientX_CardB. Seeing a neat, dated tree removes doubt and makes handoffs faster.
Pick reliable hardware that will not bottleneck your day. A good USB 3.0 or USB 3.2 reader such as an Anker or Lexar dual‑slot reader is worth it, and a portable SSD like a Samsung T7 or SanDisk Extreme Portable shortens long transfers.
Portable backup devices can be great when you need a computer free workflow. GNARBOX and RavPower FileHub are examples you can research, and Nexto DI units were built for photographers who dump cards in the field.
Use exFAT on backup drives to store large video files without the FAT32 4 GB limit. Replace aging cards on a schedule and test any card that behaves oddly before trusting it again on a paid job.
Integrity checks do not have to be slow or hard. Keep checksums for important shoots, and do a periodic test restore from an image so you know your process works before you need it for real.
Incremental backups save space during long projects with repeated shoots. Use rsync or a tool like FreeFileSync to copy only changed files into dated folders that match your naming scheme.
Security matters when you carry client work across borders. Encrypt sensitive archives with a container tool like VeraCrypt or store them in an encrypted cloud, and keep a cold storage copy offline for long term archiving.
Field readiness is more than cards and batteries. Pack a small kit with your reader, SSD, short cables, a powered USB hub, a power bank, stickers for labels, and a printed backup log so you can write notes even when phones die.
Raspberry Pi user mini case study shows why images matter outside photography. A hobbyist keeps a clean, boot tested image of a fresh system, an image after every major change, and a final image with project code, so a failed card is a swap not a rebuild.
The whole process becomes second nature once you practice it a few times. The more you repeat how to backup sd card the same way every time, the fewer surprises you will hit on real shoots.
As a final reminder, pair speed with safety. Do a quick file copy in the field, keep at least one offsite copy, and schedule a monthly full image of your working cards so you always have a way back.
What People Ask Most
How do I backup an SD card quickly?
Insert the SD card into your computer or a card reader and copy the files to a folder or external drive, or use simple backup software for one-click copies.
Can I backup an SD card without a computer?
Yes, you can use a smartphone with an adapter or a Wi‑Fi enabled device to transfer files to cloud storage or another drive.
How often should I backup my SD card?
Back up whenever you add important files—after a photo shoot or recording session—or set a regular schedule like weekly for busy use.
Will backing up an SD card damage it?
No, copying files to another location does not harm the card; normal backups are safe and recommended.
Can I clone an SD card for a full backup?
Yes, cloning or creating an image preserves the exact file structure and hidden system files for a complete restore.
How do I restore files from an SD card backup?
Copy the saved files or image back onto the SD card using the same method or tool you used to create the backup, then check the files worked.
What’s the best way to organize backups of multiple SD cards?
Label folders with the card name and date, keep backups in separate, clearly named folders, and maintain at least one offsite or cloud copy.
Final Thoughts on Backing Up SD Cards
Treat the main rule — back up before you delete — as step 270 in your workflow checklist; it protects originals, speeds recovery, and removes the nagging “what if” from busy shoots. We opened by asking whether you could quickly and safely back up an SD card, and this guide answered that question with a simple decision rule plus platform-specific steps, field workflows, and restore/troubleshoot advice so you can act with confidence.
Remember one realistic caution: never interrupt an imaging operation and always double‑check the target drive before you write, since those mistakes cause the worst data loss. The practical routines here—quick file copies in the field, periodic full images, verification with checksums—are especially useful for photographers and videographers, while hobbyists and Raspberry Pi users will value the imaging details.
Keep the checklists, cheat‑sheet commands, and field flow close at hand and make backups part of your standard shoot routine. With those small habits you’ll spend less time worrying about lost files and more time creating, and each successful restore will build your confidence for the next shoot.


0 Comments