How to get a photo enlarged without losing detail or color? This guide shows three clear paths: upscale a digital file, scan a print or negative, or re-photograph the original.
You will get simple DPI math, scanning settings, and recommended upscalers like Photoshop and AI tools. The article also covers retouching, sharpening, color profiles, and final export for print labs.
Each section has step-by-step checks, numeric examples, and a short checklist to follow. By the end, you’ll know how to get a photo enlarged the right way or when to call a pro.
How to Enlarge an Image to Print
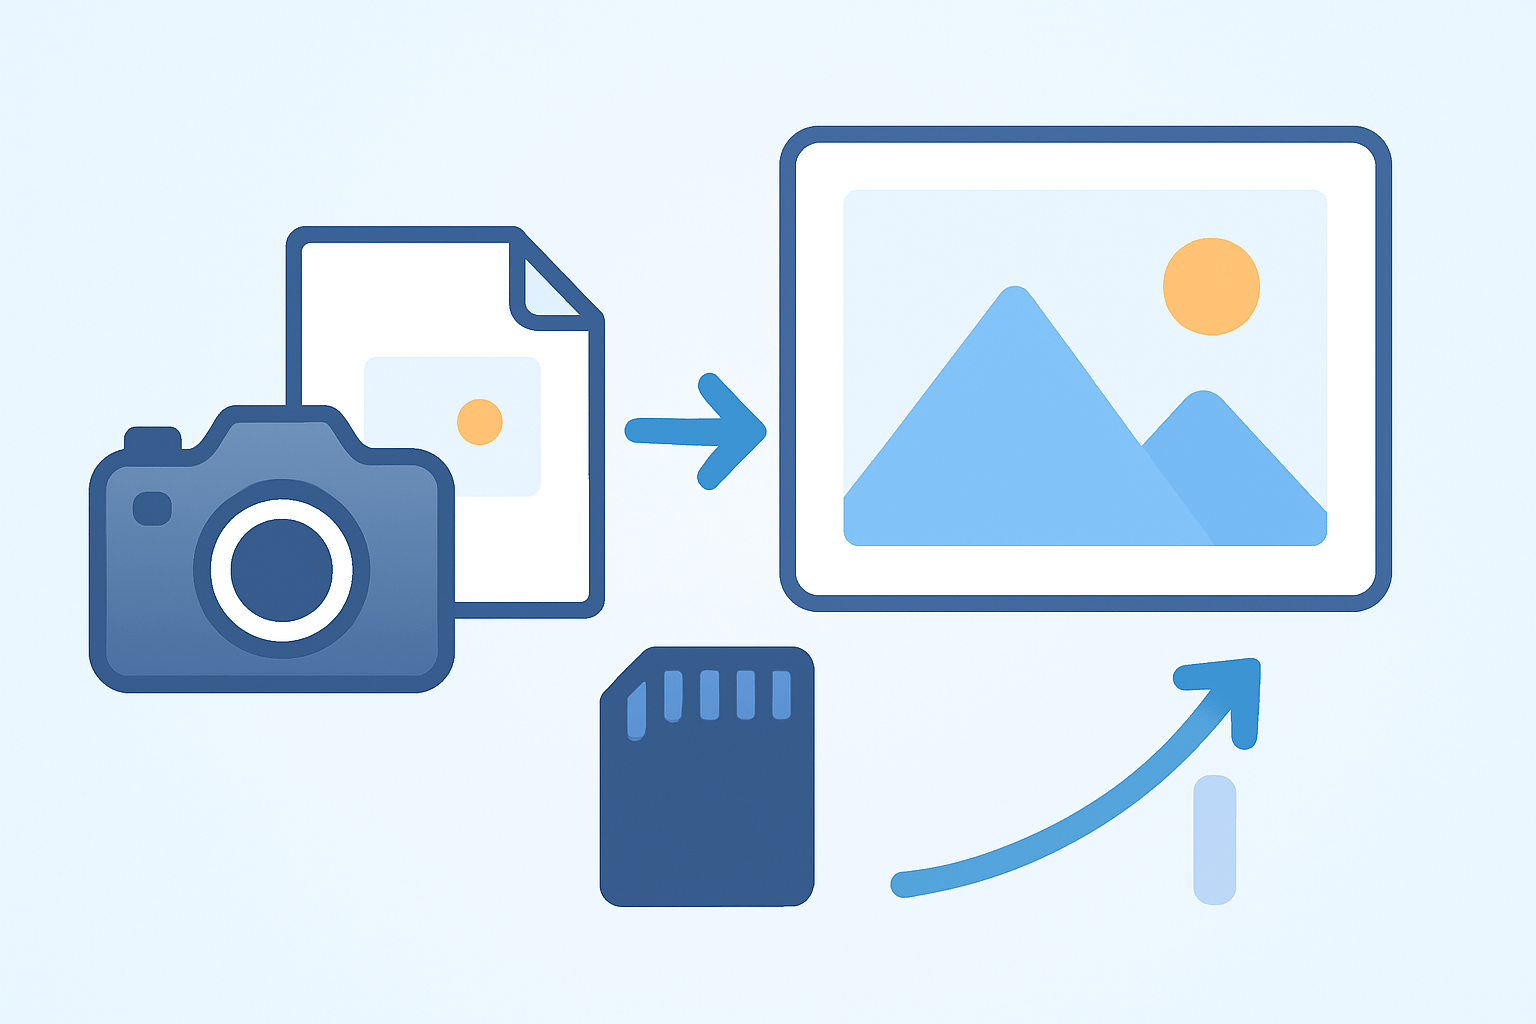
There are three reliable paths to make a bigger print. You can upscale the original digital file, you can digitize a photo or negative with a scanner, or you can re-photograph the print or film with a camera. All three can work well when you plan the steps.
Start by choosing the final size and where it will hang. A print viewed from a couch can use fewer pixels per inch than one examined in a gallery. Greater viewing distance lets you use a lower PPI without looking soft.
Check your source before you touch any settings. Is it a RAW file from a camera, a JPEG from a phone, an old paper print, or a film negative or slide? RAW files usually give the cleanest enlargement, JPEG works but needs gentle noise control, prints should be scanned, and film is best digitized with a dedicated film scan.
Do the pixel math next so you know if you are close or far from the goal. Use inches × desired PPI = required pixels, or pixels ÷ PPI = inches. A 4000 pixel wide file prints about 13.3 inches at 300 PPI or 26.6 inches at 150 PPI.
Here are two more quick examples you can copy. A 6000 px long side gives 20 inches at 300 PPI and 30 inches at 200 PPI. A 3000 × 4000 px phone photo becomes 10 × 13.3 inches at 300 PPI, or 20 × 26.6 inches at 150 PPI.
Choose your upscaling method based on how far you need to stretch. In Photoshop, use Image Size and pick Preserve Details 2.0 with a small noise reduction. AI tools like Topaz Gigapixel, ON1 Resize, or Lightroom’s Super Resolution are excellent for 2× to 6× growth.
Online upscalers such as Let’s Enhance can work if you do not own software. For priceless originals or very big prints, a professional scanning or printing service may save you time and risk. You can also learn how to enlarge a photo with simple lab-friendly steps.
Finalize the file with the print lab’s specs. Set the final pixel dimensions to match the chosen PPI and size, pick the color space they want, and embed the ICC profile. Export a flattened TIFF for the safest quality, or a high-quality JPEG if requested.
Run a print-proof cycle before the big spend. Make a small proof at the same PPI or order a cropped test from the most detailed area at full scale. Check it at the real viewing distance to judge sharpness and grain.
If you like quick roadmaps, here is the flow to keep by your desk. Confirm the source and condition, set a target size and viewing distance, then do the pixel math. Pick the upscaler, export with the right profile, and proof before the final print.
This simple chain makes how to get a photo enlarged feel controlled instead of risky. Measure first, then upscale with purpose, and you will avoid surprise softness. Your prints will look intentional, not stretched.
Scanning Techniques
A great enlargement begins with a clean, high-quality scan. Optical detail caught at the scanner beats any interpolation later. A weak scan locks in noise, blur, and color errors that no upscaler can truly fix.
Handle originals with care before scanning. Use a bulb blower, a clean microfiber cloth, and cotton gloves to avoid smudges and scratches. Skip harsh chemicals and ask a conservator if the item is delicate or valuable.
Pick the right tool for the source. Flatbeds are fine for paper prints, while dedicated film or slide scanners are best for negatives and slides. For gallery or archival work, a drum scan or high-end lab service can show more micro detail and smoother grain.
Stay with optical resolution, not software interpolation, in your scanner settings. For a casual enlargement up to about two times, scan small prints at 600 dpi. For three to five times, use 1200 dpi, and for heavy enlargements or tiny originals, choose 2400 dpi or a professional film scan.
Record as much information as you can in the file. Scan color images at 48-bit and black and white at 16-bit grayscale. Disable auto contrast, auto color, or sharpening that can bake in artifacts you cannot remove later.
Save the master scan as an uncompressed TIFF, ideally in 16-bit. Create or apply a scanner ICC profile using an IT8 target if possible so colors translate well to print. Keep the master untouched and perform edits on a copy.
If you cannot access a scanner, re-photograph the print with a camera. Use a copy stand or tripod, a macro or sharp prime lens, even light from two diffused sources, RAW capture, and a polarizing filter if glare shows. Frame square, focus carefully, and expose to protect highlights.
Good scanning speeds up the rest of the job and keeps grain natural. It protects the fine texture that makes enlargements look crisp, not plastic. Use it as the foundation before you try to enlarge photographs for a lab, a gallery, or home display, and study more tips on how to enlarge photographs if you need deeper steps.
Resolution Settings (DPI)
Pixels are the building blocks in your file, PPI is how tightly you pack them in the print, and printer DPI is the dot density of ink or toner. Think in PPI when you plan size and sharpness. DPI is the printer’s world and does not change your pixel count.
Use the same simple math every time. Pixels ÷ PPI = inches, and inches × PPI = pixels. If your image is 5400 pixels wide and you want 300 PPI, you can print 18 inches across.
Let viewing distance guide your target PPI. Choose 300 PPI for fine art and close inspection when people lean in. Pick 150 to 200 PPI for normal wall prints, and 75 to 150 PPI for large pieces seen from several feet away.
Resampling quality matters when you stretch the file. Bicubic Smoother in Photoshop is a classic for upscaling, and Lanczos can work well in many editors. Preserve Details 2.0 and AI super resolution models tend to hold edges and textures better at higher magnifications.
Decide whether to upscale in one big step or a couple of moderate steps. Many AI tools do best at 2× jumps, then a smaller final tweak. Classic resampling is usually fine in a single pass if you do not push past 200%.
Here are fast numbers to remember without a table. An 8 × 10 inch print needs 2400 × 3000 px at 300 PPI, 1200 × 1500 px at 150 PPI, and 800 × 1000 px at 100 PPI. A 16 × 20 needs 4800 × 6000 px at 300 PPI, 2400 × 3000 px at 150 PPI, and 1600 × 2000 px at 100 PPI.
If you want a 24 × 36 wall piece, aim for 7200 × 10800 px at 300 PPI for close viewing, 3600 × 5400 px at 150 PPI for typical rooms, or even 2400 × 3600 px at 100 PPI for distant viewing. These targets keep expectations honest. You can explore more workflows for enlarging photos before you commit to a final size.
Once you set the numbers, lock them in your editor. In Photoshop, open Image Size, check Resample, pick Preserve Details 2.0, enter the new size, then apply slight noise reduction if needed. In Lightroom, try Enhance → Super Resolution first, then do a gentle upscale to the exact inches.
Post Processing and Retouching
Keep your work non-destructive from the first click. Duplicate the file, use layers and masks, and convert layers to smart objects so you can revise. Always keep the original RAW, scan, or master TIFF untouched.
Start with global corrections before you enlarge. Fix exposure with Levels or Curves, balance white, and apply lens correction to remove distortion and vignetting. Neutralize any color cast from old prints or scans so skin tones look alive.
Clean the file so you do not upscale dust or scratches. Use Spot Healing, Healing Brush, and Clone Stamp on separate layers to remove specks, hairs, and tears. When damage is heavy, consider a pro restoration so you do not spend days on repairs.
Decide where to apply noise reduction in your pipeline. If you use AI upscalers with built-in denoise, feed them a modestly cleaned file and refine after. If you resample traditionally, reduce noise first, but avoid a plastic look that kills detail.
Sharpen only at the end when the image sits at final pixels. Output sharpening should match the print size and PPI, not the screen view. This avoids halos and keeps edges natural.
Try Unsharp Mask as a start. For a 300 PPI print, use Amount 100–150%, Radius 0.8–1.2 px, Threshold 2–5. For a 150 PPI large print, raise the Radius to around 1.5–2.5 px with a lower Amount to avoid crunchy edges.
The High Pass method is another safe choice. Duplicate the layer, apply High Pass with a Radius that just reveals edges, then set the blend mode to Overlay or Soft Light. Paint the effect in with a mask to avoid sharpening skies or skin.
Manage color to match what the lab will produce. Soft-proof to their ICC profile, adjust out-of-gamut colors, and convert to their requested space like sRGB or Adobe RGB. Export a flattened 16-bit TIFF when possible, or a high-quality JPEG if they ask.
Confirm the crop and bleed are correct and that the resolution field shows your final PPI. A quick on-screen proof at 100% magnification mimics print clarity on a pixel level. This discipline turns how to get a photo enlarged into a repeatable craft.
Best Practices and Tips for Photo Resolution Enlargement
Always keep an untouched master file in RAW or 16-bit TIFF. Work on derivatives and label versions with size, PPI, and method so you can trace what worked. This habit saves time when you revisit a favorite image next year.
Begin every project by checking if the image has enough pixels for the goal. If the math says you are stretching beyond 300% for close viewing, reset expectations or switch to a medium like canvas that forgives softness. Canvas hides minor blur better than glossy paper.
Make a test print or a full-scale crop proof from the most detailed area. Tape it on the wall and step back to the planned viewing distance. Let your eyes decide if the detail and grain are pleasing.
Calibrate your monitor and soft-proof before export so surprises are rare. Do not oversharpen until the image is at its final size, and test AI upscalers on a small crop before you process the full file. Different AI models handle faces, foliage, and textures differently.
If you see banding in skies or smooth gradients, switch your file to 16-bit and add gentle noise or dithering. If upscaling adds harsh noise, apply selective noise reduction to shadows only. If halos appear from sharpening, lower the radius or amount and mask the edges.
Know when to hand the project to a pro. Severely damaged originals, gallery sale prints, and very large sizes benefit from expert scanning, retouching, and printing. That choice is part of how to get a photo enlarged without risking your only copy.
Before you send the file to the lab, run a quick mental checklist. Confirm the source type and condition, the crop and aspect ratio, and the final pixel dimensions. Verify chosen PPI, method used for upscaling, embedded color profile, export format, and that a proof has been ordered.
Follow these habits and you will feel confident every time you prepare a big print. The path of how to get a photo enlarged becomes simple when you respect the source, do the math, and test before you commit. Your wall will thank you for the detail.
What People Ask Most
How can I get a photo enlarged for a print?
You can get a photo enlarged by using a photo lab, an online print service, or photo editing software; learning how to get a photo enlarged starts with saving a high-quality file and choosing the print size.
Can I get a photo enlarged without losing quality?
Sometimes you can; using a high-resolution original, gentle resizing tools, or AI upscaling helps keep detail, but very small or blurry files may still look soft when enlarged.
Can I get a photo enlarged at home?
Yes, you can enlarge a photo at home with basic editing software and a good printer, or prepare the file and take it to a local print shop for larger sizes.
How should I prepare a photo before I get it enlarged?
Crop and straighten the image, remove dust or spots if needed, and save a clean, high-quality copy so the enlarged version looks its best.
Will enlarging a photo change its colors or sharpness?
Enlarging can make softness and slight color shifts more noticeable, so check and lightly adjust sharpness and color before printing.
How long does it usually take to get a photo enlarged?
Turnaround varies, but many online services and local labs can enlarge and deliver prints in a few days, while home edits can take minutes to a few hours.
Is my phone photo good enough if I want to get a photo enlarged?
Many modern phone photos work well if they are sharp and well lit, but avoid heavily cropped or blurry images when planning to enlarge them.
Final Thoughts on Enlarging Images for Print
Enlarging a small file or old print to a stunning wall piece is achievable when you pick a clear path — upscale, scan, or re-photograph — and follow the pixel math and proofing steps; even a 270 test print will show the limits. The real benefit is getting a print that reads sharp and natural at the intended viewing distance, so keep a clean master file you can always revert to.
Be realistic: enlargements magnify flaws, and pushing a low-res image too far can create artifacts, so plan a proof and consider pro help for delicate originals. These steps are most useful for hobbyists, family archivists, and photographers who want dependable, gallery-ready prints without guesswork.
We opened by asking which path to choose — upscaling, scanning, or re-shooting — and answered it with clear steps: pixel→inch math, DPI guidelines, scan and camera setup, upscaler options, and finishing workflow including ICC profiles and proofing. Trust these steps, test a proof, and you’ll see how far careful preparation can stretch an image.


0 Comments