
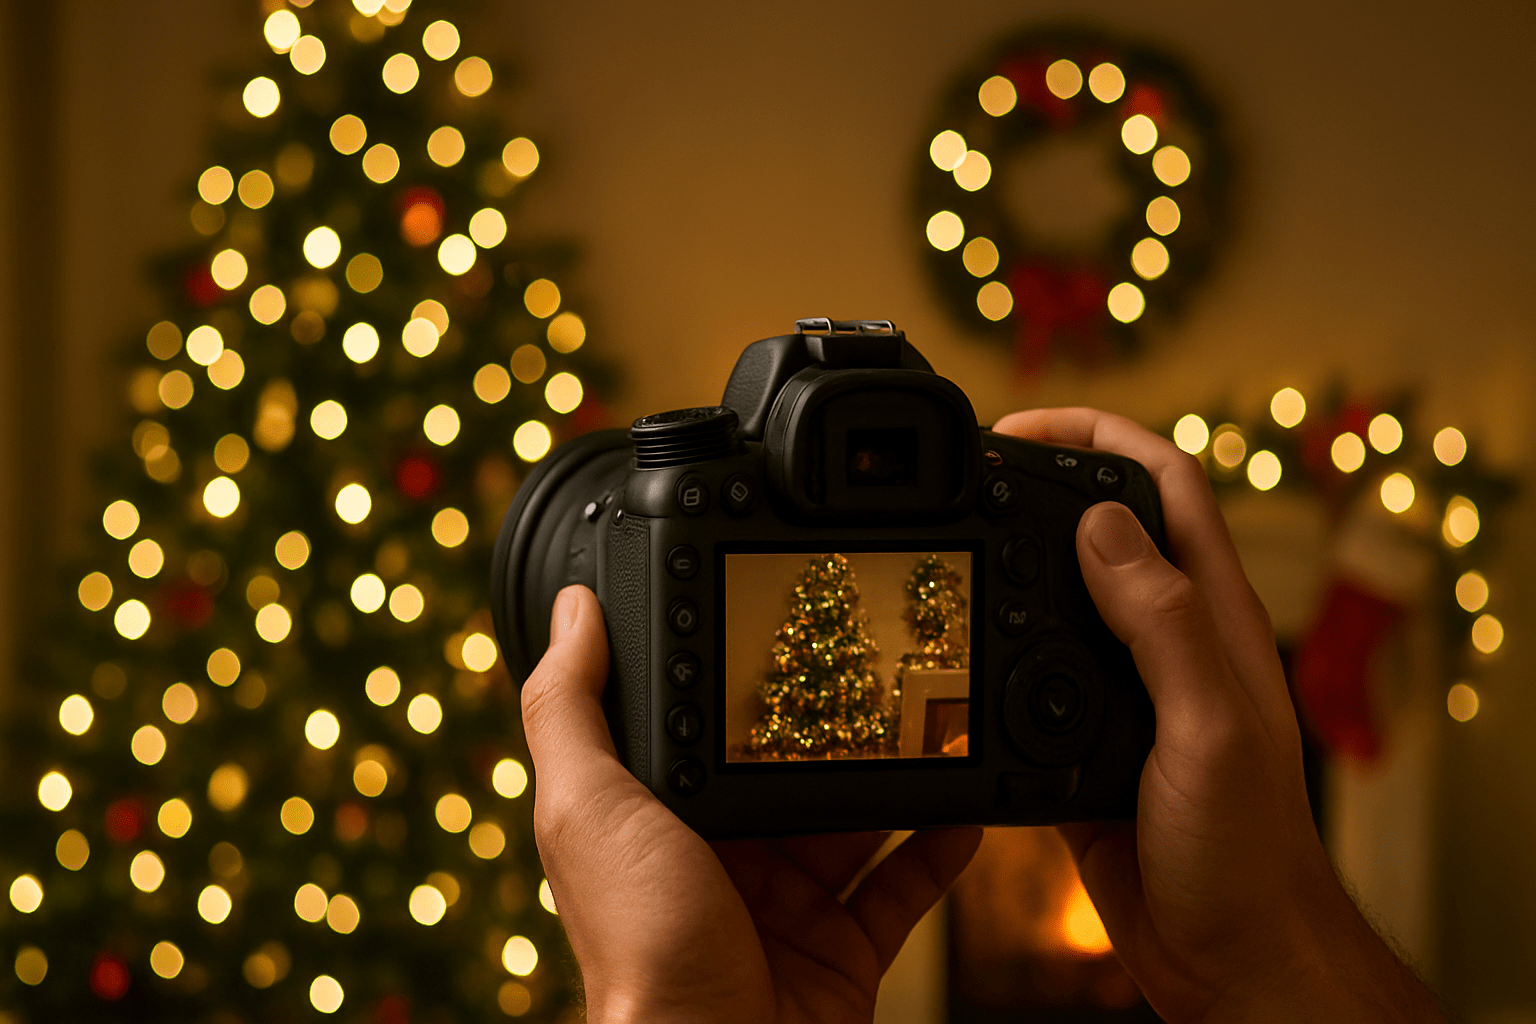
How to photograph christmas lights and make them glow like a pro?
This guide gives clear steps and easy camera and phone settings. You can use them tonight.
You will learn to shoot at dusk, turn off your flash, use a tripod, pick slower shutter speeds, and set aperture for big bokeh or starbursts. Each tip includes sample EXIF, common fixes, and creative shot ideas.
There is also a gear checklist, a quick settings cheat sheet, and smartphone tips you can copy. Read on for step-by-step help to capture magical holiday photos in 2026.
Shoot at Dusk for Soft, Even Lighting
The blue hour is your secret weapon. About 10–30 minutes after sunset, the sky holds a deep cobalt tone that balances bright LEDs, keeps color true, and avoids blown highlights. If you’re learning how to photograph christmas lights, start at dusk, not in complete darkness.
Arrive early to scout angles and foregrounds, and watch how the light changes. Pick compositions that place lights against darker walls, hedges, or the sky, and avoid direct streetlamps that add yellow casts and muddy the scene. Keep an eye out for reflections in windows or puddles for an extra layer of sparkle.
Use a tripod and start with 24–35mm, f/8, ISO 100, and a shutter between 1–4 seconds. Take a test frame every couple of minutes as the sky dims, and nudge exposure compensation to -0.3 to -1 EV to protect highlights in the bulbs. For phones, enable Night Mode, steady the device on a wall or tripod, and use the 3s timer or a remote.
Bracket exposures when the light shifts quickly so you can blend later if needed. Set white balance thoughtfully; try Tungsten/Incandescent for warm lights, or Daylight if you want to preserve the blue sky. Shooting RAW gives you room to refine color and pull back any clipped highlights.
Plan a wide establishing shot of a decorated house during the sweet spot, then a tighter frame of a door wreath as the sky deepens. Capture a long-exposure street scene where the sky still holds color and the lights glow, and note the clock times in your captions so you can return at the perfect moment another day.
Carry a headlamp with a red light to see without ruining your night vision, and pack spare batteries and a lens cloth in cold weather. For more planning ideas, skim this holiday lights guide before you head out. These rituals make dusk the most forgiving classroom for how to photograph christmas lights.
Turn Your Flash Off!
On-camera flash flattens the ambient glow, kills bokeh, and turns a magical scene into a harsh snapshot. The same goes for smartphone flash, which blasts the nearest surface and drowns out the twinkle behind it. A key step in how to photograph christmas lights is to keep the flash off and let the ambient do the heavy lifting.
On mirrorless and DSLR bodies, set the flash to disabled or fold it down entirely. On iPhone or Android, tap the flash icon and select Off, then rely on Night Mode or a manual app to lengthen exposure. If you truly need fill for faces, use a small warm LED off-camera or a reflector to bounce existing light, and keep it subtle.
Expose for the lights, then add just enough continuous fill for skin tone. Try an 85mm portrait at f/1.8, ISO 400–800, and 1/125s, and move your subject slightly closer to the lights so the scene feels cohesive. For phones, use Portrait or Night Portrait and place your subject near a string of lights to create gentle rim light.
Slow-sync or second-curtain flash can work for creative portraits, but dial flash power down and keep it warm. If the subject is too dark, widen the aperture one stop or bump ISO, and resist the urge to fire the flash straight on. You’ll preserve mood and color while keeping faces readable.
Make a before-and-after comparison to train your eye: one frame with flash on, the next with flash off and a tiny LED at low power from the side. The no-flash frame will have richer color, rounder bokeh, and a truer sense of place. A silhouette against a lit tree can also be striking when you expose solely for the bulbs.
If you want more technique walkthroughs, this concise set of Christmas light tips is handy for beginners. Keep your flash off, shape the light gently, and your photos will look like winter stories, not mugshots.
Use a Tripod or Stabilizer
Long exposures and clean files demand stability. A tripod lets you use low ISO, slower shutter speeds, and careful framing, which keeps your colors deep and highlights intact. It also opens creative doors like starbursts, light trails, and intentional ghosting without losing sharpness.
Pack a sturdy tripod with a ball head, a remote release or use the 2-second timer, and a phone clamp if you’re shooting mobile. If it’s windy, hang a small weight from the center column and keep your camera strap from flapping. A headlamp, spare batteries, a lens cloth, and a small LED for fill belong in your holiday kit.
Mount the camera, compose, and if you use a DSLR, enable mirror lock-up to cut vibrations. Consider turning on long-exposure noise reduction for multi-second frames, and use Live View with magnification to focus precisely on a bright bulb or a high-contrast edge. Trigger the shutter with a remote or timer to avoid shake.
If a tripod isn’t possible, brace yourself against a wall, hold your breath, and use image stabilization with faster shutters. Try 1/60s or faster for handheld, then compensate with a wider aperture or higher ISO. Phones can rest on a railing or mini tripod; the volume button or earbuds can act as a remote shutter.
For ghosting effects, use 5–10 seconds with people walking through a scene so they blur artistically while the lights stay sharp. For neighborhood car trails, go 10–20 seconds as vehicles pass, and watch how their paths add leading lines. A small GorillaPod or folding phone stand is a surprisingly powerful tool here.
Two quick-ready settings help you move fast: Twilight house at 24mm, f/8, ISO 100, 2s on a tripod, and handheld candid at 35mm, f/2, ISO 1600, 1/125s with stabilization. If you want a simple walkthrough for home displays, this friendly tutorial on how to photograph your lights pairs nicely with a tripod-first approach. Stability is non-negotiable when figuring out how to photograph christmas lights well.
Use a Slower Shutter Speed
A slower shutter gathers light and saturates color, giving Christmas bulbs that rich glow you see with your eyes. It also enables motion effects like car trails, sparkling starbursts, and gentle people blur that adds life to static scenes. The trick is choosing a shutter that fits your subject and gear.
For tripod-based static scenes, start around 1–5 seconds and adjust as the sky darkens. For creative movement like trails or ghosting, try 5–30 seconds, or use Live Composite/Live Time modes if your camera offers them. If you must handhold, aim for 1/60s or faster and raise ISO or open the aperture instead.
Think in exposure triangles: shutter, aperture, and ISO balance each other. A solid set of starters includes an establishing twilight at 28mm, f/8, ISO 100, 2s; a bokeh portrait at 85mm, f/1.8, ISO 200, 1/125s; and long trails at 24mm, f/11, ISO 100, 15s. Phones in Night Mode simulate long exposure, but you still need support.
Play with a zoom-burst by twisting the zoom ring slowly during a 1–2 second exposure toward the end of the frame. Try panning cars on a decorated street at 1/8–1/15s while tracking them smoothly, letting the lights streak behind. Reflections in wet pavement can double the effect at slower shutters.
If highlights blow out, shorten the shutter or stop down the aperture to f/11. If noise creeps in, lower ISO and lengthen the shutter, or stack multiple frames and use noise reduction in post. For focus hunting in low light, switch to manual focus, magnify Live View, or use focus peaking if available.
Shutter choices reward practice, so test several takes of the same scene as the night evolves. This is where the craft of how to photograph christmas lights truly clicks, and your gallery gains motion, mood, and context.
Adjust Aperture to Control Light and Depth of Field
Aperture shapes the entire feel of your frame. Open wide for creamy background bokeh, or stop down for starbursts and deep focus across a house and yard. Because aperture also affects exposure, you’ll balance it with shutter and ISO to keep highlights intact.
For big, soft bokeh, use f/1.2 to f/2.8 with a 50–85mm lens and keep your subject close while the lights sit far behind. A classic portrait might be 85mm, f/1.8, ISO 200, 1/125s with a touch of warm LED fill off-camera. On a phone, use Portrait Mode and increase distance between subject and lights to mimic shallow depth of field.
For scenes where you want everything sharp, stop down to f/8–f/11 and let the shutter run several seconds at ISO 100. A house and yard at 24mm, f/8, ISO 100, and 2–8s will hold detail front to back while preserving color. Small apertures also create starbursts on point light sources; try f/11–f/16 and adjust for diffraction if things look soft.
Get creative by intentionally defocusing for abstract bokeh patterns that look like glowing ornaments. Try framing with a foreground garland, or find a puddle and focus on the reflection for a dreamy inversion of the lights. Black and white can add mood when colors clash, especially with mixed LEDs and sodium streetlamps.
Post-processing ties it together, so shoot RAW whenever possible. Correct white balance between Tungsten and Daylight as needed, recover highlights in the bulbs, and treat noise with a light hand to preserve detail. Boost local contrast and saturation gently, and blend bracketed exposures if the dynamic range is extreme.
If shots are blurry, stabilize better or raise shutter speed; if bulbs blow out, lower exposure, stop down, or reduce ISO. When autofocus hunts, switch to manual focus and magnify a bulb to nail it. Keep a mental shot list—wide establishing view, close-up ornament, bokeh portrait, silhouette, reflection, and a long-exposure street scene—so your set feels complete and tells the story of how to photograph christmas lights from multiple angles.
What People Ask Most
How to photograph Christmas lights for beginners?
Start with a steady camera, use a slow shutter speed and low ISO, and experiment with aperture to get either sharp lights or soft bokeh.
How can I photograph Christmas lights with my phone?
Use night mode or lock exposure, keep the phone steady with a tripod or flat surface, and tap to focus on the brightest part of the scene.
What camera settings work best when I photograph Christmas lights?
Try a slow shutter speed, low to moderate ISO, and adjust aperture depending on whether you want sharp lights or blurred bokeh.
How do I create pretty bokeh when I photograph Christmas lights?
Use a wide aperture (small f-number), put your subject close to the camera, and keep the lights farther in the background so they blur into soft circles.
Can I photograph Christmas lights without a tripod?
Yes—stabilize your camera on a solid surface, use a faster shutter speed or higher ISO if needed, and use a self-timer to avoid shake.
What are common mistakes to avoid when I photograph Christmas lights?
Avoid using flash, overexposing the lights, and relying on autofocus in very dark scenes; steady the camera and check exposure manually if possible.
When is the best time to photograph Christmas lights?
Shoot during the blue hour—right after sunset—so you get a dark sky with enough ambient light for color and detail balance.
Final Thoughts on Capturing Lights at Dusk
These techniques turn chaotic night scenes into warm, true-to-life photos that actually feel like the moment you saw. I even condensed the essentials into a tidy 270-word cheat sheet you can keep by your camera for quick reference. With simple gear and straightforward settings, you’ll get richer colors, smoother highlights, and more of that holiday atmosphere.
Be realistic: low-light shooting asks for patience and some trial-and-error, and you’ll sometimes wrestle with blown highlights or noise that need fixing in-camera or in post. This guide answered that opening question about how to capture that magical glow by walking you through timing (the blue hour), turning off flash, stabilizing, choosing slower shutters, and shaping depth of field with aperture. It’s most useful for hobbyists, parents with phones, and emerging photographers who want reliable, repeatable results.
Keep the cheat-sheet and EXIF combos handy, and let the blue hour teach you more with each outing. You’ll find your own favorites and a clearer sense of light as you practice.


0 Comments