
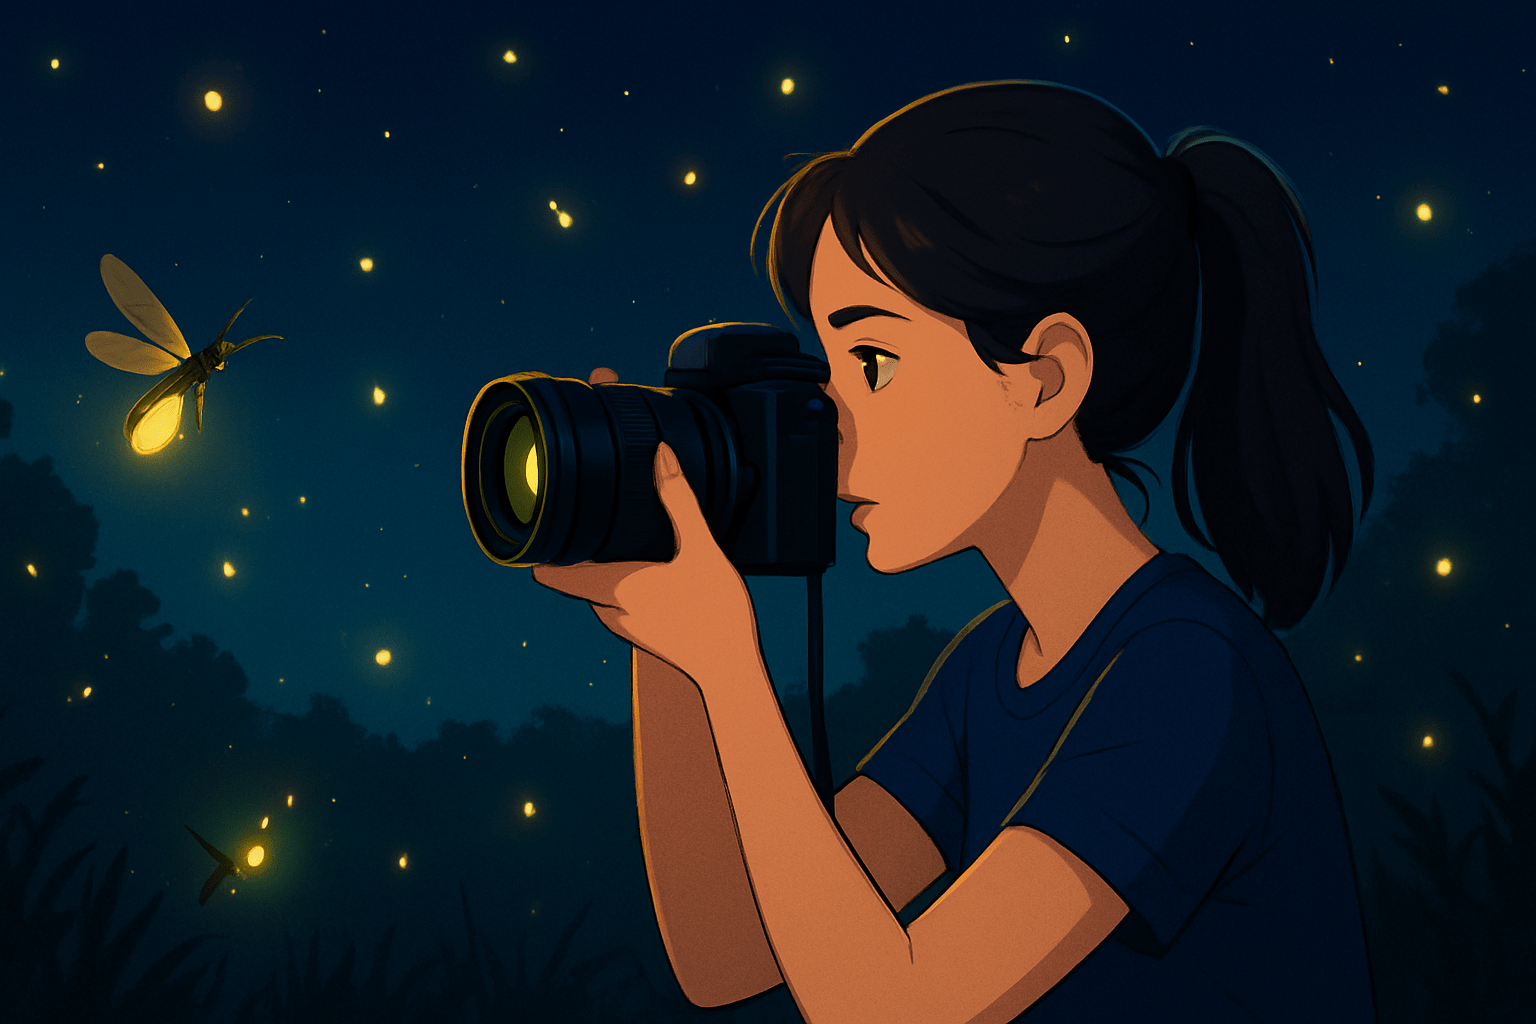
How to photograph fireflies and turn their brief flashes into dreamy photos? This guide shows camera settings, shooting steps, and simple editing tips.
You will learn when and where to find them. We cover meadows, marsh edges, stream banks, moon phase and weather.
We explain gear, field prep and how to focus in the dark. You will also learn long-exposure trails, stacked short-exposure workflows, and editing to reduce noise.
There is a printable checklist and a quick-start recipe you can use tonight. Be patient and respect the habitat, and you can make magical firefly photos this season.
Scouting locations and timing for firefly activity
Finding the right place at the right time is half the secret of how to photograph fireflies. Fireflies love warm, humid air and low light, and many species come alive just after sunset. The darker the sky and the calmer the wind, the better your images will look.
Research your local species so you know what behavior to expect. Synchronous fireflies pulse together in rolling waves, while asynchronous species blink randomly and spread out. Peak season is usually late spring to midsummer, with nightly activity often peaking 20 to 60 minutes after dusk.
Watch the moon phase and clouds before you go. New moon or thin crescent nights are ideal because the sky stays darker, and nights after rain often bring heavier activity. If wind is strong, the bugs hide low and you get fewer trails and more motion blur in vegetation.
Look for meadows, marsh edges, stream or river banks, forest edges, and low-light suburban parks with tall grass. Water nearby boosts humidity and can give you reflections if the surface is still. Use light pollution maps and plan spots where distant streetlamps or houses won’t spill into your frame.
Get permissions if you are entering private land or sensitive areas, and check park hours before night shooting. It is worth calling a ranger to ask about peak weeks and safe access. A quick scan through a trusted detailed guide can help you refine your plan.
Daytime scouting pays off. Walk the area and pick safe routes, confirm solid ground near water, and mark places for your tripod. Look for strong foregrounds like fences, trees, barns, bridges, or calm pools that anchor the frame.
Stand where you can see depth, not just a wall of brush. Test a few compositions in daylight and save them as phone snapshots so you can recreate them in the dark. Note parking options, exit paths, and any security or wildlife concerns.
Plan for a complete field timeline to keep the night calm and productive. Arrive at least an hour before sunset to set up without rushing, shoot a blue hour test for the foreground, and then settle in for the firefly window. This steady rhythm is the backbone of how to photograph fireflies without stress.
Camera equipment and night‑shoot preparation
You do not need exotic gear, but a few tools make a huge difference. A full-frame camera handles low light well, yet modern APS-C bodies can shine too. Mount it on a sturdy tripod and bring a remote shutter or intervalometer to run sequences hands-free.
Pack one wide-angle lens for landscapes and one fast prime in the 35–85mm range for tighter scenes. A lens that can open to f/1.4–f/2.8 collects more light, which means lower ISO or shorter exposures. Add a headlamp with a red filter so you protect your night vision and don’t scare the insects.
Optional items help you stay out longer. A lens heater or dew strap keeps glass clear on humid nights, and a beanbag or low tripod helps for ground-level views. Spare batteries and cards, a rain cover, insect repellent, and waterproof boots round out a comfortable kit.
Set the camera for success before it gets dark. Shoot RAW for maximum latitude, use manual exposure mode, and disable long-exposure noise reduction if you plan to stack many short frames. If you want the benefit of a dark frame, capture one manually by shooting the same exposure with the lens cap on, then use it in post instead of letting the camera pause between shots.
Lock your white balance to a neutral preset to keep color consistent across a stack. After you focus, switch to manual focus so the camera will not hunt in the dark. If your camera has stabilization, turn it off on the tripod so it does not add blur.
Arrive early and set everything during blue hour to avoid fumbling. Keep screen brightness low, silence beeps, and use the red lamp only. Protect gear from dew with a hood and heater, and keep a microfiber cloth handy for quick wipe-downs.
How to photograph fireflies (step‑by‑step shooting workflow)
Start by building your scene before the blinking begins. Frame your composition, level the horizon, and place a strong foreground so the lights have a stage. Use live view and a torch to focus on a bright edge at your chosen distance, then switch to manual focus and confirm with a quick test shot.
Take a blue hour exposure for the foreground while the sky still holds color. This single frame can be blended later if your firefly sequence leaves the ground too dark. Check the histogram to avoid clipped highlights in the sky and adjust exposure as needed.
Choose your approach based on the scene and behavior. Long single exposures create dramatic, flowing trails and work well when activity is moderate and the sky is very dark. Multiple short exposures are better when activity is heavy or you want clean control over the foreground and lower noise.
For long trails, start with 10–30 seconds at f/2.8–f/5.6 and ISO 200–800. If you want super-dense trails, switch to bulb and hold for several minutes at around f/5.6 and ISO 200, watching that the sky doesn’t overexpose. Lower ISO helps keep the noise in check on these long shots.
For stacking, try 2–8 seconds at f/2.8–f/5.6 and ISO 800–3200 depending on lens speed and ambient light. Fireflies will pop as distinct dashes that you can combine later, and dozens to hundreds of frames will build a rich pattern. Set the intervalometer to leave only a tiny gap between frames so you catch every blink.
Use these sample settings as reliable starting points you can adapt. For a wide landscape with trails, try 20 seconds at f/4 and ISO 800. For a stacked series, 4 seconds at f/4, ISO 1600, and 150–300 frames is a solid recipe; for a very long bulb trail, hold several minutes at f/5.6 and ISO 200.
Run a continuous sequence once flashes begin. Every few minutes, zoom in on a recent frame to check focus, watch the histogram for creeping brightness in the sky, and nudge settings if activity rises or falls. If your frame looks noisy, lower ISO or shorten exposure and plan to stack more frames.
Compose with intention so the lights tell a story. Include foreground shapes, reflections in water, or human-made lines like fences to lead the eye, and let trees or hills form silhouettes. Avoid pointing toward nearby lamps or bright windows that will overpower the glows.
If autofocus will not lock, shine your torch on a mid-distance object, focus in live view, and then switch to manual focus. If you see no trails, lengthen the shutter or wait for a stronger activity pulse. If the scene is too noisy, reduce ISO and extend the sequence length to make stacking do the heavy lifting.
Here is a one-paragraph quick start if you need a fast plan tonight. Arrive an hour before sunset, frame a wide scene, focus with a torch and lock manual focus, shoot one clean blue hour foreground, then switch to a 4-second, f/4, ISO 1600 stack and let the intervalometer run for 20–30 minutes, checking focus twice; this is the simplest path to strong results when you are learning how to photograph fireflies.
If you want more depth on technique, study some concise professional tips and then adapt them to your local conditions. Your location, species, and moonlight will guide your exact choices. Keep notes so you can repeat wins and refine weak points on the next outing.
Shooting multiple exposures, stacking and post‑processing
Stacking many short frames lets you collect hundreds of flashes without blowing out the sky or foreground. It reduces noise because you can use lower ISO or average the grain across frames. It also lets you keep a clean base exposure of the landscape that looks natural.
In the field, keep everything consistent so the stack aligns smoothly. Use identical exposure, locked white balance, and a sturdy tripod that will not shift during the run. Capture a single, properly exposed blue hour foreground if you expect the ground to go dark later.
Several tools make stacking simple even for beginners. StarStaX is fast and friendly, Photoshop gives full control with layers, and Sequator is another excellent option; use Lightroom for raw prep and finishing. The most common method is Lighten blend, which keeps the brightest pixels from each frame so the flashes pile up without lifting the shadows too much.
A simple StarStaX workflow works like this. Load the firefly frames, choose Lighten, enable gap-filling if you want longer-looking dashes, and export a merged layer. Then blend that result over your blue hour foreground in Photoshop with a soft mask so the ground looks clean and the sky holds the glow.
For Photoshop-only stacking, open frames as layers, auto-align if needed, and set each layer to Lighten. Group the stack and add a mask to hide any ghosting in the foreground, then do global adjustments like white balance and contrast. Finish with gentle noise reduction and color work.
Remove hot pixels by applying a dark frame or by using a dust and scratches filter on a duplicate layer masked to the sky. Keep sharpening selective by brushing only the firefly highlights and key details, not the entire frame. Adjust color temperature so the greens and yellows feel natural, avoiding heavy color casts from sodium or LED pollution.
Export a high-resolution file once you are happy. If you need print-level detail, keep the crop moderate and use output sharpening matched to the medium. Save a layered master so you can revisit the blend later.
Two example workflows cover most situations. A common choice is to stack 200 short frames in StarStaX for the glow, then blend a single blue hour foreground in Photoshop so trees and water look clean and noise stays low. The other is to clean up one long exposure by recovering highlights, applying careful noise reduction, and using a light touch of local dodging where trails are thin.
If you want software ideas beyond your usual tools, you can read about catching their glow and see how different apps handle color and noise. No matter the program, the principles stay the same. Keep frames consistent, blend with Lighten, and refine with masks and subtle edits.
Practical field tips, etiquette and safety
Ethics come first in any night session. Never blast bright white lights or flashes near fireflies, and do not handle or collect them. Stay on paths where possible and avoid trampling wet grasses or delicate stream edges.
Manage light like a pro so the insects keep blinking. Use a dim red headlamp, ask companions to keep phones off or face-down, and shield displays with your hand when you check the screen. Try to avoid backlighting the bugs with a road, porch, or open parking lot behind them.
Dress for terrain and biting insects so you can focus on the shot. Wear long sleeves, pants, and boots, bring water and a small first-aid kit, and watch for ticks, snakes, and slippery ground. Tell someone where you will be and when you plan to return.
Protect your gear for long, humid sessions. Run a lens heater or strap hand warmers near the barrel to prevent dew, rotate batteries during breaks, and carry spare cards in a dry pouch. If a light shower passes, cover the camera and let the sequence continue once it is safe.
Plan the session timeline with patience. Arrive early, shoot test frames, start your sequence as the first flashes appear, and stay through the peak wave before you judge results. Expect to make many tests and small bracketed changes as you learn how to photograph fireflies in your area.
Here is a simple checklist you can print or save on your phone for every trip. Camera, sturdy tripod, wide and fast lenses, intervalometer or remote, red headlamp, spare batteries and memory cards, rain and dew protection, insect repellent, warm layers or boots, permission and emergency contact info. Pack light but leave nothing essential behind.
To wrap the field craft into one repeatable habit, keep this recipe in mind. Scout by day, set up at blue hour, lock focus and exposure, run either a 20-second trail or a 4-second stack, check focus during the run, and blend a clean foreground later; this rhythm will quickly teach you how to photograph fireflies with consistent results. Treat the place gently so you and the fireflies can return next season to do it again.
What People Ask Most
What basics should I know about how to photograph fireflies?
Keep your camera steady, use a long exposure, and work in low light to capture their glow. Be patient and scout a dark, quiet spot before dusk.
Can I photograph fireflies with a smartphone?
Yes, most smartphones can capture fireflies if you stabilize the phone and use a night or long-exposure mode. Try using a small tripod or leaning your phone against something steady.
Do I need a tripod to photograph fireflies?
Yes, a tripod or steady surface helps prevent blur during long exposures and produces clearer light trails. Handholding usually makes images look shaky in low light.
What time of night is best to photograph fireflies?
Shortly after dusk into early night is best when it’s dark enough to see their glow but not fully late when they may be less active. Warm, humid evenings during their season often work well.
How can I avoid scaring fireflies while photographing them?
Use dim red or no light, move slowly, and avoid using a flash to keep them from flying away. Give them space and turn off bright lights nearby.
What are common mistakes to avoid when photographing fireflies?
Avoid using a bright flash, moving the camera during exposure, or shooting in well-lit areas, as these wash out their glow. Also don’t make loud noises or sudden movements that disturb the insects.
Should I use manual settings to photograph fireflies?
Manual mode gives you control over exposure and focus, which helps get consistent results, but many cameras have useful night or bulb modes too. Take a few test shots and adjust until the glow looks natural.
Final Thoughts on Scouting Locations and Timing for Firefly Activity
Remember the opening question about where and when to find fireflies? This guide gives you practical steps—scouting dark, humid spots, syncing with species behavior, and using camera settings and workflows (try ISO 270 as an experimental starting point)—so you’ll come away with a clear, repeatable plan for capturing those fleeting lights.
What you’ll get is the ability to turn unpredictable evenings into dependable results while keeping the habitat safe, but be realistic: weather, moonlight and local rules still mean you may have blank nights and will need to adapt. The approach suits patient nature‑loving photographers who want low‑light technique and ethical fieldcraft—beginners will learn a reliable recipe and experienced shooters will find ways to refine it.
We circled back to that opening hook by showing exactly how to pick locations, time your visit, set up gear, shoot, and stack frames, so the mystery becomes method. With patience and respect, you’ll be standing beneath a living galaxy sooner than you think.


0 Comments