
How to photograph hats so they stand out, show texture, and sell?
This guide gives simple, practical steps for prepping, styling, and lighting hats. You will learn cleaning, steaming, stuffing, and how to handle fragile or vintage pieces.
I walk you through shooting solo or with a model, plus exact camera settings, lighting recipes, and composition tips. You will also get a full shot list, retouch workflow, and export settings for web and stores.
Follow these steps and you can shoot pro-looking hat photos fast. Scroll down for checklists, lighting diagrams, and sample settings you can use right away.
Preparation For Hat Photoshoot
If you want to master how to photograph hats, start with careful prep. Hats are small, but every crease, lint speck, and bend shows up fast on camera. A few minutes here saves hours later.
Clean the hat with a lint roller and a soft brush, then shape it. Stuff crowns with white tissue so they hold form, and use a hat block or a stand for symmetry. Steam gently from a distance, and use cotton gloves for vintage or fragile pieces so oils do not stain.
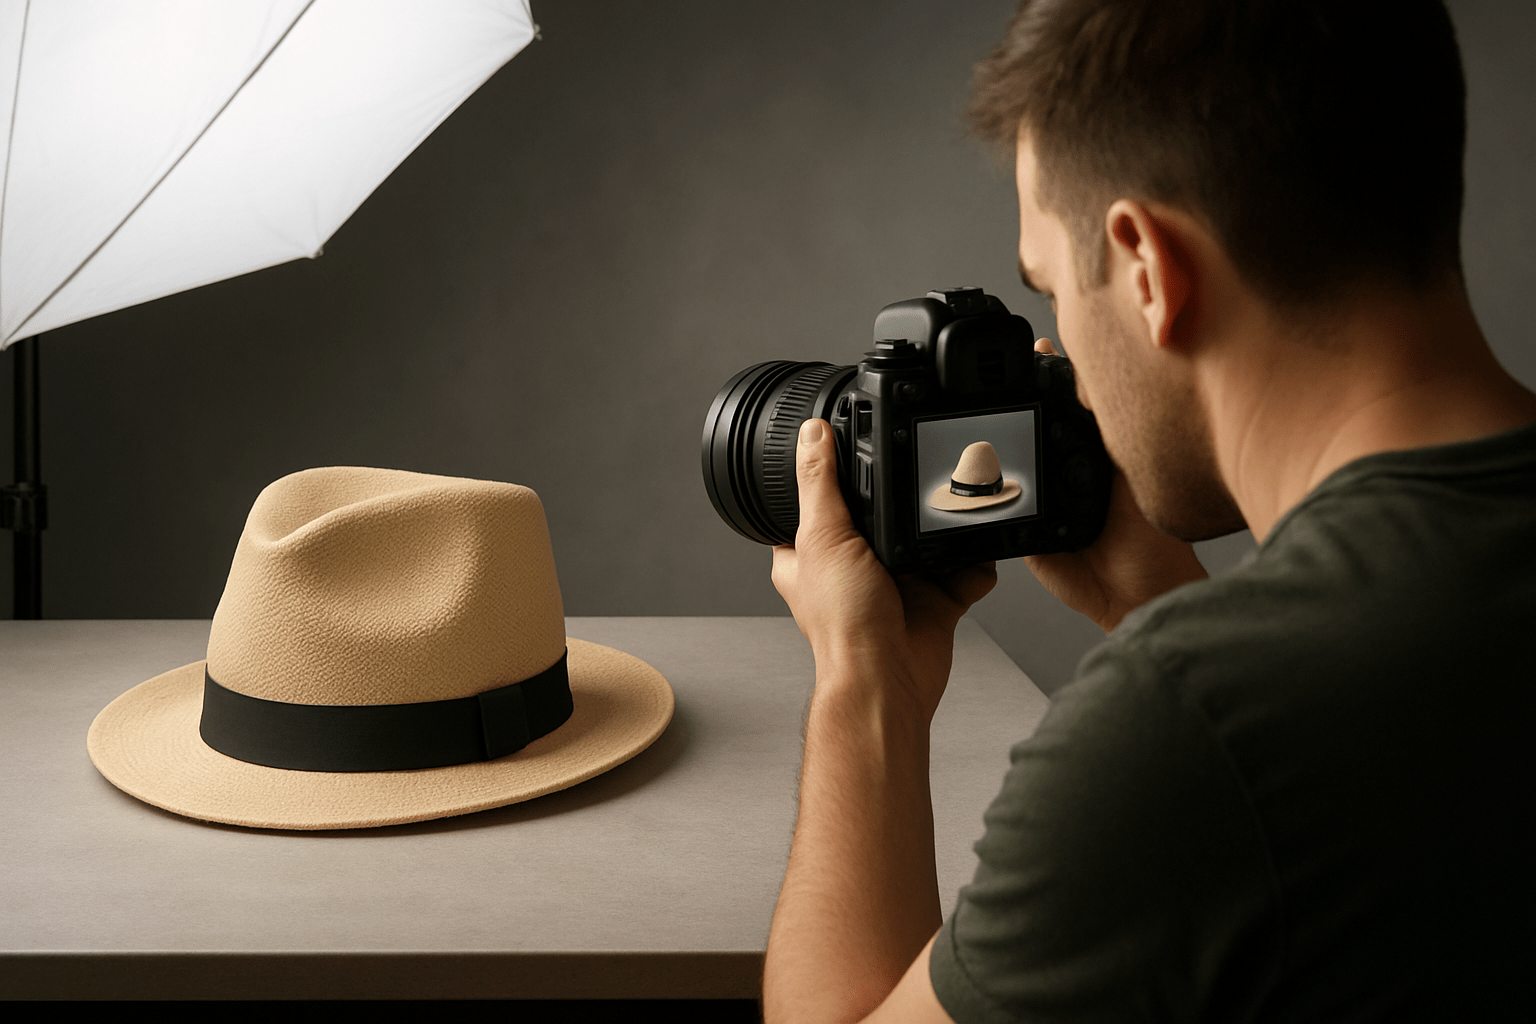
Build a simple studio kit. A camera on a sturdy tripod, a 50 mm or 85 mm prime, and a 100 mm macro for details cover most shots. Add two lights with softboxes, a reflector, a seamless background sweep in white, gray, or black, clamps, a mannequin head or hat stand, a steamer, a lint roller, a color or grey card, a tether cable, and spare batteries and cards.
Plan the shoot before you plug in lights. Define if the set is for ecommerce, lifestyle, or editorial, then make a shot list and a small mood board. Choose a background color and a consistent lighting style that matches the brand, and prepare model notes, hair and makeup, and release forms.
Hide tags or decide to feature label shots on purpose. Fix loose threads, photograph a color card for perfect color matching, and fire a few test frames while watching the histogram. For more ideas & tips, build a tiny style guide you can reuse.
How to Do Hat Product Photography on Your Own
Start with the hat. Clean, steam, and stuff it, then mount it on a mannequin or stand so it sits naturally. Set a seamless background and secure it with tape or clamps, then place a key light at about 45 degrees to carve shape.
Put your camera on a tripod and tether to a laptop if you can. Shoot RAW. Make exposure and white balance test shots with the color card in frame, then remove it and lock your settings.
Work through your shot list in a steady order, and bracket exposures if the material is tricky or shiny. Capture details like stitching, labels, and hardware, plus inside lining and any packaging. Review after each angle, flag best frames, and back up your RAW files right away.
On-mannequin gives shape for scale and fast catalog work, flat-lay is great for overhead and graphic symmetry, and on-model adds lifestyle context. Starter settings for studio product are ISO 100, f/8–f/11, and 1/160 s at flash sync; for flat-lay try f/5.6–f/8; for on-model portraits use ISO 100–400, f/2.8–f/4, and 1/200 s or faster. For more practical notes on photographing hats, keep the workflow simple and repeatable as you learn how to photograph hats.
Take the Photo
Build a dependable shot list so every hat gets the same coverage. Shoot front (true shape), three-quarter (depth), side (brim profile), back (closure or band), top-down (crown), interior with label (brand), and close-up details of stitching and hardware. Add on-model three-quarter, an environmental wide, an action moment adjusting the brim, and packaging if it ships with a box.
For ecommerce, keep the hat centered with clean margins so cropping is easy. For hero images and ads, use rule-of-thirds and negative space on one side so you can add text overlays later. Leave headroom or side room so the brim never touches the frame edge.
Use 50–100 mm for products and 85–135 mm for headshots so shapes stay natural. Switch to a macro lens for weave, stitching, or logo embroidery, and focus with a single point on the key detail. A circular polarizer helps cut glare on metal badges and glossy leather.
Try this clean product recipe: a large softbox at 45 degrees to the left as your key, a white reflector at 45 degrees to the right as fill, and a small rim light behind the hat for separation. For texture on straw or knit, use more directional side light with a gentle fill to keep shadows rich. A natural light hack is open shade near a big window with diffusion and a reflector under the brim to lift shadows.
Fix brim-cast shadows on faces by adding a bounce card below the chin or by tilting the hat slightly up. Keep colors true by shooting RAW and setting white balance from your color card shot. Use f/8 when you need the full hat in focus, and open up only when the background needs blur.
Best Hat Photography Tips for Photographers
Soft, directional light shows shape without harshness, so avoid midday sun when shooting outside. Always check for lint, dust, and fingerprints before every frame. A minute of grooming beats heavy retouch later.
Straw loves side light that skims across the weave, but watch for blown highlights and lower your exposure a touch. Leather and suede are shiny, so reduce specular hits with a larger light source or a polarizer on location. Knit beanies look best with very soft light, and a bit of tape can remove fuzz fast.
Caps often live or die by their logos. Use a slight three-quarter angle just above eye level so the front panel reads clean, and keep the bill from hiding the mark. If branding matters, include an interior label frame in your set.
Guide your model with small moves. Chin up reduces brim shadows, chin down adds mood, and hands adjusting the hat bring life and scale. Style hair so the hat sits naturally without bumps or odd gaps at the crown.
Keep lighting and angles consistent across your catalog for a pro look. Do not over-retouch until texture disappears, and do show scale with a head form or model. If you need a refresher, scan a few hat photography tips to sharpen your eye.
Retouch Your Hat Photo to Make It Flawless
Retouch in a clear order for speed and quality. Import RAW, set exposure and white balance, apply lens corrections, and remove spots like lint, dust, and loose threads. Match color using your color card, clean the background with a mask or clipping path, add light sharpening and selective clarity, and then export for web.
Keep materials honest. Dial down shine on leather without flattening the grain, preserve straw weave detail with careful clarity, and tame fuzz on knit hats while keeping softness. A simple before and after shows the journey from raw, to cleaned and color-corrected, to a store-ready white background image.
Export in sRGB as JPEG or WebP for web delivery. Use 2048 px on the long edge for Shopify and at least 1000 px for Amazon, at quality 80–90 to balance size and detail. Name files like brand-style-color-angle.jpg and write alt text such as “navy wool fedora – 3/4 view” so search engines understand the photo.
Finish with a quick checklist you can print: prep, set, test, shoot, detail, review, backup, retouch, export, deliver. Keep a behind-the-scenes setup photo and angle comparison to guide future shoots. The more you practice how to photograph hats, the faster your results will look polished and consistent.
What People Ask Most
What are the basic steps for how to photograph hats?
Start with a clean hat, a simple background, and soft lighting, then shoot multiple angles to show shape and details.
How do I light hats so their shape and texture show up well?
Use diffused side or angled light to bring out texture and form, and avoid harsh direct light that flattens details.
Should I use a mannequin, model, or flat lay when learning how to photograph hats?
Use a mannequin or model to show fit and scale, and flat lay or prop setups for clear product shots depending on your goal.
How can I make a simple background look professional when photographing hats?
Choose a clean, uncluttered backdrop and smooth it tight so the hat stands out; neutral colors usually work best.
What common mistakes should I avoid when photographing hats?
Avoid cluttered backgrounds, bad lighting, awkward angles, and not showing multiple views or important details.
How can I photograph hat details like labels, stitching, or material up close?
Use close-up shots with gentle lighting and steady support so the textures and small details stay sharp and visible.
How should I photograph different hat materials like straw, wool, or leather?
Adjust lighting to match the material—softer light for wool, angled light for straw and leather—to keep texture and color accurate.
Final Thoughts on Hat Photography
If you’ve followed this guide from the quick checklist to the lighting recipes, you’ll see how the steps turn a simple hat into a story-rich product shot—clean, brand-ready images that reveal shape and texture while staying true to color and scale. For solo sellers and product photographers working with limited kit, even a 270 setup gives a repeatable path to professional results.
If the opening hook asked whether a hat can tell a story in a single frame, we answered it by walking through careful prep, purposeful lighting, thoughtful composition, and a tight retouch workflow that keeps texture and identity. One realistic caution: fragile or vintage pieces need patient handling, gloves, and extra time for mounting and checks, so plan shoots a bit slower when they’re involved.
This approach helps makers, small brands, and shooting solo photographers who need consistency and polish without a big studio. With practice and a steady checklist, each shoot will feel smoother and you’ll soon recognize the slight tweaks that make a hat feel unmistakably yours.


0 Comments