How to photograph Saturn and make its rings pop in your pictures? This guide gives simple, step-by-step instructions you can follow tonight.
You’ll learn what gear you need, from cheap starter kits to pro upgrades. You will also learn when to shoot and which camera settings to try.
I cover video vs single-frame capture and show easy post-processing to bring out detail. Each section has short examples and a compact checklist to use in the field.
Whether you use a smartphone adapter or a cooled planetary camera, you will find clear starting settings and practical tips. Read on to learn how to photograph Saturn with confidence.
How to Photograph Saturn: Equipment Needed
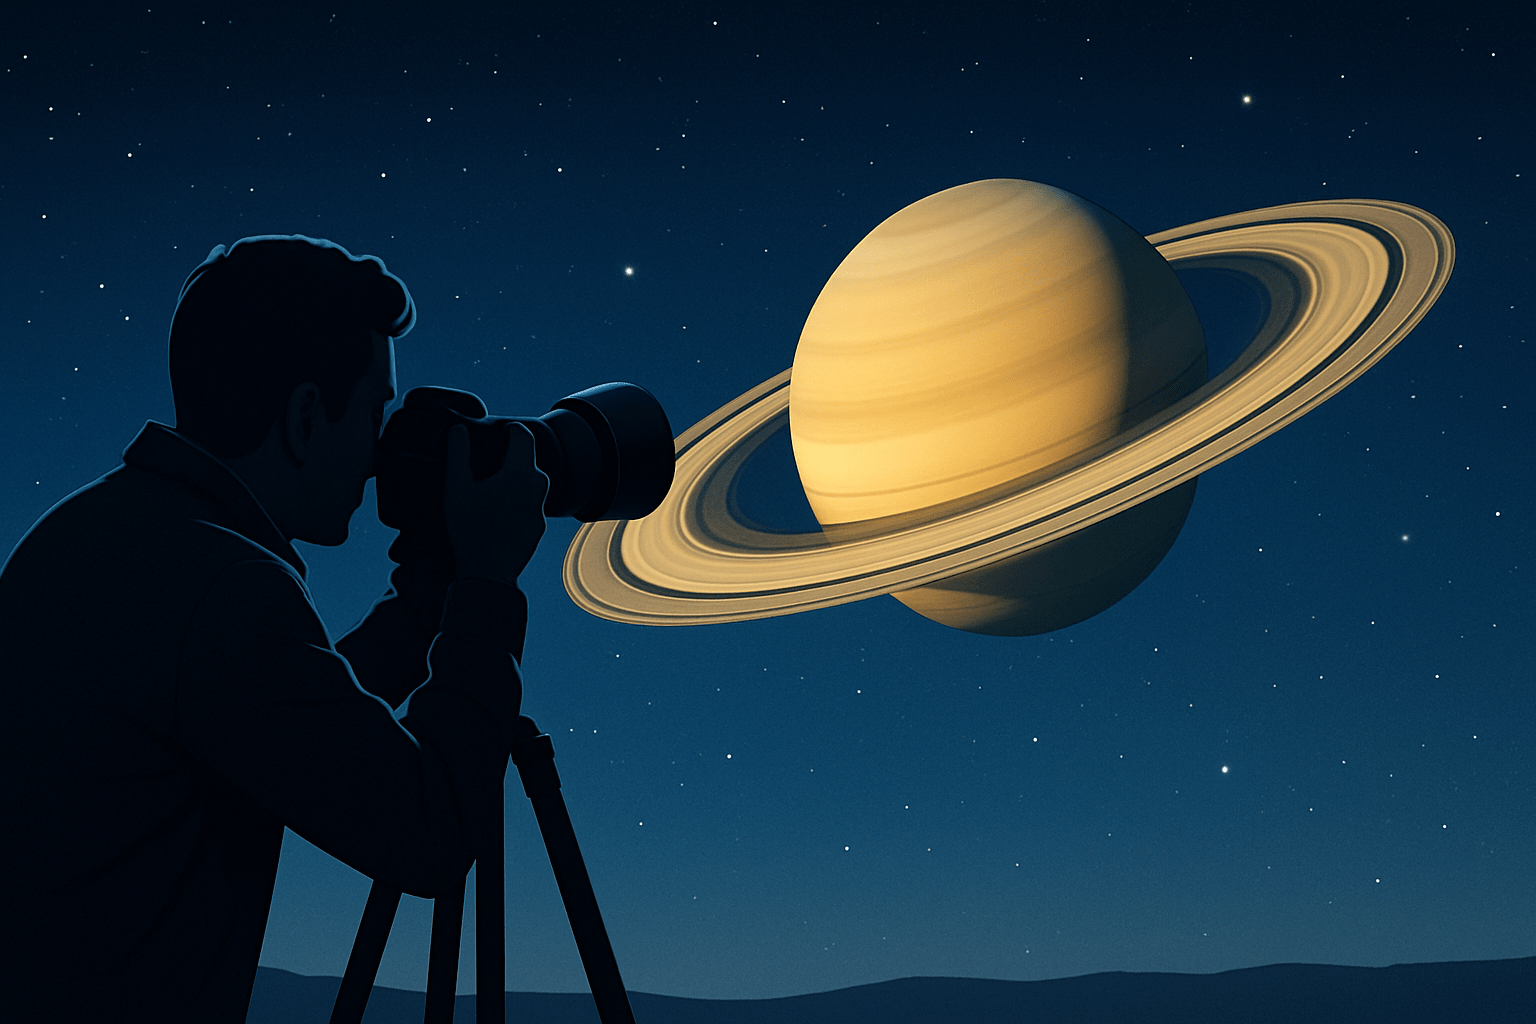
If you are wondering how to photograph Saturn, start by matching your gear to your goals. You can begin with a simple setup and grow into a more capable rig as your skills improve.
A minimum kit can be very modest. A small telescope like an 80–100 mm refractor or a 4–6 inch reflector will show the rings. Add a smartphone adapter for afocal shots or a basic DSLR at prime focus, a solid tripod, and a remote shutter to reduce shake.
For better detail, move to a 6–8 inch SCT or Maksutov with a long focal length. Pair it with a sturdy equatorial or well-tracking mount, a dedicated planetary camera, or a DSLR/mirrorless with a T-ring. A 2x or 3x Barlow helps reach the image scale Saturn deserves, and a 1.25 inch nosepiece or T-adapter handles the connection.
Advanced setups push resolution even further. An 8–14 inch SCT, a cooled mono camera with filters, and a precise EQ mount with autoguiding will unlock more fine detail. Rough price bands help planning: a budget kit can start around a few hundred, a solid planetary rig often runs into the low thousands, and pro builds can climb several thousand more.
Connecting is simple once you know the pieces. A DSLR or mirrorless goes on with a T-ring and T-adapter; a planetary camera uses a 1.25 inch nosepiece; a smartphone clamps to the eyepiece with an afocal adapter. Balance your mount, secure dangling cables, let the optics cool down, and carry a Bahtinov mask for quick star focusing if you plan to use the focus-star method.
Planning Your Photo Session: When and Where to Shoot
Timing matters as much as gear. Aim for nights near Saturn’s opposition, and shoot when it rides high above your horizon to cut through less atmosphere. The tilt of the rings changes with Saturn’s seasons, so check an ephemeris to know how open they will appear.
Seeing beats darkness for planetary work. You want steady, slow-moving air more than the darkest sky, so use seeing forecasts from tools like ClearOutside or MeteoBlue, and preview Saturn’s position in apps such as Stellarium or SkySafari. If the stars barely twinkle, you are in luck.
Pick a spot with stable, level ground, away from roofs, asphalt, and other heat plumes. Set your scope outside 30–60 minutes before imaging so the optics reach the night’s air temperature, which reduces focus drift and blur.
Moonlight is less damaging here than for deep-sky, yet a bright Moon can soften contrast a little. If forced to choose, pick the night with the best seeing rather than the darkest sky.
Build a small prep routine to avoid surprises. Charge or bring a power supply for the mount, attach dew heaters if your area is damp, check that cables are long enough, and install and test capture software before you leave home. If a rare pairing with Jupiter is due, NASA’s concise conjunction guide can help you plan angles, timing, and framing.
Adjusting Camera Settings for Saturn
Put the camera in full manual control. Shoot RAW on DSLRs and mirrorless bodies, and use manual exposure and gain on planetary cameras. For broader context that complements this workflow, see these concise planetary tips.
Planetary cameras like to use fast exposures and high frame rates. Try exposure times of a few milliseconds up to a few tens of milliseconds, and adjust gain so the histogram sits around the middle. With a DSLR or mirrorless, start near 1/60–1/500 s at ISO 100–800, then fine-tune for your aperture and seeing.
Guard the highlights in the rings, as they clip before the globe. Keep an eye on the live histogram and underexpose a touch if you cannot judge the peak. The right side of the histogram should not hit the wall.
Focus is where most detail is won or lost. Use magnified live view or the camera feed in your capture program, then creep through focus until the ring edges look crisp. A Bahtinov mask on a nearby bright star, or the software’s focus metric, will lock it in quickly.
Disable in-body or lens stabilization on a mount, and turn on mirror lock-up or a short timer if your camera has a mirror. Use a remote trigger or software control so your hands do not shake the scope. If seeing is poor, an IR-pass filter around 742 nm can tame the shimmer, while a UV/IR-cut filter preserves natural color in good conditions; as a starting example, a ZWO ASI224MC with a 2x Barlow on an 8 inch SCT might begin at gain 300, exposure 8 ms, and about 120 FPS, then tweak to taste.
Capturing Video vs. Single Frames
Video capture is the usual path for fine detail. Short exposures freeze the seeing for a fraction of a second, and stacking the best frames beats a single image almost every time. Dedicated planetary software like SharpCap or FireCapture makes this easy.
Single frames still have a place, especially if you want a landscape scene with Saturn above a horizon or landmark. They can shine in rare, perfect seeing, but they rarely match stacked video for ring detail.
Start each session by finding Saturn with a low-power eyepiece, center it, and then switch to your camera and higher magnification. For video, set a region of interest around the planet to raise FPS, and aim for a histogram peak near 25–50% with no clipping. Record sequences of 30 seconds to 3 minutes, then take several runs through the night as seeing changes.
With DSLRs or mirrorless bodies, use high-magnification Live View to focus, then capture short bursts of RAW frames or high-quality video if available. Keep exposures short enough to avoid blur, and steer clear of excessive digital sharpening in-camera.
Use tracking and re-center between clips, and take notes on your Barlow, focal length, exposure, gain, and seeing so you can repeat good results. Work in short bursts when seeing varies, disable in-camera stabilization, and keep dew heaters and backup power ready. For more capture ideas comparing Saturn with its neighbor, this practical gas giants guide mirrors the same best practices.
Post-Processing Your Saturn Images
Great Saturn images are built in processing. Start by feeding your video into PIPP to crop, center, and stabilize the frames, and convert formats if needed so the next tools can read them. This step saves time and keeps alignment tight.
Next, move to Autostakkert! to align and stack. Sort by quality and try stacking the best 5–30% of frames, then compare results to see which percentage yields the cleanest detail for that night’s seeing. Using a tight ROI around Saturn speeds the analysis and reduces noise.
Once stacked, sharpen gently in RegiStax with wavelets or use deconvolution in your editor. Make small moves, pause, and zoom out to check for halos around the rings or a gritty look on the globe. If halos appear, back off a layer or two and add a hint of noise reduction after sharpening.
If you recorded many clips across a longer stretch, use WinJUPOS to derotate and combine stacks. This preserves fine detail while avoiding blur from Saturn’s rotation. It also lets you keep frame counts high without smearing features.
Finish in your editor of choice with modest contrast, color balance, and noise control. Nudge the white balance so the ring ice stays neutral and the planet shows a gentle beige tone, then crop for impact. Add a small caption with gear, focal length, exposure, and stacked frames so others can learn from your workflow.
If artifacts, color noise, or misalignment creep in, step back a stage and recheck the stack or focus. Over-sharpening causes ringing around the rings, misalignment warps the Cassini Division, and high gain can add color speckle that needs calmer capture settings. With this loop of capture and refinement, you will quickly feel exactly how to photograph Saturn with confidence and consistency.
What People Ask Most
What equipment do I need to start learning how to photograph saturn?
A stable tripod or a telescope mount plus a camera or smartphone and a way to capture many frames are enough to begin. Practice with basic gear before upgrading.
Can I photograph Saturn with a smartphone?
Yes, a smartphone can capture Saturn as a bright disk or dot if you use a tripod and steady hands, and ideally a telescope or close-up lens. Expect limited detail without magnification.
When is the best time to photograph Saturn?
Shoot on clear nights when Saturn is high in the sky and near opposition for the brightest and most stable views. Avoid nights with lots of atmospheric turbulence.
Do I need special camera settings to photograph Saturn?
Keep exposures short and capture video or many frames so you can stack the best ones later. Use a steady mount and a low to moderate ISO to reduce blur and noise.
Why do my Saturn photos look blurry or distorted?
Blurriness usually comes from shaky gear or turbulent air, not just your camera. A stable mount and shooting during calm seeing conditions will help a lot.
Will my photos show Saturn’s rings clearly?
With enough magnification and steady skies you can capture the rings, but simple phone shots usually won’t show ring detail. Telescopes or stacked images improve ring visibility.
What quick tips will help beginners improve photos of Saturn?
Use a tripod or mount, record many short frames and stack them, and practice on clear, steady nights to learn what works best. Small adjustments and patience give fast improvement.
Final Thoughts on Photographing Saturn
Getting Saturn on your hard drive and in your prints rewards patience and a few practical choices — I even ran a test at 270 magnification that showed how much seeing and setup matter. This guide showed how the right kit, timing, and settings reveal ring detail and subtle color, but be realistic: atmospheric seeing limits resolution. It’s aimed at curious beginners and hobbyists who want clear steps from gear through stacking.
From choosing a starter scope and smartphone adapter to dialing in exposure, capture strategy, and stacking, the article walks the whole process so you can follow a clear order. That answers the opening question — how to photograph Saturn — by turning a large project into small, repeatable tasks and showing common pitfalls like over‑sharpening.
Take what you learned, practice on a few nights, and expect steady improvements as you refine focus and processing. You’ll be surprised how much detail you can pull out with patience and the right workflow.


0 Comments