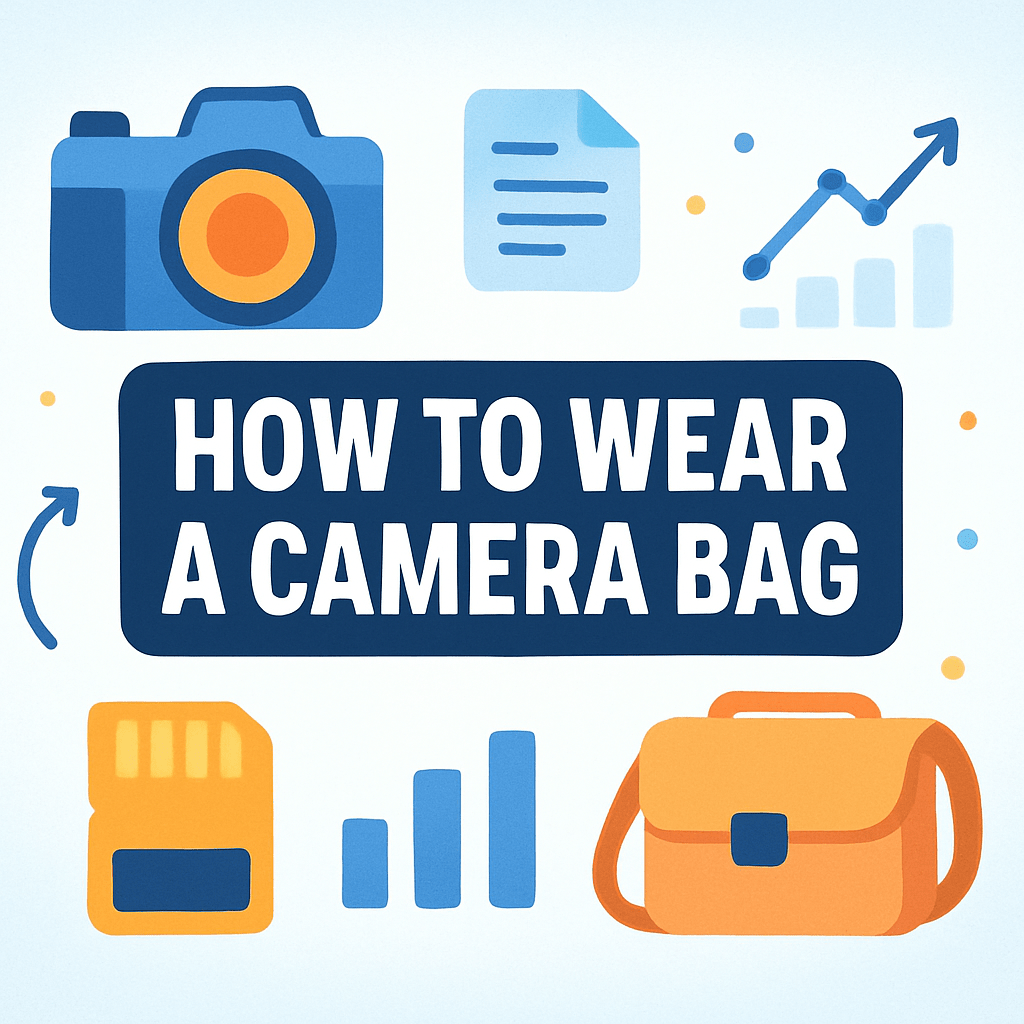
How to wear a camera bag so you stay comfortable, safe, and ready for the shot?
This guide shows simple step-by-step ways to wear every bag type: backpack, sling, and shoulder bag. You will learn how to pack, set straps, and reach your gear fast.
You’ll get quick tips on weight balance, security in crowds, and when to switch bag types. Short checklists and photos make it easy to try.
Read on for clear instructions, micro-examples like street, hike, and wedding setups, and quick fixes to avoid pain. Test each setup on a short walk with your bag fully loaded before you buy.
Choosing the Right Camera Bag
Choosing the right bag is the first step to learning how to wear a camera bag well. Match the bag to your shoot style: backpack for full-day travel or hikes, sling for street and quick access, shoulder bag for events and portraits.
Size matters more than you think. Count camera bodies, lenses, flash, batteries, cards, and laptop, then add a little space for growth so you avoid both too-small frustration and too-big bulk.
Look for padded dividers, a fast opening, weatherproof fabric, a padded strap, hip and sternum support on backpacks, tripod attachment, and hidden pockets. These features decide if you forget the bag or fight it all day.
Do a loaded fit test before you buy. Walk, bend, climb a step, and adjust; a quick store loop often reveals pressure points, and a solid buying guide can help you narrow choices fast.
Photo idea: line up a small sling, a mid shoulder bag, and a large backpack next to a 70–200mm for size scale. Quick note: backpack pros are capacity and comfort, cons are slower access; sling pros are speed and stealth, cons are imbalance; shoulder pros are fast swaps, cons are one-shoulder strain.
How to Wear a Camera Backpack
Start by packing smart. Place the heaviest items close to your back and centered, with long lenses pointing toward your spine, and use dividers so nothing shifts while you walk.
Put on both shoulder straps, then tighten the hip belt first so your hips carry most of the load. Aim for roughly sixty to eighty percent on the hips, and then snug the shoulder straps to remove slack.
Clip the sternum strap across mid-chest to stabilize the straps and open your breathing. If your pack has load lifters, pull them just enough so the top of the bag tilts slightly toward your shoulders without digging in.
Adjust for the day: high and snug for hiking or stairs, slightly lower for casual city shooting. Use side or back-panel access, and practice the swing-forward move to grab a camera without fully taking the bag off.
To swing, keep one hand on a strap, rotate the bag across your chest, unzip, draw the camera, and swing it back. Practice at home so you can do it smoothly and safely on the street.
Never carry a heavy backpack on one shoulder, and check buckles and zipper pulls before crowds. For a day hike setup, think body with 24–70, 70–200, drone, rain shell, water, and snacks; research fit options in a roundup of the best camera bag picks before you commit.
Photo ideas: before and after fit comparison, hip-belt sitting on top of hip bones, and the swing-forward motion near waist height. These visuals lock in muscle memory on how to wear a camera bag with confidence.
How to Wear a Sling Bag
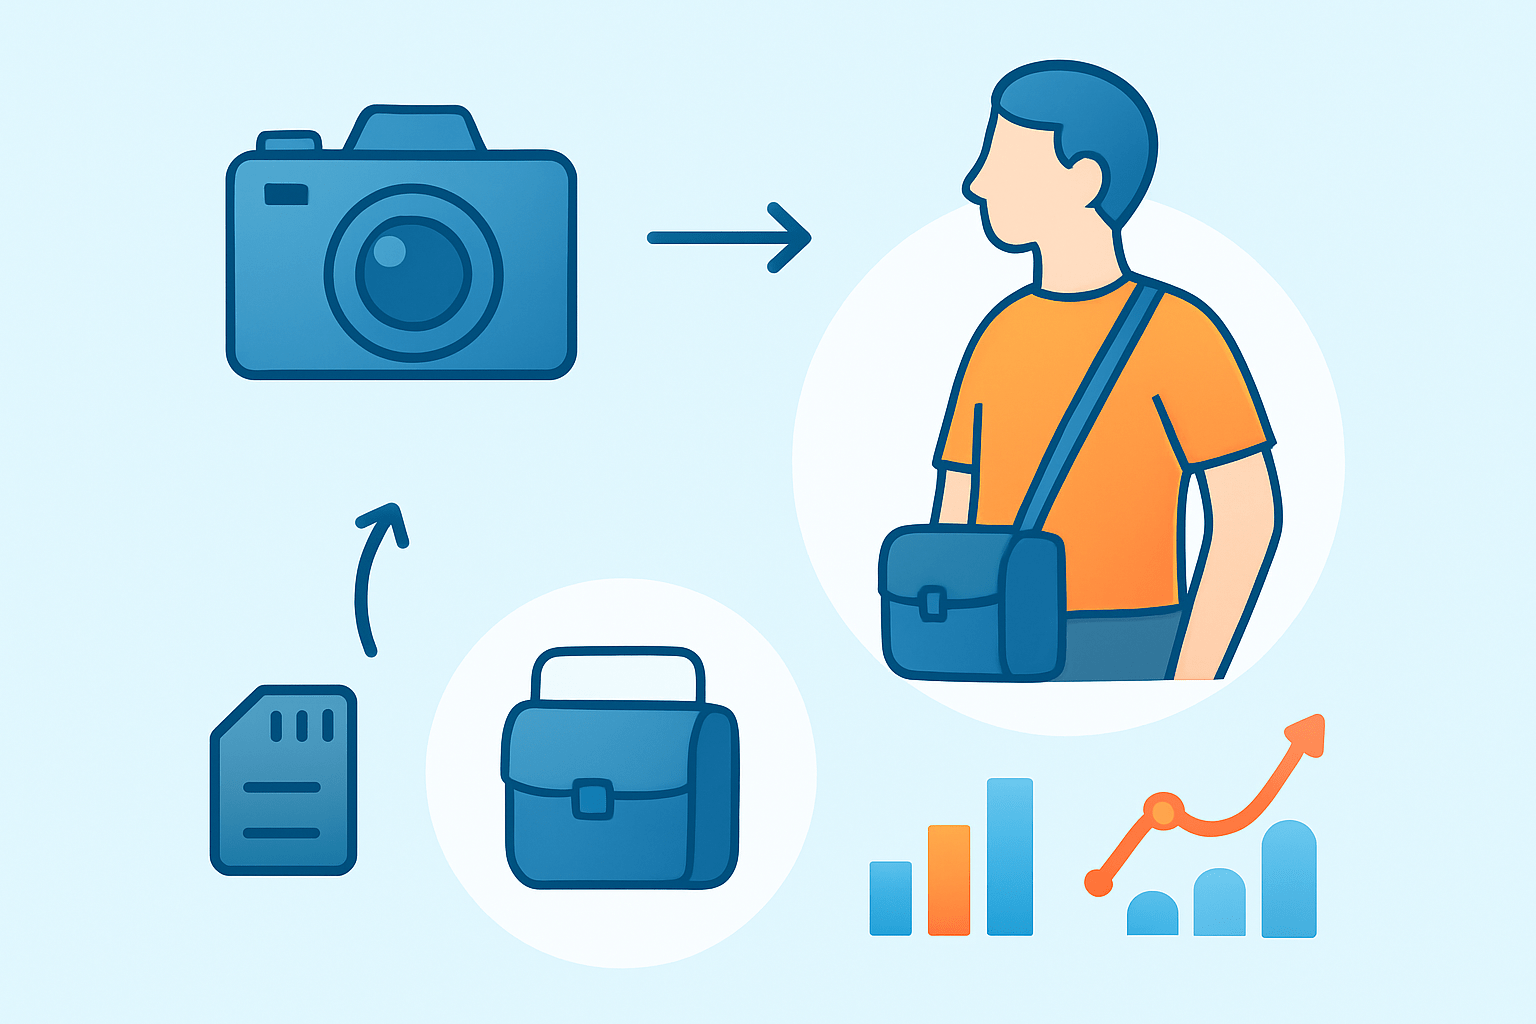
Wear the strap diagonally across your chest so the bag rests on the opposite hip or back. Right-handed shooters often place the strap over the right shoulder so the bag sits on the left side for a clean right-hand draw.
Adjust strap length so the bag lands at your hip when you pull it forward. Keep it snug enough to cut bounce, yet loose enough to slide when you need access.
In crowds, keep the sling on your front with zippers facing inward, and use a stabilizer strap if your bag includes one. Rotate sides every hour on longer days to reduce imbalance and shoulder fatigue.
Street shoot example: mirrorless body, 35mm and 85mm primes, spare battery, small cloth, and compact rain cover. Photo idea: sling on the back for walking, then swung to the front for a quick draw.
How to Wear a Shoulder Bag
Set the strap so the bag rests at the top of your hip, not bouncing on your thigh. Keep heavier items low and toward your body so the bag rides steady and close.
If your bag offers a small waist or stabilizer strap, use it to stop swinging when you move. Some photographers add a simple grippy pad on the shoulder to keep the strap anchored.
Know your access method and practice it. Top-flap styles let you work from the lid without exposing everything, while front-zip designs are fast but need mindful opening angles to avoid spills.
Choose a shoulder bag when you carry a moderate kit, need to set the bag down quickly, or want a low-profile look. Wedding reception example: body with 24–70, flash, extra batteries, and a 50mm in a padded insert.
Photo idea: bag sitting at hip height with strap crossing the torso, and a second frame showing the hand opening the top flap while the other hand steadies the base. Avoid long-term heavy loads on a single shoulder; switch shoulders or move to a small backpack if pain starts.
Tips for Adjusting Straps (and Balancing Weight)
For backpacks, adjust in this order for a clean fit: hip belt first, then shoulder straps, then sternum strap, then load lifters. For sling and shoulder bags, set the length so the bag lands at the same spot when swung front, and keep the strap across your chest rather than on your neck.
Balance your kit by keeping heavy items near your centerline and high enough to avoid sway. On long days, choose two-strap solutions or engage the hip belt, and tighten just enough to remove sway without restricting breathing.
Comfort and security hacks matter. Pad thin straps with an aftermarket pad or a folded towel, rotate shoulders every twenty to forty minutes, keep valuables in internal pockets, wear the bag on your front in crowds, and use anti-theft straps or tiny zipper locks.
Quick fixes help on the move: if the bag slides down, shorten the strap; if back pain starts, shift weight to hips or switch sides; if the bag swings, add a stabilizer strap; if straps pinch, lower the sternum strap or widen the spacing. To go deeper and truly get the most out of any setup, practice at home with a full load and take a short walk test.
Ergonomic checklist: neutral shoulders, even belt pressure, no hot spots after ten minutes, and easy access without contortions. When your needs change, switch bag types rather than forcing a poor fit; that mindset is the real secret to how to wear a camera bag all day without fatigue.
What People Ask Most
What is the most comfortable way to wear a camera bag?
The most comfortable way is crossbody with the bag resting at your hip for even weight distribution and quick access. Learning how to wear a camera bag this way reduces shoulder strain on long shoots.
Should I wear my camera bag across my body or on one shoulder?
Crossbody is safer and more stable, while one-shoulder carry is fine for short trips or light loads. For beginners, practice how to wear a camera bag crossbody to keep gear secure.
How high should I wear my camera bag for quick access?
Keep the bag at hip or chest height so you can grab your camera without removing the bag. This position makes using your gear faster and easier.
Can I wear a camera bag while traveling on planes or public transit?
Yes, wear it crossbody in front or keep it on your lap to stay secure and accessible. Being mindful of how to wear a camera bag helps prevent theft and damage in crowded places.
How do I stop my camera bag from bouncing when I walk or hike?
Tighten the strap, use a waist belt or sternum strap, and pack heavier items closer to your back. These small adjustments cut down on bounce and increase comfort.
What are common mistakes beginners make when wearing a camera bag?
Common mistakes are wearing the bag too loose, overstuffing it, or leaving it on your back in crowded areas. Avoiding these missteps keeps your gear safe and accessible.
How should I wear a camera bag in crowded places to stay safe?
Carry the bag in front or crossbody with your hand nearby and use secure zippers or a small lock if needed. This simple approach keeps your camera within sight and hard to snatch.
Final Thoughts on Choosing and Wearing Camera Bags
Choosing the right camera bag isn’t just about looks — it’s about comfort, access, and protecting your gear. Whether you’re prepping a mirrorless kit for street work or a long day that might hit 270 shots, this guide helps you pick a bag you’ll actually wear. The big payoff is less fatigue and faster shooting, but be honest about load limits and switch to a backpack when days get heavy; it’s best for photographers who move often between locations.
We opened by asking how to pick a bag you’ll actually wear, and we answered with practical fit tests, packing examples, and clear steps for backpacks, slings, and shoulder bags. You’ve also got simple markers to judge fit and comfort — padded dividers, hip belts, quick access, and strap adjustments — so you can test before you buy.
Try the fit test on a short walk with a fully loaded bag and note how it feels when you bend, climb, and swing it; adjust straps and swap shoulders during long days. With small tweaks and practice, you’ll carry less strain and shoot more confidently on every outing.


0 Comments