Want photography tips real estate that make listings stand out and sell faster? This guide shows simple tricks to shoot, light, and edit better property photos.
We cover essential tips, gear and camera settings. You will learn composition, lighting, post-processing, plus a printable pre-shoot checklist and a copyable shot-list template.
This guide is for agents and DIY photographers who want fast results. It is updated for 2026 and includes practical workflows and clear checklists.
Read on for quick action steps you can use on your next shoot. By the end you will have a simple workflow to shoot, edit, and deliver professional listing photos.
Essential real estate photography tips (answering the keyword)

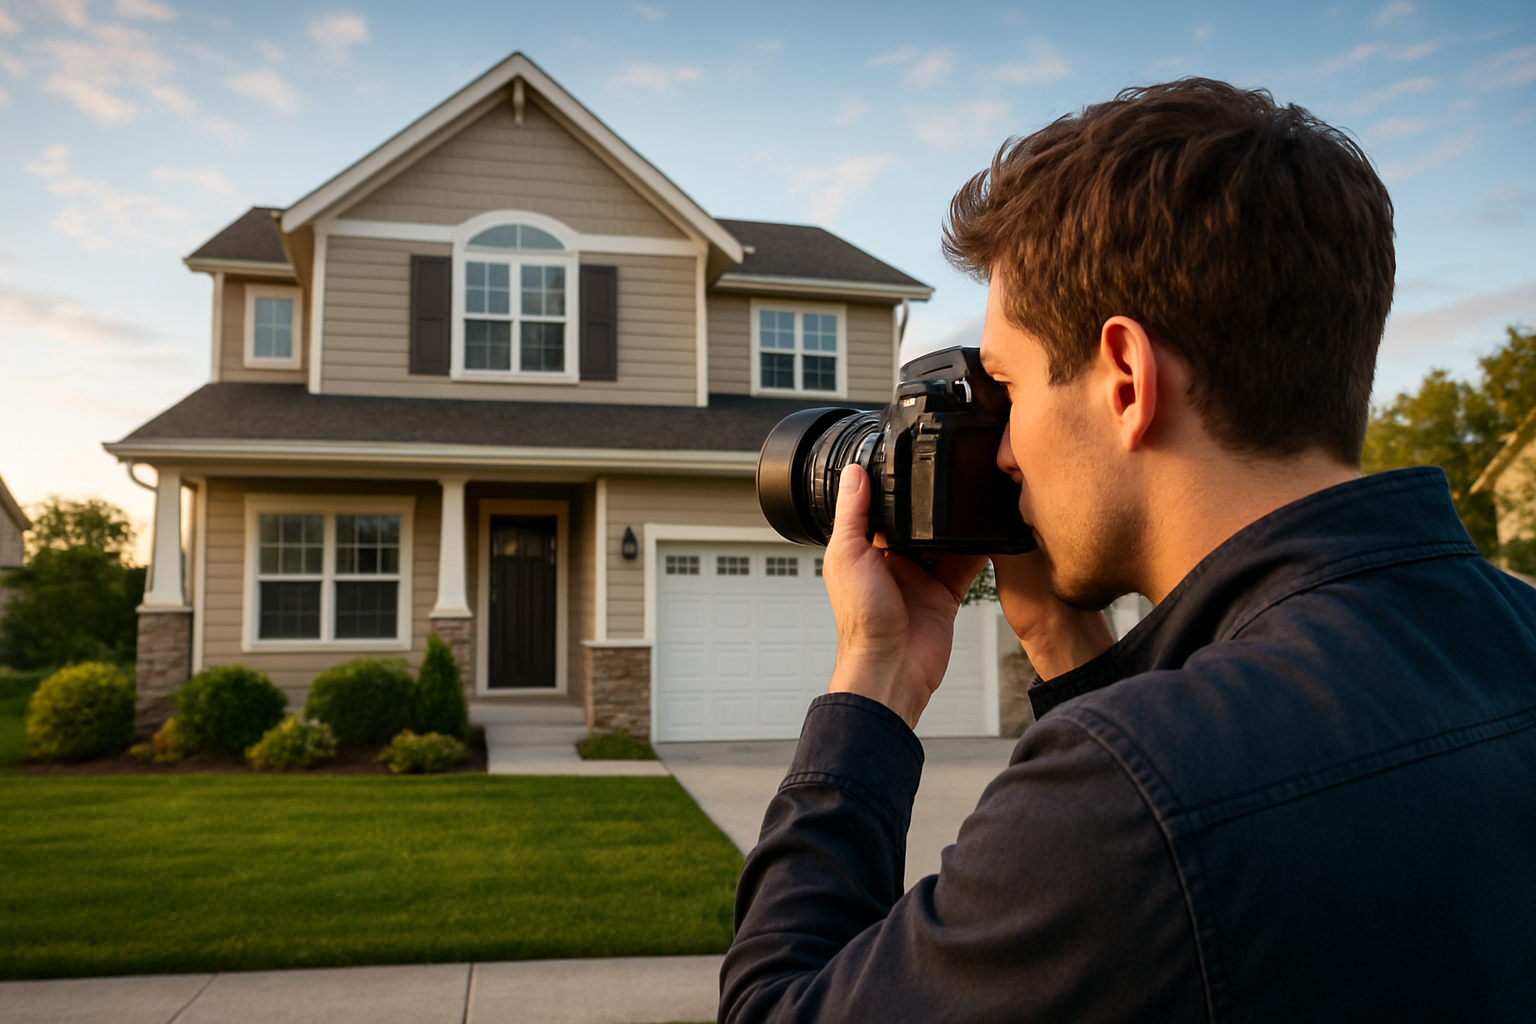
Great real estate photos win clicks, showings, and offers. If you came looking for photography tips real estate beginners can trust, start by thinking like a buyer and a storyteller. Your job is to show space, light, and flow clearly and beautifully.
Time your shoot with the sun. Interiors usually look best mid-day when rooms are brightest and least contrasty, while exteriors shine in early morning or late afternoon for softer light, or on overcast days for even tone. Twilight with interior lights on adds drama and is perfect for one signature mood shot.
Walk the home before you unpack your gear. Open curtains and blinds to invite light, and turn on interior lights to add warmth and sparkle. Turn off fans, fireplaces with flicker, and anything that moves or creates banding on camera.
Stage fast and light. Clear clutter, personal photos, pet bowls, toiletries, fridge magnets, and trash bins, then hide cords, remotes, and tissue boxes. Ask the seller to move cars from the driveway and clear the porch and patio so the entry feels open and welcoming.
Use a simple pre-shoot checklist to avoid surprises. Charge batteries, format cards, and pack a tripod, remote or timer, lens cloths, gaffer tape or clips, small cleaning kit for glass, and a microfiber towel for quick dusting. Bring spare bulbs or daylight-balanced LEDs, a flashlight, a doorstop, shoe covers, a multitool, and extra AA/AAA batteries.
Follow a consistent shot list so every gallery feels complete. Start with the front exterior straight on and at a 3/4 angle, then the entry, living room, kitchen, dining, primary suite, secondary bedrooms, bathrooms, laundry, and any office or bonus space. Finish with the backyard, garage, views, and special features like fireplaces, fixtures, built-ins, and community amenities.
Capture both wide views and targeted details. Wide angles show layout and scale, while medium and close shots highlight finishes, fixtures, textures, and that priceless view out the window. This mix helps buyers read the plan and fall in love with the details.
Keep the camera level and vertical lines straight. Show room flow by opening doors and looking for sight lines that lead from one space to the next. When possible, shoot from a corner to show three walls and maximize depth without exaggeration.
Respect the simple DOs and DON’Ts. Do shoot RAW, use a tripod, and keep verticals straight. Don’t include people or pets, don’t leave TVs or monitors on, and don’t over-use ultra-wide focal lengths to the point of bending furniture and stretching ceilings.
Pick the angle that tells the truth. Too much floor makes a room feel empty, and too much ceiling can make it feel cramped. Split the difference and keep horizons around the midline unless a feature calls for a shift.
Smartphones can work in a pinch if you add a quality wide-angle adapter and shoot RAW in a pro app. The same rule applies: tripod, level frame, gentle light, and clean staging. For deeper training on planning angles and room coverage, this guide to real estate photos is a helpful side read.
To make life easier, print a one-page pre-shoot checklist and a shot-list template and keep them in your bag. Check items as you go, and you’ll never miss the powder room, pantry, or that second deck off the main bedroom again.
Gear & camera settings every realtor/photographer needs
You do not need the most expensive camera, but you do need control. A DSLR or mirrorless body that shoots RAW gives you dynamic range, clean files, and reliable bracketing. A recent smartphone with a good wide attachment can handle budget listings, but glass and a tripod still win.
Choose a wide-angle zoom that keeps lines straight. On full frame, 16–35mm is ideal; on APS‑C, 10–22mm works well. Add a 24mm tilt‑shift for perfect verticals if you shoot often, and a 50mm for detail and vignette shots.
Use a sturdy tripod with a bubble or torpedo level and a quick‑release head. Trigger the shutter with a remote or a 2‑second timer to avoid shake. If your camera offers electronic front curtain or full electronic shutter, enable it for maximum stability.
Pack optional light for tough interiors. Small strobes or LED panels let you fill deep corners without blowing windows, and a simple reflector helps lift shadows. Bring CTO or daylight gels so your added light matches bulbs and window light.
Consider a drone for exterior context, roof and lot lines, and nearby amenities. Always check local regulations, airspace maps, and property permissions before takeoff. Keep a spare battery and a clear flight plan to work quickly.
Shoot RAW; base ISO (100–200); aperture for depth/sharpness f/7.1–f/11 (adjust by lens); shutter speed variable — tripod allows slow speeds; use mirror lock-up or electronic shutter if available.
Bracketing: 3–5 exposures (common 3-shot -2 / 0 / +2 EV) for HDR blending; use Auto Exposure Bracketing (AEB) or manual exposures.
White balance: set consistent WB or shoot auto and correct in RAW; note mixed lighting (tungsten vs daylight) and plan to gel flashes or turn bulbs off as needed.
Use grid lines and electronic level; shoot tethered when possible for client review.
If you are building a kit on a budget, start with a used body that shoots RAW, a 10–22mm or 16–35mm equivalent, a solid aluminum tripod, a remote, and two batteries. Upgrade later to a carbon tripod, tilt‑shift lens, and a two‑light kit as bookings grow. For deeper context on gear and technique, read up on getting started before you invest big.
Composition & shooting techniques that sell homes
Composition is where homes start to feel real. Set your camera height around chest level, roughly 42–48 inches or 107–122 centimeters, for a natural perspective. Avoid floor‑level or overhead extremes unless you have a very specific reason.
Work corners to maximize depth and clarity. When you can show three walls, buyers can instantly read the size and shape. If a room is narrow, move to the opposite corner and adjust slightly to keep verticals straight.
Use lines to guide the eye to the hero. Leading lines, symmetry, and the rule of thirds help you feature a fireplace, kitchen island, or a view through French doors. Align counters, stair rails, and beams so they pull attention where you want it.
Keep vertical lines vertical in camera and in post. Level the camera rather than tilting up or down, and correct perspective afterward if needed. Clean structure feels professional, calm, and trustworthy.
Tell the story of flow with a variety of shot types. Start with a wide overview to define the room, then a medium to show the next space through a doorway, and a detail to celebrate materials and fixtures. Open doors intentionally to guide the viewer’s path.
Use lifestyle touches sparingly. A styled coffee mug on a reading chair or a single vase on the island adds warmth, but clarity and realism come first. Less is more when you want clean lines and accurate proportions.
Avoid common traps. Extreme ultra‑wide stretches furniture and makes ceilings bow, too much floor creates dead space, and cutting off a fireplace or island edge feels careless. Remove foreground clutter that blocks entry into the scene.
Imagine a quick before/after. In the before, you shot from too high and tilted down, so cabinets leaned and the floor dominated the frame; in the after, you lowered the camera, leveled it, and the room snapped into shape with balanced floor and ceiling. That change alone boosts trust and time on listing pages.
If you want a clear refresher on framing basics, these concise beginner tips mirror what pros practice daily. Combine them with your own shot list and you will move faster while missing less.
Lighting strategies: balancing interior and exterior light
Assess the light in every room before you press the shutter. Windows often backlight interiors, which can cause blown highlights and murky corners. Decide whether to open curtains for a view or diffuse them if the scene outside distracts.
Use exposure bracketing and blend in post when contrast is high. A window‑safe exposure plus a bright interior exposure preserves both view and warmth. If the home is evenly lit, a single clean exposure will often look most natural.
Plan one twilight exterior for mood and drama. Shoot shortly after sunset with all interior lights on, bracket exposures to hold highlight detail, and use your tripod for longer shutter speeds. Keep the sky rich and the windows glowing for a magazine feel.
Fill shadows gently when rooms run dark. Bounce flash off a ceiling or wall, or float a small LED panel into a corner to lift the gloom without making harsh pools of light. Use reflectors near feature areas like islands and vanities to add polish.
Fight color cast before it starts. Replace or turn off mismatched bulbs when possible, gel your flashes to match ambient light, and set a consistent white balance you can refine in RAW. Mixed temperatures are distracting and hard to fix later.
Be practical on site. If the exterior is blazing while the interior is dim, schedule for a softer time of day or commit to multiple brackets for blending. Turn off ceiling fans, watch for mirror and window reflections of you or your lights, and shift your angle to hide them.
One quick example helps. Picture a living room with huge south windows at noon; your first frame blew out the patio, while the second was perfect for the sofa but muddy elsewhere. A five‑shot bracket blended cleanly brings back the patio detail and keeps the sofa bright and inviting.
Post‑processing, delivery specs & file management (practical workflow)
Treat editing like finishing carpentry. Start by culling to the best angles and the cleanest bracket sets, then merge HDR or manually blend exposures. Fix perspective and straighten verticals before creative adjustments.
Dial in white balance, overall exposure, highlights, and shadows until the image feels balanced and believable. Use local dodging and burning to guide the eye to focal points like the stove or the view. Small, targeted moves beat big global swings.
Remove small distractions the seller missed. Clone out stray cords, outlet plates that draw attention, or dust on dark cabinetry, but leave the home honest. Keep your edits realistic to avoid halos, crunchy contrast, or neon colors that turn buyers off.
Export for the web with consistent specs so galleries load fast and look sharp. For most listings, use JPG in sRGB, long edge between 1,600 and 2,000 pixels, and compression around 70–85. Create a separate high‑resolution TIFF or large JPG set for print if the client asks, and follow any MLS size rules.
Name files clearly so clients find what they need fast. A simple pattern like propertyaddress_room_01.jpg with incremental numbers keeps sets tidy, and a quick caption such as “Front exterior — 3/4 angle” helps point the way. Add basic metadata so your credit and contact details travel with the files.
Organize your folders the same way every time. Use a structure like Client > Address > YYYYMMDD > RAW | EDITS | EXPORTS, and mirror this on your backup drives. Don’t reuse cards until you have at least two backups, one local and one cloud.
Set expectations up front with a clear deliverable list. A common package includes about 25 edited images covering exteriors, main interiors, key features, and one twilight, with optional drone and a floor plan as add‑ons. Typical turnaround is 24–48 hours, with rush, twilight, and drone adding to rate and delivery time.
Before/after examples can help clients see your value. Show a crooked, contrasty bathroom next to a corrected version with straight verticals, balanced tiles, and view detail preserved from an exposure blend. A lightly decluttered vignette on the kitchen island often seals the mood without misleading buyers.
Run a final QA pass before you send the gallery. Check that verticals are straight, horizons level, windows are not blown out, and color is consistent from frame to frame, then zoom for dust and cords. Confirm all personal items are out, file names are correct, and the full shot list is delivered.
If you made it this far, you now have the essential photography tips real estate agents and DIY shooters rely on. Print the pre‑shoot checklist and the shot‑list template, keep them in your bag, and you will work faster with fewer reshoots. Use these habits on every address and watch your images win more clicks, showings, and offers.
As you refine your craft, revisit these photography tips real estate pros never stop using. Keep the rooms honest, the light gentle, and the lines straight, and your work will feel calm and credible. That trust is what turns browsers into buyers.
What People Ask Most
What basic photography tips real estate beginners should start with?
Start by using natural light, shooting from chest height, and keeping rooms tidy to show space clearly. These simple steps make listings look more professional fast.
How can I make rooms look bigger in real estate photos?
Shoot from a corner, use a wide field of view, and keep furniture away from walls to create depth. These photography tips real estate help viewers see more usable space.
Should I use natural light or flash for real estate photography?
Use natural light whenever possible by opening curtains and shooting during the day, and avoid mixed lighting from different bulbs. This photography tips real estate approach keeps colors accurate and spaces inviting.
How important is decluttering and staging for listing photos?
Very important—removing personal items and small clutter helps buyers imagine themselves in the space. Staged rooms photograph better and can speed up sales.
Can I use a smartphone for real estate photos effectively?
Yes, modern phones work well if you steady the camera, enable HDR, and shoot in landscape orientation. These photography tips real estate make smartphone shots look polished.
How many photos should I include in a real estate listing?
Aim for 20–30 quality images covering every main room, key features, and the exterior. Good coverage gives buyers a clear sense of the property.
What common mistakes should beginners avoid in real estate photography?
Avoid crooked horizons, poor lighting, and cluttered rooms, as these distract buyers from the home. Following simple photography tips real estate prevents these issues and improves listings.
Final Thoughts on Essential real estate photography tips
You came looking for a no-nonsense playbook to make listings sing, and that’s exactly what this guide delivers — practical checklists, shot templates, gear notes, and editing steps that turn rooms into marketable images. Even if you’re starting with minimal kit—say $270 for a basic tripod and wide adapter—these habits scale, tighten your workflow, and lift perceived value right away. Agents, freelance shooters, and motivated homeowners will find the repeatable routines here especially useful because they save time while producing consistent, attractive photos.
Be realistic: better-looking photos need a little planning and modest investment, and you shouldn’t expect miracles from a single shoot or from overcooked HDR — steady technique and attention to detail matter more than flashy edits. The piece showed how to handle light, keep verticals true, shoot with bracketing, and deliver web-ready files so you can avoid common traps, set clear client expectations, and produce trustworthy visuals. Keep practicing, follow the checklist, and you’ll keep improving your listings and your confidence on location with every shoot.


0 Comments