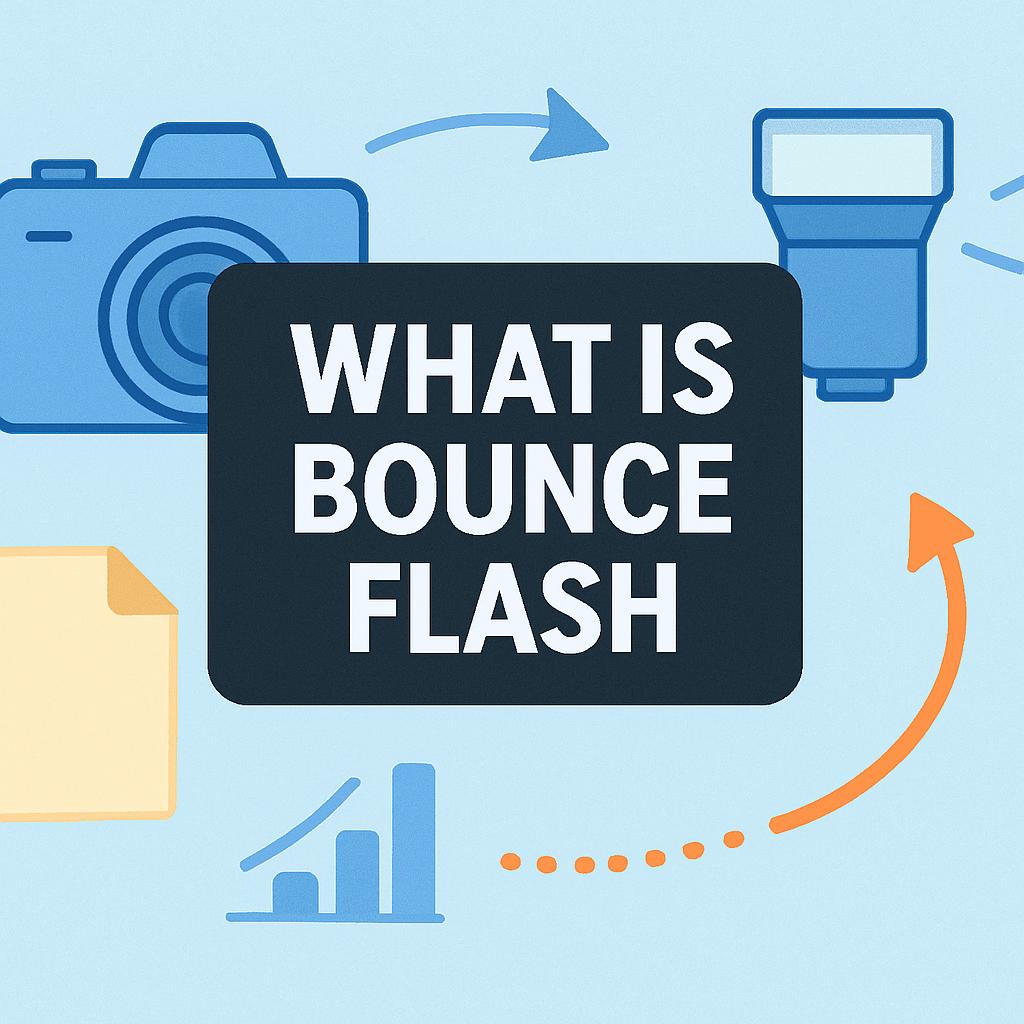
What is bounce flash and how can it turn a harsh on-camera flash into soft, flattering light?
This article explains the idea in plain English and gives a simple analogy so it clicks fast. You’ll get a clear definition, the mechanics, and when to use it.
I’ll show practical setup steps, example EXIF, before/after shots, and a printable cheat sheet. You’ll also find gear tips and quick fixes for common problems.
Whether you shoot portraits, weddings, or events, these tips will lift your indoor lighting. Keep reading to master bounce flash with easy tests and fast results.
What Is Bounce Flash?
what is bounce flash? It is a lighting technique where you aim your flash at a nearby surface, like a ceiling or wall, so the light reflects and reaches your subject indirectly.
Think of it like bouncing a tennis ball off a wall to gently land where you want. The ceiling or wall becomes a larger light source, so shadows soften and the scene looks more natural than with straight-on, harsh flash.
Because the reflected surface is bigger than the flash head, you get smoother transitions, fewer hotspots, and a more flattering glow. This indirect, reflective light reduces red‑eye and blends better with the ambient room light.
It’s most often used for indoor portraits, events, and small rooms where a clean white ceiling or nearby wall can act as your reflector. If you want a quick starter, these bounce flash secrets will help you practice on your next shoot.

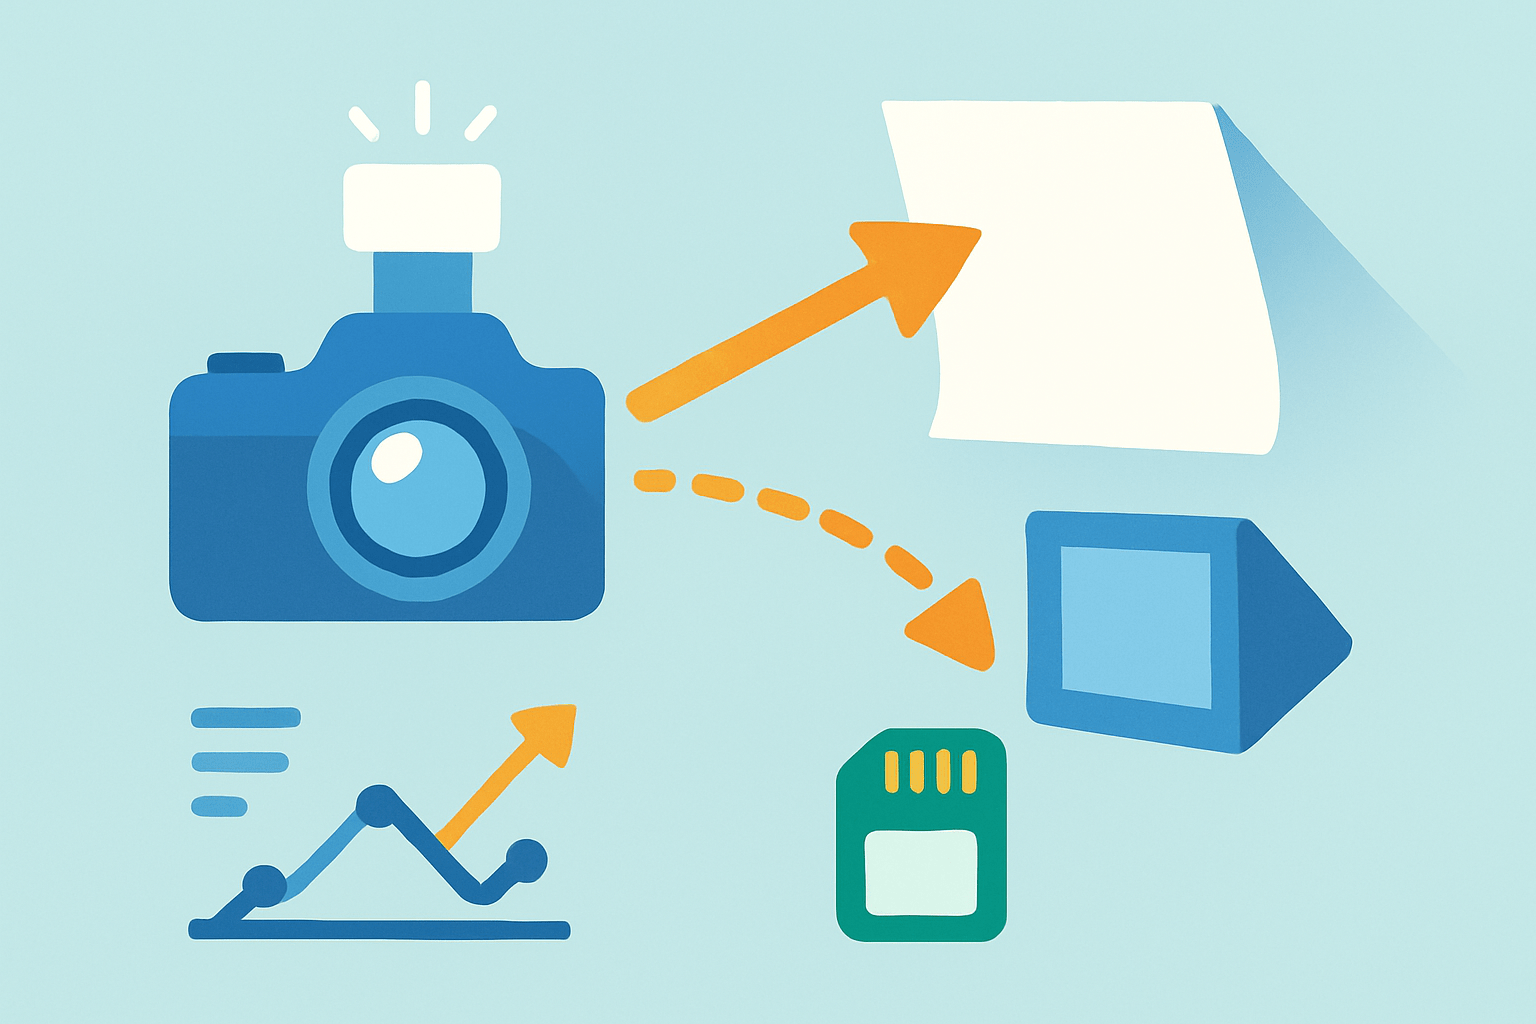
How Bounce Flash Works
At its core, bounce flash follows a simple rule from physics: the angle of incidence equals the angle of reflection. Aim your speedlight at the ceiling, and the light bounces back at a matching angle so the ceiling effectively becomes your new light source.
This is why bouncing softens light so nicely. A ceiling or wall is much larger relative to your subject than a tiny flash head, so the apparent source grows and shadows get softer, while a lightly textured surface can add gentle diffusion.
There is a trade‑off in power. Surfaces absorb light and the longer travel adds distance, so you often lose around two to three stops compared with direct flash. You may need to increase flash power, open the aperture, or raise ISO, and a quick nod to guide numbers helps you predict if your flash has enough reach without heavy math.
Color matters more than you think. A cream or wood‑toned ceiling can tint your bounce warm, while a bright green wall will cast green; use a matching gel on your flash and set white balance accordingly, or pick a neutral surface for an easy fix.
Catchlights still count. A tiny bit of forward fill, often with a bounce card, can add spark to eyes and keep facial shadows from going too deep. Many shooters rely on TTL bounce flash for speed, then nudge Flash Exposure Compensation to taste.


Caption, Pair 1: Before direct flash vs after ceiling bounce. EXIF after: ISO 400, f/4, 1/125, 35 mm; Flash TTL, FEC +0.7; head tilted 75° up, rotated 20° right to a white 9 ft ceiling.
Why Use Bounce Flash — Benefits and Limitations
The main benefit is softer, more flattering light that feels like a big window rather than a laser pointer. You also get fewer harsh shadows, reduced red‑eye, and smoother blending with ambient light so skin and background look natural.
It shines for portraits, weddings and receptions, family gatherings, indoor events, and even small product or room photos where you want shape without glare. This is where ceiling bounce and wall bounce help you keep the moment alive without turning the scene into a flat blast of light.
There are limits to respect. Very high or dark ceilings, strongly colored or rough surfaces, and large spaces can eat your power and spoil the color, and outdoors there may be nothing to bounce from so you will need reflectors or off‑camera modifiers.
Compared with direct flash, bounce is slower to set up but gives smoother results and friendlier shadows, while direct flash is punchy and reliable when you need speed or reach. If you want a deeper walkthrough of angles, distance, and options, see this guide on using bounce flash and practice in a small room before your next big gig.


Caption, Pair 2: Side‑by‑side portrait. EXIF after: ISO 320, f/3.2, 1/160, 50 mm; Manual flash 1/4 power; wall bounce to camera left, white wall at 6 ft, small bounce card for catchlights.
How to Set Up and Use Bounce Flash — Practical step‑by‑step
Start with a quick scan of the room. Check ceiling height, color, and texture, note nearby white or neutral walls, and place your subject so the closest neutral surface can do the heavy lifting.
Bring a speedlight with a tilt and rotate head, a small bounce card or pop‑up card, a couple of compact reflectors, gels for color correction, and off‑camera triggers or a light stand if the room is large. Budget units can handle simple ceiling bounce, while pro flashes add faster recycling and more consistent TTL.
Evaluate your surface first. A white or light gray ceiling is ideal, and if the only option is colored, plan a gel to match the dominant ambient and set a compensating white balance to keep skin tones steady.
Angle the flash so the reflection lands exactly where your subject stands, then take a fast test shot and adjust the tilt or rotation until the light wraps evenly. Use a small bounce card to send a touch of forward fill that adds catchlights and rescues the eyes.
Choose your exposure mode based on the pace of the scene. TTL is great for fast‑moving moments and changing distances, and you can fine‑tune with Flash Exposure Compensation, while Manual gives repeatable power for consistent frames or locked compositions in a portrait session.
A practical starting point for a single subject under an 8–9 ft white ceiling is ISO 200–400, f/2.8–f/4, and 1/125 with TTL and FEC around +0.3 to +0.7. For a small group in a 9–11 ft room, try ISO 400–800, f/4–f/5.6, and 1/160 with FEC +0.5 to +1.0, or add a second flash to cover the spread.
In a high‑ceiling ballroom, on‑camera bounce alone may fall short, so push light off a nearer wall, place off‑camera flashes on stands, or use a softbox or umbrella to create your own big source. Mind your shutter at or below sync speed, and remember HSS cuts power, so lean on aperture and ISO instead when you need more bounce reach.
Fine‑tune as the room changes. Adjust flash power or FEC in small steps, nudge your angle for smoother wrap, and check the histogram and highlight alert so skin stays bright without clipping; shoot RAW to give yourself headroom for color and exposure tweaks.
How to use a bounce card: flip or attach the card so a slim slice of light goes forward while most energy still bounces up, then size the card to taste for brighter catchlights or a slightly punchier fill. Keep it small enough to avoid turning your light into direct flash and recheck eye sparkle after each move.
Fixing colored ceilings: add a gel that matches the ambient or the color of the surface you are bouncing from, set your white balance to that color family, and test for neutral skin. If that fails, switch to wall bounce, hold a handheld reflector, or bring a small collapsible softbox to create a clean source.
Quick Settings Cheat Sheet: start at ISO 400, f/4, 1/125 indoors and tilt the head 60–90° to the nearest neutral surface, then ride FEC in quarter‑stop steps. If the frame is dark, open one stop or add FEC; if it is orange, gel to tungsten or choose a neutral wall; if eyes lack sparkle, pop the bounce card; if shadows look heavy, flatten the angle; if the ceiling is too high, move closer to a wall or raise ISO; if the background goes black, lengthen shutter to pull in ambient.
Test‑shot routine: take one frame to judge exposure, one to refine angle, and one to fix color before you move on. For a clean baseline, lock in Manual exposure for ambient and let TTL ride the subject, or go full Manual on the flash if the scene is steady so every frame matches.
For more field‑ready ideas and small room tricks, skim these simple tips and try them in a living room before your next paid shoot. A short practice evening will save you hours of rescue editing later.
A quick anecdote to encourage you: at a wedding reception with a dark wood ceiling, I aimed into a white side wall, added a half‑CTO gel to match tungsten chandeliers, and lifted FEC to +1.0. The couple’s first dance went from flat and muddy to warm and dimensional in two test frames.
Practical Tips, Common Mistakes & Troubleshooting
If your bounced shot is too dark, increase flash power or FEC, raise ISO, or move your subject closer to the bounce surface. If you see a colored cast, correct with a matching gel and set white balance or fix it in RAW with a gray reference.
No catchlights usually means the card is too small or the angle is too steep, so send a little light forward. Hotspots or heavy shadows often mean the bounce is too directional, so flatten the angle or add gentle diffusion while keeping the bounce as your main source.
Common mistakes include ignoring ceiling color, relying on TTL alone in wild mixed lighting, and forgetting to check the histogram and blinkies. Avoid these by taking three quick test frames, verifying color with a neutral target, and adjusting FEC in small steps as you move.
Drill A is a single portrait in a small room, where you experiment with ceiling bounce versus wall bounce and vary the card size to control catchlights. Aim for a soft wrap and a consistent exposure across five frames.
Drill B is a two‑person group under a 9 ft ceiling, balancing ambient with bounce by lengthening shutter to pull background detail while keeping faces crisp. Compare TTL bounce flash to Manual and note which gives steadier results as subjects shift.
Drill C is a reception hall with mixed light, where you practice gelling your flash and adding a second off‑camera unit to fill distant backgrounds. The goal is clean skin tones, clear eyes, and a background that feels alive rather than blacked out.
When you think back to what is bounce flash and why it works, remember that you are building a larger, softer source from whatever the room gives you. With a quick scan, smart settings, and a bounce card in your pocket, you can turn almost any ceiling or wall into beautiful, believable light.
What People Ask Most
What is bounce flash and how does it work?
Bounce flash is when you aim your flash at a nearby surface so the light reflects onto your subject instead of hitting them directly. This reflection softens shadows and creates more even, natural-looking light.
Why should I use bounce flash instead of direct flash?
Bounce flash reduces harsh shadows and bright spots, which makes skin tones and textures look better. It also gives photos a more professional, pleasing appearance.
When is bounce flash most useful in photography?
It’s great for indoor portraits, small group shots, and filling in shadows when walls or ceilings can reflect light. Use it whenever direct flash would create flat or harsh lighting.
Can I use bounce flash indoors and outdoors?
Bounce flash works best indoors or in spaces with nearby reflective surfaces like ceilings or walls, and is less effective in open outdoor areas. Outdoors you may need a reflector or diffuser to get similar soft light.
Will bounce flash make photos look more natural?
Yes, reflected light spreads and wraps around the subject, producing softer highlights and gentler shadows. That makes skin look smoother and scenes feel less flat.
Is bounce flash hard for beginners to learn?
No, it’s easy to start: tilt the flash toward a ceiling or wall and take a test shot to check the result. Small adjustments in angle and flash power will quickly improve your pictures.
What common mistakes should I avoid when using bounce flash?
Avoid bouncing off colored walls or very low ceilings that can tint or overexpose the image, and remember to adjust flash power to prevent under- or overexposure. Also watch for unwanted shadows from nearby objects.
Final Thoughts on Bounce Flash
Used properly, bounce flash turns a small burst into soft, room-filling light that flatters skin tones and tames harsh shadows—exactly the practical payoff we’ve demonstrated here. If you wondered what is bounce flash, this piece explained the angles, the physics, and the starter settings; I even dropped the number 270 as a quick reference in an example. You should now see how a ceiling or wall becomes a larger, gentler light source for more natural-looking portraits.
Keep in mind one real limitation: very high or strongly colored ceilings can steal power or add unwanted color, so you’ll sometimes need gels, extra power, or off-camera modifiers. This approach is best for portrait and event shooters, wedding photographers, and anyone photographing indoors who wants a softer, more flattering look. For quick shoots or small rooms, it’s a simple tweak that makes images feel more natural.
Try the drills and quick settings we outlined to build confidence—you’ll learn faster by testing angles and small fill tricks than by reading another tip. Keep experimenting; your next take will likely be the moment that proves how much difference gentle reflected light can make.


0 Comments