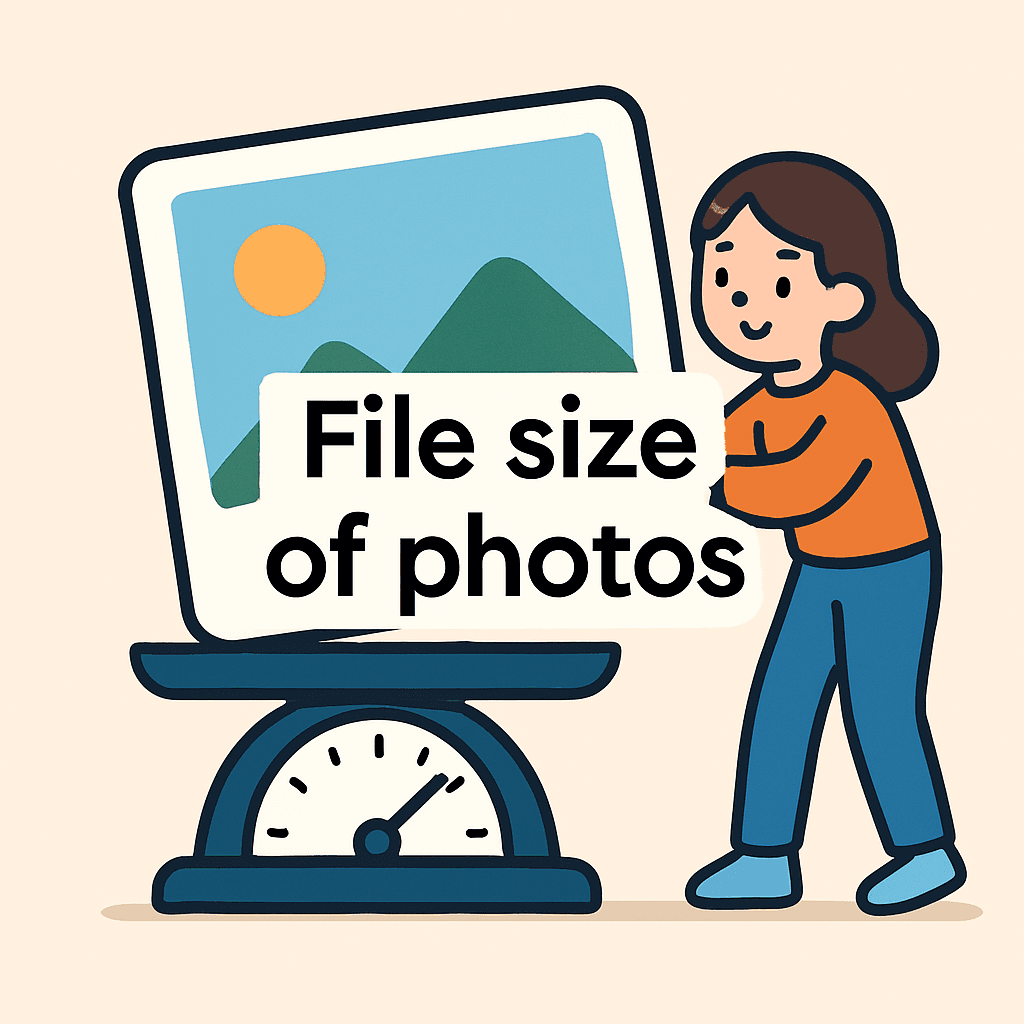
You keep asking “how much does a photo weigh” when you’re sorting drives and trying to free up space. This piece will show quick wins for sharper shots, fewer distortions, and a faster workflow so your images behave and storage doesn’t get in the way. You’ll save time and stop guessing what to delete.
We’ll bust a common myth: bigger megapixels don’t always mean bigger files. Whether you’re a beginner, a hobbyist, or a pro shooting weddings or web galleries, you’ll get practical rules that save space without killing quality. This isn’t just theory — it’s practical, camera-to-cloud advice.
I’ll explain what really determines file “weight”, show typical size examples, and give easy storage and sharing choices. By the end you’ll know which formats to use for web, print, and backup. There’s a surprisingly simple tweak that cuts bloat without losing detail, so keep reading because the fix is simpler than you think.

What “photo weight” means (digital file size)
When photographers ask, “how much does a photo weigh,” they really mean its digital file size. We measure that “weight” in megabytes (MB) or kilobytes (KB), not pounds or grams.
Four things primarily determine file weight: pixel dimensions, bit depth, file format, and compression. Think of them as the size of the canvas, the paint thickness, the container type, and how tightly it’s packed.
These factors interact. A high-resolution image can be tiny if you compress it hard, while a small image can be hefty if saved with deep color and no compression.
As we walk through the variables, you’ll see why two similar-looking photos can “weigh” very differently. That’s the heart of answering, “how much does a photo weigh” in the real world.
How pixel count (megapixels) affects file size
Megapixels are simply width times height in pixels. A 12 MP photo might be 4000×3000 pixels, while a 24 MP file doubles the pixel count and the potential data stored.
More pixels generally mean more bytes, because there’s more information to record. However, compression can dramatically reduce the final file size, even at the same megapixel count.
Resizing is the quickest way to cut file weight. If I downsize a 6000×4000 image to 3000×2000, I’ve quartered the pixel count and roughly quartered the uncompressed size.
Be mindful of your end use. For web sharing, you rarely need the full sensor resolution, so reducing pixel dimensions can be a clean way to “slim” a photo.
Bit depth and its impact on file weight
Bit depth means how many bits represent each pixel’s color. Common values are 8, 12, 14, and 16 bits per channel, where more bits store more tonal detail and smoother gradients.
The basic size formula is: file size (bytes) ≈ pixels × bits per pixel ÷ 8. Increase bit depth, and you multiply the bytes stored even if pixel dimensions stay the same.
For example, 8-bit per channel RGB equals 24 bits per pixel. Jumping to 16-bit per channel RGB equals 48 bits per pixel, roughly doubling the uncompressed file size.
RAW files often use 12, 14, or 16 bits per channel, preserving shadow and highlight detail for editing. That extra latitude comes with a noticeable bump in file weight.
File formats: differences and typical weights
Formats decide how image data is stored and compressed. Some remove information to save space, while others keep every bit, trading storage for quality and flexibility.
Think of JPEG as efficient packing with some discard, RAW as a box of original ingredients, and TIFF as a sturdy container designed for pristine delivery.
Each approach changes how much a photo “weighs,” even when pixel dimensions match. Below, I break down the three you’ll encounter most in cameras and editors.
JPEG: lossy compression and typical weights
JPEG throws away some data to shrink size, balancing quality and compactness. On a 12 MP camera, I typically see JPEGs between about 2–5 MB, depending on the quality setting.
Lower quality means smaller files but more artifacts, especially in fine textures. For deeper guidance on choosing between formats, see JPEG vs TIFF.
RAW: uncompressed or lightly compressed originals
RAW files store the sensor’s original data with minimal processing. On 20–30 MP cameras at 14/16-bit, I commonly see files in the 20–50 MB range.
That’s often 2–5× larger than JPEG from the same scene, but you gain editing latitude. If you’re curious about how these formats differ, skim this RAW, JPEG, TIFF overview.
TIFF and other lossless formats
TIFF can be uncompressed or use lossless compression, preserving every pixel. A 15 MP TIFF can easily exceed 20 MB, and higher bit depths can push it much larger.
I use TIFF for archival masters and print-ready files. It’s heavier than JPEG, but consistent quality matters when you’ll tweak, re-save, or print big.
Compression levels: how they trade size for quality
Compression squeezes data to cut bytes. Dial it up, and file size plummets, but blocky artifacts, banding in gradients, and smeared detail creep in.
On export, “quality” sliders or numbers map to compression levels. A 90% quality JPEG may look pristine and still be half the size of a 100% export.
Beware repeated saves. Each additional JPEG save can add losses, so keep a master in a lossless format or RAW, and export fresh JPEGs as needed.
When clients ask, “how much does a photo weigh,” I answer with a range and a purpose. Pick the lowest compression that still meets your job’s visual standards.
How image content (detail and color) changes file weight
Content complexity affects compression efficiency. A forest of fine leaves compresses poorly, producing larger files than a simple studio backdrop at the same settings.
High-ISO noise also resists compression, inflating JPEG size. Conversely, a blue sky with smooth gradients compresses beautifully and yields smaller files.
Strong, varied colors require more data than muted tones. If two images share pixel dimensions and export settings, the busier one will usually “weigh” more.
Knowing this helps plan storage. Travel shoots full of textures and night scenes will demand more space than minimalist portraits or product shots.
Calculating photo file size: formula and worked examples
Use this uncompressed estimate: file size (MB) ≈ pixels × bits per pixel ÷ 8 ÷ 1024 ÷ 1024. It’s a great sanity check before compression enters the picture.
Example 1: 2048×2048 at 16-bit grayscale. That’s 4,194,304 pixels × 16 ÷ 8 ≈ 8,388,608 bytes, or about 8 MB uncompressed.
Example 2: 12 MP at 24-bit RGB. Uncompressed is roughly 12,000,000 × 24 ÷ 8 ≈ 36,000,000 bytes, about 34 MB. With JPEG compression, expect ~3–10 MB depending on quality.
These are guides, not guarantees. Different encoders, metadata, and thumbnails can nudge the final “weight” a little up or down.
Typical file size examples by device and use case
I like to calibrate expectations with real-world ranges. Your numbers will vary, but these benchmarks help you plan storage and delivery.
- Smartphone JPEGs (12–16 MP): about 2–5 MB.
- DSLR or mirrorless RAW (20–30 MP, 14/16-bit): roughly 20–50 MB.
- Web-optimized images: often under 100 KB for fast loading.
- TIFF for print: commonly 20–100 MB, depending on bit depth and compression.
Remember, compression and content complexity can push files outside these ranges. Always test export settings on a few representative images first.
If you’re juggling tight deadlines, knowing these targets speeds up delivery. You’ll spend less time guessing how much a photo will “weigh.”
Image size (pixels) vs file size (storage): key differences
Image size refers to pixel dimensions, like 6000×4000. File size is storage space, measured in MB or KB. They’re related but not locked together.
Formats, bit depth, compression, and content break any simple one-to-one rule. For a quick refresher, see this clear image size vs file size explanation.
That’s why two 24 MP photos can differ wildly in weight. One might be a 5 MB JPEG; the other could be a 100 MB 16-bit TIFF.
Choosing file size and format for web, print, and editing
For web, resize to the display need and compress gently. Aim for small KB sizes that still look crisp, especially on mobile and high-DPI screens.
For editing-heavy workflows, shoot RAW to keep latitude in highlights and shadows. Export JPEGs or TIFFs only when you’re ready to share or print.
For print and archival, TIFF or high-quality JPEG works well. If you’re unsure how much does a photo weigh for a specific output, run test prints at target sizes.
Match format to purpose, not habit. You’ll protect quality where it matters and save storage where it doesn’t.
Practical tips for managing photo “weight”
Shoot RAW when you plan significant edits, and switch to JPEG for casual work. That choice alone can slash storage needs on long trips.
Set a default JPEG quality that balances size and fidelity. I often land around 80–90% for sharing, reserving 100% only for demanding cases.
Resize before upload, especially for social or web galleries. Keep lossless masters of important work, and remember that layered edits can balloon final file sizes.
When clients ask, “how much does a photo weigh,” I answer with a range, a purpose, and a test export. That trio keeps expectations and quality aligned.
What People Ask Most
How much storage space does a typical photo take?
I typically see smartphone JPEGs (12–16 MP) around 2–5 MB, DSLR RAW files for 20–30 MP cameras around 20–50 MB, and web-optimized images often reduced under 100 KB for fast loading.
What determines the file size of a photo?
The main factors are pixel dimensions (megapixels), bit depth (bits per pixel), file format, and compression level, with image content (detail and color) also affecting how well it compresses.
Why does a 12 MP photo sometimes have a smaller file size than an 8 MP photo?
Because file size depends on format, bit depth, compression, and image content—highly compressed or simple 12 MP images can be smaller than complex, less-compressed 8 MP images.
How do file formats affect image size and quality?
Formats control how data is stored and compressed: JPEG uses lossy compression to cut size at quality cost, RAW preserves sensor data with little/no loss and is much larger, and TIFF can be uncompressed or lossless for archival quality.
What is the difference between image resolution and file size?
Image resolution refers to pixel dimensions or megapixels, while file size is the storage space in MB; they’re related but not one-to-one because bit depth, format, compression, and content change the final file size.
How can I calculate the size of a digital photo file?
You can estimate uncompressed size with pixels × bit depth ÷ 8 ÷ 1024 ÷ 1024 = MB, but remember compression and file format will usually change the final stored size.
Why are RAW photos much larger than JPEGs?
RAW files store near-original sensor data with higher bit depths and little or no compression, so they’re commonly 2–5× larger than JPEGs—often 20–50 MB for 20–30 MP cameras versus ~2–5 MB for a 12 MP JPEG.
Final Thoughts on Photo File Weight
If you ever asked “how much does a photo weigh”, this guide should make that question feel a lot less mysterious by showing what really controls file size and why two similar images can behave so differently. The article opened with that common frustration—running out of space or shipping huge files—and walked you through the mindset and choices that stop surprises from creeping into your workflow. Keep in mind one realistic limitation: any estimate you make will still vary with image content and settings, so you’ll want to check actual file properties when precision matters; photographers, editors, and anyone juggling storage or web performance will get the most value from applying these ideas.
In short, you now have a practical framework for deciding when to favor quality, convenience, or lightweight files without guessing. There’s no magic bullet, but informed trade-offs will save time and storage while keeping results predictable. Put a few of the suggestions into practice on your next session and you’ll quickly see how they change the way you manage images.


0 Comments