
You’re tired of wasted film and blurry instant shots? If you’ve searched polaroid go camera how to use, this guide will cut through the guesswork and get you shooting confidently. You’ll get quick wins for sharper shots, fewer distortions, and a faster, more enjoyable workflow.
You’ll learn clean film loading, framing fixes, and how to use flash and the self‑timer to avoid ruined exposures in low light and bright sun. Surprising: one common habit most users do actually causes blank frames, and we’ll bust that persistent myth. This is best for beginners and casual shooters on the go, and anyone who loves tiny, instant prints.
You’ll shoot with fewer distortions, plan shots smarter, and save film and time on every outing. We’ll also cover safe handling, quick troubleshooting, and simple packing tips so you won’t lose shots on a night out or a day trip. Want to know the tiny tweak that makes a big difference — keep reading because the fix is simpler than you think.
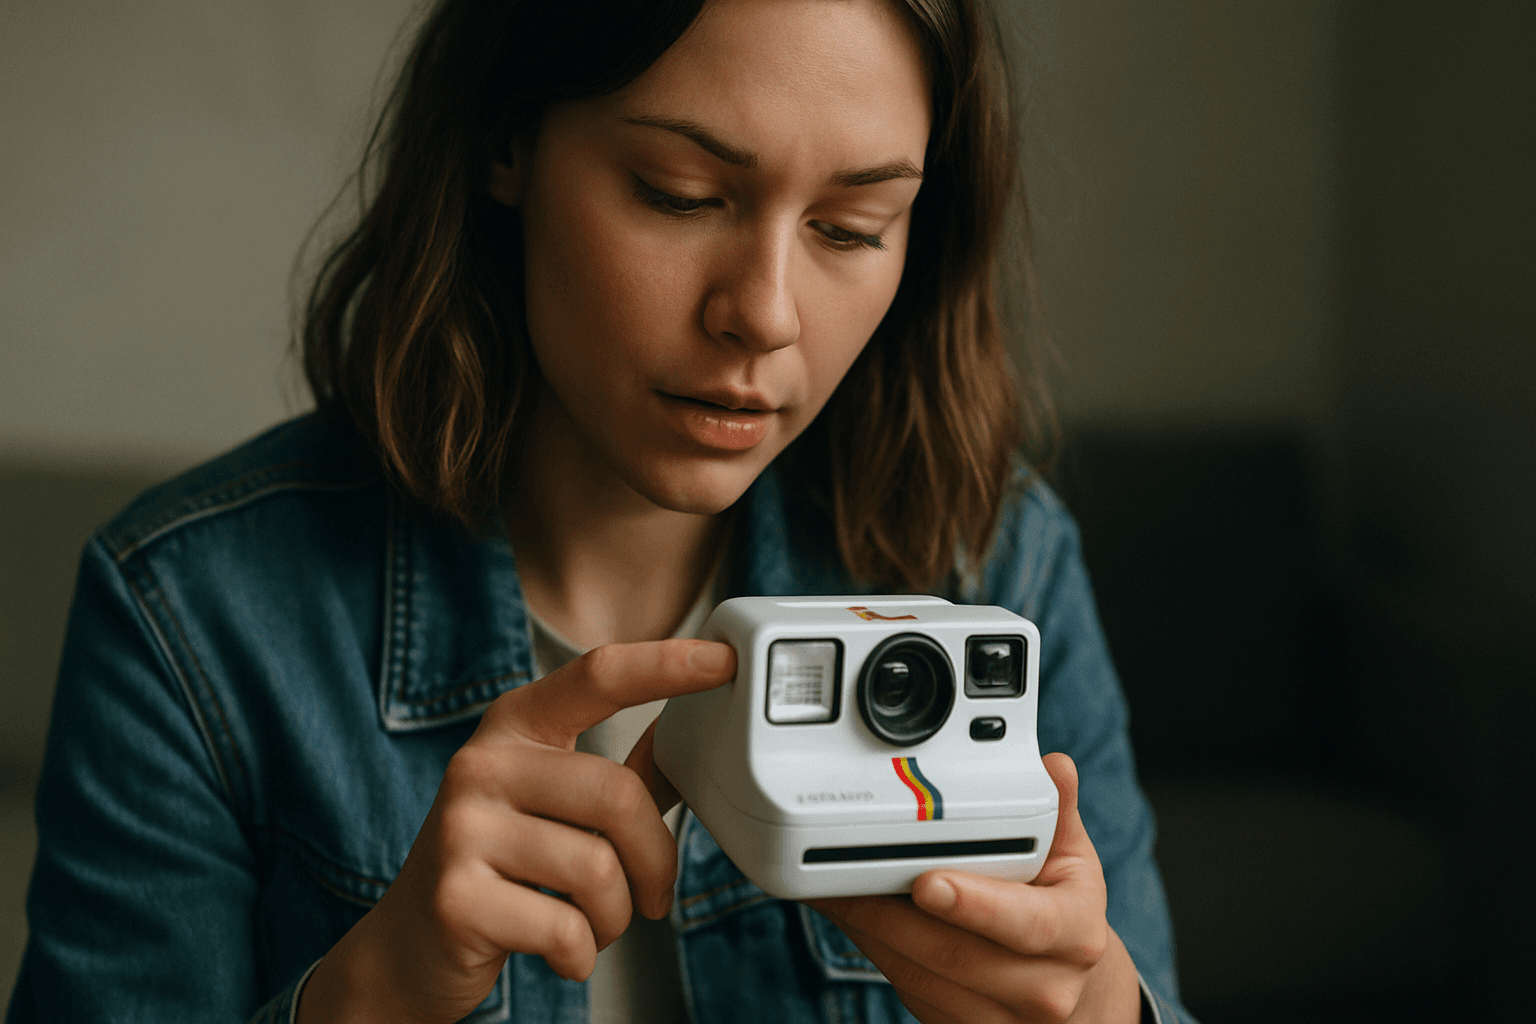
Unboxing and first charge
Inside the box you’ll usually find the Polaroid Go, a USB‑C cable, a wrist strap, and a quick guide. Film is often sold separately, so have a pack ready for day one.
Before you shoot, give the built‑in lithium‑ion battery a full first charge with the included USB‑C cable. A complete charge typically powers about 15 packs of film, so it’s worth the wait.
If you’re googling polaroid go camera how to use, start here: charge first, then load film. When the film counter lights up, you’re powered and ready for your first pack.
How to load film into the Polaroid Go camera correctly
Open the film door by sliding the latch until it pops. Hold the film pack with the thick end toward the hinge and the color stripe facing the camera’s matching mark.
Slide the pack in thick end first, keeping it flat and gentle. Close the door firmly; the camera should eject the darkslide automatically, confirming proper loading.
Check the film counter on top for your remaining shots. It should display the number of exposures left, stepping down with each photo you make.
If the darkslide doesn’t eject, power cycle and reseat the pack, ensuring the color stripes align. Save this step mentally; it solves half of the “polaroid go camera how to use” questions I hear.
Basic shooting: power, framing, shutter, and flash usage
Turn the camera on until the film counter lights. Raise it to your eye, frame through the viewfinder, and press the shutter button once to take a picture.
The shutter ranges from 1/300s to 1s, balancing light automatically. The aperture runs between roughly f/9 and f/42, which means the camera adjusts depth and brightness without you fiddling.
The flash fires automatically by default and is effective to about 2 meters. You can toggle it off with the flash button when shooting in bright sun or reflective interiors.
Using the viewfinder, selfie mirror, and parallax compensation
The viewfinder sits to the left of the lens, so it doesn’t see exactly what the lens sees. That offset is called parallax, and it becomes noticeable at close distances.
Use the front selfie mirror to check your framing for arm’s‑length portraits. Keep at least the minimum focus distance of about 45 cm (1.47 ft) to stay sharp.
At closer than roughly 1.2 m (4 ft), shift your aim slightly to compensate. I nudge the frame right and a touch down, so the subject isn’t cut off in the final photo.
Operating special features: flash on/off, self‑timer, and double exposure
Three creative tools live behind one button: flash toggle, self‑timer, and double exposure. It’s worth practicing at home, so you’re fluent before the moment matters.
When in doubt, glance at the indicators near the film counter for confirmation. If you need deeper reference, the Polaroid Go user manual diagrams every icon clearly.
Mastering these modes is the secret sauce of polaroid go camera how to use. Once muscle memory kicks in, you’ll work faster and make cleaner, more intentional frames.
Flash button: how to cycle and read indicators
Press once to toggle flash on or off. A small period symbol beside the film counter lights up when flash is active, so you always know what to expect.
Hold the button to activate the self‑timer, and double‑click to enter double‑exposure mode. After the first double‑exposure shot, the camera waits for your second press to finish the composite.
Double exposure and self‑timer practical tips
For double exposures, start with a darker base and layer a brighter subject second. Think silhouettes, textures, or text over faces, so the layers don’t fight each other.
Use the self‑timer on a stable surface to avoid shake, especially at shutter speeds down to 1 second. It’s a crucial trick in any polaroid go camera how to use playbook.
Handling and developing instant photos safely
The retractable film shield protects each photo as it ejects. Let the image rest under that shield for about five seconds before you slide it out.
Don’t shake the print. Keep it face‑down or in a dark pocket as the chemistry works, following your film’s instructions to prevent light damage and color shifts.
Warm, steady environments develop more consistently than cold, drafty spaces. I tuck fresh shots into a notebook or jacket to keep them safe and evenly developing.
Shooting tips for better results (distance, lighting, composition)
Stay at or beyond the 45 cm minimum focus distance for sharp subjects. At close range, compensate for parallax by nudging your frame slightly right and a bit down.
Don’t expect miracles from the flash past 2 meters. If your subject is farther, move closer, add a lamp, or reframe to capture available light on their face.
In low light, the camera may slow to 1 second. Brace your elbows, use the self‑timer, or lean on a wall to prevent blur from camera shake.
Know your tools by skimming the official product page. Understanding limitations is half of polaroid go camera how to use; the other half is creative problem‑solving on location.
Battery, charging, and shot planning
The Go’s rechargeable lithium‑ion battery charges via USB‑C. A full charge typically covers around 15 film packs, so most day trips won’t need a power bank.
Before a big shoot, top off the battery and pack extra film. I also carry the cable; a café stop can net enough charge for a spontaneous evening session.
Think in sequences, not singles. Plan portraits near windows by day, then switch to neon signs at dusk, budgeting both film and battery across your outing.
Troubleshooting common issues and quick checklist
If loading fails, recheck orientation and match the color stripes. Reseat the pack thick end first, close firmly, and confirm the darkslide ejects before your first shot.
If an image looks blown or blank, review your handling. Use the film shield, wait five seconds, and develop face‑down or in the dark per the film’s instructions.
Missed flash? Look for the period symbol next to the film counter to verify status. If it’s off and you needed it, toggle and reshoot with your subject within 2 meters.
If shots blur, you’re likely under 1/60s or shaking. Steady the camera, use the self‑timer, and consider brighter backgrounds to encourage faster shutter speeds.
Quick comparison: Polaroid Go in context
The Go is marketed as the world’s smallest analog instant camera, around 105 × 84 × 62 mm and roughly 239 g without film. It’s a true pocket companion for everyday carry.
It uses Polaroid Go film, making photos about 2.6 × 2.1 inches. The fixed‑focus lens sits around a 34–51 mm equivalent, paired with a vacuum‑discharge flash for compact power.
For sample images and field notes, check a detailed hands-on review. Seeing results helps you visualize what the camera excels at before you spend a pack on experiments.
What People Ask Most
How do I load film into the Polaroid Go camera?
I match the color stripes on the film pack to the camera mark and insert the thick end first, then confirm the darkslide ejects before taking my first shot and watch the film counter for remaining exposures.
Can I turn off the flash on the Polaroid Go for bright sunlight?
Yes — the flash is auto by default but I can toggle it off with the flash button; note the flash is most effective to about 2 meters and the period symbol next to the film counter shows when flash is active.
What is the self‑timer on the Polaroid Go and how do I use it?
The self‑timer lets me delay the shutter to join a shot or avoid camera shake; I hold the flash button to activate the timer and use it especially for longer exposures up to 1 second.
How do I take double exposure photos with the Polaroid Go camera?
I double‑click the flash button to enter double‑exposure mode, then compose each shot to layer images creatively and practice to get the exposure and alignment I want.
How far should I be from my subject when shooting with the Polaroid Go?
The minimum focus distance is about 45 cm (1.47 ft), and I generally compensate for parallax on close subjects or aim to keep subjects beyond roughly 1.2 m (4 ft) for easier framing.
What do I do if my photo ejects but is completely black or white?
I first re‑check that the film was inserted with the color‑stripe alignment and that the darkslide ejected; I also leave the ejected photo under the retractable film shield for about 5 seconds and follow the film pack’s handling tips (develop in the dark or face‑down) to avoid light damage.
How long does the film take to develop after shooting?
Follow the film pack instructions for the exact development time; at minimum I leave the image under the shield for about 5 seconds before removing it, then allow the recommended development period from the film maker.
Final Thoughts on Getting Comfortable with the Polaroid Go
If you searched “polaroid go camera how to use”, this guide is meant to get you from unboxing to confident shooting without wasting film or time. By focusing on the essentials and common sticking points, it gives you the clarity to feel deliberate with each click while still enjoying the playful flaws instant prints bring, so you can shoot with intention from your first pack. Keep in mind the camera has real limits in low light and with very close framing, so temper expectations on technical control and accept a few imperfect frames as part of the charm.
Remember the opening worry about ruining your first pack and feeling lost with the controls; the article answered that by stripping away the guesswork and showing sensible habits you can lean on, and confidence grows quickly once you understand the camera’s simple signals. This approach suits beginners, travelers, and anyone who wants fast, tactile results rather than perfect technical precision. Try a few deliberate sessions, learn the quirks, and you’ll start getting the kinds of snaps you actually want to keep.



0 Comments