Tired of shaky footage when you walk, run, or pan your camera?
Understanding how camera stabilizer works can change that, giving you smoother video and sharper photos and faster workflow, so you waste less time and get pro-looking clips.
We’ll show practical payoffs: steadier handheld shots, cleaner panning, fewer ruined takes, and faster setup times for run-and-gun shoots even on rough footing.
You’ll also learn how to pick between handheld rigs, motorized gimbals, vests, and sliders depending on movement, weight, and focal-length needs for indoor, outdoor, and event work.
We’ll bust a common myth that heavier setups always solve shake.
This piece is best for beginners, content creators, and indie filmmakers shooting on the move, at events, or in tight spaces, from weddings to travel videos.
You don’t need deep theory—just clear rules, quick setup checks, and a couple of tried-and-true habits that keep shoots smooth.
So keep reading because the fix is simpler than you think.
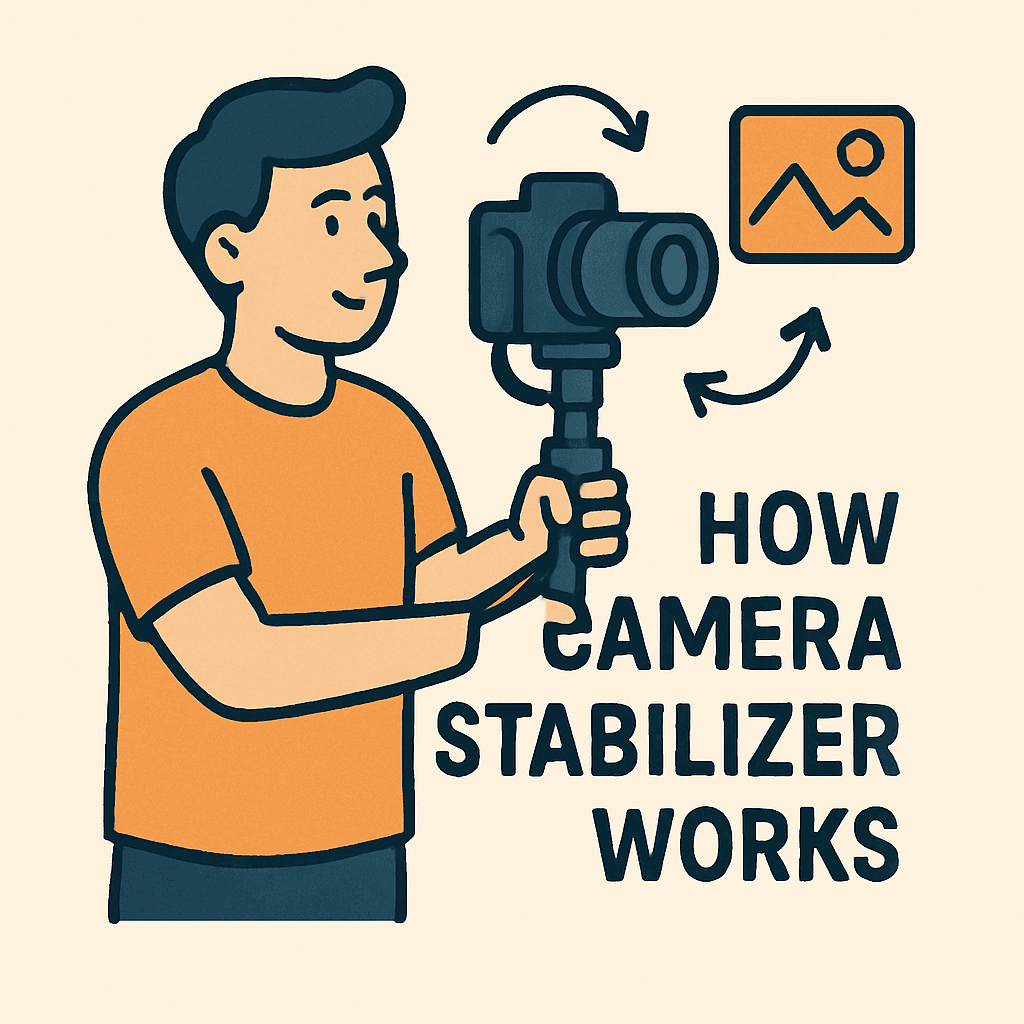
What Is a Camera Stabilizer and Its Purpose
A camera stabilizer is a device that holds your camera to counteract unwanted movement. The goal is simple: smoother video and sharper photos, even when your hands aren’t perfectly steady.
On a handheld walk, it absorbs tiny shakes that would jitter your footage. When running, it dampens your body’s bounce. During a slow panning shot, it resists the urge to wobble off-axis.
Think of it as a translator between your intention and the camera. You choose the direction and speed, while the stabilizer filters the noise, letting your vision feel effortless and professional.
People often ask me how camera stabilizer works while I’m shooting street scenes. I show them: it isolates my footsteps, so the viewer focuses on the story, not the shake.
Types of Camera Stabilizers (Overview)
Broadly, we’ve got handheld stabilizers, vest/Steadicam systems, 3-axis motorized gimbals, tripods, dollies, and sliders. Each shines in different conditions and movement styles.
Handheld rigs excel for quick, lightweight mobility. Vest systems master running or stairs. Motorized gimbals are brilliant for run-and-gun. Tripods lock things down, while dollies and sliders deliver smooth linear moves.
If you’re deciding where to start, skim these types of stabilizers and match them to your common shooting scenarios. Then dive deeper below for nuance.
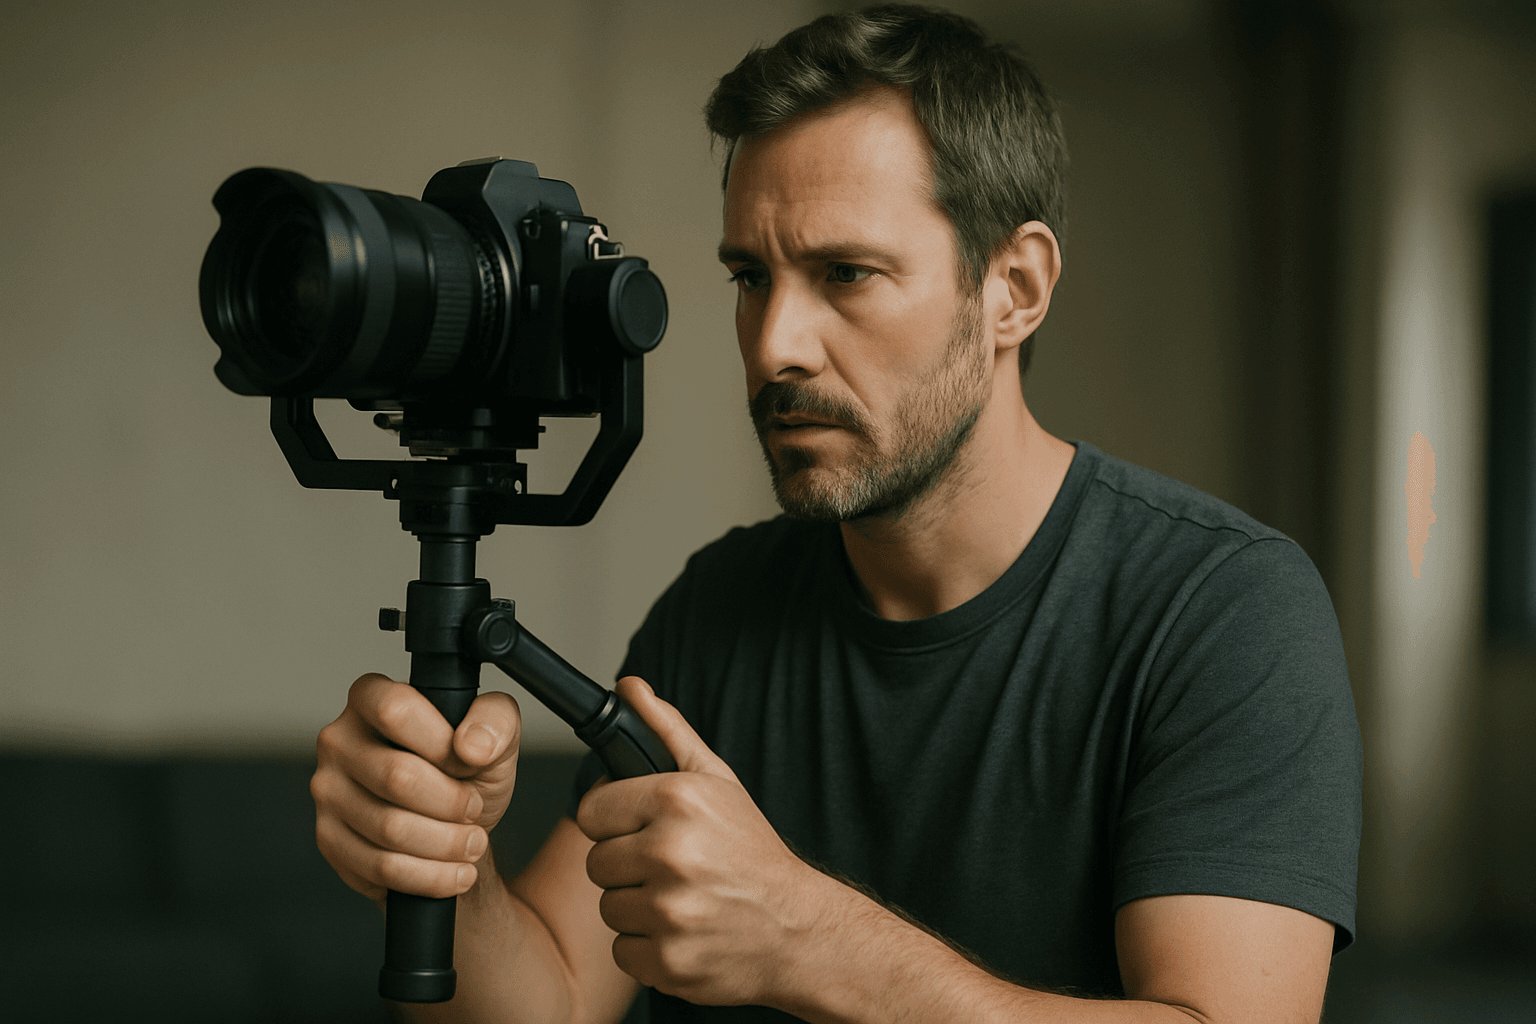
Handheld Stabilizers
These non-powered tools use counterweights and precise balance to isolate vibration. Once balanced, they resist small, sudden movements, keeping motion smooth without batteries.
Most support cameras up to about 5 kg, ideal for mirrorless and light cinema builds. I’ve flown rigs like the Glidecam HD-Pro and FLYCAM HD-5000 with great results.
Vest / Steadicam Systems
These systems have three parts: a vest, an iso-elastic arm, and a sled. The arm isolates your body movement, while the sled carries the camera and counterweights.
The magic is how the sled shifts the camera’s center of gravity into the stabilizer. Your steps become gentle waves instead of jolts, perfect for long, dynamic takes.
3-Axis Motorized Gimbals
Gimbals use sensors and brushless motors to actively counter motion on pan, tilt, and roll. They’re compact, fast to deploy, and remarkable at holding a precise frame.
Models in this compact category, like the Yelangu S60T, make travel setups nimble. Add a follow focus and monitor, and you’ve got a capable run-and-gun package.
Tripods, Dollies and Sliders
Tripods are fixed supports that deliver rock-solid framing. They’re essential for interviews, time-lapses, and any shot where movement would distract.
Dollies and sliders ride on wheels or rails for controlled linear motion. In studio or narrative work, they create cinematic pushes, pulls, and parallax with repeatable precision.
Mechanical Principles Behind Stabilization
Balance is the foundation. When the camera’s center of gravity sits directly over the pivot, the system stays neutral, reducing the tendency to tip or spin.
A sled transfers the center of gravity from the camera body into the stabilizer structure. That redistribution lets the stabilizer—not your wrists—carry the workload.
Inertia resists changes in motion. Adding mass below the pivot increases rotational resistance, so sudden twists get smoothed into gentle, controlled movement.
Shock absorption comes from spring-loaded arms, gimbaled joints, and flexible mounts. They convert sharp impacts into longer, softer motions that are easier to control.
Electronic Stabilization: Sensors, IMUs and Motors
Electronic systems rely on gyroscopes and accelerometers. Together, they form an IMU—an Inertial Measurement Unit—that senses rotation and acceleration in real time.
A microcontroller reads the IMU, predicts where the camera is heading, and decides how to correct it. Brushless motors then apply tiny, precise counter-rotations to hold the frame.
If you’ve ever wondered how camera stabilizer works electronically, it’s all about fast feedback. Measure, compute, correct—hundreds of times per second.
Sensor-to-Motor Processing Pipeline
The data flow is beautifully rhythmic. Sensors measure motion, the processor fuses data, then motors respond, and the cycle repeats with fresh feedback.
- Sensor measurement captures angular rates and acceleration.
- IMU fusion blends gyro and accelerometer data for a stable estimate.
- PID algorithm computes corrective action for each axis.
- Motor commands drive brushless motors, then read back results.
A simple diagram would show sensors feeding the controller, arrows to motors, and a loop returning new readings. Timing matters; faster loops mean smoother stabilization.
How a 3-Axis Gimbal Works (Pan, Tilt, Roll)
Pan is left-right rotation; tilt is up-down; roll keeps the horizon level. Each axis has its own motor watching for unintentional movement.
When you turn, the gimbal senses angular change and gently counters it. It keeps intentional moves, like a slow pan, while rejecting micro-jitters from your hands.
Understanding how camera stabilizer works across these axes unlocks better technique. Move your torso, not your wrists, and let the gimbal float the camera through space.
Modes like Follow, Lock, and POV adjust responsiveness. I switch modes mid-shoot to go from tight subject tracking to rock-solid framing without stopping.
Sensor-Based and Lens-Based Image Stabilization vs External Stabilizers
Sensor-shift stabilization moves the sensor inside the camera body to offset shake. Lens-based OIS moves specific lens elements to achieve a similar result.
IBIS is great for stills and short lenses, but struggles at long focal lengths. OIS excels for telephoto, yet both can’t replicate walking or running stabilization.
External stabilizers control the whole camera’s orientation through space. That’s why they handle footsteps, stairs, and parallax changes better than in-body or in-lens systems.
I often combine them. OIS trims residual micro-shake, while the gimbal or sled smooths the larger motion, yielding polished footage with less post-stabilization.
Components and Mechanics of Vest Stabilizers (Iso-elastic Arm & Sled)
The vest distributes weight across your torso, saving your wrists and back. A good fit turns minutes of flying into hours of comfortable operation.
The iso-elastic arm uses springs and hinges to isolate vertical bounce. It stretches and compresses as you step, converting hard impacts into gentle, controllable motion.
The sled balances the camera with counterweights and often houses batteries and monitors. By lowering the center of gravity, it increases inertia and steadies the frame.
For a deeper dive, see how Steadicams work. It visualizes the springs, hinges, and the center-of-gravity transfer beautifully.
Hybrid Systems and Professional Examples
Hybrid rigs combine a Steadicam-style arm with a motorized head. The ARRI Trinity pairs mechanical isolation with electronic precision for remarkably stable, agile shots.
I’ve used hybrids for stair climbs, whip pans, and low-to-high moves in one take. The arm absorbs big motion; the motors polish micro-errors and horizon drift.
The advantage is consistency across varied motion types. Whether walking, jogging, or pivoting fast, the footage stays cohesive and cinematic.
Use Cases, Limits and Choosing the Right Stabilizer
Running or athletic choreography? Choose a vest system to tame vertical bounce. It keeps breathless sequences smooth while preserving your stamina.
Handheld on rough terrain, with light gear? A handheld stabilizer is simple, rugged, and immune to dead batteries, perfect for travel and documentary work.
Run-and-gun events or weddings? Gimbals shine with fast setup, horizon lock, and programmable moves. Studio pushes or product shots? Dollies and sliders bring repeatable, linear elegance.
Consider limits: weight capacity, lens length, and terrain. Long telephotos amplify shake; heavy rigs tire operators; uneven ground challenges wheels and rails.
Practical Setup, Balancing and Power Considerations
Start by aligning the camera’s center of gravity over the pivot. Slide the camera plate until it stays level without you holding it.
On handheld rigs, fine-tune with counterweights and adjust drop time—the speed the sled returns upright. A slower drop resists rotation; a faster drop feels more responsive.
On gimbals, lock axes, balance one axis at a time, then run motor auto-tune. Proper balance reduces motor strain, heat, and noise, improving battery life.
Carry spare batteries or a compact power bank. Consistent voltage keeps motors stable during long takes; external batteries can also help balance a rear-heavy sled.
Field Tips and Common Mistakes to Avoid
Re-balance after changing lenses, filters, or adding a mic. Even a small weight shift can throw off stabilization and motor performance.
Tighten every clamp and quick-release. Loose fittings cause vibrations that no algorithm can fix, and they often masquerade as “bad gimbal tuning.”
Calibrate the IMU when temperatures change significantly. If you’re still unsure how camera stabilizer works in your setup, practice slow figure-eights to feel the corrections.
For background context, skim Camera stabilizer basics before your next shoot. With fundamentals clear, your field adjustments become quick and intuitive.
What People Ask Most
How does a 3-axis gimbal stabilize a camera?
A 3‑axis gimbal uses sensors (gyros/IMU) to detect motion and brushless motors on the pan, tilt and roll axes to actively counteract that motion, keeping the camera orientation steady in real time.
What are the main components of a vest stabilizer system?
A vest stabilizer has three main parts: the vest (supports the operator), an iso‑elastic arm (spring/hinge system that isolates body motion), and a sled (holds the camera and transfers its center of gravity to the system).
Can handheld stabilizers support heavy cinema cameras?
Most portable non‑powered handheld stabilizers are designed for moderate payloads (typically up to about 5 kg), so very heavy cinema rigs usually require a vest/Steadicam or motorized system instead.
What is the difference between sensor and lens-based image stabilization?
Sensor‑shift moves the camera sensor to cancel motion while lens‑based (OIS) shifts lens elements; both stabilize the image internally, but neither replaces external stabilizers for large movements or long focal‑length sway.
How do gyroscopes help in camera stabilization?
Gyroscopes measure angular velocity and feed that data into the IMU so the controller can calculate corrections; they are essential for detecting rotation quickly and accurately.
Are electronic gimbals better than mechanical stabilizers?
“Better” depends on the job: electronic gimbals actively correct motion and are great for run‑and‑gun setups, while mechanical stabilizers isolate movement passively and can work without batteries—hybrid systems combine both advantages.
How do you balance a camera on a stabilizer?
I start by aligning the camera’s center of gravity over the mounting point, then adjust counterweights and axis positions until each axis holds level when unlocked, and I always re‑balance after changing lens or accessories.
Final Thoughts on Camera Stabilization
Understanding how camera stabilizer works gives you the confidence to turn shaky footage into smooth, intentional motion, and it frames the main benefit of this guide without getting lost in jargon. The biggest insight here is simple: choose the tool that matches the move you want, then respect its limits—weight, batteries and balance still matter, so don’t expect one rig to do everything. This advice will help run-and-gun shooters, indie filmmakers, and event videographers get steadier results faster.
You came here because handheld walks and rushed pans were ruining your shots, and the article showed how different systems, sensors and mechanics solve that exact problem so you can pick and tune the right setup. Keep in mind that improper balance or a drained power source can undo even the best stabilizer, so quick pre-shoot checks are part of the craft. With the basics and cautions in mind, you’re ready to experiment in the field and make steadier images that match your creative intent.


0 Comments