
Want to know how to photograph a diamond ring so it sparkles like a pro?
This guide walks you through a simple home setup from cleaning to the final edit. You will learn lighting, macro gear, using a tripod, and choosing backgrounds and props.
It also gives a clear gear checklist, camera settings cheats, and quick troubleshooting. Step-by-step photos and easy diagrams make each tip simple to follow.
Whether you shoot with a phone or a macro lens, these tips will help you get sharp, sparkly images. Ready to make your ring shine?
How to get the perfect photo of your engagement ring from home
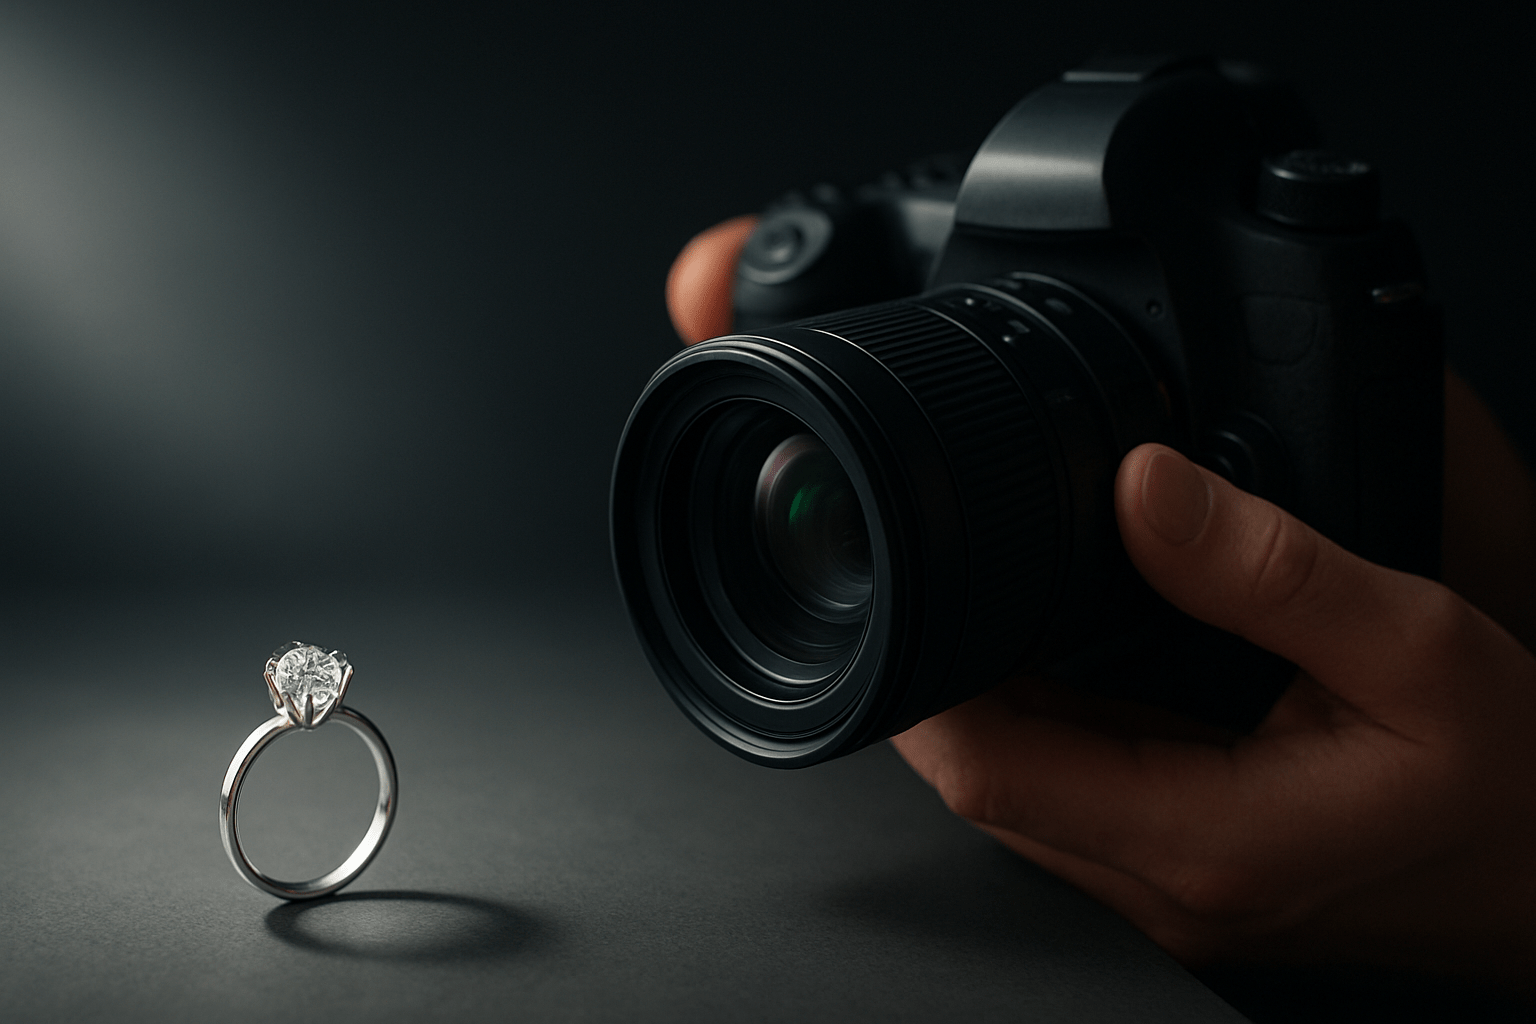
A simple home setup that produces clean, sparkly, professional-looking ring photos.
If you want to learn how to photograph a diamond ring at home, this workflow gives you a clear plan. Follow it step by step, and you’ll repeat the same results every time.
Step 1: Clean the ring until it squeaks. Soak it in warm soapy water or run it through an ultrasonic cleaner, then rinse and dry with a lint-free cloth. Finish with a blower and wear cotton gloves so you never add fingerprints back.
Step 2: Check it under a bright light and remove every dust spec. Even tiny fibers look huge at macro scale, so be patient. Take a quick “before and after” shot to see how much sparkle cleaning alone adds.
Step 3: Secure the ring so it won’t move. Use a pea-sized bit of prop wax or fun tack on a small tile, or place it in a ring holder or a tiny clamp at your chosen angle. If you’re shooting it on your finger, angle your hand slightly away from the light to reduce skin shine.
Step 4: Set your gear before you switch the camera on. Mount your camera on a sturdy tripod and use a macro lens or an extension tube for close focus. Place a diffuser between the light and the ring, and add white cards as reflectors and small black cards to control reflections.
Step 5: Lock in camera basics. Shoot RAW for flexibility, use ISO 100 or 200, and choose Manual mode so you control exposure. Set daylight white balance if you are not sure, since you can refine it in RAW later.
Step 6: Try a window and reflector setup for a clean, natural look. Put the ring near a bright window with a sheer curtain, use a white card opposite the window for fill, and start at 100mm, f/8, ISO 100, and 1/60–1/125s. Tweak shutter speed until the highlights hold detail.
Step 7: For a light tent with LEDs, go for even coverage and controlled reflections. Place two daylight panels outside the tent, and start around 100mm, f/11, ISO 100, and 0.5–2s. Longer shutter speeds are fine on a tripod, so don’t fear a slow exposure.
Step 8: For an editorial look with creamy blur, open the lens for shallow depth. Try 100mm at f/2.8–f/5.6, ISO 100, and the shutter speed that matches your light, but accept that only a small slice will be sharp. This style is great for mood and bokeh.
Step 9: Nail focus with Live View. Magnify the view and manually focus on the diamond’s table or the most important facet, since that is where the eye goes first. If your camera has focus peaking, use it to confirm sharpness.
Step 10: When you need the whole ring sharp, use focus stacking. Take a series of frames while you shift focus a hair from the prongs to the back of the band, keeping framing steady. Blend the stack later in Photoshop or Helicon Focus for crisp front-to-back detail.
Step 11: Protect the sparkle by exposing for the highlights. Watch the histogram and keep the brightest parts just short of clipping, then bracket one darker and one brighter frame if you’re unsure. This saves the diamond’s fire while keeping metal tones rich.
Step 12: Vary your angles to tell the full story. Shoot overhead for a classic ecommerce angle, at 45 degrees to capture dispersion, and at eye level to show the band and setting profile. Add one extreme macro of the facets to showcase your craftsmanship.
Step 13: Finish with smart, light-handed editing. Set white balance, recover highlights, remove dust and any tack marks, and apply selective sharpening to the stone and prongs. Boost micro-contrast or clarity gently to enhance the cut, then export a high-res file for print and a web-optimized copy for sharing.
Troubleshooting: If your image looks dark or flat, move the reflector closer or raise ISO to 200. Bracket exposures and keep the brightest facets under control. A small exposure bump in RAW can finish the job.
Troubleshooting: If you see messy reflections, adjust your camera or ring angle so the metal “sees” more white than clutter. Add black flags to carve in contrast and remove bright distractions. Smooth glossy surfaces are mirrors, so shape what they reflect.
Troubleshooting: If the photo is soft, stop down to f/8–f/11 and ensure the tripod is rock solid. Use a 2-second timer or remote, and stack shots when needed. Stable gear and careful focus are non-negotiable in diamond ring photography.
For a quick “cheat sheet,” remember these three presets. Clean ecommerce: f/11, ISO 100, light tent with LEDs, slow shutter on tripod. Editorial hero: f/2.8–f/4, ISO 100, window light with a kicker LED for sparkle.
Add an extreme macro preset for drama: 1:1 magnification, f/8, ISO 100, multiple focus-stack frames, and a tiny point light aimed at the crown. Keep a consistent workflow and your results will match across shoots. That consistency is the heart of how to photograph a diamond ring well.
If you want a deeper companion to this workflow, this concise engagement ring guide pairs nicely with the steps above. Use it to spark composition ideas you can recreate at home. Then come back to this process to repeat your best results.
Lighting is everything
Light creates brilliance, and the right contrast defines facets and polish. Diamonds sparkle because small, bright highlights sit inside softer light, so you must shape light rather than blast it. Master this, and how to photograph a diamond ring becomes simple.
Natural window light on a cloudy day is perfect because it’s broad and soft. Place the ring near the window with a thin diffuser if needed, and fill shadows with a white card. Avoid on-camera direct flash, which makes harsh, distracting reflections.
Continuous daylight LEDs give you control and repeatability. Use two panels at 5600K for your base and add a small bare LED or a snooted light to produce hot specular hits on the stone. Those tiny, controlled highlights are what turn brilliance into magic.
Diffusion is your best friend. A softbox, light tent, tracing paper, or a white shower curtain will spread light so metal looks smooth and stones glow without ugly hotspots. Keep at least one small, undiffused source for pinpoint sparkle.
Think in layers when you place lights. Use a broad key to expose the scene, a small point light aimed at the crown for fire, and a subtle rim or backlight to separate the ring from the background. Add black cards to carve shape and reduce stray reflections.
You can build a DIY studio in minutes. Two desk lamps with daylight bulbs, a foam board reflector, and a shower curtain diffuser will make a perfect mini set. Keep the bulbs matched so your white balance stays clean.
Set a custom white balance or correct it in RAW. If you mix light types, the diamond can look odd or the metal can shift color. Consistent 5600K lighting saves you time in post.
If you want more lighting ideas and practical setups, study general jewelry photography techniques and adapt them to rings. The same principles of soft fill plus controlled speculars apply. Your diamond will reward careful lighting with color and life.
Use a macro lens or extension tubes
Macro optics let you show what makes a stone special. A true 1:1 macro lens, like a 90mm, 100mm, or 105mm on full-frame, gives you a comfortable working distance and superb sharpness. You can place lights and cards around the ring without bumping the lens.
Extension tubes are a budget way to get close. They move the lens farther from the sensor, letting you focus nearer at the cost of some light and infinity focus. For learning how to photograph a diamond ring, they are a smart, affordable start.
Depth of field at 1:1 is razor thin. Stop down to f/8–f/11 for more usable sharpness, but watch for diffraction if you go much smaller. When you need detail across the band and prongs, focus stacking is the clean solution.
To stack, shoot a series while nudging focus from the front prongs to the back of the band, keeping the camera locked. Blend the frames in Photoshop or Helicon Focus for one crisp image. This technique is essential for catalog-quality ring photos.
Manual focus wins at macro distance. Use Live View magnification and focus peaking if available, and breathe slowly while you fine-tune. Autofocus often hunts on small, glittering subjects, so take control and be deliberate.
Use a tripod
A tripod is the foundation of sharp, repeatable ring photos. Choose a sturdy model and, if possible, a geared head for precise framing. A ball head works too if you lock it down firmly.
Trigger the camera without touching it. Use a remote release, a 2-second timer, or tethered capture, and enable mirror lockup on DSLRs to avoid shock. Small vibrations are big problems at macro scale.
Keep framing consistent for bracketing and focus stacking. A macro rail helps you shift focus or position in tiny increments, and a tabletop tripod is great for flat-lays. Weigh the tripod when shooting outdoors to steady it in wind.
Before each shot, check level, tighten all leg joints, and avoid raising the center column unless you must. Stability comes first, every time. That discipline is a core part of how to photograph a diamond ring with pro-level sharpness.
Think about your background and props
Your background should support the ring, not steal the show. Plain white, gray, or black looks clean for ecommerce, while marble, wood, or velvet adds mood for lifestyle images. Glossy black or mirrored acrylic can add reflections, but watch for double reflections from curved surfaces.
Match color and mood to the metal. Yellow gold sings against warm wood or cream, while white gold and platinum look elegant on cool gray or slate. Neutral backgrounds also help diamonds appear whiter and brighter.
Props can elevate the story when used sparingly. A ring box, a silk ribbon, or a single floral stem can add context without cluttering the frame. Keep props small and place them out of the main focus plane so the ring stays the hero.
Bokeh can add romance in an editorial shot. Place small string lights or a tiny LED panel far behind the ring and open your aperture to blur them into soft orbs. Keep the ring itself razor sharp so the viewer’s eye has a clear anchor.
Clean the scene like a jeweler. Remove lint, polish the surface, and watch for adhesive marks from wax or tack, then retouch any leftover specks in post. Small distractions pull attention from the stone’s fire.
Compose with intention. Leave negative space for text if the photo is for an invitation or ad, or crop tighter for product detail pages. For more ideas on color, reflections, and sparkle, browse practical tips that show how to photograph your diamonds with clean backgrounds.
When you put it all together, the background, props, and light should feel effortless. Let the ring breathe, keep the edit gentle, and guide the eye with contrast and color. That balance is the quiet secret behind beautiful engagement ring photography.
What People Ask Most
How do I photograph a diamond ring with a smartphone?
Use natural light, steady your phone on a tripod or flat surface, and tap to focus on the stone to capture sparkle. Clean the ring and shoot from several angles for the best results.
What lighting is best when learning how to photograph a diamond ring?
Soft natural light or diffused artificial light reduces harsh reflections and shows true sparkle. Avoid direct sunlight that creates blown-out highlights.
How can I make a diamond look sparkly in photos?
Use multiple light sources or reflectors to create small highlights and shoot from slightly different angles to catch the facets. Keep the diamond clean and use a neutral background to boost contrast.
Should I use a tripod when I photograph a diamond ring?
Yes, a tripod keeps your camera steady for sharp close-ups and lets you fine-tune composition. It also helps when using slower shutter speeds in lower light.
How do I avoid reflections and fingerprints when photographing a diamond ring?
Clean the ring thoroughly and handle it with gloves or tweezers to prevent smudges. Adjust angles or use a polarizer to reduce unwanted reflections.
What backgrounds work best when you photograph a diamond ring?
Simple, neutral, or softly textured backgrounds keep the focus on the ring and highlight the diamond. Try black, white, or gentle fabrics to see which makes the stone pop.
Is editing necessary after I photograph a diamond ring?
Basic edits like cropping, exposure adjustments, and small spot removal can improve clarity and remove dust. Avoid heavy retouching that misrepresents the ring’s true appearance.
Final Thoughts on Engagement Ring Photography
A simple home setup can still produce clean, sparkly, professional-looking ring photos. I even gave a compact 270 checklist to keep your gear and steps straight, so hobbyists, engaged couples, boutique sellers, and beginner pros can capture studio-grade results with affordable gear and a little practice. From prep and lighting to macro technique, stacking and postwork, the guide delivered that promise by walking through a repeatable workflow, sample settings, and troubleshooting tips you can use right away.
Be realistic: tiny depth of field and reflections mean some shots demand patience — stacking, brackets, and extra cleanup are often the difference between good and great, and you’ll sometimes spend more time cleaning, flagging reflections, and retouching than you first expect. If you’re willing to take the few extra steps, you’ll make images that highlight the stone and the story behind it, whether you’re shooting for an online shop, a keepsake album, or a magazine spread. You’ll soon be making ring photos that feel both polished and personal, and you’ll enjoy the slow, exacting work that brings out the sparkle.


0 Comments