
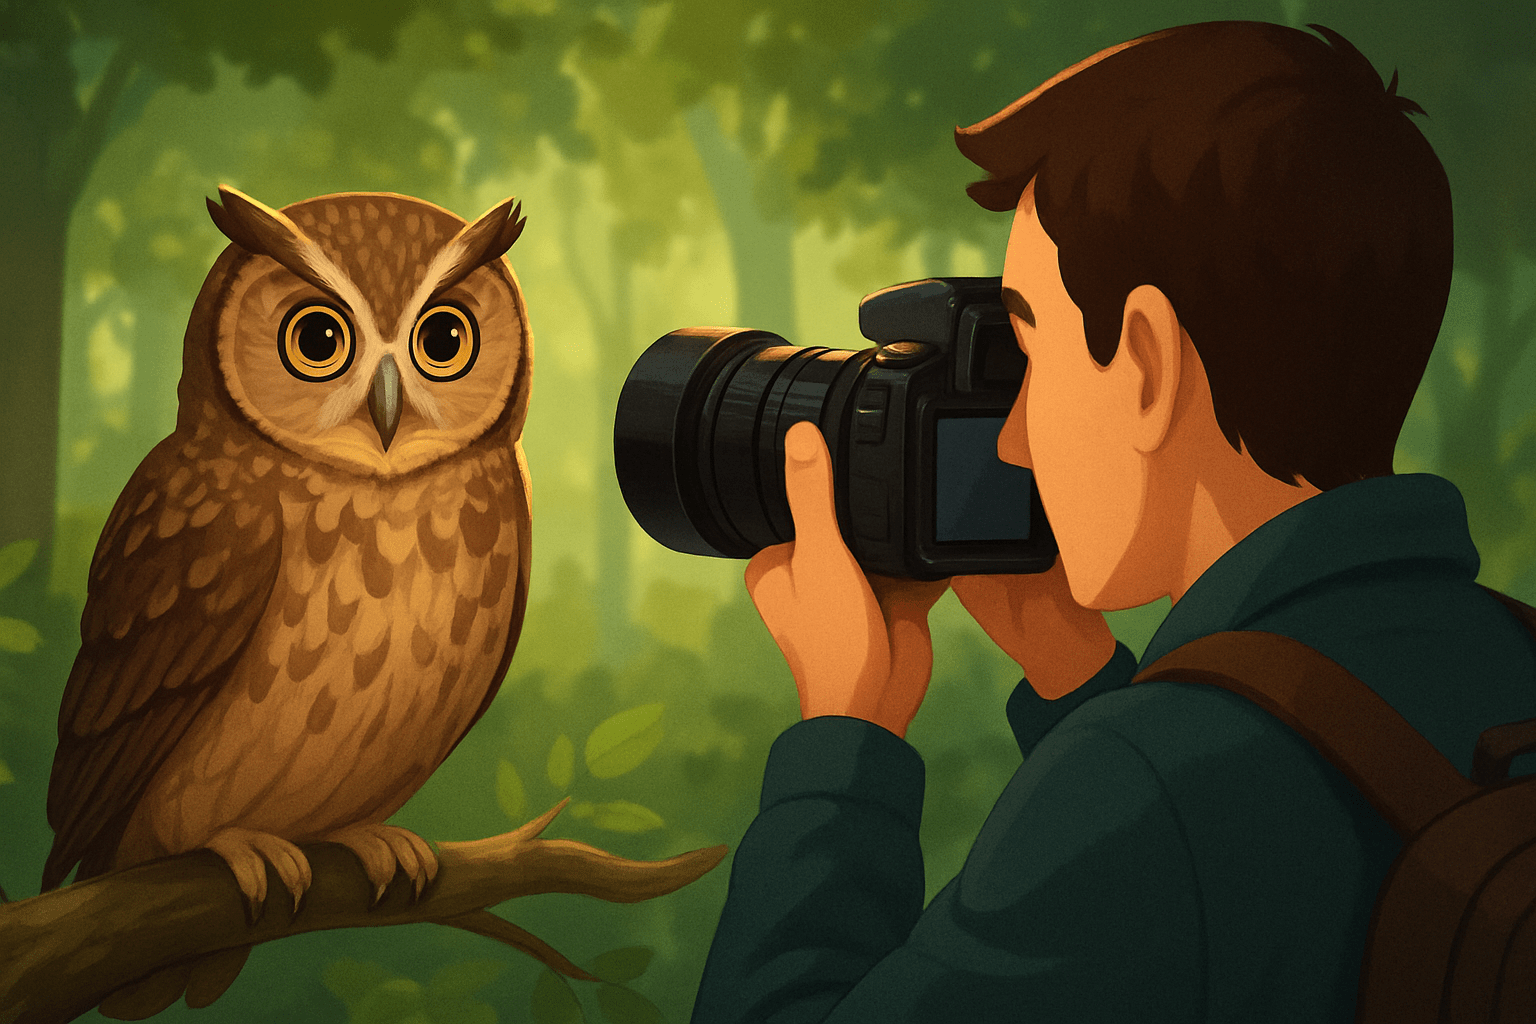
How to photograph owls and capture sharp eye portraits or graceful flight frames without disturbing them? This quick guide shows the exact gear, camera settings, fieldcraft, and ethics you need to get great shots while keeping owls safe.
You will learn which lenses, supports, and lighting work best for low light and long reach. I give simple camera presets for perched, flight, dusk, and night shots that you can copy straight into your camera.
I explain how to scout, set up blinds or car windows, and read owl behavior to increase your chances. Most important, you will learn respectful rules so you never chase, spotlight, or stress birds for a photo.
The article also includes EXIF examples, image ideas, and printable checklists for gear and etiquette. By the end you will know how to photograph owls confidently, cleanly, and ethically.
Equipment for Owl Photography
Owls push your gear to the edge, so start with a simple, reliable kit you can carry quietly. If you are learning how to photograph owls, think in terms of clean high ISO, stable support, and silent operation. A small list that you truly know beats a heavy bag you can’t manage in the field.
Choose a camera with strong high‑ISO performance and fast autofocus. Full‑frame bodies give cleaner files in dim light, but APS‑C works if you expose well and mind your noise reduction. Always shoot RAW to recover shadows and balance mixed light on mottled feathers.
For lenses, reach is your friend because owls are easily disturbed. Zooms like 100–400mm or 150–600mm are flexible when you don’t know the distance, while 300–600mm primes are brighter and sharper for low light portraits. Pick what you can carry for hours, because steadiness matters more than chasing a stop of light you can’t hold.
Teleconverters help when you need extra reach from a safe distance. A 1.4x keeps autofocus snappy on brighter lenses and only costs one stop of light. A 2x can be useful on a 300mm or 400mm in strong light, but autofocus speed and contrast will drop, so test it before a real stakeout.
Support gear keeps your frame sharp when your heart is racing. A sturdy tripod with a gimbal head makes long lenses feel weightless and lets you track quietly. A monopod is lighter and great for long walks, and a bean bag on a car window is gold when you want to use the vehicle as a blind.
Bring modest lighting tools and use them sparingly. A small flash with a diffuser and off‑camera trigger can add a kiss of light on a perched owl when allowed, but never blast repeatedly or at close range. A low‑power LED or beamer helps you focus in darkness, yet be mindful that any light can affect behavior at night.
Round out your bag with quiet, practical accessories that solve problems. Pack a remote or cable release, two spare batteries, fast memory cards, a microfiber cloth, and a rain cover for sudden mist. A headlamp with a red filter preserves your night vision, and a portable blind or good camouflage clothing helps you sit still and invisible.
Advanced options like infrared triggers and camera traps can capture secretive behavior, but they come with rules. Check local laws, obtain permission, and be sure the setup cannot entangle or stress wildlife. If in doubt, skip it and stick to observation‑led photography.
Think in tiers when you plan your setup for a given day. A budget rig of a 100–400mm zoom and a monopod will deliver crisp portraits at dawn without breaking your back. An enthusiast kit with a 400mm f/5.6 or 100–400mm and a tripod is a balanced choice for perched owls and occasional flight, while a pro setup with a 500mm or 600mm f/4 on a gimbal excels in low light and long waits.
Match support to the situation so you move gracefully and get more keepers. Handheld is nimble for brief encounters or when you need to reposition fast, but fatigue sets in quickly with big glass. A tripod wins for static perches and long exposures, and a monopod is perfect for roaming meadows where short‑eared owls cruise at dusk.
Know your stabilization and switch it with intention. Leave image stabilization on for handheld and monopod work, since it tames micro‑shake from long lenses. Some systems misbehave on locked tripods, so test and consider turning IS off when your rig is rock‑steady on a gimbal.
Before you leave, run a quick mental checklist so nothing vital stays at home. Camera and long lens, tripod or monopod, remote release, two spare batteries, two or more fast cards, headlamp with red filter, rain cover, and a small notebook or GPS for field notes. That tiny list saves shots when the light goes wild and the owl finally lands where you predicted.
To see how other shooters balance weight, reach, and subtle technique, browse trusted learning posts with real examples and settings. One good place to start is this concise set of top tips that pairs gear choices with field behavior. Use it as a cross‑check, then tailor your kit to your local species and terrain.
Plan your visuals too, because preparation translates into stronger storytelling. Photograph your gear side by side for a comparison shot, capture a behind‑the‑scenes scene of a blind and tripod at dawn, and sketch a simple gear checklist graphic you can screenshot on your phone. The more you plan at home, the calmer you’ll be when an owl blinks at you from a shadowed branch.
Use a Telephoto Lens
Telephoto reach is the number one choice that shapes your results with owls. Long focal lengths let you keep a respectful distance, fill the frame without creeping, and compress busy backgrounds into pleasing blur. Safety for the bird and a calmer you go hand in hand when the lens does the walking.
A range of 300–600mm covers most species in real field conditions. If you can work from a vehicle blind or natural cover, 200–400mm can be enough for larger or curious owls. Tiny and cryptic species like scops or tawny often demand 500mm or more to isolate the bird among cluttered branches.
Think about aperture as a creative and practical lever. Wider settings like f/2.8 to f/5.6 keep ISO down at dawn and throw messy backgrounds out of focus. When you need more depth of field for flight or a perched bird partly behind leaves, stop down to f/6.3–f/8, and even f/11 in bright light.
Teleconverters are tools, not magic. A 1.4x gives a noticeable reach boost while keeping autofocus reliable on most modern bodies, especially with lenses f/4 and faster. A 2x is more demanding, so avoid it unless you have ample light and a subject that holds still long enough for careful focusing.
A simple rule of thumb keeps things ethical and sharp. Use the longest lens you can handle so you never feel tempted to step closer and spook the owl. For perched portraits, favor more focal length and a wider aperture to lock attention on the near eye; for flight, back off a little, stop down a touch, and track smoothly.
Picture two frames to understand the effect of reach. At 300mm, a tawny owl in deep woods looks small, and the background competes with the subject; at 600mm, the same perch fills more of the frame and the forest melts into tone. In open fields, short‑eared owls allow clearer flight paths, so 400mm to 500mm lets you track cleanly without losing the bird in the sky.
Build a shot list that highlights what your long lens can do. Capture a tight eye portrait with feather detail, a three‑frame flight sequence, a silhouette at sunset, a soft low‑light portrait with a diffuser, a wide habitat scene to tell the story, and a quiet behind‑the‑scenes view of your blind. These images teach you how to photograph owls with variety and care.
Set Your Camera for Manual Mode
Settings make or break low light wildlife, so keep them simple and repeatable. Owls are most active in dim, changing conditions, and consistency helps you react to fleeting moments. If you master a few core setups, you will spend more time watching and less time scrolling menus.
Shoot RAW, enable the fastest continuous drive your buffer supports, and use high‑speed cards to clear bursts quickly. Manual exposure gives predictable results when backgrounds swing between bright sky and dark woods, while Aperture Priority can work for steady perched shots. If you choose Aperture Priority, use exposure compensation and keep an eye on the histogram.
Back‑button focus is worth the habit, because it separates focus from the shutter and reduces missed frames. Set autofocus to Continuous AF, and pick a single central point or small zone for perched birds. For flight, use a wider dynamic area or subject tracking so you keep the bird in the box and let the camera help you.
If your camera offers animal or eye‑detection AF, turn it on and test it on perched owls before a flight session. It can lock the near eye beautifully, but be ready to switch to a small manual zone when branches confuse the system. Flexibility is the secret to sharp eyes through messy cover.
EXIF example — Perched, daylight: 1/500s, f/6.3, ISO 400, 500mm, AF‑C small zone, tripod, RAW.
EXIF example — Flight, good light: 1/1600s, f/5.6, ISO 800, 400mm, AF‑C tracking, high‑speed burst, handheld.
EXIF example — Dusk, cruising short‑eared: 1/1000s, f/4, ISO 3200, 500mm, AF‑C wide area, monopod.
EXIF example — Night, perched with flash: 1/200s, f/5, ISO 400, 300mm, off‑camera diffused flash, manual power set low.
EXIF example — Backlit silhouette: 1/2000s, f/7.1, ISO 640, 420mm, spot meter on sky, AF‑C, handheld.
Meter with intent so feathers look real and eyes hold detail. Spot or center‑weighted metering on the head avoids blown faces against bright dusk horizons, while a quick test shot and histogram check will guide small adjustments. Don’t be shy about bracketing in extreme contrast or fog.
Sharpness comes from steady technique more than fancy specs. Focus on the nearest eye, keep your shutter high enough to freeze wing beats, and let a gimbal or monopod take the weight so you can breathe. For take‑offs, pre‑focus on the perch, half‑press or hold back‑button focus, and be ready to fire a burst the moment the owl leans forward.
Your workflow after the shoot seals the deal. Cull for tack‑sharp eyes and clean wing positions, then reduce noise gently in Lightroom or a dedicated tool before selective sharpening on the face. Crop to refine composition without faking proximity, and keep a natural look that reflects the moment you witnessed.
Quick settings cheat‑sheet: RAW always; AF‑C; back‑button focus; perched 1/250–1/500s at f/5.6–f/8, ISO 200–800; flight 1/1000–1/1600s at the lens’s widest, ISO 400–1600; dusk aim for ≥1/800s, open wide, ISO as needed; night use sync speed around 1/200s with diffused, low flash if permitted. Keep stabilization on unless locked on a firm tripod, and trust the histogram more than the LCD.
Scout and Stakeout
Finding the bird is the quiet skill behind every strong frame. Research species, note whether they are nocturnal, crepuscular, or day‑active, and track seasonal patterns around your home range. Local bird reports and trusted forums will teach you where to look and when to arrive.
Learn common calls so you can recognize presence without moving. Use playback with great caution, check local rules, and avoid it entirely during sensitive times like breeding. The safest plan is to listen, watch, and let behavior guide you rather than forcing an encounter.
Get permission to access private land and check protected area rules before you pack the car. Tell someone your plan, bring a red‑filter headlamp, dress warmly, and carry insect repellent and water. Safety and comfort keep you patient, and patience is everything in learning how to photograph owls well.
Arrive early so you can set up before the light changes. Walk in slowly, use wind and cover to hide your approach, and pick a spot that gives a clear view of likely perches. Place your tripod and gimbal while it is still dim so movements stay minimal later.
A blind, your car window, or natural cover will help you become part of the scene. Set the camera on the tripod, check exposure, and pre‑focus on a branch or a gap in the hedgerow. When the owl appears, you will already be ready, and the only thing left is timing.
Watch for rhythm in how the owl hunts and rests. Many individuals reuse the same perches, sweep the same edges of a field, or follow clear lanes through trees at dusk. A small notebook entry about time, direction, and light can double your success on the next visit.
Keep the site quiet and calm. Limit your session length, avoid bringing dogs, and move only when you truly must. The fewer disturbances you introduce, the more natural moments you will see.
Attracting techniques and gadgets sit on a fine line, so err on the side of restraint. If you experiment with infrared triggers or baited setups, secure permission, follow strict ethical standards, and abandon the idea at any sign of stress. In most cases, patient observation beats any shortcut in both results and conscience.
Plan to return several times rather than pushing one long evening. Each visit teaches you a little more about wind, light, and behavior, and your images will improve without you taking a single step closer. Keep refining your map, your timing, and your quiet routine.
For more fieldcraft ideas that blend finding and photographing without pressure, see these condensed expert tips from seasoned naturalists. Combine that wisdom with your own notes, and your hit rate will climb week by week.
Respectful Owl Photography and Observation
Ethics are the backbone of this craft, and they make your images feel honest. Do not get too close, and never chase or flush an owl to improve a frame. Use blinds and long lenses so the bird dictates the scene, not your presence.
Use flash only when appropriate and permitted, and keep power low with a diffuser if you use it at all. Avoid bright spotlighting that can disorient nocturnal species, and keep sessions short near roosts or nests. Be extra cautious during breeding season, and seek permits where required.
Keep your footprint light both on site and online. Stay on the sidelines, move slowly when you must, and enjoy the view with binoculars when the camera should rest. Do not post exact nest locations, and remove GPS data from images that could lead crowds to sensitive spots.
Never feed or alter habitat to attract owls. Baiting and trimming branches might make a cleaner photo, but they change natural behavior and expose birds to danger. Your best image is the one that shows an owl being itself in its own world.
Learn to read body language so you know when to back off. Signs of stress include fluffed or flattened feathers, alarm calls, rigid posture, staring directly and repeatedly at you, or a sudden departure. If you see these cues, stop, step back, and give the owl peace.
Remember that laws differ by country, state, and even park. Some species and all nests are protected, and breaking those rules can harm birds and cost you access. Check your local wildlife agency websites before you plan a night in the field.
When people ask how to photograph owls the right way, the answer is simple. Put the bird’s welfare over the shot, every time, and let ethics guide your decisions from packing to posting. The reward is a portfolio you can be proud of for years.
For a clear summary of respectful practices you can apply today, study this short piece of ethical guidance and align your habits with local rules. It pairs well with your own field notes and turns good intentions into everyday behavior.
Field checklist (gear & etiquette): camera with long lens, tripod or monopod, remote release, two spare batteries, fast cards, headlamp with red filter, rain cover, quiet clothing or a compact blind, permit or permission, and a written plan to limit time at the site. Add a personal rule to avoid playback in sensitive seasons, keep distance, and leave no trace. Keep this on your phone so you can check it before you step out into the dark.
In the end, learning how to photograph owls is a mix of humble gear choices, clean settings, patient scouting, and careful ethics. Keep your process simple, listen more than you move, and trust long glass to keep you respectful. Your images will carry calm, detail, and story—the three things that make owl photos sing.
What People Ask Most
How to photograph owls without scaring them away?
Move slowly, keep a respectful distance, and avoid sudden noises or bright lights so the owl stays calm and natural.
What is the best time of day to photograph owls?
Dawn and dusk are often best because many owls are active then and the light is soft and attractive.
Can I use flash when I photograph owls?
Avoid flash whenever possible because it can startle or disorient owls and harm their eyes.
How to photograph owls at night safely and effectively?
Use a steady support like a tripod, keep movements quiet, and let your eyes adjust to the dark before approaching a site.
How close should I get when I photograph owls?
Stay far enough that the owl shows no signs of stress, and use patience or natural hides instead of getting closer.
How to photograph owls if I’m a beginner?
Learn owl behavior, practice staying still and quiet, and focus on composition and good background to improve your photos.
What are common mistakes to avoid when learning how to photograph owls?
Don’t rush toward birds, avoid using bright lights or flash, and don’t ignore local rules or the owl’s welfare.
Final Thoughts on Owl Photography
If you started this guide wondering how to photograph owls—maybe you even scribbled a quick note like 270 as a shutter-speed reminder—that curiosity’s exactly why this piece exists. We gave a clear gear roadmap, camera settings, and fieldcraft so you can reliably make sharp, respectful images instead of guessing in the dark.
The real payoff is confidence: you’ll know what glass to reach for, which exposure presets to try, and how to read owl behavior so your images look natural and the birds stay calm. A practical caution—low light and fast flight often force high ISOs or compromises, so accept some noisy frames and prioritize welfare over the perfect exposure; the guide is best for beginners to enthusiastic hobbyists aiming for ethical, repeatable results.
From picking a telephoto and choosing teleconverters to manual exposure recipes, scouting routines, and a strict ethics checklist, the article walked you through each step so that the question you started with now feels solvable. Keep going with patience and curiosity—you’ll improve every outing and leave the owls better off for it.


0 Comments