
How to backup photos from mac to external hard drive without losing albums, edits, or RAW files?
This step‑by‑step guide will show simple, safe methods you can follow today. You will learn what to do from preparing the drive to verifying your backup.
We start with preparing and formatting your external drive for macOS. You will learn whether to use APFS or Mac OS Extended, how to erase the disk in Disk Utility, and how to set permissions and encryption to avoid trouble.
Then we cover two main workflows: move the entire Photos Library to preserve albums and edits, or export originals and edited files for cross‑platform use. You’ll get clear copy, verification, iCloud warnings, automation tips, troubleshooting steps, and a handy checklist so you can back up photos from Mac to external hard drive with confidence.
Prepare and format your external hard drive for macOS
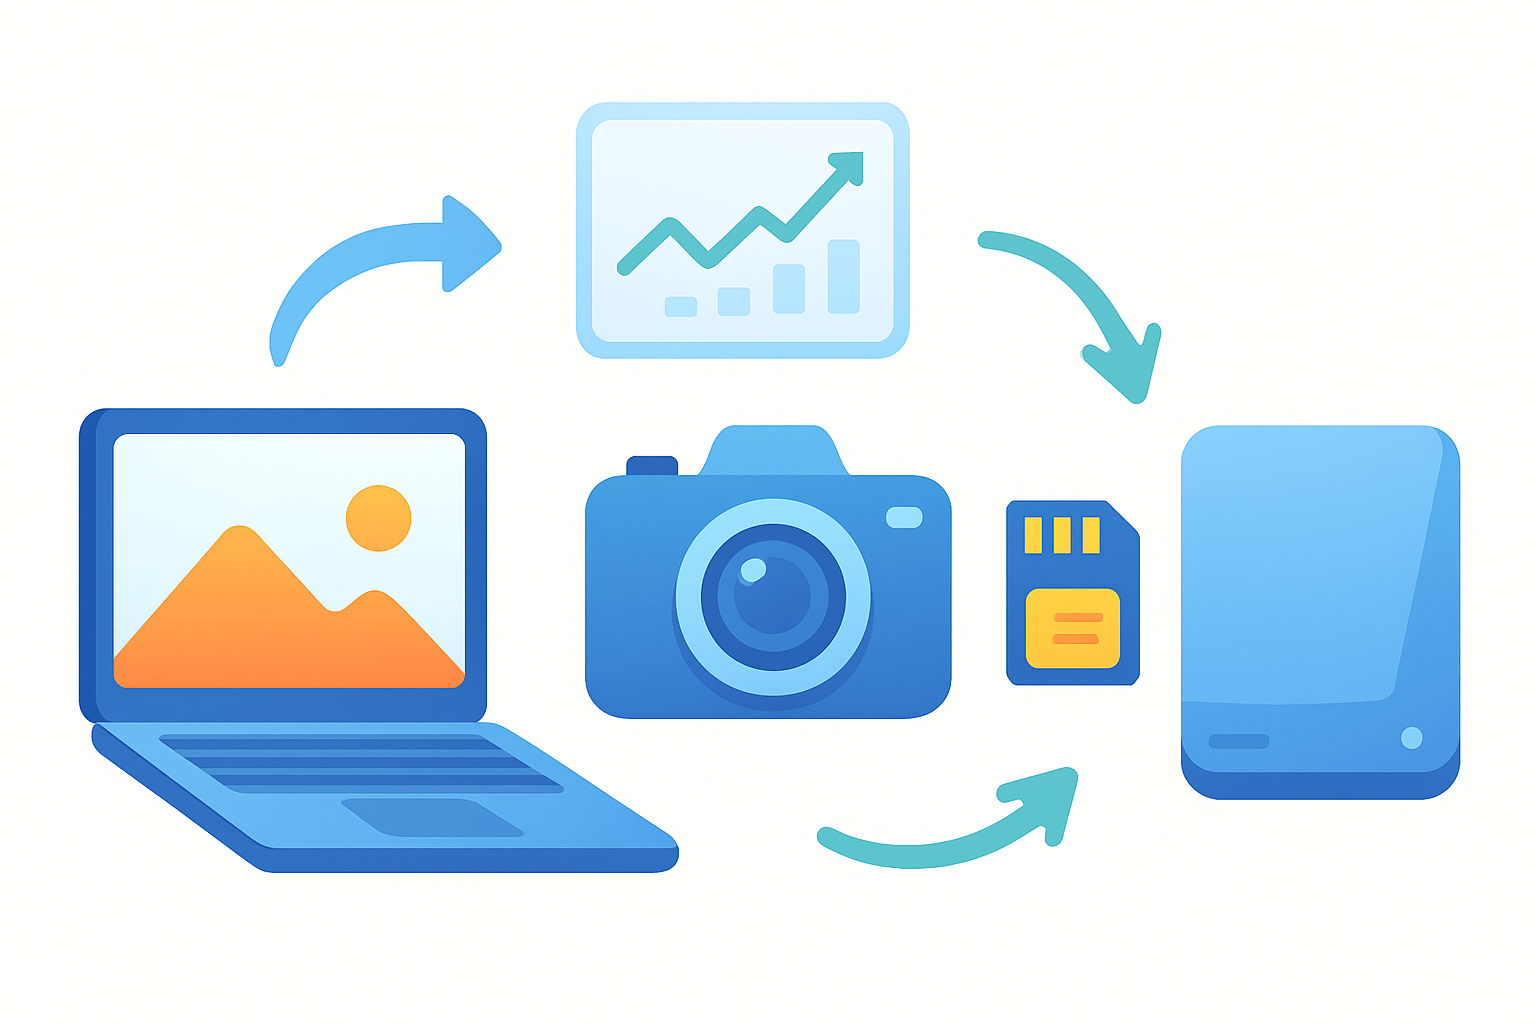
Before you learn how to backup photos from mac to external hard drive, set up the drive the right way. Capacity, speed, and reliability decide how smooth your backup will be. A little prep now prevents slow copies and permission errors later.
Check size first and aim for at least 1.5× the size of your Photos Library. In Finder, select “Photos Library.photoslibrary,” press Command+I, and look at the size. If you store many videos or RAW files, 2× headroom is safer.
Pick the right hardware for your workflow. SSDs are faster and more shock‑resistant, while HDDs are cheaper per terabyte and fine for archiving; use SSD for active work and HDD for long‑term storage. Prefer USB‑C or Thunderbolt over old USB 2.0, since a modern USB 3 or Thunderbolt SSD can move hundreds of MB/s, while USB 2.0 crawls.
If the drive already has files you care about, back them up elsewhere now because formatting erases everything. If you also plan a cloud copy later for extra safety, this guide on back up photos on Mac is a helpful companion. Keep the drive plugged directly into your Mac rather than a flaky hub during formatting.
Open Disk Utility from Applications → Utilities. Choose View in the toolbar and click Show All Devices so you can see the physical drive, not just a volume. Select the physical external drive in the sidebar, then click Erase.
For Scheme, pick GUID Partition Map. For Format, use APFS for SSDs and macOS High Sierra or newer, or Mac OS Extended (Journaled) for older macOS or for mechanical HDDs that you plan to use mostly for archiving. APFS is faster for lots of small files and snapshots, while HFS+ (Mac OS Extended) can be a bit steadier on older systems and spinning disks.
If you want encryption, choose the Encrypted variant of APFS or HFS+ to add password protection. Give the drive a clear name such as “PhotosBackup_2026‑11‑01” so you know exactly what it is. Click Erase to format and wait for the success message.
Reduce permission headaches by opening Finder, selecting your new drive, pressing Command+I, and enabling “Ignore ownership on this volume” at the bottom. This helps avoid access issues when moving package files like the Photos Library between Macs or accounts.
Two important cautions will keep you safe. Do not use the same physical drive and partition for Time Machine and your Photos Library unless you create separate partitions for each. Avoid keeping your System Photo Library on a removable or network drive unless it is always attached before Photos launches.
When the erase finishes, run a quick health check. In Disk Utility, select the new volume and click First Aid to verify the file system. If First Aid reports issues, address them now before copying any precious images.
How to back up photos from Mac to an external hard drive (step-by-step)
There are two reliable paths for how to backup photos from mac to external hard drive. You can copy the entire Photos Library package, which preserves albums, edits, and metadata. Or you can export image and video files into folders if you want cross‑platform access or a selective backup.
Here is a quick comparison to guide you. Copying the whole library keeps everything intact, including edits, albums, keywords, and face data, but it depends on the Photos app to read it and must live on a Mac‑formatted drive. Exporting files creates normal folders of JPEG, HEIC, RAW, or TIFF that work anywhere, but you lose in‑app albums and non‑destructive edit history unless you export edited versions and originals together.
Step 1: Quit Photos before copying. Go to Photos in the menu bar and choose Quit Photos, or press Command+Q. Close any other apps that might access the library such as iMovie or third‑party photo browsers.
Step 2: Consolidate referenced files so everything is inside the library package. Open Photos, choose File → Consolidate, and let the app pull any originals stored outside into your “.photoslibrary.” This prevents missing images after the move.
Step 3: Locate your library in Finder. Open your Home folder, then Pictures, and find “Photos Library.photoslibrary.” If you keep multiple libraries, search for “.photoslibrary” in Finder so you pick the right one.
Step 4: Copy the library to the external drive. Drag “Photos Library.photoslibrary” onto your external drive in Finder; moving between different volumes copies by default. Avoid holding Command while dragging because that forces a move, and use Option to force a copy if you are unsure.
Large libraries can take a while to transfer, so be patient and watch Finder’s progress bar. On a USB 3.0 HDD you might see 80–150 MB/s, while a USB‑C or Thunderbolt SSD can push 300–900 MB/s; a 500 GB library could take from 10 minutes to a few hours. Keep your Mac awake and avoid disconnecting cables until it completes.
Step 5: Verify the copy before you delete anything. Hold Option while launching Photos, choose “Other Library,” and select the library on the external drive. Open a few albums, check some edited photos, confirm keywords, and compare the library sizes in Finder.
If you want deeper guidance from Apple on this exact process, see how to move your Photos Library. It covers the same Option‑launch and System Library steps. When everything looks right, keep both copies for a few days as a safety net.
Step 6: Decide if iCloud Photos should use the external library. In Photos, go to Preferences → General and click “Use as System Photo Library.” If iCloud Photos is enabled, this library becomes the master, which may trigger re‑uploads or downloads depending on what is different.
Step 7: Only after full verification should you free up space on your internal drive. In Finder, move the original library to the Trash and empty it if you are absolutely certain. Many photographers keep an extra copy offline for a week before deleting the original, and that small delay often saves the day.
If you prefer a file‑based backup instead of copying the package, export your images and videos into folders. Select photos or albums in Photos, choose File → Export, and then pick “Export Unmodified Originals” to preserve RAW and untouched masters, or “Export [X] Photos” to write edited versions. For videos, “Export Unmodified Original” keeps the full quality and codecs intact.
In the export dialog, choose the file format and quality if you are exporting edited versions, and include metadata like EXIF and IPTC. Use a clear folder structure on the external drive, such as “2026/11/Portraits” or “YYYY/MM/ProjectName,” so browsing is easy. This makes your backup readable on Windows and Linux as well.
Export in batches if you have a very large library to avoid timeouts. For mixed media, you can export both unmodified originals and edited versions to separate folders so you have masters and ready‑to‑share files. Common types you will see include RAW, HEIC, JPEG, TIFF, PNG, and MOV or MP4 for video.
This step‑by‑step approach keeps your catalog safe while you learn how to backup photos from mac to external hard drive without losing edits. Choose the whole‑library copy when you live inside Apple Photos. Choose exports when you need universal folders and long‑term archives.
Open, switch and designate the Photos Library on the external drive
To open a library stored on your external drive, hold Option while launching Photos and click “Other Library.” Navigate to the external drive, select “Photos Library.photoslibrary,” and open it.
If you want iCloud Photos to use this external library, go to Photos → Preferences → General and click “Use as System Photo Library.” iCloud will treat this library as the master, which may trigger a full sync that can take hours or even days.
Always connect the external drive before you open Photos if it is set as your System Photo Library. If the drive is missing, Photos may create a new, empty library on your internal disk, which can be confusing later.
To switch libraries at any time, quit Photos and relaunch while holding Option. You can then pick a different library or create a new one for special projects.
Apple advises caution with System Photo Libraries on removable or network volumes. For stability, use a directly connected, reliable drive, and avoid disconnecting during writes or syncs.
Maintain, update and automate your backups
Great backups are not one‑and‑done. Follow the 3‑2‑1 rule: keep three copies of your photos, on two different media types, with one copy offsite. This mindset protects you from disk failure, theft, and even accidental deletion.
Create a simple manual rhythm if you prefer control. Back up after big shoots, major edits, or at least once a week, and write the date on the drive’s label or in a notes app. Consistency beats complexity.
For automation, set up Time Machine on a separate drive from your photo backup, which gives you versioned history of your Photos Library. If you need a refresher on macOS’s built‑in option, read Apple’s guide to Back up with Time Machine and keep it running in the background.
For fast clones and scheduled syncs of your “.photoslibrary,” tools like Carbon Copy Cloner or ChronoSync handle package files gracefully. They copy only changed chunks, which saves time and reduces wear compared to full recopying. Set a daily or weekly schedule so your external drive stays in lockstep with your Mac.
If you prefer the command line, you can mirror a library with rsync, but use care with spaces and ownership. A simple example is: rsync -aEH –delete –progress “/Users/YourName/Pictures/Photos Library.photoslibrary” “/Volumes/PhotosBackup/”. Test with a small folder first, and never rely on a single run without verification.
Build redundancy with drive rotation and an offsite copy. Keep a second external drive at a trusted location or add a reputable cloud backup like Backblaze or object storage for long‑term coverage. This protects you if fire, flood, or theft hits your primary setup.
Match your storage to your workflow as your collection grows. Use a fast external SSD for daily editing and a larger, affordable HDD for long‑term archives and older projects. This blend gives you speed where you need it and depth where you store it.
Secure everything with encryption at the drive level using APFS Encrypted or HFS+ Encrypted, and store passphrases safely. After each backup, do a mini‑audit: open the library from the backup, check a few recent edits, confirm Finder sizes match, and log the date so you have a clear history.
Troubleshooting, permissions and safe‑eject checklist
If Photos won’t open a library from your external drive, start with Disk Utility → First Aid on that volume. Make sure the drive is formatted APFS or Mac OS Extended, because exFAT is not supported for Photos Library packages. Reboot after repairs and try again.
When a library seems damaged, hold Option + Command while launching Photos and follow the Repair Library prompts. The repair can take a while on big libraries, so keep your Mac awake and plugged in. Verify a few albums when it completes.
Permissions issues usually trace back to ownership on the backup drive. In Finder → Get Info for the drive, enable “Ignore ownership on this volume,” then try again; or cautiously fix ownership via Terminal with sudo chown -R $(whoami) /Volumes/DriveName/Photos Library.photoslibrary. Use Terminal only if you understand the command and have a separate backup.
If a copy failed or was interrupted, just copy the library again and wait for a clean finish. For repeat failures, copy in smaller chunks with exports or use rsync or a cloning tool that can resume. Keep cables and hubs simple to avoid disconnects.
iCloud re‑sync surprises are common after switching your System Photo Library. Estimate the size of expected uploads or downloads first, consider pausing iCloud Photos during the physical copy, then re‑enable once the library is stable on the external drive.
Always quit Photos before unplugging any drive. Eject the volume in Finder and wait for the drive’s activity light to stop before you remove the cable, because yanking a busy drive risks corruption.
If deletion or corruption happens, act quickly. Restore from Time Machine, pull from your second external backup, or consider professional recovery tools and services. The safest path is prevention: copy first, verify, and only then delete, which is the core of how to backup photos from mac to external hard drive safely.
What People Ask Most
How often should I backup photos from Mac to external hard drive?
Backup frequency depends on how often you add important photos, but a weekly or monthly routine is a good start for most users.
Is it difficult to backup photos from Mac to external hard drive?
No, it’s usually simple and can be done with a manual copy or built-in tools that automate the process.
Will backing up photos from Mac to external hard drive delete the originals?
No, copying files to an external drive keeps the originals on your Mac unless you choose to move or erase them.
Can I use one external drive for multiple backups when I backup photos from Mac to external hard drive?
Yes, you can store multiple backups on one drive, but keeping separate drives for different backups adds extra safety.
How can I verify my backup when I backup photos from Mac to external hard drive?
Open several backed-up photos on the external drive to confirm they open correctly and match the originals.
What common mistakes should I avoid when I backup photos from Mac to external hard drive?
Avoid unplugging the drive during transfers, skipping verification, and using only one backup location for important photos.
Should I use Time Machine or manual copies to backup photos from Mac to external hard drive?
Both work; Time Machine automates full backups while manual copies let you select specific photos to store.
Final Thoughts on Preparing and Backing Up Photos
Think of this guide as a 270-degree look at securing your photo library: by preparing the drive, choosing the right format, and verifying the copy, you get a fast, reliable archive that keeps edits, metadata and RAW masters intact. The core benefit is peace of mind — your images stay accessible and editable without surprise losses. That steady, predictable workflow is what saves time when deadlines or memory scares hit.
Be realistic: don’t delete originals until you’ve opened and spot-checked the copied library, and watch iCloud sync settings because switching the System Photo Library can trigger large uploads or downloads. This approach helps hobbyists and pros alike — especially photographers who edit RAW files, manage big catalogs, or need clean, cross-platform exports.
We started by asking how to avoid losing years of work, then walked through preparation, formatting, moving or exporting, verification, automation and troubleshooting so you’ll know exactly what to do. Keep a steady backup routine and at least one offsite copy, and you’ll be able to focus on shooting with less worry.





0 Comments