
How to print 3×5 photos so they look sharp and true to color?
This easy guide shows step‑by‑step methods for home printers and pro labs in 2026. It keeps things practical and quick.
You’ll get a six‑step home workflow, exact pixel targets (900×1500 px at 300 DPI and alternatives), and simple crop and sharpening tips. I also cover paper choices, print settings, layouts for printing many photos, and quick troubleshooting.
Downloadable 3×5 templates, screenshots, and a one‑page checklist are included to save time. Read on to learn exactly how to print 3×5 photos without waste or guesswork.
How to Print 3×5 Photos at Home
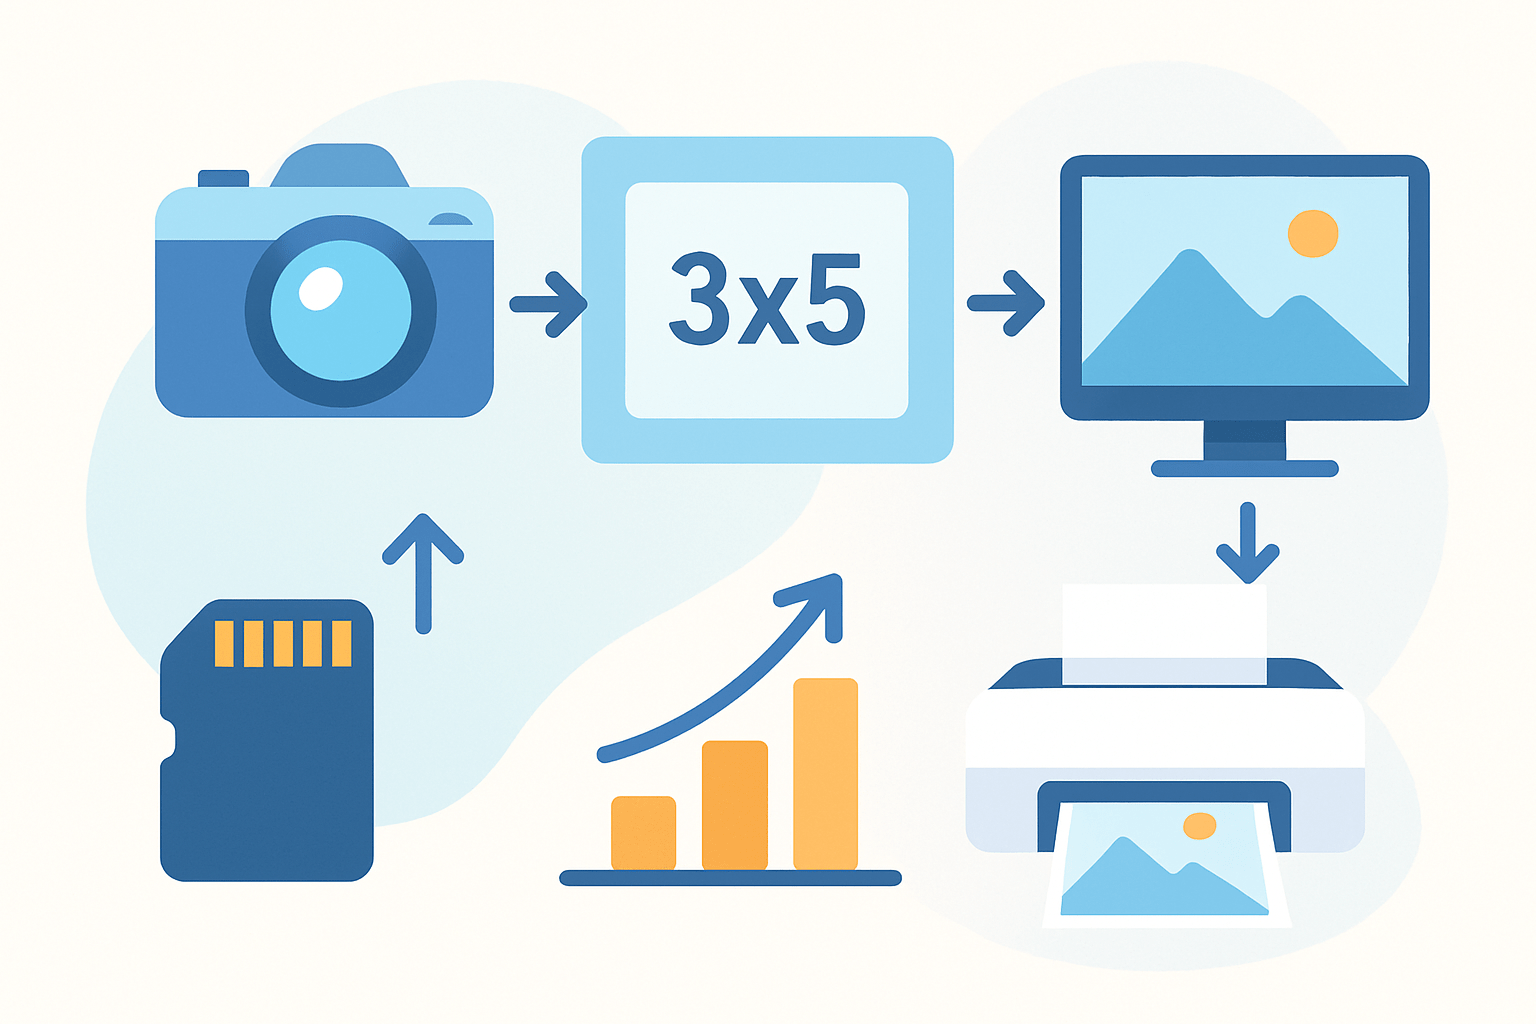
If you came here to learn how to print 3×5 photos fast, here is the shortest route. Crop your image to a 3×5 aspect at 300 DPI so it’s 900 by 1500 pixels, choose photo paper in your printer settings, set scale to Actual size, do a plain-paper test, then print on photo paper and let it dry before handling.
Step 1. Prepare the image. Open your photo in an editor and crop to a 3:5 ratio so nothing important gets chopped off later. Set the resolution to 300 DPI and confirm the pixel size is roughly 900 by 1500 for the sharpest result.
Step 2. Choose paper and printer settings. Pick a premium photo paper in glossy, luster, or matte and select the exact paper type in the print dialog. Enable borderless only if you are okay with slight auto-zoom and potential edge cropping.
Step 3. Do a plain-paper test print. Print on regular paper at Actual size to verify the crop, margins, and orientation. Hold this test over your photo paper to confirm alignment before committing.
Step 4. Print on photo paper. Load the paper in the correct tray with the printable side facing as your printer recommends. Use High Quality or Photo mode and double-check the paper type matches the box to prevent dull color or banding.
Step 5. Cut or trim if needed. If you printed on 4×6 or letter paper, use a paper trimmer or a steel ruler and craft knife to cut clean 3×5 edges. Lightly mark guides on the back and cut slowly to keep corners square.
Step 6. Allow drying and handle carefully. Let inkjet prints sit for at least 10 to 20 minutes so the surface cures. Stack prints face to face only when they are fully dry to avoid smudges or sticking.
Windows notes. In Microsoft Photos, use Edit to crop at 3×5, then Print and choose the correct paper size or select 4×6 or Letter with Actual size. The classic Print dialog allows you to set scaling to 100%, pick paper type, and toggle borderless if your printer supports it.
Mac notes. In Photos or Preview, crop to 3×5 and choose File > Print, then select the paper size and set Scale to 100%. If borderless is on, watch that the driver does not auto-enlarge and clip edges; switch to with borders if composition is tight.
Smartphone notes. With AirPrint on iOS, crop first in Photos and select the printer, paper, and scale if your app allows it; for Android, use the system print dialog or Mopria alternatives and your printer’s app. If your device or printer app is limited, send the file to a photo lab app that supports exact 3×5 output.
Quick checklist. Confirm the image is 900 by 1500 at 300 DPI or at least 720 by 1200 at 240 DPI, pick the right paper and paper type in the driver, run a plain-paper test, print on photo paper at Actual size, and trim with a straightedge if needed.
If anything looks off in the test print, fix it now. A few minutes of checking saves money and gives you a perfect 3×5 the first time.
Choosing the Right Paper Size
The 3×5 print is not as common as 4×6, and that matters because aspect ratios differ. Many cameras shoot 3:2 frames, so fitting them into a 3:5 rectangle requires intentional cropping to avoid cutting off heads or important edges.
If your printer supports custom or index card sizes, you can print directly to 3×5. This is the simplest path because you avoid trimming, though some printers need wider margins that slightly reduce the printable area.
Printing on 4×6 and trimming is a flexible option. You center the 3×5 area and cut away the extra half inch on one side, which helps if your printer struggles with very small sheets or if you want borderless output without auto-cropping.
For batches, placing multiple 3×5 images on an 8.5×11 sheet is economical. You can lay out a grid, print six per page, and trim once, which saves paper and time at the printer but adds trimming time at the end.
Pro labs will also cut to 3×5 if you deliver files at the correct proportions. Ask for borderless or with borders and provide files in sRGB to match most consumer lab workflows, and confirm whether their cut tolerance meets your standards.
Paper finishes influence the look and durability. Glossy pops for snapshots, luster controls glare and fingerprints, and matte gives a fine-art feel, with 200 to 300 gsm weights feeling more substantial; archival, acid-free papers resist yellowing if you plan to keep prints for years.
Choose borderless when you want edge-to-edge, but remember many drivers slightly enlarge the image which can crop. With borders, you keep your full crop and gain a clean white frame that looks great in albums or collages.
Test your printer with small sizes before a big run. Some printers have minimum margins or curl tiny sheets, and a quick trial helps you decide whether to print direct to 3×5 or trim from larger paper; you can also check orientation for portrait or landscape layouts.
If you need a refresher on how 3×5 relates to other sizes, skim this overview of standard photo sizes. It clarifies ratios and helps you predict where cropping will happen across different formats.
Using Photo Editing Software to Resize Images
Resolution is the bedrock of small, sharp prints. At 300 DPI, a 3 by 5 inch print needs 900 by 1500 pixels, while 240 DPI needs 720 by 1200 pixels and 200 DPI is 600 by 1000 pixels; 300 DPI looks the crispest at arm’s length.
Crop with a 3:5 ratio or set the crop tool to 3 inches by 5 inches at 300 DPI. Lock the aspect ratio and slide the crop box to protect faces, fingers, and horizon lines, and leave a touch of breathing room near the edges.
If your editor supports content-aware crop or fill, you can expand canvas slightly to save a fingertip or hair edge. Use this sparingly and review at 100% to ensure the generated pixels look natural and not smeared.
Save your master as a high-quality JPEG or as a TIFF if you’re going to a lab that prefers uncompressed files. Convert to sRGB for most consumer printers and labs, since the pipeline expects that color space and it prevents dull or shifted colors.
Avoid enlarging more than about 10 to 20 percent if the source file is small. If you must upscale, try smart enlargement tools such as Preserve Details in Photoshop or a dedicated enlarger, and check for ringing, halos, and plastic-looking textures before printing.
Apply gentle output sharpening tuned for small prints. Inspect at 100% and sharpen until edges pop without halos, and consider a small contrast or saturation bump, as paper absorbs ink and can make prints look slightly flatter than the screen.
Soft proofing with an ICC profile gives you a preview of how the paper and ink may shift tones. When profiles are not available, stay in sRGB, avoid exaggerated vibrance, and keep skin tones natural to sidestep surprises at the printer.
In Photoshop, create a 900 by 1500 pixel canvas at 300 DPI, place your photo, set the crop, and export a maximum-quality JPEG in sRGB. On Mac, Preview or Photos can crop to a custom size and export at the right resolution, while on Windows, Microsoft Photos and IrfanView handle quick resizing and saving.
On mobile, Snapseed lets you crop at a fixed ratio and export a high-quality JPEG. Online editors like Canva can place your photo on a 3×5 template so you can lay out borders or text before printing or sending to a lab.
If you want more depth on pixels and print quality, this concise print resolution guide is a helpful companion to these steps. It reinforces why DPI and pixel counts matter so much at small sizes.
Selecting the Correct Print Settings
In the print dialog, first match the paper size. Choose a custom 3×5 or an index-card preset if your printer supports it, otherwise select 4×6 or Letter based on the sheet you loaded and keep the image scaled to Actual size.
Set scale to 100 percent and never Fit to page unless you want the driver to fill the sheet by cropping or scaling. Match orientation to your crop so the driver does not rotate or re-center unexpectedly.
Borderless printing is great for edge-to-edge, but know that many drivers slightly enlarge and clip to remove the white edge. If your composition is tight, print with borders and trim, or design a thin border in your file to safeguard important edges.
Choose Photo or High Quality in the driver and select the exact paper type, like Premium Glossy or Photo Matte. This tells the printer how much ink to lay down and prevents muddy blacks or oversaturation that takes forever to dry.
Decide who manages color. Let the application manage colors with the correct ICC profile for your paper and ink, or let the printer manage colors, but never both at once; double profiling causes odd shifts and gray casts.
If color accuracy matters, install your printer manufacturer’s profiles and pick them in the print dialog. When in doubt, stick with sRGB and the matching paper preset and run a small test image to verify tones and contrast.
Always run a plain-paper proof to check margins and cropping. For inkjets, print one at a time, give each print a few minutes to cure, and avoid stacking them face-to-face while still tacky.
If prints look flat or too dark, verify the file is sRGB, the monitor isn’t overly bright, and the driver is up to date. Paper mismatches in the driver are a common culprit for weak color, so confirm that setting first.
For framing and display ideas after you print, you can explore this overview of photo printing and framing. It helps you choose borders and finishes that complement your images.
Printing Multiple 3×5 Photos on One Sheet
An 8.5 by 11 inch sheet at 300 DPI is 2550 by 3300 pixels. You can fit a practical grid of three across and two down, for six 3×5 prints per page, leaving small gutters for cut lines and handling.
If you are printing on 4×6 paper, plan for one 3×5 centered on the sheet. This method simplifies trimming, especially if your printer feeds small sizes more reliably than very small index cards.
Create your layout in an editor by first making a canvas at 2550 by 3300 pixels at 300 DPI. Place each 900 by 1500 pixel image into a 3 by 5 inch slot, align the grid, and leave thin gutters of about 0.125 inches so you have room for clean cuts.
Include crop marks or faint gray lines that show where to cut. If you want true full-bleed 3×5 prints after trimming, add a 1/8 inch bleed around each image and trim inside the marks for the final size.
Contact sheet features in many apps can automate the grid. Word processors and online design tools also work if you set the page to letter size, turn off automatic scaling, and place images at exact dimensions rather than dragging freely.
Print a test sheet on plain paper and hold it over your photo paper against a window or light to check alignment. Use a guillotine trimmer or a rotary cutter for straight, repeatable edges, and label the back of your layout file with row and column guides to speed cutting.
Batch printing on one sheet saves paper and ink but trades for trimming time. It’s ideal for wallets, party favors, classroom handouts, or proof decks where consistency and speed matter more than convenience at the printer.
If your grid comes out misaligned, recheck that the printer is set to Actual size and that no scaling or borderless auto-zoom is applied. Unexpected margins often trace back to the driver inserting minimum margins, which you can avoid by centering the grid inside a safe zone.
Cheat sheet for speed. Remember these numbers: 3×5 at 300 DPI is 900 by 1500 pixels; at 240 DPI it’s 720 by 1200; at 200 DPI it’s 600 by 1000; save as high-quality JPEG or TIFF in sRGB; final checklist is crop, DPI, paper type, test print, and careful trim.
Once you practice this workflow a few times, how to print 3×5 photos becomes a quick, reliable routine. Keep a reusable 900 by 1500 pixel template, and you’ll build perfect prints with confidence every time.
What People Ask Most
How do I print 3×5 photos at home?
Use photo paper and set your printer or print app to the 3×5 size, then crop the image to fit before sending it to print.
Can I print 3×5 photos from my phone?
Yes — use your phone’s print option or a photo-printing app to send images to a wireless printer or an online lab for pickup or delivery.
What paper is best for printing 3×5 photos?
Choose a photo-grade paper in glossy or matte finish sized for small prints to get clear color and a nice feel.
How can I make sure my 3×5 prints look sharp and true to color?
Crop the photo to a 3×5 shape, use a clear original image, and preview the print settings to check color and layout before printing.
Can I order 3×5 photos at a local store or online service?
Yes, most photo centers and online labs let you upload images and select 3×5 as a print size for pickup or delivery.
What common mistakes should I avoid when printing 3×5 photos?
Avoid stretching images to fit, skipping the preview, and using low-quality files that can cause blurriness or odd crops.
How should I store 3×5 photo prints to keep them looking good?
Store them in a cool, dry place away from direct sunlight and use acid-free sleeves or an album to prevent fading and damage.
Final Thoughts on Printing 3×5 Photos at Home
Printing 3×5 photos at home gives you control and immediate results, and this guide boiled it down to the essentials: pixel sizes, printer settings, paper choices, and trimming tricks. If you see a 270 measurement in a template or preview, treat it as a low-res cue and stick to higher pixel counts for sharp small prints. The main payoff is consistent, pocket-sized photos that match your vision without a lab run.
Don’t forget one real caution: small prints hide flaws but can magnify poor resolution or color shifts if you skip test prints and color management, so always do a plain-paper proof and check crop before using photo paper. It’s especially true for printers with minimum margins or aggressive auto‑scaling.
This workflow will help hobbyists, album-makers, and pro photographers who need quick, tidy 3x5s for proofs, giveaways, or layouts — you’ll save time and control the final look. If your opening question was whether you can reliably make professional-feeling 3x5s at home, the step-by-step sections proved you can, and they showed exactly how to do it. Keep experimenting and you’ll be surprised how polished small prints can look.



0 Comments