
When was the last time you traced a faded family photo and wished those memories were safe on your Mac? Scanning old prints, slides, and negatives feels like a small miracle—if you pick the right hardware. If you care about color fidelity, long-term preservation, or easy sharing online, choosing the wrong scanner can cost time and image quality.
This guide cuts through specs and marketing to present five Mac-compatible photo scanners that span portable, desktop, and professional setups. We tested models that suit weekend projects and full-on archiving so you can pick the right balance. We focus on options that work smoothly with macOS and popular photo apps.
Beyond sheer resolution, real-world factors make the difference: media support (prints, 35mm, medium format, or slides), batch speed, color fidelity, and how well drivers and software integrate with your Mac. You’ll read about image quality in practical use, the macOS software experience, and how fast a typical workflow moves from scanner to cloud or archive. I also consider convenience features that actually save time during big jobs.
Whether you’re digitizing a shoebox of snapshots or building a professional archive, this primer will help you match needs to features. Read on to find the best photo scanner for your Mac and the workflow tips that actually make scanning enjoyable. Expect clear, practical guidance so you spend more time preserving memories and less time fiddling with settings.
1. Epson FastFoto FF-680W

Epson FastFoto FF-680W scanner
High-speed batch digitization for thousands of prints with wireless file transfer and automatic color restoration.
Check PriceThe Epson FastFoto FF-680W is a powerhouse for anyone facing a pile of prints. Ranked best overall photo scanner for 2026, it excels at high-speed batch scanning and offers wireless connectivity so you can walk away while it works. In practice you’ll see roughly ~7 seconds per 300 DPI photo in batch jobs, which makes short work of family archives and large projects.
Image quality is impressive for a dedicated photo feeder: high-resolution scans with accurate color reproduction and automated dust/scratch removal give you clean, usable files straight out of the machine. The unit also applies fading correction and automated face detection and image enhancement, so many scans need little or no post-processing.
Workflow is where this scanner really shines. It handles photo stacks and a variety of print sizes, and the included software supports one-touch operation plus cloud upload (for example, Dropbox) so scanned images can be routed to your Mac or the cloud automatically. If you want a fast, low-fuss way to digitize thousands of prints, the FF-680W is designed for that exact job and is particularly well suited to family archivists and photo enthusiasts who value speed and easy integration with Mac workflows.
The trade-offs are straightforward: it isn’t built for negatives or slides, and it’s relatively large and less portable than smaller desktop units. For studio photographers who need film scanning or photographers who travel a lot, those limits matter. For home archivists and anyone with stacks of prints, though, it’s a highly productive, mostly worry-free solution.
- Very fast batch scanning (~7 sec per 300 DPI)
- Excellent image quality and color reproduction
- Wireless and one-touch cloud upload (Dropbox)
- Automatic dust/scratch removal and fading correction
- Not designed for negatives/slides
- Relatively large and less portable
2. Epson Perfection V850 Pro

Epson Perfection V850 Pro scanner
Professional-grade flatbed delivering exceptional detail, accurate colors, and dual-lens resolution for archival-quality reproductions.
Check PriceAs a working photographer who archives both prints and negatives, the Epson Perfection V850 Pro is the kind of flatbed you reach for when quality matters. It delivers up to 6400 x 6400 DPI optical resolution with a dual‑lens system, so fine texture and shadow detail from prints, 35mm negatives, slides, and even medium format film are preserved with excellent color fidelity.
In everyday use the V850 Pro feels purpose‑built: the scans show superior detail reproduction and accurate colors that hold up when you push files in post. The included Epson Scan software integrates with macOS and the drivers are well supported, which makes it reliable on a Mac workstation—though you’ll want to spend time with the settings to get the best results.
Dust and scratch removal works well as a software feature, but don’t expect it to be a one‑click fix for every frame; some manual interaction is often necessary, especially with older or delicate negatives. The build is solid and geared toward semi‑pro and professional workflows, so it’s great for archivists and photographers who need high‑resolution, multi‑media scanning rather than a quick consumer solution.
If your priority is archival quality, film support, and the ability to extract maximum detail, the V850 Pro is a strong choice. If you need portability or a super-fast casual workflow, be aware this flatbed design and the learning curve around its software can slow you down.
- 6400 x 6400 DPI optical resolution
- Dual‑lens film/slide support (35mm + medium format)
- Robust build quality
- macOS‑ready Epson Scan software & drivers
- Bulky, not portable
- Steeper software/settings learning curve
3. Canon CanoScan CS9000F Mark II

Canon CanoScan 9000F MKII scanner
High-resolution capture with transparency adapter for slides and negatives, plus versatile editing software included.
Check PriceAs a working photographer, I appreciate the Canon CanoScan CS9000F Mark II for its balance of resolution, speed, and media versatility. It handles prints and 35mm negatives reliably, producing sharp scans with generally good color accuracy, which makes it a solid choice for archiving family photos or digitizing film scans for client previews.
The scanner’s automated dust correction and color restoration are genuine time-savers when dealing with faded or imperfect originals. Those automatic fixes mean fewer manual edits in post, so you can move through batches more quickly while still preserving detail.
The bundled scanning software is straightforward and user-friendly, which helps when you want consistent results without wrestling with complex settings. That said, the software isn’t as feature-rich as higher-end models, so if you need advanced color management or precise calibration workflows you may find it limiting.
Color calibration can show some variability depending on the source material, so I recommend running a few test scans and adjusting your post-processing flow accordingly if exact color fidelity is critical. For photographers and enthusiasts who need a versatile, accessible tool that supports multiple media types—prints, slides, and film—the CS9000F Mark II is an excellent middle ground.
- High resolution for detailed photo and film scanning
- Automated dust correction and color restoration
- User-friendly, straightforward scanning software
- Supports multiple media types (prints, slides, film)
- Color calibration can be inconsistent
- Software lacks some advanced features of higher-end scanners
4. ClearClick QuickConvert 2.0

ClearClick QuickConvert 2.0 photo & film scanner
Standalone unit converts prints, slides, and negatives to digital files with easy one-touch controls.
Check PriceAs a photographer who often needs quick digitization of family archives, the ClearClick QuickConvert 2.0 is a practical little tool. It’s built as a portable, easy-to-use scanner that handles prints, slides, and negatives, so you can grab a handful of media and convert them without hauling a flatbed into the studio. The unit is clearly aimed at small batches and casual digitization rather than archival-grade work.
Operation is straightforward and genuinely minimal, which makes it great for non-technical users. It connects to a Mac over USB, but note that it requires ClearClick’s proprietary software for the transfer and control. That keeps setup simple, although it also means you’re tied to the vendor’s app rather than using macOS’ built-in tools.
Image-wise you’ll get decent color and sharpness from slides and negatives, especially for viewing and sharing. Don’t expect the resolution or fine detail of higher-end flatbeds or pro film scanners; this unit trades ultimate detail for convenience and speed. For routine family photos and slides the output is more than acceptable, but it won’t satisfy demands for large enlargements or archival-level scans.
If your priority is portability and simplicity, this is a strong pick. It’s excellent for hobbyists and casual users who want to digitize old photos and slides quickly and move on. For anyone needing ultra-high resolution or advanced editing right in the scanner software, you’ll want to consider a higher-end option, but for fast, small-batch projects the ClearClick does what it promises.
- Portable and quick to operate
- Supports prints, slides, negatives
- Good for fast digitization and sharing
- Suitable for family archives and small projects
- Lower scan resolution than dedicated flatbed/pro scanners
- Proprietary software limited in editing/enhancement options
5. Canon CanoScan LiDE 300 Slim

Canon CanoScan LiDE 300 scanner
Slim, USB-powered flatbed for crisp document and image capture with energy-efficient operation and simple plug-and-scan setup.
Check PriceThe Canon CanoScan LiDE 300 Slim is a compact, budget-friendly flatbed that I often recommend to clients who just need a reliable way to digitize family photos and documents. Its slim profile makes it perfect for small desks or dorm rooms, and the single USB cable power/setup is a genuine convenience for Mac users who want a tidy, plug-and-play solution.
Image-wise it delivers good color accuracy for casual use, which means prints for albums or social sharing come out looking natural without a lot of fiddling. The interface is simple, so you won’t waste time learning complex software—handy if you’re scanning a handful of photos rather than running archival jobs.
That said, this isn’t a tool for photographers needing high-resolution enlargements or fast batch work. The LiDE 300 is not suited for professional scanning; its resolution and throughput limit how far you can push prints for large-format reprints. Mac users also report some software limitations, though driver support is smooth, so basic workflows on macOS are straightforward.
If you’re a student, parent, or light user who wants a space-saving scanner that’s easy to set up and produces pleasing results for everyday scanning, this is a solid, low-cost option. If your work demands high DPI, rapid batch scanning, or film/slide support, you’ll want to look elsewhere. For casual digitization and simple document/photo tasks, the LiDE 300 does its job well.
- Slim, compact design
- USB-powered via one cable
- Simple interface
- Good color accuracy for casual use
- Limited resolution for professional enlargement
- Slow for larger scanning batches
Choosing the Right Scanning Resolution (DPI)
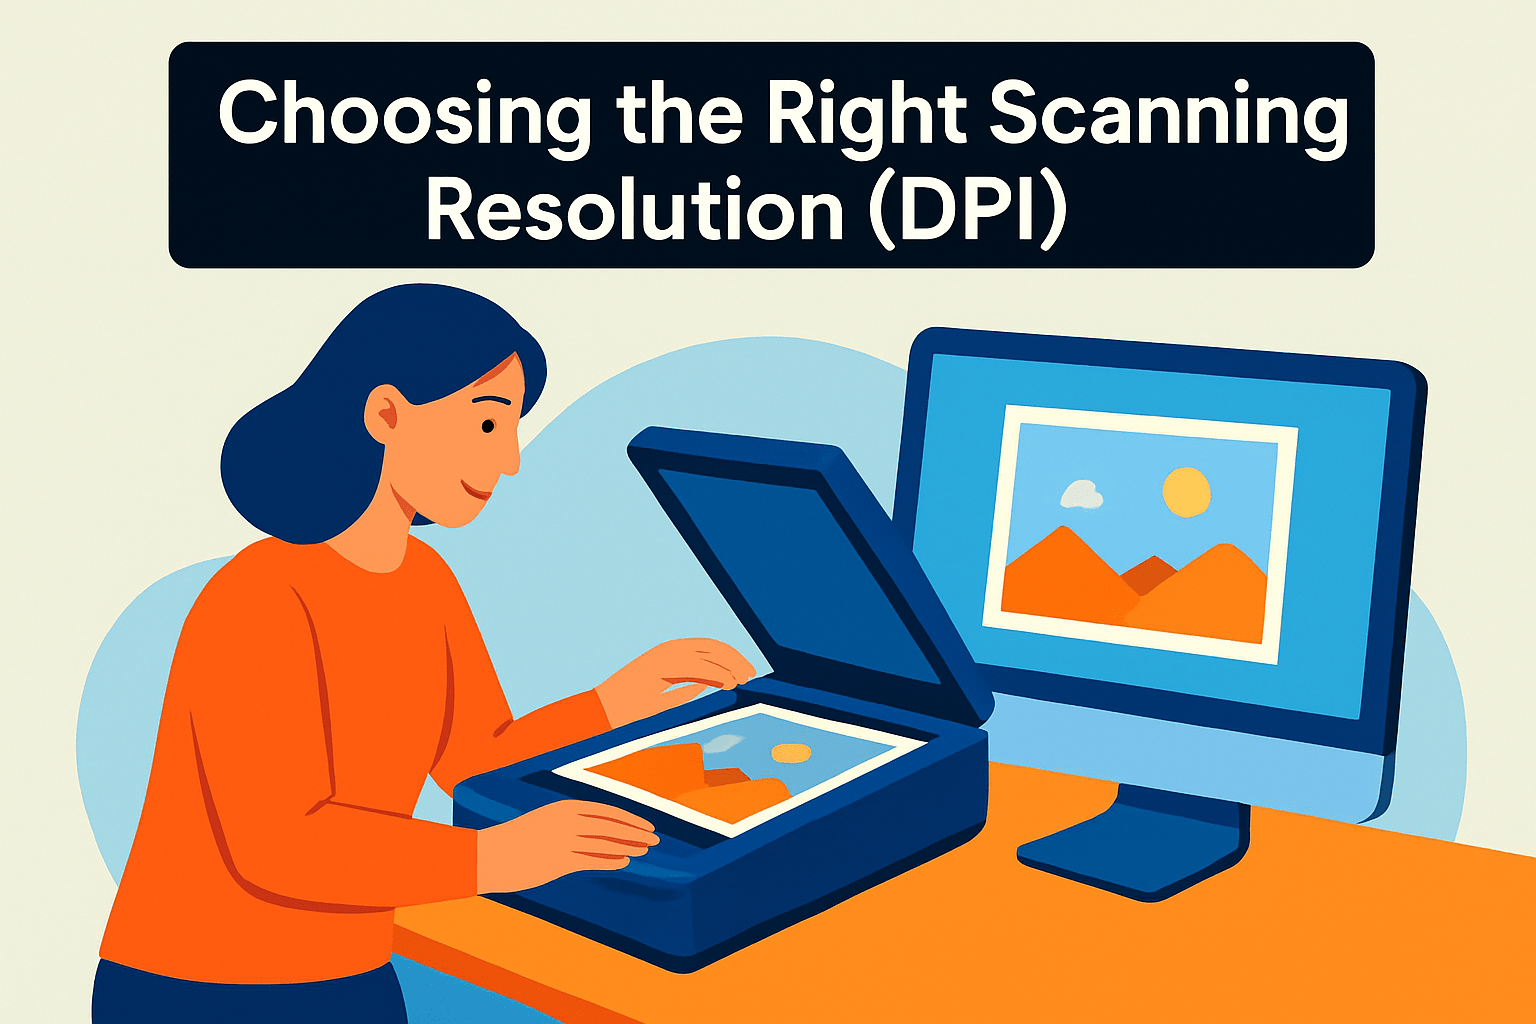
Think of DPI as how closely your scanner samples the scene. Higher numbers capture more detail and give you room to crop or make large prints, but they also produce much bigger files and slower scans. For everyday family prints that you want to view, share, or make small 4×6 or 5×7 prints from, 300 DPI is a solid, practical choice.
If you plan to enlarge images or want the option to crop aggressively, bump up to 600 DPI. That extra resolution preserves texture and fine detail for 8×10 prints and larger. For archival work, slides, or 35mm negatives, aim even higher — many pros scan film between 600 and 1200 DPI, and certain situations benefit from 2500 DPI or more to capture grain and tiny details.
Avoid chasing extreme DPI on ordinary prints. Once you exceed the scanner’s native optical resolution, you’re usually just interpolating pixels, which adds file weight without real gain. Check your scanner’s optical DPI and prioritize that over the software “high resolution” numbers. If your Mac’s built-in Image Capture limits presets (100/200/300/600), try other apps like VueScan or the scanner’s native software to access finer options.
For web or social sharing, scan at 72–150 DPI to save time and storage. When archiving, save a high-resolution TIFF and work from a JPEG copy for everyday use. Always do a quick test scan of a representative photo so you can compare detail, color, and file size before committing to a whole batch.
Finally, think workflow: if you’re digitizing hundreds of prints, a two-pass approach works well — a fast 300 DPI run for everything, then high-resolution rescans of the keeper images. That saves time and keeps your archives flexible without drowning in terabytes of unnecessary data.
Basic Post-Processing Workflow for Scanned Photos
When your scans come off the feeder or flatbed, treat them like raw negatives: start by making a working copy and never overwrite the original scan. Work non‑destructively where possible — 16‑bit TIFFs or PSDs with layers will give you room to adjust without degrading the file, and keep a clear naming and backup routine so you can always return to the untouched scan.
Begin with crop and straighten to remove borders and correct horizon or scan skew. A tight, consistent crop makes batch processing easier and highlights composition flaws early, so do this before any color work.
Color correction is where you’ll rescue faded prints. Use simple tools first: white balance to neutralize color casts, then gentle exposure and contrast adjustments guided by the histogram. If you have access to 16‑bit edits and a wide gamut profile, stick with those for better midtone transitions and fewer banding issues.
Dust and scratch removal is fiddly but vital. Zoom to 100% and use a healing brush or clone stamp for stubborn spots; automatic dust removal can help but always check for softening or lost detail afterward. Work in small areas and toggle your edits to keep them natural.
Sharpen after you’ve finished tonal and repair work. Apply targeted sharpening — a little for print, less for web — and avoid global oversharpening that creates halos. Use noise reduction sparingly; smooth grain can look good on small prints but kills detail when overdone.
When exporting, choose your format to match the destination: TIFF (or PSD) for archival masters, high‑quality JPEGs for sharing, and set 300 DPI for print targets. Embed a color profile (sRGB for web, Adobe RGB/ProPhoto when needed) and consider batch actions or macros in Photoshop, Affinity Photo or GIMP to speed repetitive tasks while preserving the option for individual retouching.
What People Ask Most
What is the best photo scanner for Mac?
The best scanner depends on your needs and workflow, such as whether you prioritize batch speed or film support. Choose a model that matches the media you plan to scan and has reliable macOS drivers and software.
Which photo scanners are compatible with macOS?
Many modern scanners provide macOS drivers or work with third-party scanning apps. Always confirm compatibility on the manufacturer’s site and check that included software supports your macOS version.
How do I scan photos on a Mac?
Connect the scanner and use either the bundled scanner software or macOS Image Capture to preview and scan. Save scans to a working folder, then crop, correct color, and save archive copies before editing.
Do I need special software to scan photos on a Mac?
Basic scanning can be done with built-in macOS tools, but dedicated scanning software adds features like batch handling and restoration. Use software that fits your volume and editing needs and always keep originals backed up.
What resolution should I use when scanning photos for archiving?
Use a resolution that preserves detail without producing needlessly large files; 300 DPI is commonly recommended for standard prints while higher DPI is suggested for enlargements or film. Base your choice on the intended output and your scanner’s capabilities.
Are flatbed scanners or dedicated photo scanners better for photos?
Flatbed scanners excel for high-quality scans and film/slide support, while dedicated sheet-fed scanners are faster for large stacks of prints. Choose based on the types of media you have and how much volume you need to process.
How do I import scanned photos into Apple Photos or iCloud?
Save scans in a compatible format and use the Photos app’s import feature or add them to a watched folder for automatic syncing. Enable iCloud Photos if you want scans to sync across your Apple devices and keep originals separate from edited versions.
Conclusion for Best Photo Scanner for Mac
In short, this roundup helps you choose a Mac‑friendly scanner that fits your workflow, whether you need the speed and cloud convenience of the FastFoto FF‑680W, the high‑resolution film support of the V850 Pro, the versatile CanoScan CS9000F Mark II, the portability of the ClearClick QuickConvert 2.0, or the compact convenience of the LiDE 300 Slim.
Match your pick to the media you’ll scan, the volume and DPI you need, and how important portability and macOS software compatibility are to your workflow.
Follow the DPI guidance and the basic post‑processing steps—cropping, color correction, dust removal, and careful sharpening—to get consistent, usable results from day one.
If you want to improve your scanning and editing skills, explore more articles on our site for practical tips, workflows, and inspiration to refine your process.
Have questions or want personalized advice? Leave a comment below and we usually reply within a few hours to help you move forward.
With a clear workflow and a scanner matched to your needs, you’ll preserve memories more efficiently and produce scans that stand up to sharing and archival use.



0 Comments