
Want sharper photos and fewer blurry shots—do you know how to hold a camera the right way?
This guide gives clear, simple steps you can follow now. It covers hand placement, the three points of contact, stance, telephoto tips, and quick fixes for camera shake.
You’ll find photos, short GIFs, and diagrams that show each move. A cheat-sheet and short drills are included so you can practice fast.
Read on to learn practical tips you can use on your next shoot. These easy habits will help you get steadier, sharper images every time.
How to hold a camera — step‑by‑step (direct answer)
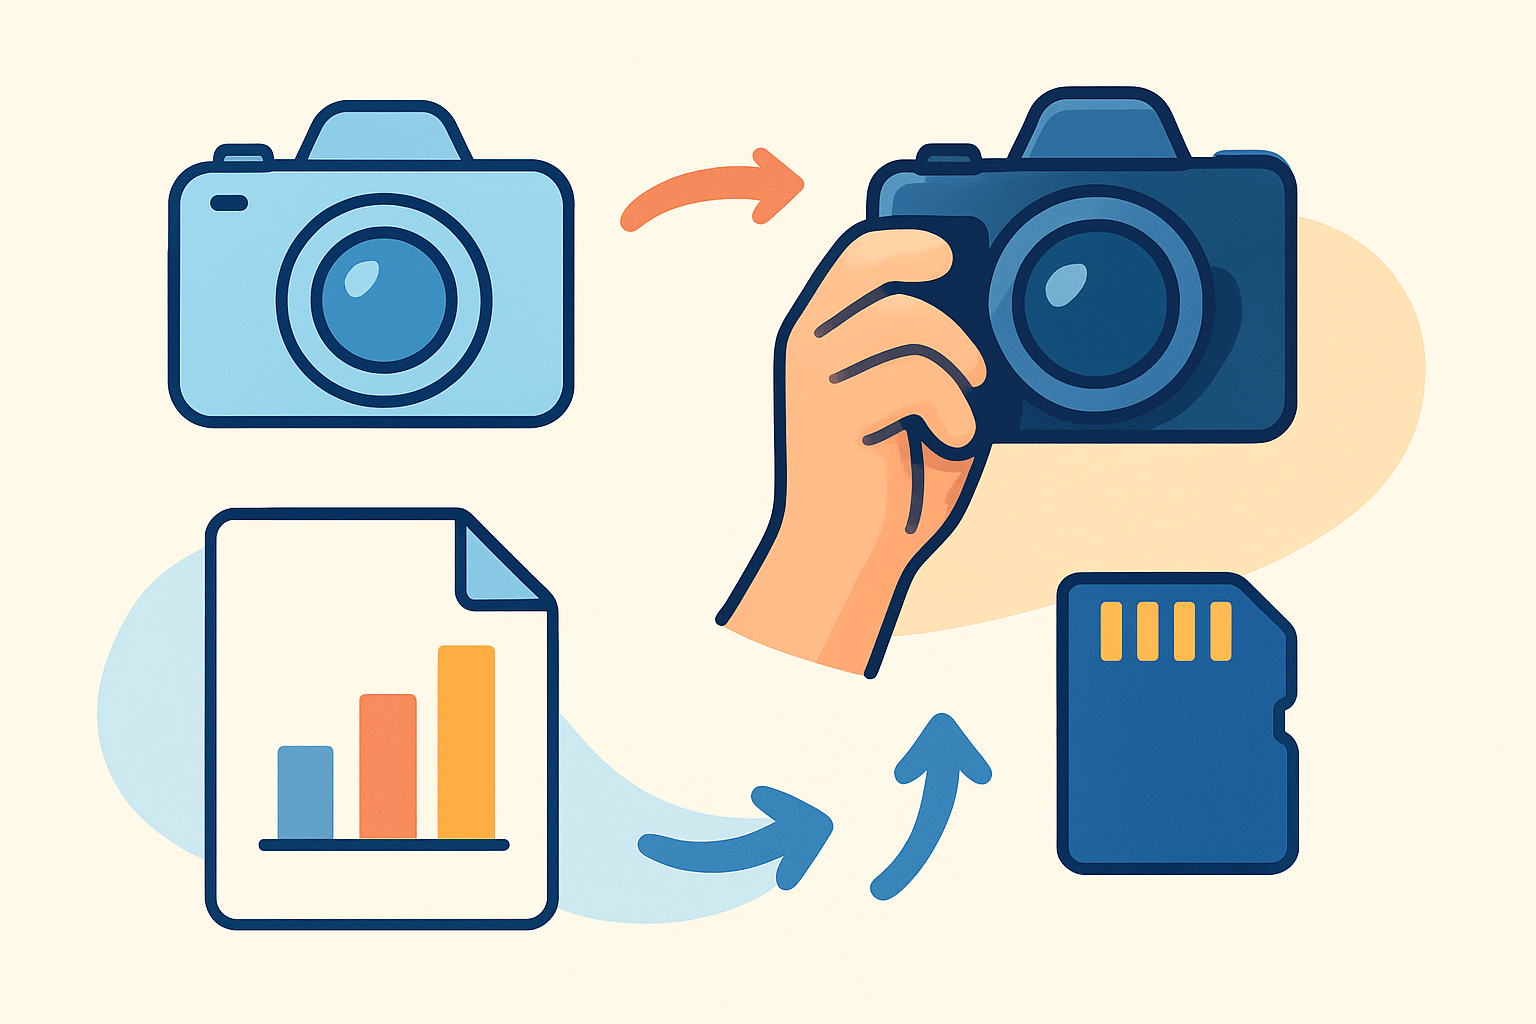
Hold the camera with your right hand on the body and your left hand under the lens, then bring the eyecup to your face for the third point of contact. Tuck your elbows into your ribs, stand steady, and you’ve already done most of the work.
Start by picking up the camera with your left hand under the lens and your right hand on the grip. Rest your index finger on the shutter button, not pressing, just ready. If you ever need a quick refresher on how to hold a camera, this simple pickup routine is the foundation.
Bring the camera to your eye and press the eyecup or viewfinder gently against your brow. This creates a firm third contact point and reduces shake instantly. Keep the pressure gentle, not crushing, just enough to steady the frame.
Tuck your elbows into your ribs and let your shoulders relax. Place your feet about shoulder‑width apart, with one foot a little forward, and keep your knees slightly bent so your body can absorb tiny movements.
Find the balance point of your camera and lens, then support it right under that point with your left hand. The balance point is where the camera feels lightest and stops seesawing. For heavier lenses, slide your hand closer to the lens collar to carry the weight.
For portrait orientation, rotate the camera while keeping your left hand under the lens. Keep your elbows tight and let your torso do the turning, not a twisted wrist. If your camera has a vertical grip, use it to keep your wrist in a neutral line.
Cheat sheet: 3‑point contact + tuck elbows + reciprocal rule + breathe. Say it in your head before each shot and you’ll steady yourself without thinking.
Do keep a relaxed, firm grip and roll your finger onto the shutter so you don’t jab the camera. Don’t pinch the camera with fingertips or let your wrist bend at odd angles, because that adds shake.
Do bring the camera to your face and keep it there while you finish your composition. Don’t lean your head toward the camera or reach out with your arms, because that weakens your stance.
Do support the lens from underneath, especially with zooms and telephotos. Don’t hold the lens only from the side or on the zoom ring alone, as that can twist the frame during the shot.
Hand placement, grip and the three points of contact
The three points of contact are your right hand on the grip, your left hand under the lens, and your eye against the eyecup. Together they create a small triangle that is rigid and stable, which is why your photos look sharper even before you adjust settings.
Your right hand should hold the camera firmly but stay relaxed. Let your thumb anchor on the back near the AF‑ON or joystick, and rest your index finger lightly on the shutter button so you can press without jerking. Avoid squeezing the life out of the grip, because tension travels into shake.
Your left hand does the heavy lifting and fine control. Slide that hand under the lens and find the balance point, ideally near the zoom or focus ring so you can adjust without shifting the camera. With heavy lenses, cradle the lens near the collar or foot so your forearm supports the weight rather than your fingers.
The eyecup or viewfinder is the third anchor, and it matters more than most beginners expect. Press it gently to your brow or eyeglass surface to create a firm contact. This not only stabilizes the camera but also blocks stray light so you can see exposure and focus more clearly.
Tuck your elbows into your ribs and keep them there as your default. This turns your torso into a brace and takes the wobble out of your forearms. If you feel your elbows flaring like wings, bring them back in and let your lats and ribs carry the load.
When rotating to vertical, keep the left hand under the lens and rotate the camera toward your right hand. If your lens has a collar, use it to rotate the setup so the weight still sits in your palm, not in a twisted wrist. Elbows stay tucked, and the camera stays pressed to your face.
Common mistakes are easy to spot and fix. Many people place their left hand too far forward, grip the lens barrel from the side, or even try to shoot one‑handed, which all add shake. Use this simple cheat sheet mindset and reset your hands before each shot until it becomes automatic.
Stance and body mechanics for steady shots
Set your feet about shoulder‑width apart and place one foot half a step forward. Keep your knees slightly bent and your weight evenly distributed so you can absorb tiny movements without wobbling.
For moving subjects, point your toes or your lead foot slightly toward where the subject will go. This lets you pivot smoothly through the shot without shifting your feet mid‑exposure. It feels subtle, but it keeps the frame steadier when you press the shutter.
Keep your shoulders relaxed and bring the camera up to your face instead of leaning your face toward the camera. Use your body as a platform by pressing elbows into your sides or resting them against your hips. If you feel stiffness in your neck, reset your posture and breathe out gently.
Use your surroundings whenever you can. Lean your shoulder against a wall, brace your back on a tree, or rest the camera against a doorframe to cut shake dramatically. You can also rest your elbows on a railing or hood of a car, but avoid surfaces that vibrate or bounce.
For sitting or low angles, brace both elbows on your knees and keep your left forearm roughly parallel to the ground. If you kneel, plant one knee and rest your elbow on the other thigh so you make a solid triangle. This is a fast way to get a steady shot without a tripod.
Do a 60‑second drill to build muscle memory. Raise the camera, make the three points of contact, breathe out, hold, and press the shutter smoothly five times, then relax and repeat. For more ideas on refining your stance, try quick routines that teach you to hand-hold your camera in different positions without strain.
How to hold telephoto lenses and other special situations
Telephoto lenses magnify every tiny movement, so your support matters even more. Slide your left hand farther forward under the lens until you find the balance point, ideally close to the zoom ring or the lens foot. If your lens has a collar, cradle near that area so your forearm carries the weight.
For very long lenses, a monopod or tripod with a gimbal head is often the smartest choice. Mount using the lens foot so the center of gravity sits under the lens, not the camera body. Keep stabilization on for hand‑holding and off when the setup is locked down, unless your system recommends otherwise.
When you rotate to portrait with a long lens, use the lens collar to rotate the lens and keep your left palm under the lens like a shelf. Avoid twisting your wrist or letting the lens torque your hand while you compose. Let your torso rotate instead and keep your elbows tucked the whole time.
If the lens is heavy, let the strap help you. Wear the strap across your body and pull it slightly taut as a sling while your left hand supports the lens underneath, which spreads the load through your back. When passing the camera between hands, slide your left palm to the lens foot first, then move your right hand to the grip so the weight never drops.
In tight spaces or crowded events, keep your elbows tight and minimize big movements. Raise ISO a stop or two so you can use a faster shutter, and time your shots between your own steps if you are moving. Short controlled bursts can help, but keep your finger smooth so you don’t jerk the first frame.
Preventing camera shake — settings, breathing and quick stabilization hacks
Use the reciprocal rule to set your minimum shutter speed. As a starting point, choose a shutter of about 1 over your effective focal length, and remember to account for crop factor, so a 50 mm on APS‑C might need 1/80 sec or faster. Go faster if your subject is moving or if you notice softness.
Know when to use image stabilization and when to turn it off. Keep stabilization on when hand‑holding, especially at longer focal lengths, but switch it off on a solid tripod to avoid feedback loops that introduce blur. If your lens has a panning mode, use it when you track motion horizontally.
Your breathing is part of the shot, so make it deliberate. Inhale, exhale gently, pause at the natural bottom of the breath, and press the shutter with a smooth roll of your finger. This pause is short and calm, not a forced hold, which helps you stay steady.
Relax your shoulders and keep a light finger on the shutter so you don’t stab the camera. Consider back‑button focus so you can focus and recompose without half‑press jitters moving the frame. Continuous AF can help for moving subjects because it reduces the urge to re‑focus with a heavy half‑press.
Use the strap as a stabilizer when a tripod is not an option. Wrap it once around your wrist or pull it gently tight around your neck or across your shoulder to add tension, then support the lens underneath as usual. You can also rest your elbows on a table or knee, or press the camera against a doorframe for a makeshift brace.
Keep one line in your head when you need a fast reminder: 3‑point contact + tuck elbows + reciprocal rule + breathe. Say it as you raise the camera, and you will feel your body settle into a stable, repeatable posture that keeps images sharp.
What People Ask Most
What is the best way to hold a camera?
Hold it with two hands: right hand on the grip and left hand under the lens, keep your elbows tucked to your sides, and stand with a stable stance. This reduces shake and helps you frame shots better.
How to hold a camera to reduce blur?
Brace the camera against your face or chest, tuck your elbows in, and press the shutter gently to avoid jolt; use a tripod for long exposures. These steps help steady the shot in low light.
How to hold a camera for video to make footage smooth?
Keep the camera close to your body, use both hands, and move with small steps from your hips to reduce wobble. A steady posture and soft arm movement make video look more professional.
Can you hold a camera with one hand?
Yes for quick snaps, support the camera by holding the body and steadying the lens with your fingers, but use two hands whenever possible for better stability. One-handed shots are fine for brief moments but can cause more blur and fatigue.
Should beginners tuck their elbows when learning how to hold a camera?
Yes, tucking your elbows into your sides creates a more stable platform and greatly reduces camera shake. It’s a simple habit that improves sharpness instantly.
How to hold a camera when using a heavy lens or gear?
Support the lens with your left hand near its mount, keep the camera close to your body, and consider using a strap, monopod, or tripod for long sessions. This prevents strain and keeps your shots steady.
What common mistakes do beginners make when holding a camera?
Beginners often hold the camera too far from their body, use a loose grip, or press the shutter too hard, all of which cause blur and fatigue. Correcting these habits leads to clearer photos and less tiredness.
Final Thoughts on Holding a Camera
Keep 270 in mind as a simple nudge toward steady shooting: right hand on the body, left hand under the lens, elbows tucked and the camera brought to your eye for that third contact. That straightforward posture alone will cut blur, free up faster shutter speeds and give you steadier, more reliable handheld images. It’s especially useful for beginners and traveling shooters who need quick, consistent support.
We unpacked that single instruction by covering exact hand placement, body stance, telephoto techniques and breathing hacks so you can translate the idea into reliable habits. One realistic caution: for very long exposures or heavy glass, a tripod or monopod will still outperform any handheld trick. Still, hobbyists, event photographers and anyone shooting on the go will get the biggest payoff from practicing these moves.
Mastering the three points of contact and the body mechanics turns shaky shots into intentional ones and builds muscle memory you can trust in real-world shoots. Keep practicing the pickup-to-aim sequence and you’ll find steadier frames and more creative freedom with every session.





0 Comments