How to organize camera bag so you never miss a shot? This guide gives simple steps and packing presets to get you ready fast.
You will learn an easy step-by-step method to pack quickly and safely. It includes presets for Minimal, Standard, and Travel setups.
We cover how to choose the right bag, insert, and dividers for your gear. You will also learn where to place heavy lenses, batteries, and small items for quick access.
Expect travel tips, weight distribution rules, and a 1-minute packing routine for busy days. You’ll also get visuals, sample setups, and a printable checklist to speed things up.
How to organize your camera bag (step‑by‑step method)
If you want to know how to organize camera bag quickly, use this six step method: empty, group, choose your load, place the camera, lock items, and run final checks. It works for any bag, any brand, and any shoot. Follow it and you will pack in minutes, not hours.
Step 1 is empty and inventory. Lay every item on a clean table or floor so nothing hides in a pocket. Include bodies, lenses, flash, tripod or monopod, batteries, memory cards, filters, cables, cleaning kit, laptop or tablet, snacks, and a small first aid item. Photograph the layout and note model names and sizes so your dividers match the gear.
Step 2 is group by use. Make simple piles for your primary body with its go to lens, backup body or lens, wide and telephoto choices, power and media, cleaning, cables, and personal items. This makes choices obvious, and it stops the last minute rummage that loses small parts.
Step 3 is decide the day’s configuration. Minimal means one body, one lens, one spare battery, two cards, and a cloth. Standard shoot means one body, two lenses, a small flash, three batteries, four cards, a blower, and ND or polarizer. Travel or all day means two bodies, three lenses, chargers, a power bank, a small drive or laptop, rain cover, snacks, and water. Snap a photo of each preset and keep it on your phone so you can copy it later with one glance.
Step 4 is place the camera first. If speed matters, like street or weddings, store the body with a lens attached so it is ready to lift and shoot. If safety matters, like dusty trails or bumpy transport, store the body and lens separate with caps on, which protects mounts and keeps dust out.
Step 5 is lock items in place. Build snug cells with padded dividers and use small pouches for filters, adapters, and tools. Wrap lenses in neoprene sleeves to stop scuffs, and fill leftover gaps with a microfiber or the folded rain cover so nothing slides when you move.
Final checks seal the system. Make sure the primary camera or quick lens sits where your hand reaches first without digging. Lift the bag and tilt it gently; if you feel shifting, tighten dividers or add a pouch. Fit the rain cover, zip small parts into inner pockets, and do a fast weight test on your shoulder. For more ways to refine this, read get more from your bag. A 10–15 minute practice pack with a phone photo of your layout builds muscle memory. Quick tip: never carry bare batteries or uncapped lenses loose in the bag.
Here is a 10 item checklist snippet you can print: 1) Primary camera, 2) Go to lens, 3) Backup lens or body, 4) Charged batteries, 5) Empty memory cards, 6) Filters, 7) Flash or trigger, 8) Cleaning kit, 9) Rain cover, 10) ID, keys, and any meds. Keep this in the lid pocket for fast pre flight checks.
Choose the right bag, insert and dividers
The bag shape should match your shooting style. Backpacks carry weight well for long days and hiking. Slings are fast for one body and two lenses, while messenger bags suit street and events where you work from the hip. Rollers are best for airports, and hard cases protect gear in rough travel or storage.
Choose size by your longest lens and the camera with hood, and add space for padding and chargers. Measure internal dimensions, not just external ones, so you know the real fit. A little extra height keeps zippers from pressing on gear, and a bit of width helps dividers sit snug.
Inserts shape the inside of any bag. Soft modular inserts and camera cubes are great for day carry and can move between bags. Full divider systems are best when you want a fixed layout, while hard case foam is ideal for checked travel or home storage with maximum protection.
Use padded dividers and sleeves to add a second layer of safety. Neoprene lens sleeves prevent scuffs and keep lenses from knocking, and a dedicated padded bay for the body protects the mount. For more layout ideas from pros, study these divider best practices and adapt them to your kit.
When buying, look for removable inserts, quick access openings, tripod attachment points, and a built in weather cover. For home storage or transport in rain and heat, a hard case with silica gel and a small hygrometer keeps humidity under control. This protects glass and electronics during long downtimes.
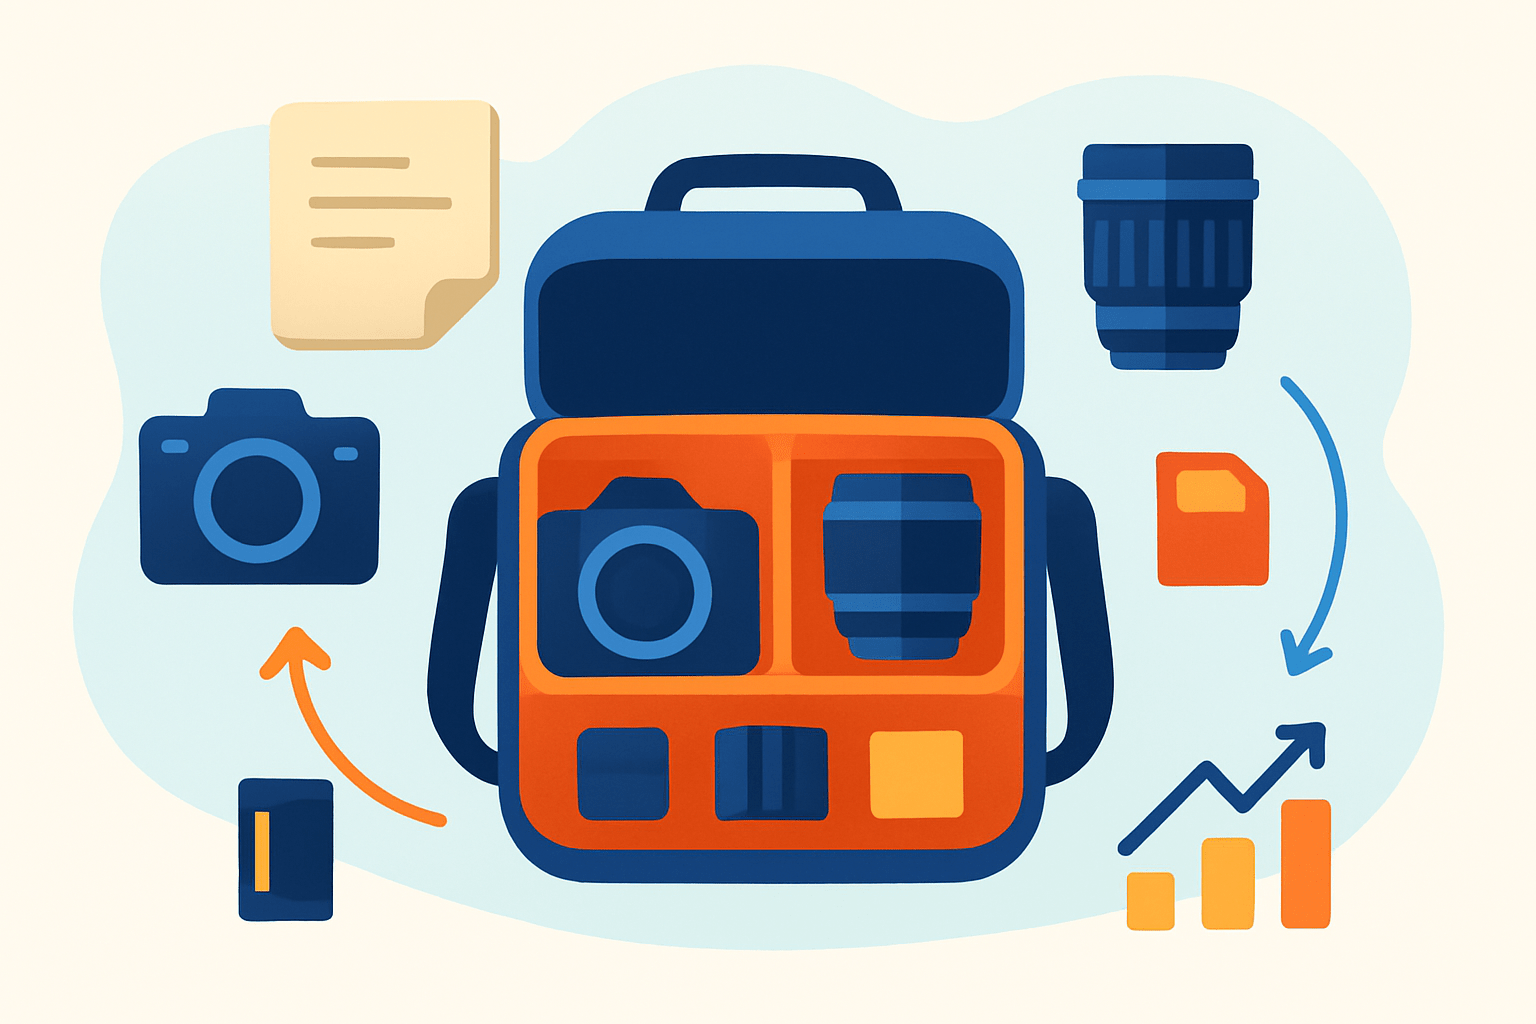
Divide your bag into zones by gear type (layout & placement)
Think of the bag as five zones. Primary holds your camera with the quick lens. Secondary lenses sit together in snug cells, power and media stay grouped, small accessories live in the lid or mesh, and personal items like water and snacks ride in their own bay.
Place the primary camera in the center or in a top quick access compartment. Put the heaviest lenses and batteries at the bottom and as close to your back as possible in a backpack, which keeps the center of gravity stable. This reduces fatigue and makes fast walking feel easier.
Keep filters, cloths, and the cleaning kit in a flat pouch in the lid or a mesh pocket so they are visible. Store memory cards in a hard case and batteries in a battery wallet, and label each. Keep duplicate cards and an extra battery in a different pocket to protect against loss.
Orient long telephotos so they cannot rock. Horizontal works best if the bag is tall enough, otherwise place the lens vertically with the mount up and the hood reversed. Muzzle to mount and a tight divider fit reduce shock and keep caps from jarring loose.
Label and color code to speed swaps under pressure. Use colored pouches for batteries and cards, and number tags on lens sleeves. A simple map in your head, plus visible cues, saves seconds when a moment appears.
Add a visual reference for yourself. Make an overhead photo of your packed bag with zones labeled, and sketch a small diagram showing heavy gear low and centered. A before and after photo of a messy bag versus this zoned layout shows exactly how to organize camera bag in a way that sticks.
Organize small & critical accessories (cables, cards, batteries, cleaning)
Small parts are the ones that vanish, so give each a home. Put SD or CFexpress cards in a hard card case in an inner pocket, and keep batteries in a battery wallet so contacts never touch. Chargers and a power bank go in a slim cable organizer near the back panel.
Coil cables into gentle loops, secure them with velcro ties, and keep USB, charger, and trigger cords in separate zip pouches. Label each pouch by type and length so you grab the right one in the dark. For a deeper breakdown of small gear flow, see this organization guide and adapt the parts you need.
Protect your images with good card habits. Use a hard case, label slots by format, and mark one side as fresh and the other as full. Store card backups physically apart from your main case, never in the same pouch.
Build a tiny cleaning kit that rides everywhere. Pack a rocket blower, lens pen, microfiber cloth, a small spray, and tissues in a sealed pouch. Add a spare rain cover and a few resealable bags to isolate wet gear during storms.
Carry quick fix items for the inevitable hiccup. A strip of gaffer tape, a small hex tool, spare tripod plate screws, and a few zip ties live well in a tiny pillbox or mini zip bag. They weigh nothing and can save a shoot.
Keep the most critical items on your person or in an internal pocket. Cards, passport, and phone should never sit in an outer pocket that strangers can reach. Duplicate a card and an ID copy in a hidden clothing pocket for travel days.
Packing strategies for travel, weight distribution & protection
Start by matching your packing list to the trip. Daily carry might be one body, two lenses, three batteries, and four cards, while extended travel adds chargers, drive, and rain cover. If you must check gear, move fragile items to a hard case and carry bodies and batteries onboard.
Follow simple weight rules to keep balance. In backpacks, place heavy gear low and close to your back, never out on the far side. In messenger bags, keep heavy items near the strap side to reduce torque, and in slings, rotate the layout so the weight sits under the strap when you swing it forward.
Respect airline rules and protect value. Keep lithium batteries and all irreplaceable electronics in your cabin bag. If a big telephoto must be checked, use a compact hard case with foam, add a cable lock, and photograph the contents before handing it over.
Plan for weather and moisture. Always pack a rain cover, toss in a few silica gel packs for long trips, and use resealable plastic to quarantine wet gear after a storm. Air the bag each night so damp does not linger in the padding.
Balance speed against security. Items you need fast, like the primary body, quick lens, and a spare battery, belong in the top or front. Essentials you cannot lose, like cards and IDs, should live in internal zipped pockets or a separate day pouch on your body.
Use a one minute travel routine before you leave. Confirm batteries full, cards cleared, caps and hoods on, zips closed, rain cover packed, and ID and wallet present. Knowing how to organize camera bag makes this check almost automatic and stops surprises at the door.
Protect the work you make. Get gear insurance if you travel often, and always back up images nightly to a laptop or small drive, or use dual card cameras to split files as you shoot. This safety net matters as much as your packing plan.
What People Ask Most
How to organize camera bag for beginners?
Start by removing everything and grouping items into essentials, backups, and extras, then use padded dividers to keep each group separate.
How do I organize my camera bag for everyday shoots?
Keep your camera and most-used lens in the main compartment and store batteries, memory cards, and a cleaning cloth in easy-access pockets.
How to organize camera bag to protect lenses and camera?
Use padded dividers, lens caps, and separate compartments so gear doesn’t knock together during transport.
How to organize camera bag for travel and day trips?
Pack only the gear you’ll actually use, secure fragile items with extra padding, and keep important small items in a zippered pocket.
How do I keep small accessories tidy when I organize camera bag?
Use small pouches or zip bags for batteries, memory cards, and cables so they don’t get lost or rattle around the bag.
How often should I reorganize my camera bag?
Check and tidy your bag after big shoots or at least once a month to remove clutter and replace used supplies.
What common mistakes should I avoid when learning how to organize camera bag?
Avoid overpacking, leaving items loose, and skipping padding, as these cause damage and make gear hard to find.
Final Thoughts on Organizing Your Camera Bag
Getting your kit sorted isn’t about perfection—it’s about a reliable system you can trust, and the quick 270-second pack-and-walk test will tell you if it’s balanced. This guide gave clear zones, presets, and a compact checklist so event shooters, travel photographers, and hobbyists can reach for gear fast. It began with a short step-by-step you can use right away to build and test your setup.
Be realistic: overpacking adds bulk, slows you down, and weather will still surprise you if you skip covers or desiccant packs. The step-by-step method at the start offered simple presets and final checks so you can set, test, and tweak in minutes, while the zone layout showed exactly where each item should live under pressure. Also, keep heavier items close to your back and low in the bag for long days on your feet.
You’ll move faster, protect what matters, and spend more energy making images instead of digging for gear. Pack once, trust the layout, and you’ll have the calm confidence to shoot more creatively on every outing. With that small routine, you’ll be ready for quick swaps, long walks, and sudden weather without the panic.


0 Comments