
What is a tripod? Could a simple three-legged stand be the secret to sharper photos and steadier video?
This guide answers “what is a tripod?” in plain, simple language and shows how it works. You will learn the key parts, common head types, materials, and typical uses.
We will also cover how to choose the right tripod for your camera weight and shooting style. You will get quick setup tips, stability tricks, a buying checklist, and common mistakes to avoid.
Whether you shoot landscapes, the night sky, wildlife, or smartphone video, this article will help you pick and use the best tripod for your needs. Let’s get started.
What is a Tripod?
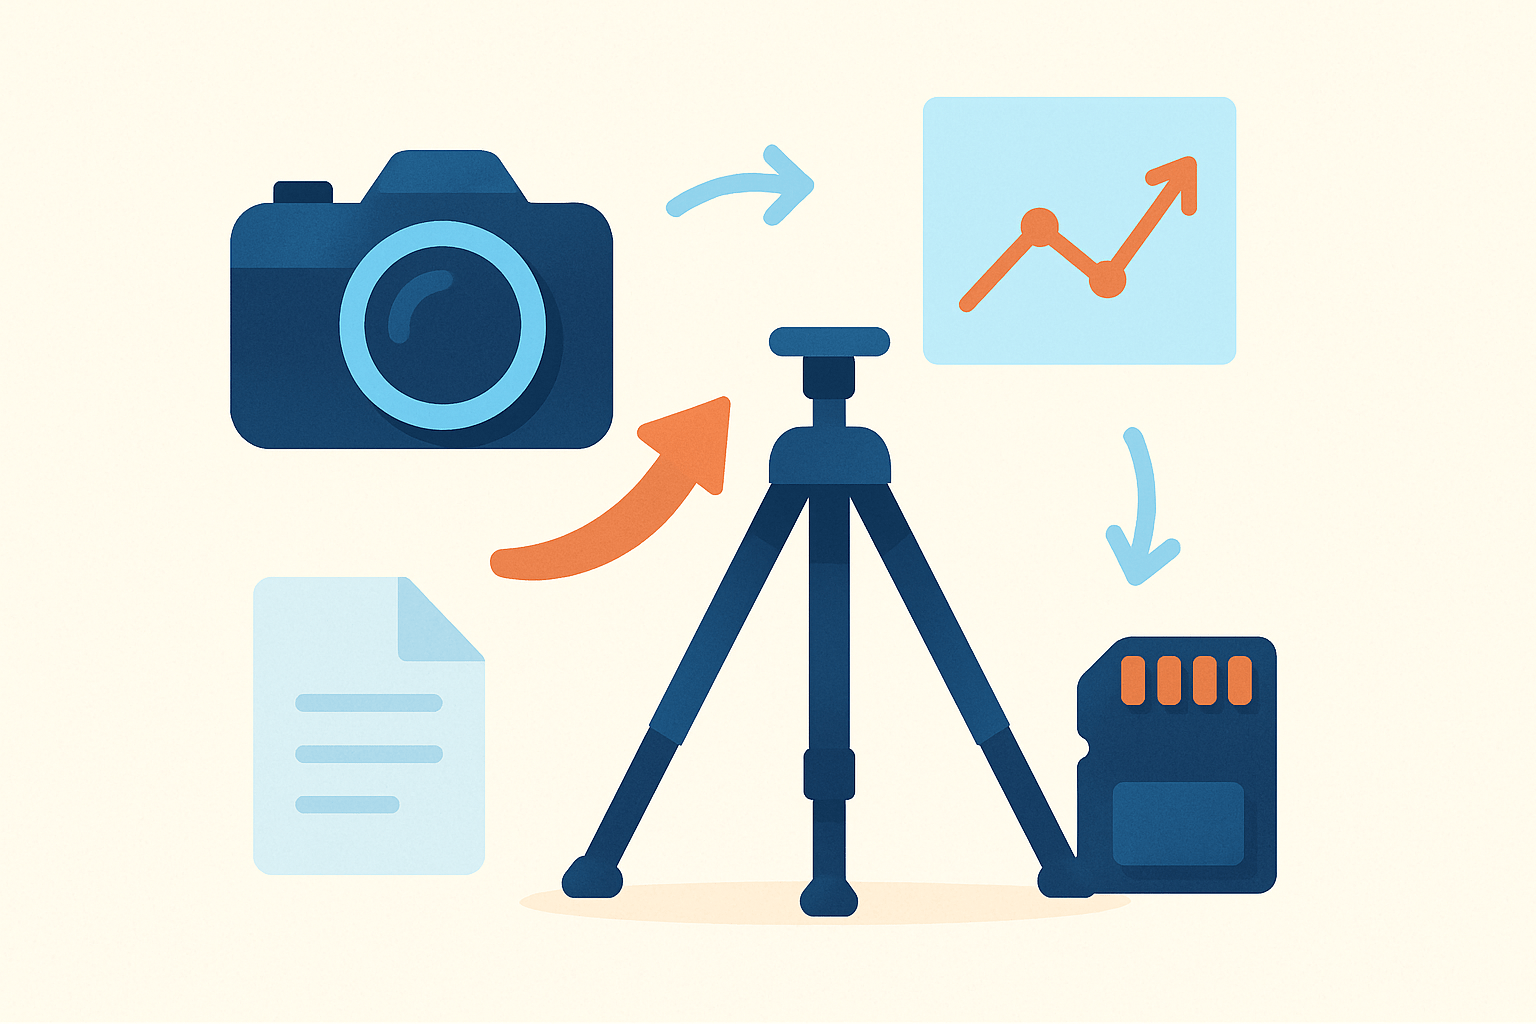
Caption: A sturdy three‑legged tripod turns shaky scenes into sharp, repeatable frames.
A tripod is a three‑legged support that holds your camera or phone steady. It keeps your frame still so your photos and videos stay sharp.
It works by creating three contact points with the ground. The weight of your gear spreads through the legs, which lowers vibration and stops blur.
The first benefit is sharper photos in low light. You can shoot long exposures for silky water, night skies, and city trails without handshake.
Telephoto lenses also gain stability. Small shakes grow at long focal lengths, and a tripod calms that for wildlife, sports, and moon shots.
Macro scenes become easier to frame. You can lock focus, refine tiny movements, and stack images cleanly.
It helps with panoramas and time‑lapse too. The horizon stays level, the framing is repeatable, and your sequence matches from shot to shot.
Video creators rely on smooth pans and steady lock‑offs. Even smartphones benefit from a tripod for long exposures, timelapses, and clean talking‑head clips.
Who needs one? Hobbyists who love landscapes, astro, wildlife, or macro will see a big jump in quality. Videographers and smartphone creators gain consistency and confidence.
Here is the short answer to “what is a tripod?” It is the most reliable way to remove camera shake and control your composition in any light.
When should I use a tripod? Use it whenever the shutter slows, the lens gets long, the frame must match, or you want your hands free to fine‑tune the scene.
Tripods aren’t only for pros, and a heavier, well‑built model can beat a lighter “pro” one in wind. If you want a deeper primer, these tripod basics will also help.
Parts and Anatomy of a Tripod
Start with the legs. They are usually made of aluminum, carbon fiber, or wood and extend in sections to reach your working height.
Leg locks hold each section in place. Twist locks turn and grip the tube, while flip locks clamp quickly; the right choice is the one that feels secure in your hands.
Feet are your ground contact. Rubber feet grip hard floors, while metal spikes bite into dirt, grass, snow, or rock for wind resistance.
The center column adds height and often has a small hook underneath. Hang a bag from that hook to lower the center of gravity in gusty conditions.
At the top sits the tripod head and a quick‑release plate. The plate attaches to your camera and clips into the head so you can mount and unmount in seconds.
Most cameras use a 1/4″-20 mounting screw on the plate. Many heads mount to the tripod bowl or platform with a 3/8″ screw, and simple adapters let parts mix and match.
Look for a bubble level on the platform or head. It helps you keep horizons straight and makes panoramas easier to stitch.
Heavy studio tripods may add a spreader near the ground or mid‑legs. This brace holds the legs at a stable angle for video rigs and large cameras.
Arca‑Swiss is the common plate standard. Arca plates slide into compatible clamps across many brands, while proprietary plates tie you to one system.
Key specs to read include maximum load, maximum height, folded length, weight, and the number of leg sections. Load is more than a number on a page, as real wind and movement add dynamic stress.
Static load is how much weight a tripod holds when untouched. Dynamic load is the real‑world force from wind, panning, and your hand, and it is why a safety margin matters.
Folded length tells you how packable it is. The number of sections controls both folded size and stiffness, since more joints can flex more under pressure.
If you want a deeper look at the parts and how they work together, this concise tripod guide is a helpful read. As you learn the terms, you will spot how each choice affects stability.
Tripod Head Types and When to Use Them
The head matters as much as the legs. It is the part you touch every time you frame, so the right feel can speed up your shooting.
A ball head is fast and compact. It unlocks with one knob so you can tilt and pan freely, which suits travel, landscapes, and everyday use, though very fine adjustments can be touchy.
A 3‑way pan‑tilt head uses separate handles for tilt, pan, and roll. It is slower but precise, which is great for architecture, product, and macro where millimeters count.
A fluid head is built for video. Internal fluid damping gives smooth pans and tilts so your shots look cinematic, and the counterbalance helps with heavier lenses.
A gimbal head balances a long telephoto at its center of gravity. The lens floats so you can track birds and wildlife with almost no strain on your arms.
A geared head turns tiny knobs to make micro moves. It locks solid and adjusts in small steps, perfect for architecture and stitched panoramas.
Pistol or grip heads use a squeeze handle for fast reframing. They are handy for quick portraits and event work, though they are less precise for heavy lenses.
Match the head to your style and the heaviest lens you plan to use. For flexibility across brands and accessories, choose Arca‑compatible clamps and plates.
Keep weight balance in mind. A very heavy head on a very light tripod can feel top‑heavy, so aim for a pairing that feels planted and easy to carry.
Tripod Materials, Sizes and Types
Aluminum is durable and affordable. It is a bit heavier, can feel cold to the touch, and can ring with vibrations longer than carbon fiber.
Carbon fiber is lighter for the same strength. It damps vibration faster, resists corrosion, and is kinder to your hands in winter, but it usually costs more.
Wood is rare but excellent at absorbing vibration. It is used by some studio and large‑format shooters who prize stability and a quiet feel.
Leg design affects both height and stiffness. Fewer sections mean thicker lower tubes and better rigidity, but the folded length grows in your bag.
Independent leg angles let you splay the legs wide for low‑angle work. A removable or reversible center column can also get the camera down close to the ground.
Travel tripods fold small and fit in carry‑on bags. Studio or heavy‑duty tripods are tall, rigid, and meant for controlled spaces and heavier rigs.
Tabletop or mini tripods live in your shoulder bag. They hold a camera or phone for self‑portraits, product shots, or low‑angle views on a desk.
Flexible tripods bend around poles or chair backs. They are convenient for light cameras, but they are not a match for wind or heavy lenses.
Monopods are a one‑leg alternative. They do not stand on their own, but they cut vertical shake and are great for sports and events where you must move fast.
Feet matter on different terrain. Use rubber feet on pavement and floors, and use spikes for dirt, grass, snow, or rock where extra bite keeps the rig steady.
Think about your environment and weight limits. For cold, wet, or salty conditions, carbon fiber and stainless hardware age better, while aluminum gives you value for money.
This is the heart of how you answer “what is a tripod?” in practice. It is the mix of material, size, and design that fits your subject and your travel style.
Choosing the Right Tripod — Key Factors, Practical Buying Checklist & Tips
Step 1 is to define your main use. Landscape, travel, video, wildlife, macro, and smartphone shooting each push you toward different sizes and heads.
Step 2 is to calculate total rig weight. Add camera, heaviest lens, plates, and accessories, then choose a tripod rated for at least 1.5 to 2 times that number to survive wind and movement.
Step 3 is to pick a head type and plate standard. Arca‑Swiss plates are a safe default because they work across many brands and let you share clamps and L‑brackets.
Step 4 is to choose material and size based on how you travel. If you hike long miles, carbon fiber saves energy; if budget rules, aluminum is tough and reliable.
Step 5 is to check feel in person if you can. Test the leg locks, raise it to eye level, inspect the center column, and see how the head locks and releases your plate.
Step 6 is to confirm support. Make sure you can buy spare rubber feet, extra plates, and parts, and check the warranty terms for peace of mind.
Here is a quick setup checklist you can use in the field. Extend the thicker leg sections first, level the platform with the bubble, and avoid raising the center column when you need maximum stability.
Keep your center of gravity low in wind. Spread the legs wider, hang your bag from the hook so it just touches the ground, and use spikes on soft surfaces.
Use clean shooting habits for long exposures. Trigger with a remote or 2‑second timer, use electronic front curtain or mirror lock‑up if your camera offers it, and shield the setup from gusts with your body.
Take care of the gear after each trip. Rinse the legs after saltwater, dry the locks before storage, brush sand from threads, and check screws and plates so nothing loosens over time.
Avoid common mistakes that cost you sharpness. Do not buy on load rating alone, do not cram in too many leg sections for the sake of a tiny fold, and always test the quick‑release and head compatibility before you commit.
Price tiers follow a pattern. Budget tripods trade weight for cost, midrange models add carbon options and Arca plates, and pro sets focus on rigid legs, smooth heads, and field‑serviceable parts.
Packable checklist for the store or your notes: target weight capacity with a safe margin, head type, plate standard, folded length, maximum height, leg lock style, material, price band, and warranty support. Write these down and compare models side by side.
If you want a deeper shopping walkthrough, this guide on how to choose a tripod expands each step with examples. Use it to refine your short list before you buy.
Remember the real goal behind the question “what is a tripod?” It is the tool that lets you control light and time, so your idea stays sharp even when the world moves around you.
The more you practice with it, the faster setup becomes. Soon you will reach for the legs on instinct, lock in your frame, and enjoy the calm that only a solid tripod can give.
What People Ask Most
What is a tripod?
A tripod is a three-legged stand that holds a camera or device steady so you can take clearer photos and smoother videos.
Why should I use a tripod for photography?
It reduces blur and helps you frame shots exactly the way you want, especially in low light or when using slow shutter speeds.
Can I use a tripod with my smartphone?
Yes, many tripods work with smartphones when you attach a phone mount, making hands-free photos and stable videos easy.
Is a tripod only for photos or also for video?
Tripods are great for both photos and video because they keep the camera steady and let you pan smoothly or hold a fixed frame.
Do I need a heavy tripod to get steady shots?
Not always; a lightweight tripod can work well if you set it up correctly and balance your camera, while heavier ones resist wind better.
Can a tripod help with low-light or long exposure shots?
Yes, a tripod prevents camera shake so you can use slower shutter speeds or take clear night and long-exposure photos.
How do I set up a tripod safely?
Spread the legs fully on stable ground, lock the joints, and double-check the camera is secure before letting go.
Final Thoughts on Tripods
We started by answering “What is a Tripod?”: a three-point support that steadies your camera so you can make sharper photos and smoother video. From compact travel sticks to roomier studio legs, even a simple number like 270 can help you compare sizes or specs as you shop. This guide has shown how that steady support translates into creative possibilities—long exposures, telephoto reach, and time-lapses.
Along the way we broke down parts, head types and materials so you can match a head to your shooting style and balance weight versus stability. One realistic caution: don’t pick solely on advertised load numbers or the lightest weight—real-world stability matters more, and too many leg sections can add wobble.
If you shoot landscapes, stars, wildlife, video or create with a phone, you’ll get the most from a tripod; hobbyists through pros will benefit. The guide answered the opening hook by pairing plain definitions with practical checklists and visuals, so you’ll be ready to pick, test and care for your gear in the field. Keep experimenting—your next steady frame is waiting.


0 Comments