
Which mannequin will make your garments leap off the screen and stop a shopper’s thumb mid-scroll? This concise guide points photographers, retailers, resellers, and small studio owners toward the best mannequin for photography, pairing form choice with lighting and editing strategies that elevate product imagery.
If you shoot for e-commerce, social feeds, or catalogs you understand how tricky fit, drape, and fabric texture can be under studio lights. A well-chosen form offers consistent proportions, stable posing, and a clean silhouette that reduces styling time and simplifies retouching. We distill user experience, practical pros and cons, and real-world shooting tips so you can pick a solution that fits your workflow and budget.
Beyond mannequin types, we share lighting essentials from single-source setups to full three-point arrangements, plus diffuser, reflector, and modifier advice for different fabrics. You’ll also find post-production strategies for color accuracy, shadow refinement, background cleanup, and the classic invisible effect that e-commerce photographers rely on. The result is a practical resource that balances aesthetics with conversion-driven clarity, helping you produce sellable images faster.
Whether you’re styling swimsuits, tailoring jackets, or shooting delicate silks, pairing the right form with controlled light and smart post work makes the difference. Flip the page for clear comparisons, hands-on tips, and a FAQ section that answers the practical questions photographers ask most.

Female Full-Body Mannequin 69-inch Adjustable Plastic with Detachable Head and Metal Base
1. Bonnlo Pinnable Dress Form Torso

Bonnlo Female Pinnable Dress Form Size 6 with Wooden Tripod Base
Size-six pinnable dress form on a stylish wooden tripod, ideal for tailoring, fittings, and display.
Check PriceAs a photographer who shoots for small boutiques and online resellers, I reach for the Bonnlo Pinnable Dress Form when I need clean, repeatable product shots. The pinnable surface is a game-changer for securing delicate fabrics and keeping hems and necklines exactly where I want them. It’s tall enough to display full-length dresses and skirts without awkward tucks, which saves time in both shooting and retouching.
The wooden tripod base feels stable on studio floors and pairs nicely with a lazy susan when I need smooth 360° spins for product videos. The torso is height adjustable between 51″ and 66″, so I can match it to my camera height or showroom racks without awkward rigs. It’s also lightweight, so moving the form between sets or rooms is practical even when I’m working solo.
One practical advantage for photography is the material: it doesn’t create glare under softboxes, so I spend less time chasing highlights in post. For small business owners and resellers who shoot multiple garments per session, the ability to pin and shape clothing precisely reduces editing time and produces more consistent e-commerce images. That said, plan for storage and floor space; it’s not something you tuck away on a shelf.
If you need effortless spinning, budget for a separate lazy susan or board. Also, on uneven floors the tripod can feel a bit less solid, so check your shooting surface before a big batch shoot. Overall, it’s a very useful, photographer-friendly dress form for most online and catalog work.
- Height adjustable (51″-66″)
- Pinnable surface secures clothing
- Lightweight and easy to move
- Material does not create glare
- Requires floor space for use and storage
- Often needs separate lazy susan/board to spin
2. Giantex Male Torso Mannequin

Giantex Male Adjustable Mannequin Torso with Detachable Arms and Metal Stand
Adjustable male torso with removable arms and sturdy metal stand for realistic apparel fitting and display.
Check PriceAs a photographer who shoots a lot of product and apparel, the Giantex Male Mannequin Torso is a solid, workhorse option for tops, shirts, and accessories. It’s widely used by retailers and photographers because it dresses quickly and presents garments cleanly without the fuss of a full-body form.
The removable arms are a real time-saver during wardrobe changes and make styling sleeves or bracelets much easier. The solid back is especially useful for bras and backless tops — you get a flat, stable surface that keeps things sitting right and reduces the need for constant pinning or tape.
Users frequently praise its durability and sturdiness, which matters when you’re moving pieces on and off during long shoots. The height-adjustable feature lets you adapt to different camera setups and lighting angles without improvising risers or stacking boxes.
Be mindful of two practical caveats: the plastic surface can be slippery, so some lightweight or silky fabrics may slide out of position; and the glossy finish can produce unwanted reflections under strong studio lights. Both issues are manageable — a bit of anti-slip padding and careful light diffusion will mitigate them — but they’re worth planning for before a session.
Overall, if your focus is e-commerce or catalog work for tops and accessories, the Giantex torso gives reliable, efficient results and holds up to repeated use. It’s a great choice for small studios and retailers who need something durable, easy to maintain, and quick to work with.
- Removable arms for easier dressing
- Solid back provides flat, stable surface
- Height adjustable for different setups
- Easy to clean and maintain
- Plastic surface can be slippery
- Glossy finish can create reflections
3. Full-Body Female Invisible Ghost Mannequin
Female Full-Body Mannequin 69-inch Adjustable Plastic with Detachable Head and Metal Base
Lifelike full-body mannequin, 69-inch adjustable height, detachable head, durable plastic and metal base for versatile visual merchandising.
Check PriceAs a working photographer, the Full-Body Female Invisible Ghost Mannequin is a studio staple when you need that clean “ghost” effect for e-commerce and catalogs. Its removable body parts are designed specifically to create hollow, floating looks so garments read naturally without distracting form edges. That feature alone makes it widely used by professional photographers and fashion brands.
The construction feels solid and high-quality, which means you’ll spend less time fixing fit issues in post-production and more time shooting. Consistent, accurate clothing representation helps with color and drape fidelity, so product pages look reliable and professional. For product detail shots where shape and internal structure matter, this mannequin does the job well.
Be prepared that assembly can be confusing and time-consuming at first, especially because there are many pieces to align for seamless ghost composites. I recommend a test-assembly session before any client shoot so you can streamline the process and avoid delays. Once you’ve done it a few times, disassembly and storage become straightforward.
Note that the unit can be heavy and bulky, making it less suited to frequent location work or pop-up shoots. If you’re mostly studio-based and prioritize minimal retouching and consistent results, it’s a strong choice. If you travel often or need ultra-portable gear, you might find the size a drawback.
In short, this mannequin is mostly excellent for studio photographers and brands aiming for professional ghost-mannequin imagery, provided you accept a bit of setup time and limited portability. For consistent online presentation and reduced edit time, it’s a practical investment.
- Removable parts simplify creating the “ghost” effect
- Durable, high-quality construction for professional-looking photos
- Easy to assemble/disassemble for storage and transport
- Provides consistent, accurate clothing representation
- Initial setup can be confusing and time-consuming
- Can be heavy and bulky; less portable
4. Realistic Hand-Painted Female Fiberglass Mannequin
Female Full-Body Mannequin 69-inch Adjustable Plastic with Detachable Head and Metal Base
Professional 69-inch adjustable female mannequin with removable head and stable metal base, perfect for photography, retail, and tailoring.
Check PriceI’ve used the Realistic Female Mannequin (Fiberglass, Hand-Painted) in studio shoots where I needed a high-end, polished look. It’s commonly chosen by professional photographers and fashion brands for premium product photography.
The fiberglass construction and hand-painted facial features give it a lifelike appearance that reads beautifully on camera. Those refined details mean I rarely need to apply makeup or do extra prep for close-ups.
Because the figure is consistent in sizing and proportion, garments hang and drape predictably from shot to shot. That reliability makes it easy to compare different looks and keep a steady e-commerce catalog aesthetic.
It’s also sturdy and stable, so I can confidently style heavier fabrics or structured pieces without worrying about the form tipping or collapsing. That stability saves time on set and reduces the need for constant adjustments during a shoot.
Be mindful that fiberglass can be heavy, so this isn’t the best choice if you need to move equipment frequently for location work. Also, the hand-painted details are delicate and require careful handling to avoid chips or scratches.
- Lifelike appearance with refined, hand-painted details
- Consistent sizing and proportionate figure
- No need for makeup; photogenic out of the box
- Sturdy and stable for reliable garment presentation
- Fiberglass can be heavy and less portable
- Hand-painted details are delicate; require careful handling
5. Posable Mannequin With Adjustable Joints And Wig-Ready

Female Adjustable Dress Form with Head, Posable Wood Arms and Metal Base
Adjustable female form featuring posable wooden arms, sculpted head, and sturdy metal base for precise fittings and elegant displays.
Check PriceAs a photographer who often needs movement and variety in product shots, this Posable Mannequin with adjustable joints and a wig-ready head is a practical tool. Its adjustable joints let you create dynamic poses that highlight drape, silhouette, and garment details without needing a live model.
The wig-ready feature is dead simple to use and means you can switch hairstyles on the fly to test different brand aesthetics. That’s handy when you’re experimenting with mood or creating multiple looks for a single clothing line.
Consistent sizing and a proportionate figure make it easy to keep your shots uniform across a product set. That consistency saves time in styling and post-production because garments hang predictably from shot to shot.
It’s also reported to be sturdy and stable during shoots, so you can confidently style sleeves or cinch waists without the mannequin toppling. For tabletop lighting and studio setups this stability reduces retakes and lets you work faster.
Two practical caveats: the joints can be stiff, so some complex poses may take patience or extra force to lock in. Also, this mannequin is bulkier and less portable than simple dress forms, so it’s better suited for studio work than frequent on-location shoots.
- Adjustable joints for a wide range of poses
- Wig-ready for quick style changes
- Consistent sizing and proportionate figure
- Sturdy and stable during shoots
- Joints can be stiff
- Bulky and less portable for on-location shoots
Lighting Essentials For Mannequin Photography
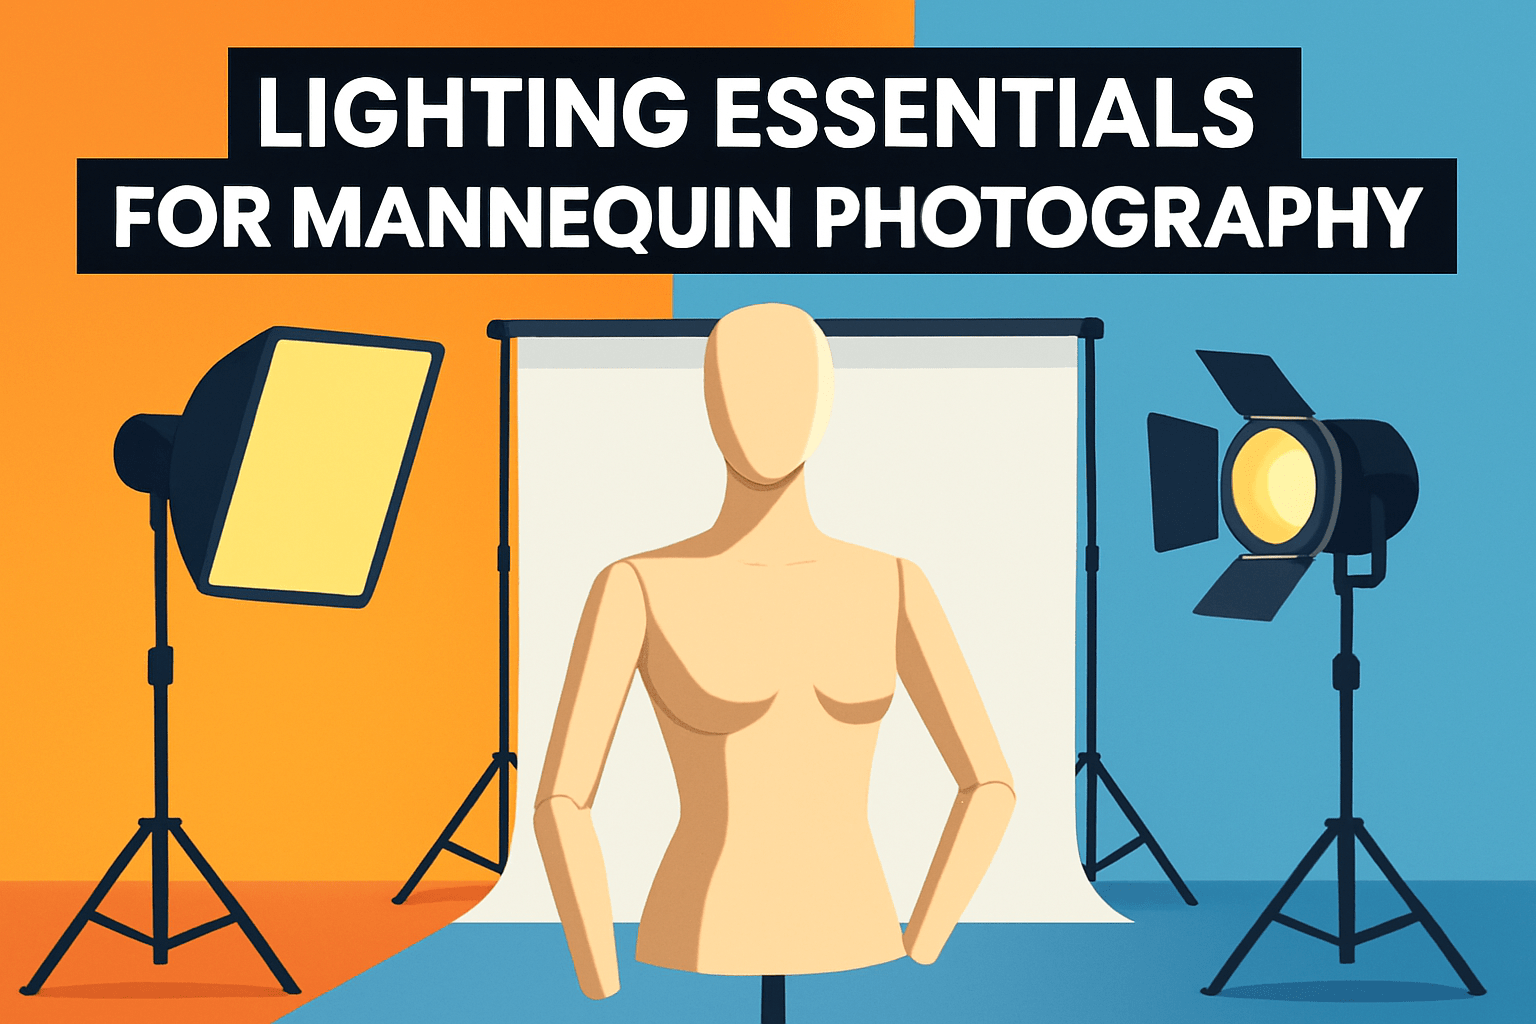
Lighting can make or break a mannequin shot. Start with a three-point approach for consistent, professional images: a key light at roughly 45° with a softbox to model form, a weaker fill opposite to tame harsh shadows, and a back or rim light to separate the mannequin from the background.
For small product-focused shoots a single front light works well. It flattens shadows and creates clean, e-commerce-friendly images. When you need more shape and texture, add a second light as a fill at a 45° angle to soften without eliminating depth.
Softboxes and large diffusers are your best friends. They produce gentle, even light that preserves fabric texture and avoids hotspots. Use larger modifiers for soft, flattering illumination and smaller ones or grids when you want more contrast or to control spill.
Position the key slightly above eye level to create natural shadows that reveal form. Place the fill at or just below eye level so it lifts shadows without flattening the look. The rim light should be subtle; feather it so you get edge highlights without blowing out the garment.
Natural light is underrated. A north-facing window or a sheer curtain gives beautiful, even light. Use golden hour for warmer lifestyle shots, but remember that consistent studio lighting is easier for catalog work and post-production.
Different fabrics need different handling. Shiny or glossy surfaces will show hotspots, so flag lights, change angles, or use more bounced/diffused light. Matte textures benefit from slightly harder light to reveal weave and detail.
Finally, test and adjust. Do quick tethered shots to check reflections and shadow fall. Small tweaks to height, distance, and modifier size often solve problems faster than heavy retouching later.
Editing And Post-Production Tips
Color accuracy is the first thing clients notice, so start by nailing white balance and exposure. I shoot a gray card at the beginning of every session and use it to set a custom white balance; then make small exposure and contrast adjustments to bring out fabric texture without blowing highlights. Keep an eye on skin or mannequin tones too—if those read neutral, your garment colors will be truer.
Background cleanup pays dividends. Shoot on a clean, evenly lit backdrop (white or light gray) so masking is painless. For ghost-mannequin work, photograph the interior and exterior with matching lighting and use layer masks and precise edge refinement to create the floating effect without harsh seams.
Shadows give depth, so don’t erase them completely. Digitally soften or rebalance shadows to match the light source and maintain dimension, especially when compositing front and back shots. When you blend multiple angles, match shadow direction and softness to avoid a pasted-on look.
Retouching should enhance, not change, the product. Remove lint, stray threads, and minor wrinkles while preserving natural drape and stitch lines. When you subtly reshape a garment, do it with low-opacity cloning and warping so proportions remain believable to the customer.
Texture matters more than ever with high-resolution e-commerce images. Use localized contrast and clarity sparingly to bring out weave and print detail, and avoid over-sharpening shiny fabrics that will create hotspots. For reflective materials, rely on dodging and burning to control highlights instead of extreme exposure shifts.
Finally, build a simple, repeatable workflow. I keep labeled layers, non-destructive adjustments, and action presets for common fixes to speed delivery. Test a few composite drafts during the shoot so you know what to capture and minimize heavy lifting in post-production.
What People Ask Most
What is the best mannequin for photography?
It depends on the garment and the look you want to achieve. Choose a mannequin that balances ease of dressing, stability, and how it photographs to match your intended style. Consider whether you need realism, portability, or easy post-production removal.
What type of mannequin is best for product photography?
Simple torsos or ghost-style mannequins often work well for clean product shots that focus on the garment. More realistic or posable figures suit styled or editorial images where mood and posture matter. Pick a type that makes dressing and editing straightforward.
Should I use a dress form or full-body mannequin for photography?
Use a dress form when you need to pin, tailor, or highlight garment fit on the torso. Choose a full-body mannequin when the full silhouette of an outfit, including bottoms and overall proportions, is important. Factor in studio space and storage when deciding.
Are articulated mannequins good for photography?
Articulated mannequins are useful for creating dynamic, varied poses and adding visual interest to styled shoots. They can take more time to position and may need careful lighting to avoid awkward shadows. They are a good choice when pose variety is a priority.
What size mannequin is best for fashion photography?
Select a size that reflects your target customer or the sample garments so the fit looks natural. Consistency in size across shoots helps maintain a cohesive catalog appearance. Also consider proportions that flatter the styles you shoot most often.
How do I pose a mannequin for clothing photography?
Aim for natural, flattering positions that show how the garment drapes and moves. Make subtle adjustments to shoulders, sleeves, and hips, and use clips or pins to smooth fabric where needed. Check the pose from the camera angle and tweak lighting to enhance shape.
What materials are best for photography mannequins?
Material choice depends on needs: rigid options offer a lifelike look while plastic is lightweight and durable. Pinnable or cloth-covered forms are handy for tailoring and quick styling. Consider surface finish to avoid unwanted reflections under lighting.
Conclusion On Best Mannequins For Photography
Choosing the right mannequin is about matching its features—adjustability, realism, portability and poseability—to your workflow, then supporting that choice with thoughtful lighting and careful post-production for consistent, sellable images.
Practical tests on your own garments will quickly show which combinations of form, light and edit deliver the best drape, texture and color fidelity for your brand or store.
If you want to deepen your craft, explore more articles on the site for lighting setups, editing workflows and styling tips that build on these basics and help you refine a reliable shooting process.
Please leave a comment with your questions or experiences—we usually reply within a few hours and welcome photo-specific follow-ups to help you get better results.





0 Comments