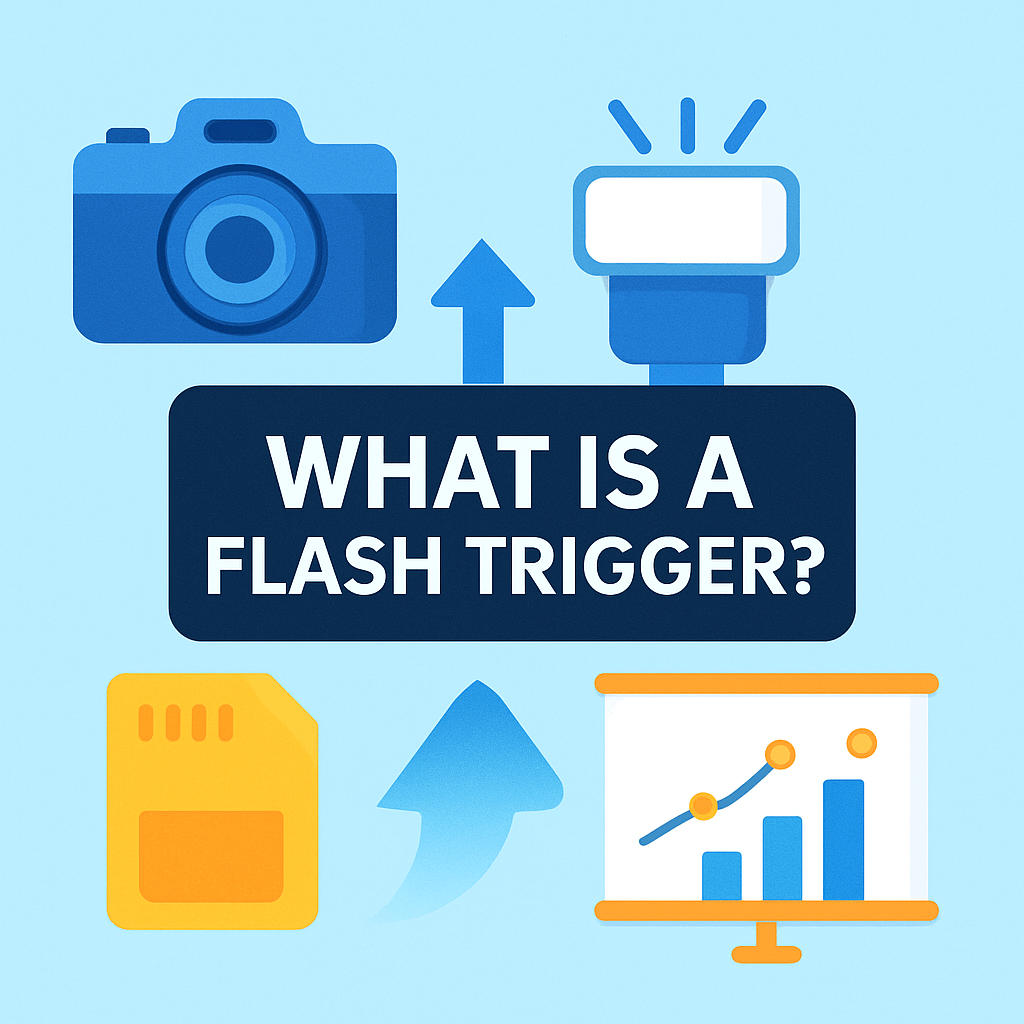
What is a flash trigger and how can it change your photos?
Put simply, it lets your camera fire and control flashes that are away from the camera.
This article explains the basics: a transmitter on the camera and receivers on the flashes.
You will learn how triggers enable off-camera flash, multiple-flash control, TTL metering, HSS, plus setup tips and troubleshooting to use them like a pro.
What is a Flash Trigger?
If you have ever wondered what is a flash trigger, it is the small device that lets your camera fire a flash that is not on the camera. It frees the light from the hotshoe and puts it wherever you want. That single change makes your lighting look professional and controlled.
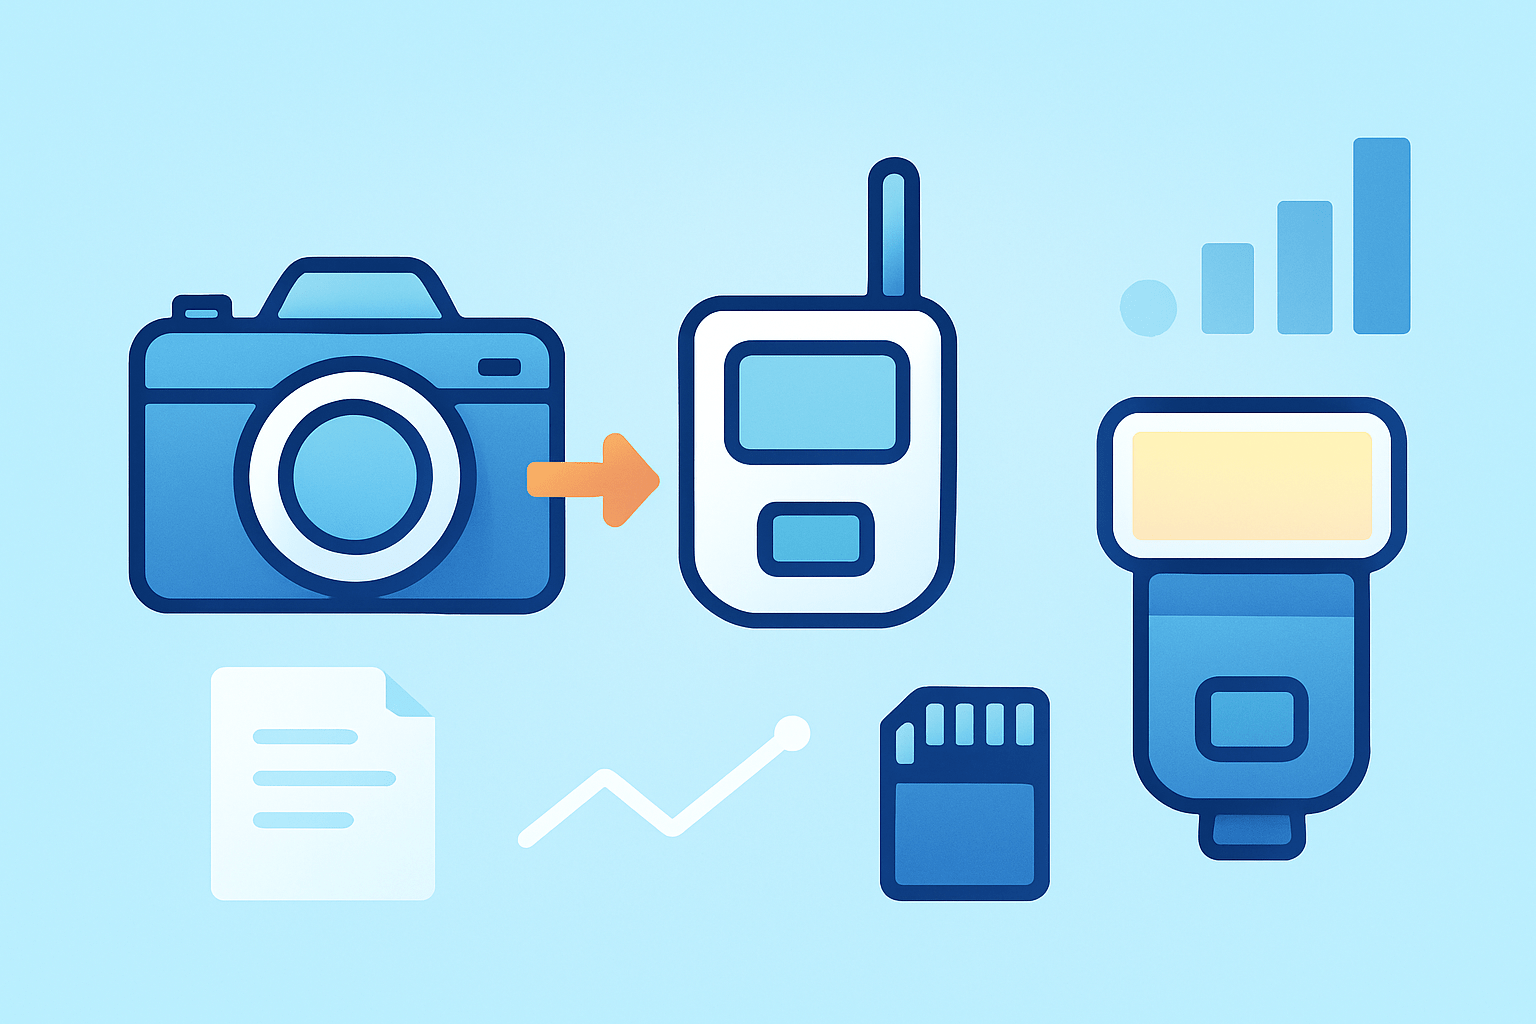
A modern trigger system has two parts. The transmitter sits on your camera hotshoe and sends the fire signal, and the receiver sits on your flash or strobe and listens for that signal. When you press the shutter, the remote flash fires in sync with the exposure.
With a trigger you can place a speedlight off to the side for dramatic shadows. You can control several lights at once, split them into groups, and even use TTL metering and High-Speed Sync from the camera. It turns one light into a flexible lighting kit.
People mix the terms a lot, so here is a quick map. A trigger sends the command, while a slave is a flash or sensor that reacts to another flash. A sync cable is a physical wire that carries the signal, and the hotshoe is the mount and contact on top of your camera that passes the sync signal.
Picture a portrait where the key light is off camera to your left and a small on-camera flash fills the shadows. The trigger fires the key light while the camera’s flash stays gentle. Outdoors at noon, the trigger also unlocks HSS so you can shoot at fast shutter speeds while using flash for a clean fill on faces.
If you want a simple primer before you buy, you can skim essential things to know and then come back to build your setup with confidence. Once you use one, the question “what is a flash trigger” becomes obvious in a single frame.
How a Flash Trigger Works
When you press the shutter, the camera closes the exposure circuit and touches a tiny sync contact in the hotshoe. The transmitter reads that contact and sends a signal to the receiver. The receiver then fires the flash at the right instant to expose the frame.
The hotshoe is the standard way to send that sync pulse. Some cameras and many studio lights also offer a PC sync port, which is a round metal connector that passes the same signal through a cable. Both do the same job, but the hotshoe also powers the transmitter and supports data for advanced features.
Older systems used optical or infrared light to carry that command, and some still do in simple setups. Optical needs line-of-sight and can be confused by bright ambient light. Radio triggers send the signal as RF waves, so the receiver does not need to see the camera and can sit behind walls or softboxes.
TTL metering adds another layer to the signal. The camera fires a tiny pre-flash to measure the scene, calculates the needed power, and then commands the main flash. Optical slaves can misfire on that pre-flash, so they often offer S1 and S2 modes, where S2 ignores the pre-flash and waits for the real one.
Radio TTL triggers send that exposure data as digital messages rather than light. That is why brand-specific versions exist, like E-TTL for Canon and i-TTL for Nikon. The transmitter and receiver speak the same language to pass power levels, zoom settings, and group commands.
High-Speed Sync is different from a normal flash pop. Above your camera’s x-sync speed, the shutter curtains travel as a narrow slit, so a single pop would not cover the whole frame. HSS solves this by pulsing the flash rapidly while the slit moves, which lets you shoot at 1/2000s or faster.
HSS has trade-offs. The pulsing spreads the flash energy over time, so your effective power drops and recycle times can feel longer. You may need to move the light closer, raise ISO a little, open the aperture, or use a stronger strobe to compensate.
It helps to know the difference between sync speed, flash duration, and the shutter mechanism. X-sync is the fastest shutter speed where the whole sensor is uncovered at once, often around 1/200s or 1/250s. Exceed it without HSS and you will see a black band where the shutter curtain blocked the flash.
Latency matters when you push limits. Radio triggers add a few milliseconds of delay from button press to flash fire. Quality triggers keep that delay tight and consistent, which is vital for HSS and when you shoot bursts where every frame must sync correctly.
Radio is also more reliable over distance. Walls, people, and softboxes block optical signals, but RF can pass around many obstacles and hold sync at long ranges. If you shoot events or outdoors, this reliability is worth the small cost jump over optical options.
There is one safety note you should not ignore. Some very old flashes have high trigger voltages that can damage modern cameras if attached directly. Use a safe radio trigger or opto-isolator, and check your flash’s trigger voltage before connecting with a cable.
If you are brand new to exposure and sync, a quick refresher on flash basics makes the rest of this easier. After that, the signal flow will feel simple, even when you add features like TTL, HSS, and groups.
Types of Flash Triggers
There are three broad families of triggers. Wired systems use cables, optical and infrared systems use light, and radio systems use RF signals. Each comes in simple manual versions and in more advanced TTL and HSS versions.
Wired triggers are the oldest and most direct approach. A PC sync cord runs from the camera to the flash or to a pack, and it fires every time without worrying about batteries or interference. The downside is the cable itself, which tethers you to the light and can snag or pull during a shoot.
Some hotshoe adapters pass the signal from the camera hotshoe to a flash with a small coiled cable. This can be useful if you want the flash off to the side but close by. It is still simple and reliable, but you are limited by cord length and by the risk of tripping.
Optical and IR triggers use light to communicate. A small sensor on the slave flash sees another flash fire and responds instantly, which is called S1 mode. Many offer S2 mode that ignores the pre-flash from TTL and waits for the main burst, which helps with modern metering.
These optical systems shine in controlled spaces. In a studio with clean lines of sight and dim ambient light, they are cheap and quick. Outdoors, bright sun can blind the sensor, and any object between the camera and the slave can block the signal.
Radio triggers are now the standard for most photographers. They do not need line-of-sight, work through softboxes and walls, and offer long ranges that suit events and action. Most models add channels to avoid interference and groups so you can control several lights independently.
Look for features that match how you shoot. TTL lets the camera meter flash power automatically, which is great for fast-paced work where distances change. If you need consistency frame to frame, manual control on the transmitter keeps power locked and repeatable.
HSS support is critical if you shoot in bright light with wide apertures or want to freeze fast motion at high shutter speeds. It costs more energy, so plan for extra batteries or a higher-powered strobe. Firmware updates are a quiet but big feature too, because they keep the system compatible with new camera bodies.
How to Set Up and Use Flash Triggers
Mount the transmitter on your camera hotshoe and power everything on. Set the transmitter and receiver to the same channel so they can talk. Attach the receiver to your speedlight’s foot or sync port, and switch the flash into remote or slave mode.
If your flash has a built-in radio receiver, set it to the right brand and channel, then assign it to a group like A or B. Set the transmitter to control that group and choose manual or TTL. Take a test shot and confirm the flash fires and exposes the frame.
For a single-light portrait, start with manual power at one quarter and place the light at 45 degrees from your subject. Adjust power on the transmitter until skin tones look balanced. If the background feels dark, add a second light as group B to lift it slightly.
When you add more lights, give each job its own group. A is your key, B is fill, and C can be a rim or background light. Now you can raise or lower each group from the camera without walking to each stand, which saves time when the client is watching.
TTL makes the first setup fast, especially at events where you move a lot. Let the camera meter the first shot, then lock the look by switching to manual on the transmitter with those power values. When TTL misses by a bit, use flash exposure compensation on the camera or transmitter to nudge the result.
To enable HSS, switch it on in the camera menu and confirm the transmitter and flash both show the HSS icon. Raise the shutter speed above x-sync and watch your histogram to judge power loss. Move the light closer, open the aperture, or add ISO to keep the look bright and crisp.
Know your camera’s x-sync and respect it when HSS is off. If you see a dark band across the frame, drop the shutter speed below x-sync and test again. When in doubt, 1/160s is a safe starting point for many systems.
Studio strobes may need a receiver made for their brand or a universal receiver with a sync cable. Check the manual for sync voltage and polarity, and avoid direct hotshoe adapters with unknown vintage lights. If things still misfire, try a short PC cable from the receiver to the strobe’s sync port.
Before every shoot, run a quick checklist in your head. Charge or replace batteries, match channels and groups, update firmware, and fire a test shot. Watch for obstacles that might block line-of-sight for optical slaves, and turn off any pop-up flash if you are triggering by radio.
If you want to compare connection methods in action, this overview of off-camera flash shows how each approach works. Practice each method at home until the moves feel automatic, then bring them on a real job.
Choosing, Troubleshooting, and Practical Tips
Choose a trigger that matches your camera brand so TTL and HSS features work properly. Think about where you shoot and pick the range and reliability you need, whether it is a small studio or a crowded ballroom. Check for enough groups and channels, a pass-through hotshoe if you want an on-camera flash too, and solid battery life and firmware support.
Match the tool to the job. For weddings and events, a robust radio system with TTL and HSS gives you speed and flexibility. For studio and product work, manual triggers or a simple sync cable keep everything repeatable and rock solid, and you can save money for better lights.
Most misfires come from simple causes. If the trigger does not fire, reseat the transmitter on the hotshoe, replace batteries, and confirm the channel and group match; a tiny bit of dust on contacts can also stop the signal. If you see a black band, you exceeded x-sync, so lower the shutter or enable HSS and test again.
Interference can cause erratic timing, so switch to a cleaner channel and keep the transmitter away from Wi-Fi routers or metal cages. If TTL looks off, dial flash exposure compensation or switch to manual for the key light and keep TTL for fill. With stubborn strobes, verify sync polarity and use an isolating receiver to protect your camera from high trigger voltage.
A few habits make life easier. Use TTL to find a starting point, then lock manual power for consistency, and ride groups and ratios from the camera to fine-tune the scene. Carry spare batteries and a short PC sync cable as a backup, keep firmware current, and always do a test shot before clients arrive.
Here is a fast real-world flow. I shoot an outdoor portrait at f/2 with HSS, place a softbox as an off-camera key in group A, set a small on-camera flash as fill in group B, and balance them from the transmitter. If someone asks on set what is a flash trigger, I just point to the transmitter on the camera and the light that fires from ten feet away, and the answer clicks in their head.
What People Ask Most
What is a flash trigger?
A flash trigger is a small device that tells an off-camera flash to fire when you press the shutter. It lets you sync separate lights with your camera for better lighting control.
How does a flash trigger help my photography?
It lets you place flashes away from the camera to shape light, reduce harsh shadows, and create more professional-looking photos. It also makes multi-flash setups easy to use.
Do I need a flash trigger if I only use one external flash?
Not always, but a trigger can give you more flexibility to put the flash off-camera and control it remotely. It’s useful for portrait and creative lighting even with a single flash.
Can a flash trigger work with any camera or flash brand?
Many triggers work across brands, but some features like TTL or high-speed sync may be limited between different systems. For basic firing, most triggers will work with most flashes.
What common mistakes should beginners avoid with a flash trigger?
Don’t forget to match channels or groups between the trigger and flashes, and make sure batteries are charged. Also avoid blocking the trigger’s antenna or line of sight when using older models.
Are flash triggers safe for my camera and flash gear?
Yes, reputable triggers are safe when used properly and with compatible equipment. Avoid cheap, poorly made triggers and follow manufacturer guidelines to prevent damage.
Can a flash trigger be used for creative effects like off-camera or multiple lights?
Absolutely — triggers make it easy to place lights around your subject for rim lighting, fill light, and dramatic control. They open up many creative lighting possibilities without complex setups.
Final Thoughts on Flash Triggers
If you started this guide asking “what is a flash trigger?” you’ve got it: a small radio or optical system that tells off-camera lights when to fire, giving you control over where and when light appears. If one number from the gear notes stuck with you — 270 — it was just a reminder that specs matter, but the real payoff is in consistent, creative control across key, fill, and background lights. That control is the core benefit: freedom to shape light without being tethered to the camera.
One realistic caution: you’ll trade some battery life and flash power for features like HSS and long-range radio, and older strobes can still bite you with unsafe trigger voltages, so check compatibility before trusting a shoot. This piece walked through the signal flow, types, setup steps, and fixes so you can pick the right trigger and troubleshoot when things go sideways, whether you shoot weddings, portraits, or product work.
You’re now set with the vocabulary and a practical workflow, and you’ll find that experimenting with off-camera light is how memorable images start. Keep testing, and enjoy the creative payoff.


0 Comments