Which adhesive will keep your treasured photographs pristine for decades without warping, yellowing, or peeling?
One misstep with glue can cloud colors, cause buckling, or even discolor paper over time. Choosing wisely matters for both display aesthetics and long-term preservation.
In this concise guide we compare five top adhesives for mounting and preserving pictures. We’ll focus on suitability, archival safety, bond strength, repositionability, and surface compatibility.
Whether you’re building a delicate scrapbook, framing a gallery print, or mounting images to rigid surfaces, the demands differ. Some projects call for a forgiving, repositionable hold; others require a permanent, conservation-grade bond that resists humidity and time.
You’ll also pick up practical application tips and common pitfalls to avoid, like over-application and improper substrate prep. Read on to discover the five best glue options for pictures and a simple rubric to match each adhesive’s strengths with your project and preservation goals.
1. UHU Stic Glue Stick Overview
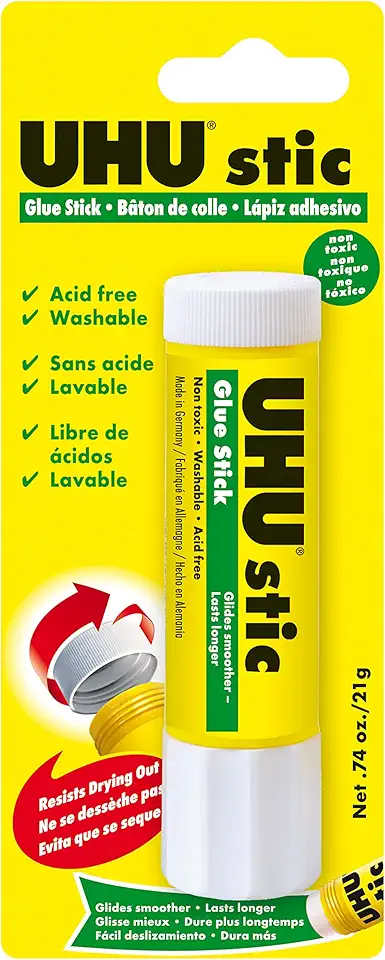
UHU stic glue stick 21 g
Smooth, mess-free solid adhesive for paper and crafts; quick-drying, non-toxic formula ideal for schoolwork and lightweight bonding.
Check PriceAs a photographer who spends hours arranging images into books and collages, I reach for the UHU Stic when I need a reliable, clean adhesive that won’t compromise my prints. It’s clearly aimed at collages, photo books and scrapbooking: users report it’s easy to apply, dries quickly and delivers a long-lasting hold without discoloration even after years.
The glue dries clear with minimal to no visible residue, which matters when you’re working on “grown-up” collage projects where finish and edge clarity are important. It’s acid-free and toxin-free, so it’s safe for photos and suitable for archival use—exactly what you want when preserving image tones over time.
In practical use the bond is strong on both lightweight and heavier papers, and it avoids bubbles and wrinkles when applied correctly. The twist-on cap design helps keep the stick from drying out between sessions, though some users have mentioned confusion over the lid design.
If you’re a crafter, artist or serious scrapbooker looking for a tidy, dependable glue stick for photographic paper, UHU Stic is a solid choice. Take care with very thin paper—apply sparingly and smooth as you go to prevent buckling—and be prepared to pay a bit more than the cheapest sticks on the shelf.
- Strong bond for light and heavy papers
- Quick-drying
- Acid-free and toxin-free (photo-safe)
- Twist-on cap prevents drying out
- Can buckle thin paper if applied carelessly
- Slightly more expensive than some glue sticks
2. Scotch Wrinkle-Free Glue Stick Overview
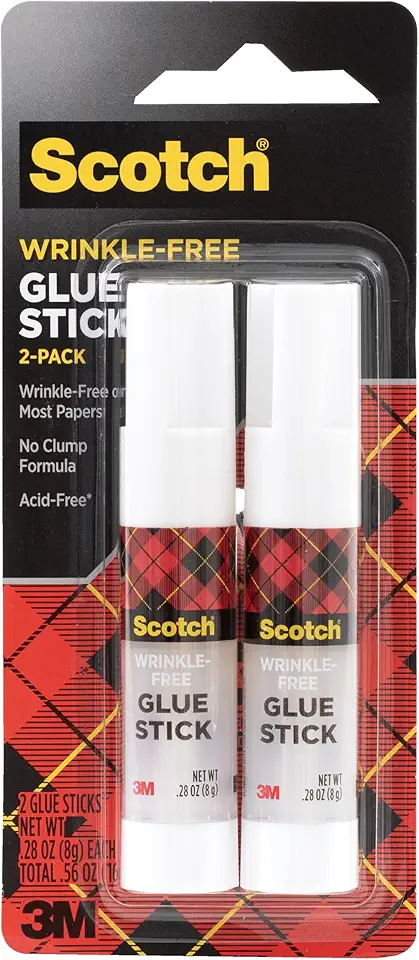
Scotch Wrinkle-Free glue sticks 0.27 oz x2
Compact dual-pack adhesive for paper and photos; wrinkle-free, clump-free application dries clear for neat, precise bonds.
Check PriceAs a photographer who often mounts prints into albums and lightweight frames, I reach for the Scotch Wrinkle-Free Glue Stick when working with thin or delicate papers. It’s specifically made for scrapbooking, collage and mounting photos where preventing wrinkles is the priority, and user feedback repeatedly highlights its wrinkle-free application.
The glue dries nearly invisible and leaves no noticeable marks, which is a big plus when you want clean, archival-looking pages without obvious adhesive lines. It’s also acid-free and quick-drying, so you don’t have to worry about long wait times or photo discoloration over time.
One of its strongest practical benefits is availability in both repositionable and permanent formulas, so you can choose whether you want to tweak placement or lock a photo down for good. For delicate layouts or thin paper, the repositionable option gives you breathing room to adjust without tearing or bubbling.
That said, this glue stick isn’t a catch-all. Several users report a “stringy” and less-firm consistency, which can make application feel a bit messy compared with firmer sticks. It’s also not the best choice for heavier materials or three-dimensional embellishments where you need real structural hold.
In short, if your work centers on thin prints, fine papers or careful scrapbooking and you want a nearly invisible, wrinkle-free finish, this is an excellent, photo-safe choice. If you’re mounting heavier stock or adding bulkier decorations, plan to use a stronger adhesive in those spots instead.
- Very effective at preventing wrinkles on thin papers
- Available in repositionable and permanent formulas
- Acid-free
- Quick drying
- Consistency described as “stringy” and less firm
- Not as strong on heavier materials
3. Avery Glue Stick Overview
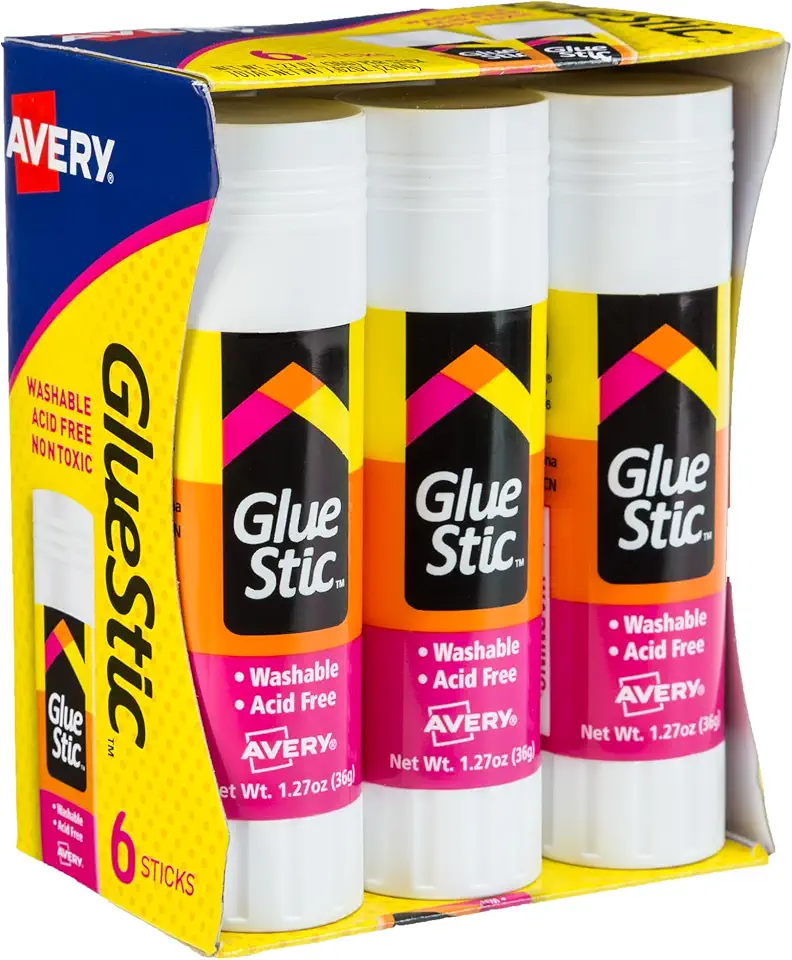
Avery Glue Stic 1.27 oz x6 (98073)
Six-pack solid adhesive for office, school, and crafts; mess-free, twist-up applicator provides reliable, long-lasting paper bonds.
Check PriceAs a photographer who often juggles quick proofing and simple album work, I reach for the Avery Glue Stick when I need a no-fuss, clean adhesive. It’s designed for office, school, and craft projects needing quick, easy, clean application, which makes it ideal for fast-paced tasks.
Users report it’s easy to use, fast drying and produces minimal mess—qualities I value when working on client contact sheets or casual scrapbooks. The bond is strong enough for most basic photo and paper projects and it dries nearly invisible, so prints keep a tidy appearance.
Avery is especially well suited to beginners, students and anyone after an economical, fuss-free adhesive; it’s available in permanent and repositionable versions and comes in multiple sizes. That flexibility lets you pick a stick for short-term layouts or a slightly stronger hold without changing brands.
Be mindful of limitations: the bond may be insufficient for larger or heavier projects, so avoid it for mounting thicker prints or glazing onto boards. It’s also not as widely recommended by serious artists and crafters for archival use, so I wouldn’t rely on it for lifetime-preservation of prints.
In short, Avery Glue Stick is a practical, affordable choice for quick paper- and photo-based tasks where convenience and speed trump archival permanence. It dries clear with no significant residue, and for routine, low-risk mounting it’s a dependable tool in my kit.
- Easy application
- Quick-drying
- Available permanent & repositionable
- Multiple sizes
- Bond may be insufficient for larger/heavier projects
- Not widely recommended for archival use
4. Mod Podge Overview
Mod Podge Gloss Sealer 16 oz
High-gloss sealer and finish that protects decoupage, crafts, and painted surfaces; water-based, durable, and dries to a brilliant shine.
Check PriceAs a photographer who also mounts and embellishes prints, I reach for Mod Podge when a project needs both adhesive and protection. It’s specifically best for decoupage, collage and mixed‑media work where a glue that also seals the surface saves a step and keeps things tidy.
Mod Podge adheres well and doubles as a protective top coat, and it dries transparent so your photos and papers retain their appearance. It’s water‑based and non‑toxic when dry, which makes it easy to work with in a home studio and reassuring for archival-minded crafters.
It’s flexible and strong on paper, fabric, wood and more, so you can confidently use it on canvas panels, wooden plaques or layered collage pieces. Bear in mind it has a slower drying time, especially when used as a sealer, so plan for longer curing and avoid handling until fully set.
There’s a bit of a learning curve to get perfect results — thin, even coats and a test on scrap material will help you avoid warping or bubbling. If you value a multi‑purpose product that glues and seals, Mod Podge is a sensible, mostly reliable choice; if you need instant, single‑step tack for quick mounting, a fast‑drying glue stick might be more convenient.
- Works as adhesive and sealer
- Flexible and strong on paper, fabric, wood and more
- Water-based
- Non-toxic when dry
- Slower drying time, especially as a sealer
- Learning curve to avoid warping or bubbling
5. 3M SprayMount Repositionable Adhesive Overview

Scotch Spray Mount 10.25 oz (6065) Repositionable
Repositionable adhesive spray offering temporary bonds for mounting photos, prints, and layouts; even coverage and easy repositioning before setting.
Check PriceWhen I need to mount large prints or finish a professional display, 3M SprayMount is my go-to. It’s built for mounting photos, prints and lightweight materials to substrates, so it handles big surfaces without the mess of brush-on adhesives.
The real advantage is repositionability. You get multiple chances to nudge an image into place before the bond sets, which saves time and prevents wasted prints when things aren’t perfectly aligned.
Applied correctly, the adhesive mounts large images quickly and evenly with no brush marks. It dries clear and leaves minimal visible residue, so your prints look clean and professional under glass or in frames.
Archival concerns matter to me, and this product is acid-free and archival-safe for photos and prints. With proper use it forms a durable bond that doesn’t yellow or become brittle over time, which is essential for pieces intended to last.
There are some practical caveats. Use it in a well-ventilated area because of fumes, and handle the spray carefully to avoid overspray onto backgrounds. Also avoid using it on heavy substrates or 3D objects — it’s optimized for flat, lightweight materials.
Finally, less is more. Over-application can cause warping or buckling of thinner papers, so test on scraps and spray lightly from the recommended distance for even coverage. For framers and serious scrapbookers mounting large prints, it’s a highly effective, professional-grade option.
- Multiple repositioning attempts allowed
- Mounts large images quickly and evenly with no brush marks
- Secure long-lasting bond
- Acid-free and archival-safe for photos/prints
- Requires well-ventilated area—fumes and careful handling needed
- Not intended for heavier materials or 3D objects
Using Glue Sticks to Mount Photos
Glue sticks are the simplest, lowest‑mess way I use to mount prints for albums, scrapbooks and quick displays. They dry fast, don’t require brushes or solvents, and are forgiving when you need tidy, temporary results on paper‑based projects.
Always choose an acid‑free, photo‑safe glue stick to avoid future yellowing or chemical degradation of your prints. Check the label for “acid‑free” or “photo safe”—that one line protects your work down the road.
Apply sparingly: a swipe at each corner and a small dab in the middle is usually all you need. Avoid coating the entire back, which can trap moisture, cause buckling or leave visible residue. Less adhesive equals a flatter image and fewer surprises later.
After placing the photo, smooth it down gently so the glue makes even contact and any tiny lumps are flattened. Use a clean, dry finger or a soft cloth to burnish without abrading the print surface.
Remember the limits: glue sticks are best for lightweight, short‑term mounts and casual displays—not permanent archival work. Heavy handling, humidity or tension on the edges can cause the bond to fail over time.
Removal is usually painless—work from a corner and peel slowly; glue‑stick bonds often release with minimal damage. If the adhesive has fully set, warming the paper between your palms or working very slowly helps reduce tearing; avoid jerking or pulling quickly.
If you want to avoid any adhesive touching the image, use acid‑free photo corners or archival photo tabs instead. Common mistakes are using too much glue, choosing washable or non‑acid‑free formulas, and working in humid conditions that can reactivate tacky glue. Keep application light and deliberate for the best results.
A careful, minimal approach will keep your prints flat and clean. Keep the glue’s label or packaging so you can repeat a successful technique later.
Using Acrylic Medium to Mount Photos
Acrylic medium is my go-to for permanent mounts to wood, canvas and panels. It creates a strong bond and can double as a protective coating, which many framers appreciate.
Start with clean, dry, dust-free surfaces. Seal porous substrates like raw wood first to avoid uneven absorption that leads to patchy adhesion or warping.
Apply the medium with a brush or roller to the back of the photograph or to the mounting surface. Use a thin, even coat and avoid saturating delicate paper; too much liquid will cause ripples and loss of detail.
Place the print and smooth from the center outward with a brayer or hard squeegee to expel air and ensure full contact. Steady, even pressure matters more than force; take a moment to clear any specks of dust.
The medium stays workable for a short window, so you can nudge the print into final position. After it sets the bond is permanent, so be deliberate but quick.
Once mounted, lay the piece flat and dry it under weight to prevent cockling. I sandwich the print between clean blotters or a sheet of plexi and add even weight while it cures.
If you want extra protection, brush thin, even coats over the front as a sealer. Allow each coat to dry fully; multiple thin layers are safer than one heavy coat to avoid tackiness or texture changes.
Choose an acrylic medium labeled “archival” or “conservation-grade” for long-term stability. Work in a well-ventilated area and avoid humid conditions that can slow drying or reactivate the adhesive.
Removal is difficult once the medium cures, so test on scrap material first. For display, mount to an acid-free backing and frame behind UV-filtering glass to keep colors true for years.
What People Ask Most
What is the best glue for photos and pictures?
There is no single best adhesive since the right choice depends on your project and substrate. Glue sticks and decoupage glues work well for paper projects, while acrylic mediums or spray adhesives suit rigid or large mounts.
What adhesive is safe for photos and won’t damage them?
Use acid-free, archival-safe adhesives to prevent yellowing and degradation. Look for products labeled archival or conservation-grade and avoid non-acid-free or washable glues.
What glue should I use for mounting pictures to wood or canvas?
An acrylic medium is preferred for rigid substrates because it creates a strong, permanent bond. Mod Podge can also be used as adhesive and sealer but requires careful, even application to avoid warping.
Can I use a glue stick to attach photos in an album?
Yes, if the glue stick is labeled acid-free or photo-safe. Apply sparingly to the corners and a small center dab, smooth well to avoid lumps, and be aware that the bond may be weaker over time.
Is Mod Podge safe to use on photographs?
Mod Podge adheres well and also serves as a protective top coat while drying clear. It is water-based and non-toxic when dry, but testing and thin, even coats are recommended to prevent bubbling or warping.
How do I glue pictures without causing wrinkles or bubbles?
Apply adhesive sparingly and evenly, and smooth from the center outward to remove air. Use a brayer or squeegee for acrylic mediums and keep glued items flat while drying under weight.
What is the best archival adhesive for preserving photographs?
Choose adhesives labeled acid-free and archival or conservation-grade for long-term preservation. Archival spray adhesives, conservation-grade acrylic mediums, and some acid-free glue sticks are commonly recommended options.
Conclusion for Best Glue for Pictures
Choosing the right adhesive comes down to matching substrate, permanence, repositionability and archival needs, and this guide helps you weigh those trade-offs so you can pick what’s best for your project.
Always test adhesives on scrap materials first, favor acid-free options for photos, and mind drying methods and environmental factors like sunlight and humidity to protect your work long-term.
If you want to sharpen your mounting and adhesive skills, read more articles on the site for practical techniques, troubleshooting tips and inspiration to try on your next project.
Have a question or want feedback on a specific project? Leave a comment below — we usually reply within a few hours and are happy to help refine your approach.


0 Comments