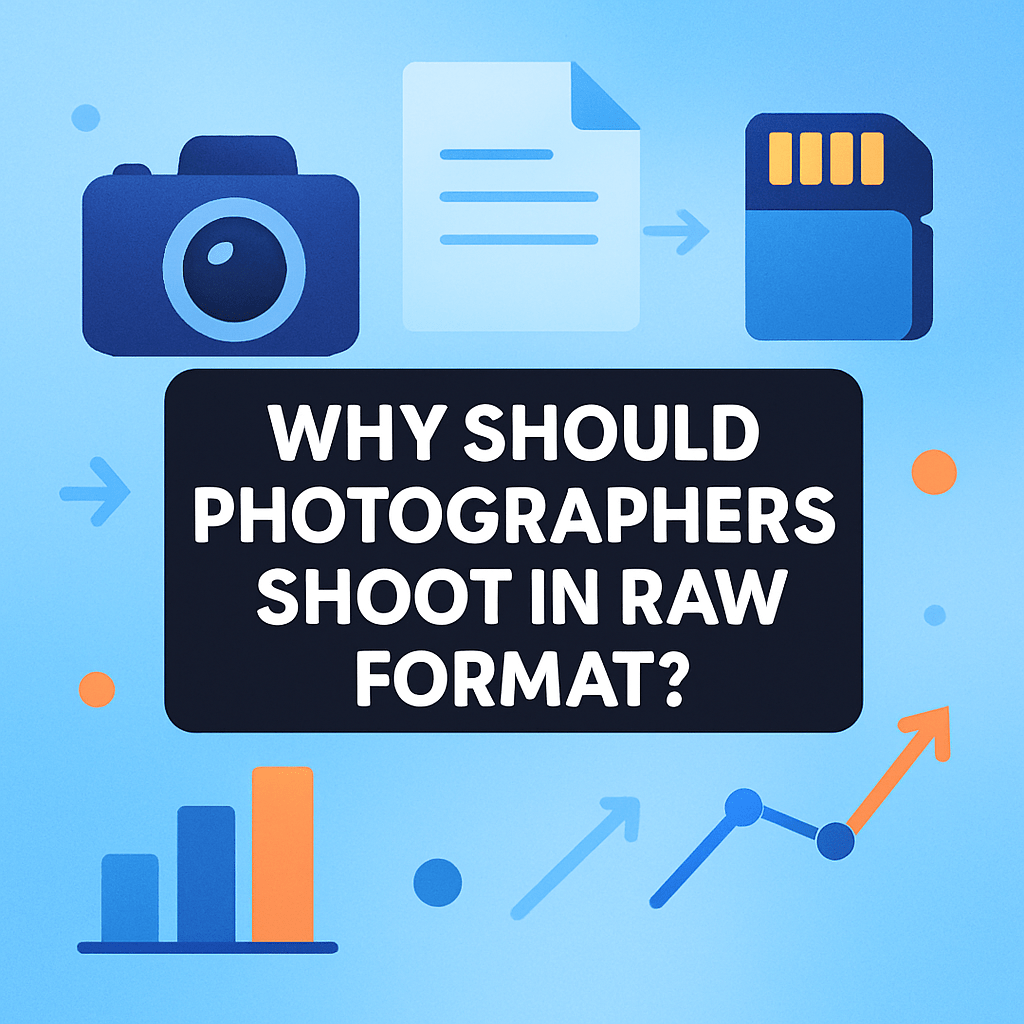
Why should photographers shoot in raw format? Want to rescue blown highlights, fix color, and keep the best image data for editing?
This article answers that question in plain, simple language. We start by explaining what RAW files are and how they differ from JPEGs.
You’ll learn the real benefits: more highlight and shadow recovery, flexible white balance, higher color depth, and non‑destructive edits. We also cover practical use cases like landscapes, portraits, low light and product work, plus when JPEG might be a better choice.
Expect clear, usable tips on camera settings, RAW vs RAW+JPEG, backups, and a straightforward editing workflow. By the end you’ll know when to choose RAW and how to get better results quickly.
What is RAW (NEF)?
RAW is the unprocessed data your camera sensor records. You will see file extensions such as NEF for Nikon, CR2 or CR3 for Canon, ARW for Sony, RAF for Fujifilm, and DNG as an open alternative. Think of it like a digital negative that keeps everything the sensor saw.
Unlike a JPEG, a RAW file has no in‑camera sharpening, contrast, noise reduction, or style baked in. It also carries higher bit depth, usually 12‑ or 14‑bit instead of JPEG’s 8‑bit, which means many more tonal steps and smoother gradients when you edit.
RAW is really a container of sensor data plus metadata like white balance, lens info, and picture style. Because it is not a finished photo, you need a RAW converter to render it to a viewable JPEG or TIFF for sharing and print.
Picture it as a simple chain: sensor captures light, the camera writes a RAW file, your RAW converter interprets it, and you export a final image. The preview on your camera is just a small JPEG, so the untouched RAW can look flat until you process it.
This also debunks two common myths. “RAW always looks better straight out of camera” is false because RAW needs processing, and “RAW files are identical across brands” is false because formats and color science vary by maker and model.
If you want a friendly primer, compare the formats with RAW vs JPEG and then come back for hands‑on advice. If you have ever asked why should photographers shoot in raw format?, understanding this foundation makes the rest click.
Why Shoot in RAW: Benefits and Use Cases
Here is the direct answer to why should photographers shoot in raw format? Because RAW protects quality and gives you real control long after you press the shutter. It keeps more data, survives heavier edits, and lets you decide the final look rather than the camera.
First is exposure latitude. A good RAW file can recover bright highlights and lift deep shadows with less banding and fewer ugly halos, which is priceless when a sunset sky turns out brighter than you expected. Think about pulling back two stops of sky detail in a landscape that would be gone in a small JPEG.
White balance flexibility is another win. In RAW, you can change from tungsten to daylight, or fine‑tune mixed lighting without degrading the file, because the color math happens before the image is baked. Event photos under LEDs and window light become fixable instead of throwaways.
RAW also carries higher color fidelity, which is why skin tones and gradients look smoother after editing. Portraits keep gentle transitions on cheeks and foreheads, and blue hour skies avoid that telltale banding you sometimes see in compressed images.
Non‑destructive editing is built into the RAW workflow. Your adjustments live as instructions, not permanent changes, so the original sensor data stays intact and you can re‑edit anytime. That safety net also means RAW forgives small mistakes, like slight underexposure or a too‑cool white balance from rushed shooting.
RAW future‑proofs your work. As software improves and noise reduction gets smarter, you can reprocess old files and squeeze out more detail or cleaner color. A JPEG from five years ago is stuck with yesterday’s decisions, while a RAW can be reborn with newer tools.
Now for use cases. Landscapes are a natural fit because RAW maximizes dynamic range and highlight control; if you love dramatic skies and deep foregrounds, shooting landscapes in RAW preserves detail that would vanish otherwise. You can also blend exposures more cleanly when the base files are rich and flexible.
Portraits and commercial work benefit from precise skin tones and consistent color across a set. RAW makes it easy to match lighting from shot to shot and to push color gently without breaking the file, which is crucial for client retouching and brand accuracy.
Low‑light and astro scenes depend on RAW for better denoising and fine detail retention. When you lift shadows by several stops, those extra bits hold the tones together and let modern noise reduction do its job with fewer artifacts.
Product and print work also call for RAW because you keep a high‑quality master for large outputs. When speed and small files matter most, like fast sports or breaking news, consider RAW+JPEG for quick delivery or even JPEG only if you cannot edit at all. That balance answers why should photographers shoot in raw format? in practical terms: choose quality when it matters, speed when it must.
Higher Quality Files
Bit depth is the quiet hero behind RAW’s quality. A 12‑ or 14‑bit RAW can store thousands more tonal steps per channel than an 8‑bit JPEG, which reduces banding in skies and gradients and keeps color transitions smooth during heavy edits. More steps mean each slider move degrades the image less.
Dynamic range is the other big factor. RAW holds more highlight headroom and shadow detail, so converters can recover information that a JPEG simply discards. Remember, RAW is not magic; lens quality, sensor size, and exposure still set the ceiling, but you keep far more of what the sensor captured.
Compression also matters. Many RAW files are lossless or losslessly compressed, so you do not get the blocky artifacts and halos that can appear when a JPEG is pushed. JPEG throws away data to stay small, and those shortcuts show up quickly when you edit contrast, color, or fine detail.
Your camera may offer uncompressed, lossless compressed, and sometimes lossy compressed RAW. For most shoots, lossless compressed RAW is the sweet spot because it saves space without sacrificing detail, while uncompressed is best reserved for critical studio work. RAW itself does not define a color space, so your converter maps it to ProPhoto, Adobe RGB, or sRGB when you export, depending on your output needs.
Post-Processing Flexibility (creative control & workflow)
The RAW workflow is non‑destructive by design. Editors write your changes to a catalog database or a small XMP sidecar, so the original RAW stays untouched and you can roll back any step. A simple safety tip is to keep an untouched copy of your RAWs somewhere that your editor never writes to.
RAW gives you superior control over white balance adjustments, exposure recovery, highlight and shadow control, and local edits like masks and gradients. Lens profiles can correct distortion and vignetting automatically, and chromatic aberration tools clean up color fringing on high‑contrast edges.
A practical workflow goes like this: import your RAWs, make a second backup immediately, cull the misses, then set global exposure and white balance before fine color tweaks. Apply the correct lens profile, add local adjustments where needed, and do noise reduction and sharpening near the end before you export in the right size and color space for web or print.
Popular tools include Adobe Lightroom and Camera Raw for broad ecosystem support, Capture One for strong tethering and color control, DxO PhotoLab for excellent optical corrections and noise reduction, and RawTherapee or Darktable as powerful free options. Batch processing and presets let you apply consistent baseline corrections across hundreds of files, which saves hours at weddings and events.
For quick results, a beginner can set the camera to RAW or RAW+JPEG, import to an editor, click the lens profile, set white balance with the eyedropper, and nudge exposure until the histogram sits well without clipping. Create one preset that fixes your typical color and noise, and apply it on import to speed up every shoot.
Exposure technique pairs with RAW for best results. Try expose‑to‑the‑right by nudging exposure up until highlights almost clip, watch the histogram and highlight warnings, and pull back in post if needed. Do not clip critical highlights you cannot afford to lose, like wedding dresses or sunlit clouds.
Set your camera to RAW in the Image Quality or File Format menu; on Nikon it is NEF/RAW, on Canon it is RAW/CR3, on Sony it is RAW/ARW, and most bodies also offer RAW+JPEG. Choose lossless compressed RAW by default, and if your camera has dual card slots, set the second slot to back up the first or to overflow as your shoot grows. Be aware that some models apply long exposure noise reduction or pixel mapping to RAW for very long exposures, so check your manual if you rely on those features.
Plan for storage and speed. Typical RAWs range from about 20–40 MB for 24 MP cameras to 50–100 MB for 45–60 MP bodies, and medium formats are larger still. Keep your catalog and previews on an SSD for snappy browsing, back up to a second drive plus the cloud, and use simple file names with dates and client names so you can find work fast later.
When to Choose JPEG Instead of RAW
There are honest times when JPEG wins. If you must deliver instantly, have limited storage, need maximum burst speed, or are shooting casual snapshots for social media, JPEG keeps things fast and tiny. A hybrid approach, RAW+JPEG, gives you quick proofs now and a high‑quality master to perfect later.
Use a simple rule of thumb: if the client, print size, or dynamic range matters, choose RAW; if speed, space, or zero editing is the goal, choose JPEG. For more perspective on the trade‑offs, see When to shoot RAW and decide based on the job. And if you still find yourself asking why should photographers shoot in raw format?, remember that RAW is your safety net and your creative license when the image truly counts.
What People Ask Most
Why should photographers shoot in raw format?
Shooting in RAW preserves all the original image data so you can make bigger, cleaner edits to exposure, color, and detail than with JPEG. It gives you more control over the final look of your photos.
Will shooting in RAW really improve my photos?
Yes — RAW gives you more flexibility to fix issues and enhance images without losing quality, which often leads to better final results. It’s especially helpful for recovering highlights and shadows.
Does RAW help fix bad exposure or white balance?
Yes, RAW files let you adjust exposure and white balance after the shot with less image degradation than JPEGs. That makes it easier to correct mistakes from the camera.
Are RAW files hard to edit for beginners?
No, basic edits are straightforward in common photo apps and many tutorials cover simple RAW adjustments. You can learn a few easy steps to get big improvements quickly.
Do RAW files take up a lot more storage space?
RAW files are larger than JPEGs, so they use more memory cards and hard drive space, but the extra room is often worth the better editing flexibility. You can manage storage with larger cards or selective RAW shooting.
Can I share RAW files directly on social media?
No, RAW files usually need to be edited and exported as JPEG or PNG for sharing because social platforms don’t display RAW images properly. RAW is best used for editing and archiving.
Will shooting RAW slow me down during a busy shoot?
Shooting RAW can add a bit of workflow overhead for editing and storage, but many photographers find the quality gains outweigh the extra steps. You can choose RAW only for important shots if speed is critical.
Final Thoughts on Shooting RAW
We opened by asking what RAW really is and whether it’s worth switching from JPEG; the short answer is that RAW gives you the most flexible starting point for fixing exposure, color, and detail. On many high-resolution cameras a single RAW can reach about 270 MB, so plan storage and workflow. It’s ideal for landscape, portrait, product and low-light shooters, though it does add file management and editing time.
RAW preserves original sensor data so you can rework images as software improves, making your files effectively future‑proof. It lets you fix exposure and color mistakes that would be permanent in JPEGs, but it’s not a magic cure for bad focus or poor optics. If you need instant delivery or extreme burst speed, choose JPEG or RAW+JPEG to balance quality and speed.
In short, this piece showed the technical reasons and practical workflows that make RAW worth the effort for serious shooters. Learn a basic RAW workflow and your images will reward you with more control and better results.


0 Comments