
Looking for a clear home photo studio equipment guide to build a pro setup at home this year? This guide shows what gear matters and how to prioritize purchases for portraits and product shots.
We begin with a printable “what you need” checklist and three starter kits by budget. Then we cover lighting and modifiers, camera and lens choices, backdrops, supports, and smart safety and budgeting tips.
You will also get real setup diagrams, buy‑vs‑rent advice, quick pro tips, and a troubleshooting mini‑list to fix common problems. Product examples and small‑space hacks make the steps easy to follow.
By the end you will know what to buy first and how to set up a safe, efficient home studio that fits your space and budget. Read on to build your home photo studio equipment guide and start shooting with confidence.
What Do You Need to Set Up a Home Photography Studio?
Every home studio is a dance between space, light, and budget, and the one thing you must control first is light. That single priority shapes every purchase and every decision that follows. Think of this home photo studio equipment guide as a map to capture that control without wasting money.
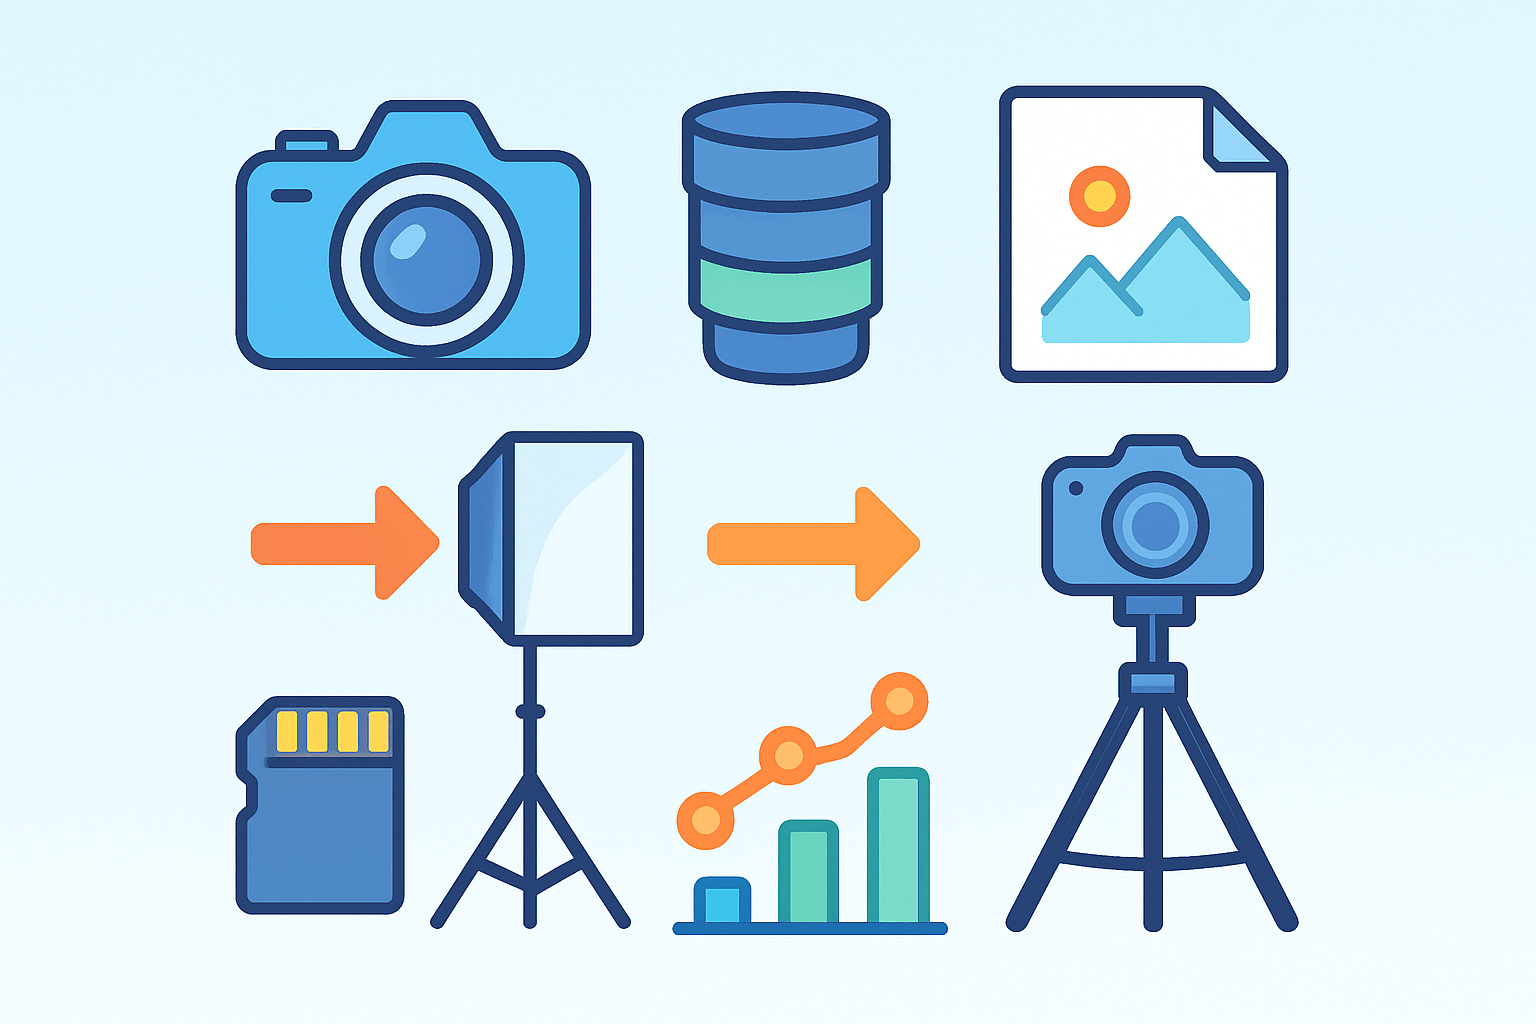
Start with a light source you can shape and repeat. Add a modifier that softens and directs that light. Pair it with a camera and a portrait-friendly lens, a sturdy tripod, a clean background, memory with backup, stands and clamps, and safe power management.
Here is your first-gear checklist you can print and tape to the wall: one reliable light, one main modifier, one camera with a sharp everyday portrait lens, one solid tripod, one backdrop you can hang fast, enough memory cards plus an external backup, two stands with clamps, and a power strip with surge protection and sandbags. Keep it short so you can get shooting. Pro tip: buy gaffer tape on day one and never use duct tape on floors or walls.
On a tight budget around three to eight hundred dollars, use your smartphone or an entry mirrorless body, one basic LED panel or a speedlight, a 50mm or kit lens, a fabric or DIY backdrop, and a decent tripod. This lean kit is more than enough for headshots, newborns near a window, or simple product work. The key is to put your modifier close and keep the background tidy.
In the mid-range, roughly eight hundred to twenty-five hundred, choose an APS-C or entry full-frame camera, a 50mm or 85mm prime, two strobes or LEDs or a punchy speedlight with a softbox, a seamless paper roll with a stand, and a reliable tripod. This lets you light a subject and the background separately for clean, professional files. Pro tip: when in doubt, spend more on modifiers and stands than on a small camera upgrade.
At a pro level above twenty-five hundred, go full-frame with multiple quality primes, add monolights or high-end LEDs, large softboxes, C-stands, and a wall-mounted or auto-pole backdrop system. You will gain power, faster recycle times, and precision placement. Safety rises with bigger gear, so add sandbags and cable covers immediately.
Follow three quick buying rules to avoid regret. Put modifier quality above the newest camera body, since good light makes any sensor sing. Buy used bodies and lenses from reputable dealers but purchase stands, cables, and power gear new for reliability and safety.
Here is a buy-priority order you can stick on your monitor: lighting and modifiers first, then your lens, then a background you can set up fast, then supports, then storage and backup. If your space or power rules are uncertain, read reliable notes on studio requirements before you buy. Pro tip: if a purchase does not improve light control or repeatability, save your money for the next item on this list.
Essential Lighting and Modifiers for Home Studios
Light is your paint, and modifiers are your brushes. The best home photography studio equipment builds around a light you can place, soften, and repeat on demand. Choose a category that fits your space and the way you like to work.
Natural window light is free, flattering, and quietly beautiful, but it still needs control. Add sheer curtains, blackout blinds, and a reflector or flag to shape the sun. Pro tip: turn off mixed bulbs during window sessions to avoid color cast.
Continuous LEDs are great for video and for learning because you see exactly what you get. They are quiet, cool, and friendly to small rooms, and they handle quick adjustments without guessing. Pick fixtures with adjustable color temperature and strong color accuracy so skin tones stay clean.
Speedlights are portable, affordable, and perfect for bouncing light off ceilings or walls. In small spaces they can act like big lights when you bounce and diffuse them. Choose models with fast recycle times and reliable manual control so you can repeat a setup easily.
Studio strobes or monolights bring the most power and control for freezing motion and shaping light. They thrive with bigger modifiers and give consistent color at many power levels. In a home studio they turn even midday into your own night sky when you kill ambient light.
Compare power by guide numbers for speedlights and watt-seconds for strobes, and pay attention to recycle times. Faster recycle means faster sessions and fewer missed looks. For battery options, on-location lights with lithium packs are convenient, but plug-in monolights are efficient if your outlets are close and safe.
Color specs matter more than many beginners realize. Check CCT adjustability and aim for CRI above 90 and TLCI above 90 on continuous lights for faithful skin tone. Pro tip: a cheap LED with poor color will cost you hours in editing and never fully fix.
Camera and light features also matter in a studio workflow. TTL can be handy for fast changing scenes, but manual power is the most repeatable for headshots, products, and controlled portrait sets. High-speed sync can tame bright windows or create shallow depth of field, but watch your camera sync speed to avoid banding with strobes.
Softboxes are the workhorse modifiers for portraits and products. Rectangular boxes mimic windows and fit tight spaces, while octaboxes give round catchlights and smooth falloff for faces. For headshots a two to three foot box placed close is perfect, while full-body portraits benefit from a four to five foot box if your room allows.
Umbrellas are fast and affordable, with shoot-through types giving broad soft light and reflective types keeping more control and punch. In tiny rooms, a small reflective umbrella can keep spill off the walls. Pro tip: add a black cover to a shoot-through to reduce spill and gain control.
A beauty dish creates crisp, sculpted light with soft edges, excellent for fashion and clean headshots. It differs from a softbox by keeping more specular contrast and giving defined cheekbone shape. Add a sock for softness or a grid for tighter control.
Grids, snoots, and barn doors let you control spill and create accents. Use them for hair lights, rim edges, or to shape a circle of light on the background. Flags, reflectors, diffusion frames, and scrims are your fine-tuning tools, blocking, bouncing, or softening exactly where you need it.
Small-space hacks can make a single light feel huge. Bounce a speedlight off a white ceiling or wall and use a reflector opposite the subject to mimic a large soft source. Place a small softbox very close to the face for soft, wrapping light without eating the room.
Continuous LED panels shine for quick tweaks and client previews. When a subject sees the light change, posing becomes easy and natural. Pro tip: mark your stand feet with tape on the floor so you can return to the same look next session.
Here are three simple setups to try today without guesswork. A single softbox at forty-five degrees to the face, slightly above eye level, gives classic headshot light with gentle shadow under the chin. A two-light tabletop for products uses one soft key from above-front and a second light or white card behind the product to lift the background to clean white.
For a three-point portrait, set your key light forty-five degrees to the subject, add a fill card or low-power light near the lens, and place a small hair or background kicker behind for separation. Keep the hair light subtle so it does not blow highlights. If your room is tight, swap the fill light for a white foam board to keep stands out of the walkway.
Brand examples help you shop, even if you buy used. Entry speedlights from Godox or Yongnuo are popular values, Godox monolights like the AD or MS series cover mid-tier needs, and Aputure or Nanlite LEDs offer trusted color in continuous fixtures. For long-term pro builds, Profoto and Elinchrom pack consistency, durability, and deep modifier ecosystems.
Safety is not optional in a home studio. Sandbag every stand, keep cords under covers or taped down, and avoid overloading circuits by spreading strobe packs and chargers across outlets. If anything wobbles, fix it before anyone steps into position.
If you like to start with a plan, review beginner-friendly walkthroughs that explain room flow and stand placement, then adapt them to your space. You can skim an overview on how to build a studio and then test those ideas with your own gear. Pro tip: take a phone snapshot of every lighting setup with notes so you can recreate it instantly later.
Here is a quick troubleshooting guide to keep nearby. If your light is harsh, bring the modifier closer or enlarge it relative to the subject, and check for unintentional bare-bulb spill. If you see color cast, kill mixed ambient, match CCT across fixtures, or use a gray card and set custom white balance.
Wrinkled backgrounds show up fast under cross light, so pull paper tight and light the subject separately from the sweep. If recycle times slow, lower power and bring the light closer, or add a second light to share the load. Pro tip: aim your key light to feather across the subject rather than blasting straight at the face for smoother gradients.
Camera, Lenses, Supports, and Storage
The camera body controls speed, sensitivity, and workflow, while the lens controls perspective, distance, and character. In a home studio the lens often matters more than a body upgrade because it defines how you frame in a small room. Treat the body as a dependable engine and the lens as your signature brush.
For portraits, choose full-frame or APS-C bodies with confident autofocus and pleasant high ISO if you ever use ambient. A 24 to 30 megapixel sensor is plenty for prints and headshots. Pro tip: turn on face and eye AF to keep your attention on expression instead of focus hunting.
For products, resolution and detail rise in importance. A high-resolution sensor or a dedicated macro lens lets you capture threads, textures, and engravings with ease. Even on modest bodies, a sharp macro in the 90 to 105mm range is a secret weapon.
For hybrid shooters, mirrorless bodies with clean video, strong autofocus, and low rolling shutter make life easier. Add a flip screen for low angles and solo shoots. If you plan long takes, consider external power so batteries do not end your take.
Portrait primes set the mood in small spaces. A 50mm is flexible on full-frame and a lovely portrait length on APS-C, while an 85mm gives flattering compression if you have stepping room. A 35mm is perfect for environmental portraits when you want to show the story around your subject.
Short tele or macro lenses around 90 to 105mm handle product and tight headshots with grace. They keep you at a comfortable working distance from the table or face. Pro tip: lock your camera on a tripod for macro work and shift the product, not the focus ring, to keep lines straight.
Zooms are great when you are still learning your room. A 24 to 70mm covers almost everything indoors, while a 70 to 200mm shines if you have a deep garage or hallway to shoot through. In small studios, favor the 24 to 70mm and step with your feet to fine-tune perspective.
Use fast primes at f/1.4 to f/2.8 when you want creamy falloff, and stop down to f/5.6 to f/8 for headshot sharpness across the face. For products, stop to f/8 to f/16 to keep detail crisp, then raise light power to compensate. Pro tip: always test the edge of your sweet spot for your specific lens at studio distances.
A sturdy tripod is quiet insurance for tack-sharp files and repeatable frames. Check the weight rating and choose a head type that matches your work, like a ball head for stills and a fluid head for video. Boom arms, light stands, and C-stands unlock overhead looks and perfect hair light placement once you outgrow entry stands.
Tethering changes everything in a home studio. A reliable cable or wireless tether to software like Capture One or Lightroom lets you check focus, exposure, and color on a bigger screen, and clients love previewing in real time. Pro tip: a short HDMI or USB cable routed through a strain relief saves ports and nerves.
Memory cards should be fast and trustworthy, with speeds that match your camera’s burst and video modes. Use dual cards for redundancy when possible, and offload after each session. The 3-2-1 backup rule keeps you safe with three copies, on two different media, and one offsite or cloud location.
Portable SSDs like compact USB-C drives are great for travel and on-set edits, and a small NAS can guard your archive at home. Keep extra batteries, a multi-charger, and AC adapters for long shoots so power never interrupts a flow. Pro tip: label every battery with a small sticker and rotate them by number so wear stays even.
Editing ties the whole process together. Lightroom and Capture One handle cataloging and tethering, while Photoshop covers retouching and composites, and a ColorChecker plus monitor calibration keeps color honest. If editing time feels heavy, improve lighting consistency rather than pushing more sliders.
When you want a broader gear overview to cross-check your list, a curated equipment list can spark ideas and help you spot missing pieces. Still, buy for your room, not someone else’s. Pro tip: rent specialty lenses or lights to test fit before you commit.
Backdrops, Surfaces, and Props
Backdrops are the stage for your subject, and the right choice saves editing time later. Seamless paper rolls are the clean standard in widths like 53 inches for headshots, 107 inches for three-quarter portraits, and 140 inches for full-length fashion. White, gray, and black cover most needs, and colored rolls add instant mood.
Muslin or fabric backgrounds give texture and painterly depth. They are light, portable, and forgiving with classic portraits, but they wrinkle and need a steamer before each session. Pro tip: clamp the top tight and add a slight diagonal pull on one bottom corner to smooth folds.
Vinyl and PVC backdrops are wipe-clean and perfect for food and product work. They resist spills and stains and lay flat with gentle weight at the edges. Printed textured backdrops or collapsible backgrounds add variety in tiny spaces without a full roll system.
For hardware, backdrop stands with crossbars are flexible and fast to set up. Wall-mounted or ceiling track systems save floor space and keep rolls ready to drop, but they require solid mounting and planning. If you rent, freestanding stands are safer and easier to move.
Clamps, clips, and paper holders keep edges neat and prevent mid-shoot disasters. A step ladder helps load rolls safely, and floor protection like a clear runner keeps paper clean under shoes. Pro tip: when the floor edge gets dirty, cut a clean leading edge instead of trying to scrub footprints.
Props and surfaces are your storytelling tools. Simple stools, small chairs, and narrow tables keep sets flexible, while acrylic sheets, wood planks, and reflective boards create interest for products. For newborns, use a stable beanbag and a spotter every time, because safety always outranks any photo.
Style your color choices to match the subject or brand. Neutral palettes suit headshots, pure white wins e-commerce, and deeper tones bring drama to portrait or fashion sets. If a client shows up with bold clothing, pivot to gray or off-white to keep skin tones balanced.
Caring for your gear extends its life. Store paper rolls upright to prevent flattening, wash and steam muslin as needed, and wipe vinyl with mild soap after messy sessions. DIY backgrounds like painted foam-core or bedsheets can work in a pinch, but test them under your lights for sheen and wrinkles before a client arrives.
Practical Setup, Safety, and Budgeting Tips
Choose a room by depth, ceiling height, and light control, then plan your layout around movement and safety. For full-length portraits, more depth gives you better separation and light control, and eight feet of ceiling height keeps modifiers above eyes without tight angles. Blackout curtains and sealed doors keep ambient light from changing your set mid-shoot.
Use a clean floor plan that leaves walkways free of stands and cables. In small apartments, shoot along the long wall and keep backgrounds on the short wall, while a garage or basement lets you build depth. Pro tip: mark safe zones with low-residue tape so everyone knows where to step.
Before each session, run a quick pre-shoot list out loud. Check charged batteries, formatted cards, clean lenses, gaffer tape within reach, clamps on stands, a small first-aid kit, water for clients, and a steamer for wardrobe and backdrops. This minute of prep saves an hour of stress later.
Small rooms can still look grand with the right tricks. Use longer lenses for flattering compression, pull your subject a few feet off the backdrop, and bounce light off a wall to widen the source. Keep your key light close and feathered to avoid hot spots on the background.
Set a budget roadmap and upgrade in a logical order. Buy lighting and modifiers first, then the lens that fits your style, then a clean background solution, then your supports, and finally storage and backup. If you only need a specialty piece for one job, rent it and keep your cash for daily tools.
Buy versus rent is simple once you calculate use. Rent high-end lights, large backdrops, and niche lenses until you know they fit your workflow, and buy the items you touch on every shoot. If you go used, stick to reputable dealers, ask for shutter counts, light tube age, and return windows, and inspect mounts, ports, and battery health upon arrival.
Avoid costly mistakes by focusing on quality over quantity. One great softbox beats five flimsy modifiers, a short power strip will fail at the worst time, and skipping backups is the fastest way to lose your best work. Pro tip: set calendar reminders for firmware updates, sensor clean checks, and battery cycle tests.
Safety and maintenance keep your studio calm and professional. Manage cables with covers or tape, sandbag every stand, avoid overloaded circuits, and test breakers and GFCI outlets if you work near water. For a deeper planning walkthrough, read an overview on how to equipment list choices connect to real studio tasks, then adapt it to your space.
To wrap the action steps, print the first-gear checklist from earlier, keep a simple starter-kit comparison in your notes for entry, mid, and pro budgets, and build an equipment maintenance schedule. This home photo studio equipment guide is your blueprint to start fast and grow with intention. When each purchase serves control of light, your studio will feel bigger, safer, and more creative every time you switch on the first lamp.
If you want a single place to begin, set the key light, place the modifier close, and test one portrait with a reflector before adding anything else. This home photo studio equipment guide will keep you focused as you expand into lenses, backdrops, and storage. When the basics feel automatic, your images will look like they came from a room twice the size.
Finally, keep learning from test sessions and notes. Cut a new edge on paper, set white balance with a gray card, and label your stands and cables to speed resets. When you know your kit by feel, the gear disappears and the story appears, which is the goal of every good home photography studio equipment plan.
What People Ask Most
What basic items should I include in a home photo studio equipment guide?
Start with a camera or smartphone, a stable tripod, simple lighting (natural or basic lamps), a backdrop, and a few reflectors or diffusers.
Can I set up a home photo studio in a small room?
Yes. Use natural light, a compact backdrop, movable lights, and clear the space so you can move around comfortably.
Do I need professional lighting or will natural light work?
Natural light works great for beginners, while simple studio lights give more consistent control and fewer surprises.
How can I improve my photos without buying new gear?
Improve composition, use reflectors to shape light, tidy your background, and practice basic editing to boost results.
Is a tripod necessary for a home photo studio?
A tripod is very helpful for steady shots, consistent framing, and better low-light photos, so it’s a good beginner tool.
What common mistakes should beginners avoid when following a home photo studio equipment guide?
Avoid harsh or uneven lighting, cluttered backgrounds, ignoring camera settings, and skipping practice sessions.
How do I choose the right backdrop for my home photo studio?
Pick plain, non-reflective colors that complement your subject, ensure the backdrop fits your shooting area, and keep it wrinkle-free.
Final Thoughts on Building a Home Photography Studio
Even a 270 starter kit can prove how much control over light transforms your images, because consistent light is the single biggest advantage a home studio gives you. This guide focused on that trade-off—space versus light versus budget—and showed prioritized gear lists, lighting plans, and setup hacks so you can choose what matters first. Whether you shoot portraits, product, or mixed work, you’ll get steadier results and faster sessions by starting with light control.
Be realistic: new lighting and modifiers, safe stands, and proper backup will take some cash and practice, and cramped rooms force compromises in lens choice and background space. The article answered the opening question by laying out a printable “what you need” checklist, budget kit tiers, and small-room lighting tricks to reduce surprises. Keep safety in mind—sandbags, secure cables, and circuit awareness are as important as the lights themselves.
If you’re a hobbyist building client work or a small business scaling product shots, these steps cut weeks off trial-and-error and raise consistent quality. Keep experimenting with light and layout; your best setups are the ones you refine over time.



0 Comments