
What is an enlarger in photography and how can it turn a tiny negative into a striking print?
This short guide will explain what an enlarger does, name the main parts, and show how the light from a negative becomes an image on paper. You will also get clear steps for printing, tips on condenser vs diffuser, and simple buying advice.
Expect easy diagrams, a step-by-step darkroom workflow, and quick fixes for common problems like soft focus or uneven light. The article is friendly to beginners and includes a few advanced tips for experienced printers.
By the end you will understand how an enlarger works and how to make better darkroom prints. Ready to see what your negatives can become?
What is an enlarger?
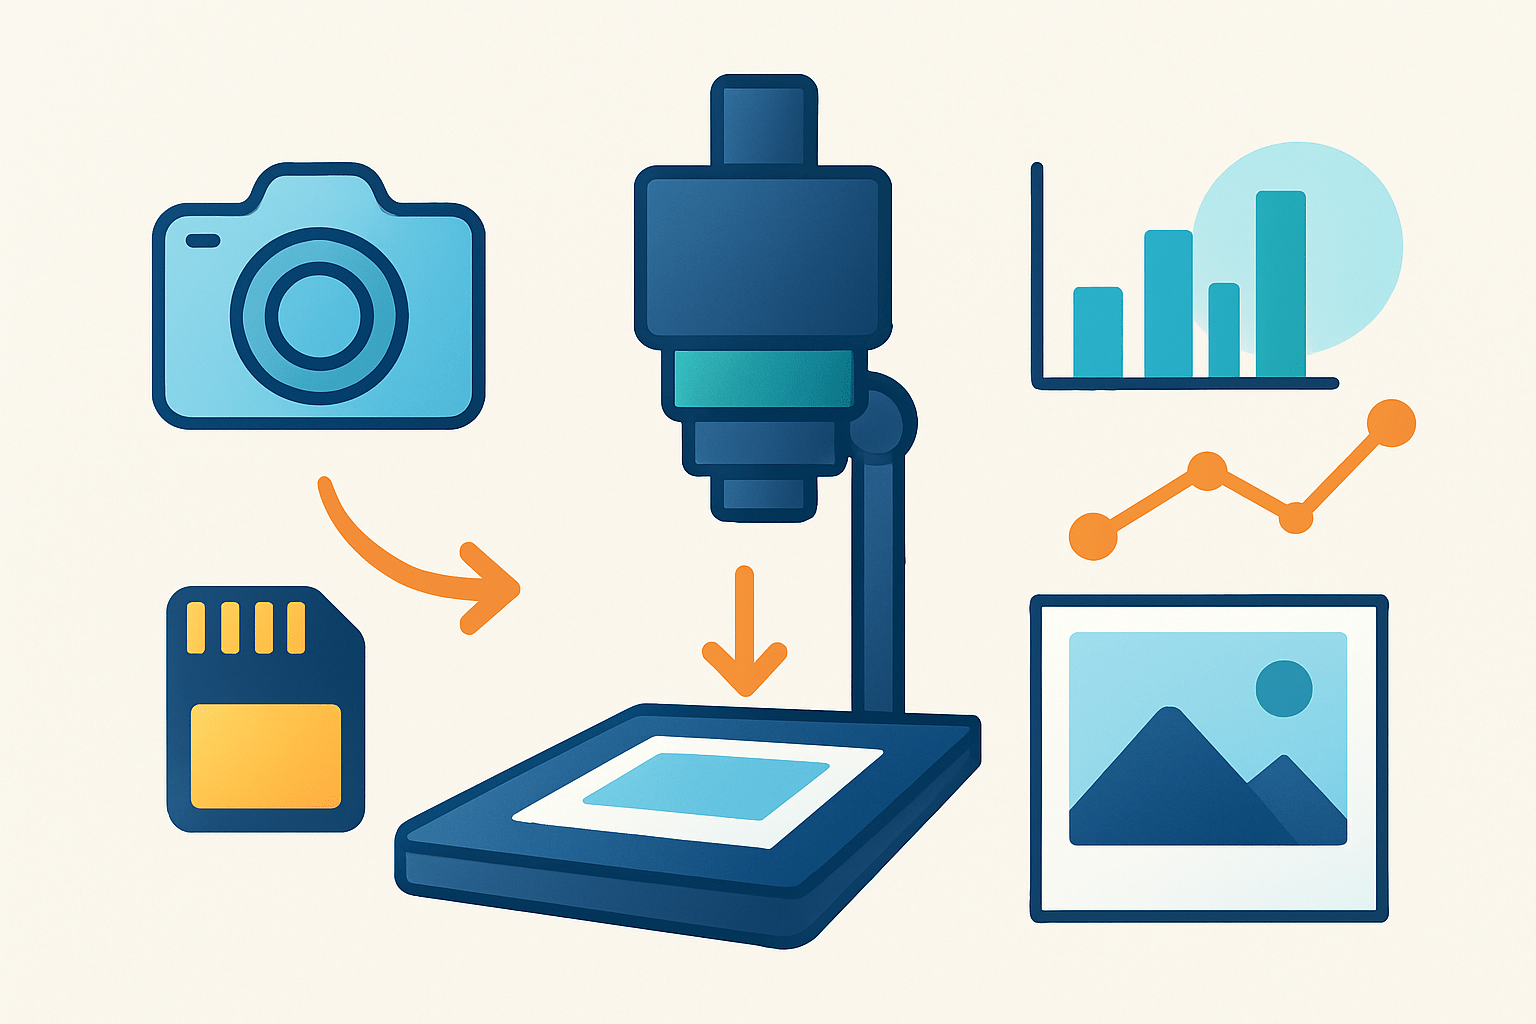
If you have ever asked what is an enlarger in photography, think of a precision projector for film. An enlarger shines light through your negative and focuses the image onto light‑sensitive paper to make a larger print.
It is the heart of analog printing, where you control cropping, magnification, exposure, and contrast by hand. You can dodge and burn during exposure to shape highlights and shadows in a tactile way digital printers simply emulate.
Unlike a slide projector, an enlarger is built for sharp, flat‑field projection at close distances. It also uses an enlarging lens with aperture control and an alignment system to keep the image square and crisp on the paper.
Modern variants may use LED or cold‑light sources, and some add timers and app control for repeatability. The classic workflow, however, still happens in a dim safelight, on a sturdy baseboard, with your hands guiding the light.
Elevator pitch you can remember: an enlarger is a darkroom device that transforms a small negative into a crafted print under your complete control. For a deeper technical overview, see this technical overview.
Parts of an enlarger
The enlarger head holds the lamp or LED light source and spreads light evenly across the negative. This is the engine of illumination, and its quality influences contrast and exposure consistency.
Inside the head is either a condenser or a diffuser assembly. A condenser uses lenses to collimate light for punchier contrast, while a diffuser scatters light for smoother tones and gentler grain.
Beneath the head sits the negative carrier, a flat holder that keeps the film perfectly flat and aligned. Some carriers are glassless and quick, while glass carriers can add flatness and help with edge‑to‑edge sharpness.
The enlarger lens sits below the negative and projects the image onto the paper. Its focal length should match your film format, and its aperture controls sharpness, exposure, and depth of field during focusing.
A projection assembly or bellows connects the lens to the head while allowing precise focusing. The bellows shields stray light and gives room for the lens to move without leaking flare into the print.
The column is the vertical rail that lets you raise and lower the head to change magnification. A geared rack‑and‑pinion or crank makes height adjustments smooth and repeatable without nudging alignment.
At the bottom, the baseboard supports the easel that frames your paper and sets borders. A good easel holds paper flat, keeps edges square, and makes it easy to repeat the same crop.
Most enlargers include a filter drawer or filter holder, which is where you insert contrast filters. With variable contrast paper, these filters shift grade so you can tune how hard or soft the print looks.
The focusing mechanism usually includes a focus knob and, in practice, a grain focuser. A grain focuser lets you see the film grain sharply on the paper plane, ensuring the print truly snaps into focus.
Common accessories include a variable contrast or color head, a cold‑light or LED head for stable output, and tilting projection for perspective control. Lamp types range from tungsten and halogen to long‑life LEDs that run cooler and keep paper safer.
Parts that most directly affect image quality are the enlarger lens, negative carrier, and illumination system. A better lens gives sharper corners, a flat negative removes focus drift, and even light keeps tones smooth.
Maintenance is simple but essential: keep the lamp and reflector clean, replace bulbs before they dim, wipe carriers and glass with anti‑static cloths, and check the column’s lubrication so focus remains silky.
How an enlarger works
The light path is straightforward and elegant. Light from the lamp passes through the condenser or diffuser, then through the negative, and the enlarger lens projects that image onto the paper.
The negative behaves like a small slide where tones are reversed. When the paper is exposed and developed, the chemistry transforms this projected light into the final positive photograph.
Magnification is controlled by the enlarger head height and the lens focal length. Raise the head to make the image larger; lower it to make it smaller, then refocus.
A simple way to think about it is magnification equals the size on paper divided by the size on the negative. For example, making an 8 by 10 inch print from a 35 mm frame roughly needs about a 7 to 8 times enlargement on the short side.
As magnification increases, you usually need longer exposure times. This happens because light spreads over a larger area, so test strips become your best guide for dialing in exposure.
The lens aperture affects sharpness and time. Most enlarging lenses are sharpest two to three stops down from wide open, so if you focus at full aperture, stop down for the exposure to reach peak edge clarity.
Depth of field in projection is shallow at large magnifications. Stopping down helps cover minor easel or paper curvature, keeping corners as crisp as the center.
Contrast is shaped by filtration and by the head design. Condenser light often gives higher acutance and crisper highlight edges, while diffuser light lowers the visibility of grain and smooths tonal transitions.
With variable contrast paper, using magenta increases contrast and yellow lowers it, and a VC head lets you dial grade without changing filters. This control is where the art of the darkroom meets the science of light.
Expect a few optical gremlins and know the cures. Vignetting can come from a lens that does not cover the format, distortion from using a mismatched lens, and Newton rings from film touching glass without a proper anti‑Newton surface.
Fixes are simple: choose a lens with adequate coverage, keep the enlarger aligned and level, and use anti‑Newton glass or a glassless carrier when appropriate. For a deeper dive into how enlargers form images, explore more detail.
When people ask how does an enlarger work, the clearest answer is that it projects controlled light through your negative and lens onto paper. Everything you adjust is a way to shape that light with precision and repeatability.
Types of enlargers
Condenser enlargers use hard, collimated light for snappy edges and higher perceived contrast. Diffuser enlargers spread light for smoother highlights, gentler midtones, and reduced appearance of grain and dust.
By format, you will find 35 mm, medium‑format, and large‑format machines, each with appropriate negative carriers and lens options. A solid 50 mm lens suits 35 mm film, while 75 to 105 mm lenses suit medium‑format, and longer lenses match larger negatives.
Most home darkrooms use vertical column enlargers for convenience and space. Studios and archives may use horizontal or roof‑mounted enlargers for mural‑sized prints and precise alignment over long distances.
Modern heads include LED and cold‑light systems that offer steady color, low heat, and consistent output over time. Some add digital timers and app control, letting you recall exposures and filtration at the touch of a button.
For beginners, a used 35 mm or medium‑format column enlarger with a variable contrast head is a great start. It balances cost, learning curve, and flexibility for most black‑and‑white projects.
Enlarger printing process
Begin by cleaning your negative with air and a soft brush, then mount it emulsion‑down in the carrier. Ensure the frame sits square so your crop holds steady during exposure.
Set the initial magnification by raising or lowering the head, and place your paper on the easel to preview borders. Focus wide open using a grain focuser, and lock everything when the grain looks crisp.
Select a starting aperture two stops down from wide open, and choose an initial contrast filter, often grade 2 for a balanced look. If you use tungsten or halogen, let the lamp warm for a minute to stabilize output.
Do a test strip by exposing one sheet in sections at increasing times, keeping all other settings fixed. Read the strip under white light after processing, and pick the first time where important midtones look right.
Make the full exposure on a fresh sheet, and dodge or burn with simple tools to refine local tones. This is where you sculpt light, shaping faces, skies, and shadows to match your vision.
Process the print through developer, stop bath, fixer, then wash thoroughly and dry flat, following the paper maker’s times. Consistency matters, so write down exposure, filter, and aperture for each final print.
Troubleshooting is direct once you know the signs. Uneven illumination suggests a dirty condenser or misaligned head, soft prints call for better focus or a smaller aperture, low contrast needs a higher grade, and dust marks tell you to clean carriers and negatives.
Safety is simple: wear gloves and eye protection, ventilate the room, keep chemicals labeled, and mind hot bulbs when changing lamps. Clean the reflector and glass regularly, replace aging bulbs before they drift, and keep the rack‑and‑pinion smooth with light lubrication.
If you are still wondering what is an enlarger in photography in practical terms, it is the disciplined dance of light, filtration, timing, and craft. For helpful background and workflow basics, see workflow basics, then put those ideas into practice with a few careful test strips.
Starter settings to try include focusing at full aperture, then exposing two stops down, with a mid‑grade filter and five to ten second test increments. A step wedge or a notebook of test prints will help you calibrate your room and reach consistent, beautiful enlargements.
What People Ask Most
What is an enlarger in photography?
An enlarger is a darkroom device that projects a film negative onto light-sensitive paper so you can make larger photographic prints.
How does an enlarger help make prints?
It shines light through your negative and focuses the image onto paper, letting you control the print size and exposure.
Do I need a darkroom to use an enlarger?
Yes, you need a light-safe space and photo paper to expose and develop prints with an enlarger.
Can I use an enlarger with different negative sizes?
Most enlargers accept various negative sizes and let you change magnification to make bigger or smaller prints.
Is an enlarger useful for digital photographers?
Some digital photographers use enlargers for film work or special analog-style prints, but most digital images are printed on inkjet printers.
What common mistakes should beginners avoid when using an enlarger?
Beginners often overexpose or underexpose prints, skip test strips, or forget to keep the negative and lens clean.
Can I control contrast and size with an enlarger?
Yes, you can adjust exposure time, aperture, filters, and lens magnification to change contrast and print size.
Final Thoughts on Enlargers
If you were wondering what is an enlarger, this guide showed how that darkroom projector turns a negative into a controllable, paper print—letting you shape crop, scale, exposure, and contrast right at the enlarger, and why it’s still vital in the age of digital capture. Even a modest 270 used unit can give long-term rewards, though remember it asks for patience, chemical safety, proper ventilation, and a little practice. It’s especially rewarding for film shooters, teachers, and students, and anyone who loves hands-on tone and detail control.
We walked through the key parts, the light path, the contrast choices, and a simple test-strip workflow so you can move from question to your first successful enlargement. Common pitfalls like uneven light or soft focus are fixable once you know what to check, and the article gives that troubleshooting map. Keep experimenting in the darkroom — the skills you build will keep expanding what you can say with your images.



0 Comments