
What does a laser do to a camera? It can temporarily blind a shot or permanently damage the sensor or lens.
This article answers that question in plain, simple steps. You will learn the difference between dazzling and burns, how lasers harm sensors, which factors raise risk, common risky scenes, and easy ways to protect your gear.
Expect clear examples, signs to watch for, and a straightforward prevention checklist. Read on to spot damage early, know what to do next, and keep your camera safe.
What Happens If You Point a Laser at a Camera?
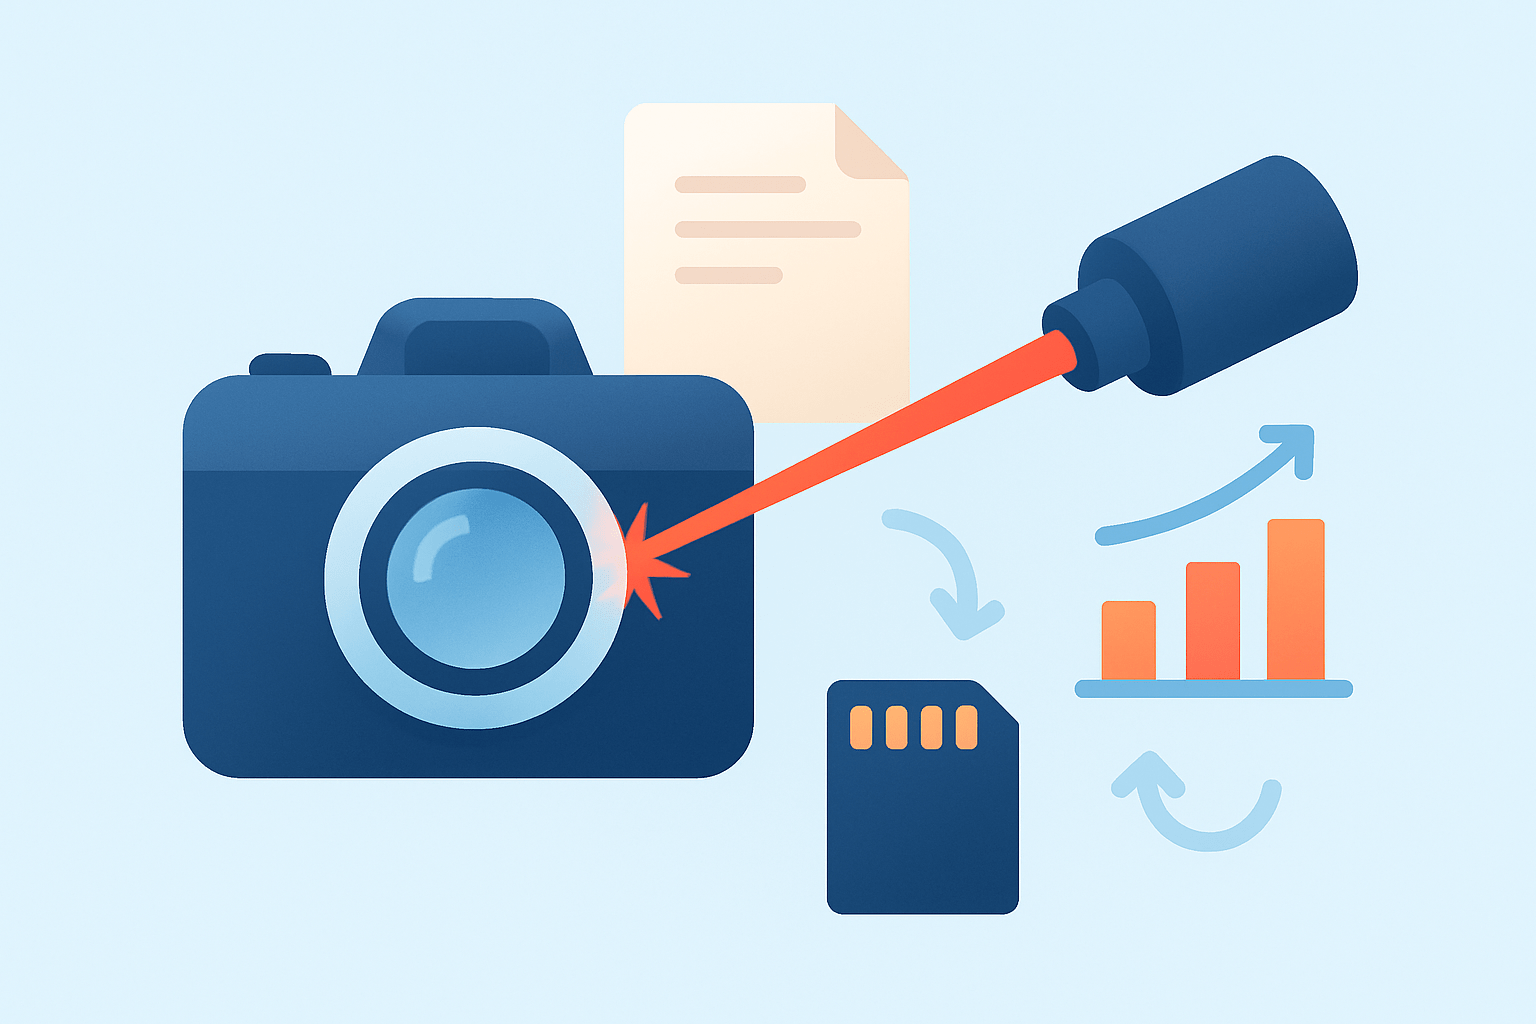
Pointing a laser at a camera can do anything from washing out a frame to permanently scarring the sensor. If you’re asking “What does a laser do to a camera?”, the blunt answer is: it can blind it briefly or wound it for good.
Temporary effects are called dazzling or sensor saturation. The frame goes white, highlights streak, and detail disappears for that exposure, but the camera returns to normal once the beam is gone.
Permanent damage shows up as dead or hot pixels, bright or dark spots, thin horizontal or vertical lines, odd color shifts, or crater-like pits in the protective glass or microlenses. These scars can appear immediately and they often stay in the same place across every shot.
Look closely at test photos and videos. A single black dot, a tiny bright pinprick, a colored smudge, or a ruler-straight line are classic warning signs, so keep a before/after image handy to compare.
Video can look worse because rolling shutters scan line by line, so a laser may paint moving bars or repeating lines. Stories of laser sensor damage include security cameras blinded by a pointer that later recorded a permanent dark spot where the beam hit.
How Lasers Can Damage Camera Sensors
Can a laser damage image sensors? Yes—lasers hurt sensors mainly through heat. That concentrated light raises temperature so fast that microlenses, color filters, or even the photodiode layer soften, bubble, or melt.
Photochemical damage is sneakier, and depends on wavelength. This is another way to answer what does a laser do to a camera: it can bleach coatings or dyes so a patch no longer responds.
Electrical overstress happens when extreme peak power injects a storm of charge and overwhelms readout circuits. Pulsed beams are notorious here because brief spikes can punch above their average power.
Coatings and optics are not safe either. Anti‑reflective layers on the front element can burn, and a focused beam through the lens can etch a tiny crater on the cover glass above the silicon.
Different sensors behave differently. CCDs and older CMOS can mark in straight lines tied to readout, while back‑illuminated CMOS tends to show crisp, colored pits; color filter arrays can leave green or magenta halos, and devices like DMD projectors or thermal imagers exhibit their own peculiar burn patterns.
Continuous‑wave beams cook by sustained heating, while ultrashort pulses can deliver enough energy per area in a blink to ablate surfaces. In both cases, the damage builds where the lens concentrates the beam onto a pinpoint.
Factors affecting laser damage: power, distance, exposure time
Risk scales first with power or energy. More milliwatts or more joules per pulse mean more trouble, and infrared wavelengths are especially deceptive because the beam can be invisible while still hammering the sensor. Color also plays a role.
Time matters too. A long stare at a modest beam, or a few high‑peak pulses, can dump more energy than you think, and a small beam diameter multiplies irradiance when the lens or telephoto zoom concentrates it to a tiny spot.
Distance helps only until optics defeat it. Divergence and the inverse‑square falloff reduce intensity in open air, but a focused lens cancels that advantage, and camera settings like aperture, shutter, ISO, or ND filters do not guard against instantaneous energy spikes.
Think in simple terms: Irradiance = Power ÷ Area. If a 100 mW beam is imaged onto a 0.2 mm‑wide spot, the area is about 0.031 mm², so the sensor sees roughly 3 W per mm², enough to scar quickly; for deeper context, see camera sensor damage notes. Avoid hard thresholds, but remember that 1–5 mW pointers usually just dazzle at distance, while ≥100 mW or pulsed systems can damage in an instant when focused.
Common Situations Where Laser Exposure May Occur
Concerts, laser shows, and nightclubs put beams and cameras in the same air. Watch scan lines and audience sweeps, keep beams out of the frame, step back or shoot off‑axis, and stop recording if a beam lingers near your lens.
At sports or protests, careless pointers can strike broadcast rigs or security cams. If you see a tight bright spot moving across frames, angle the camera, move position, or shield the lens; in labs or factories, cap the lens when not shooting and keep imaging gear outside designated beam paths.
Vandals sometimes target CCTV to hide activity, and cross‑illumination can also occur with automotive lidar and active sensors. Look for repeating bars or a persistent spot, and act fast; many reports and experiments show how quickly damage can occur.
Preventing Laser Damage to Your Camera
Prevention starts with discipline. Never aim a laser at any camera or person, avoid framing direct beams, use a sacrificial protective filter, and remember that neutral‑density alone may not stop a focused laser; use OD‑rated glass and follow laser safety tips.
At events, talk with the laser operator about beam paths and safe zones, keep a hood on the lens, cap it between takes, and place security cameras high, shielded, or redundant to reduce line‑of‑fire. Carry backups and spare protective glass, and relocate fast if you notice risky scanning.
If you suspect damage, document a test chart, stop using the camera, and contact the manufacturer; then check your warranty or insurance. Standards like IEC and ANSI exist for a reason, so don’t test this at home; knowing what does a laser do to a camera, pack an OD‑rated filter, extra cap, remote trigger, tripod, and a backup body when lasers may appear.
What People Ask Most
What does a laser do to a camera?
A laser can create bright spots, streaks, or glare in images and, if very powerful and aimed directly, can permanently damage the camera’s sensor.
Can a laser permanently damage my camera?
Yes, a high‑power laser pointed straight at a camera can burn or ruin the sensor and other optics, especially at close range.
Will pointing a laser at a camera ruin my photos?
Yes, even a low‑power laser can wash out frames, create flares, or confuse exposure and focus, ruining affected shots.
Can lasers mess up autofocus or exposure settings?
Yes, bright laser light can confuse a camera’s autofocus and autoexposure systems, causing missed focus or incorrect brightness.
Are small laser pointers harmless to cameras?
Not always; small pointers usually won’t cause permanent damage from far away, but they can still spoil images and pose eye safety risks.
Is it illegal or unsafe to shine lasers at cameras or people?
Often yes—shining lasers can be illegal or considered harassment and is dangerous because it can harm people’s eyes and impair equipment.
How can I protect my camera from laser damage?
Keep lasers away from cameras, use physical barriers or different angles, and avoid shooting into scenes where someone might point a laser at your gear.
Final Thoughts on Protecting Cameras from Lasers
If you remember the opening question — “What does a laser do to a camera?” — this guide answered it with plain examples, showing everything from momentary dazzle to crater-like sensor burns, and even used a simple 270 reference to underline how detail matters. You now know how lasers interact with optics and sensors, how to spot damage, and practical steps to avoid it. Remember, protective filters and camera settings can lower the chance of harm but won’t guarantee safety against a focused, high-power beam.
Photographers, videographers, event techs, and security operators will benefit most because the piece blends real-world scenarios with hands-on prevention and repair steps. We explained the why — photothermal, photochemical, and electrical effects — plus the key variables like power, distance, and focus so you can judge risk on location. That’s how the opening hook turned into a useful playbook rather than a scary unknown.
Keep a sacrificial filter, angle the camera away from beam paths, and bring backup gear for high-risk shoots. Stay curious and cautious, and you’ll be ready for the next challenging light.


0 Comments