
Want camera lens numbers explained so you can read any lens at a glance?
This guide decodes the common markings you’ll see on a barrel: focal length (mm), aperture (f‑numbers), magnification (1:1), filter thread (Ø mm), minimum focus distance, model codes and maker abbreviations.
You’ll get a real decoded example (EF 24–70mm f/2.8L II USM Ø77), a simple “how to read the barrel” checklist, and clear photos that show focal length and aperture differences.
Short, practical and image‑rich — perfect for beginners and hobbyists. Scroll down to learn what each number means and how it affects your shots and buying choices.
Understanding Camera Lenses (Numbers, Letters & Symbols Explained)
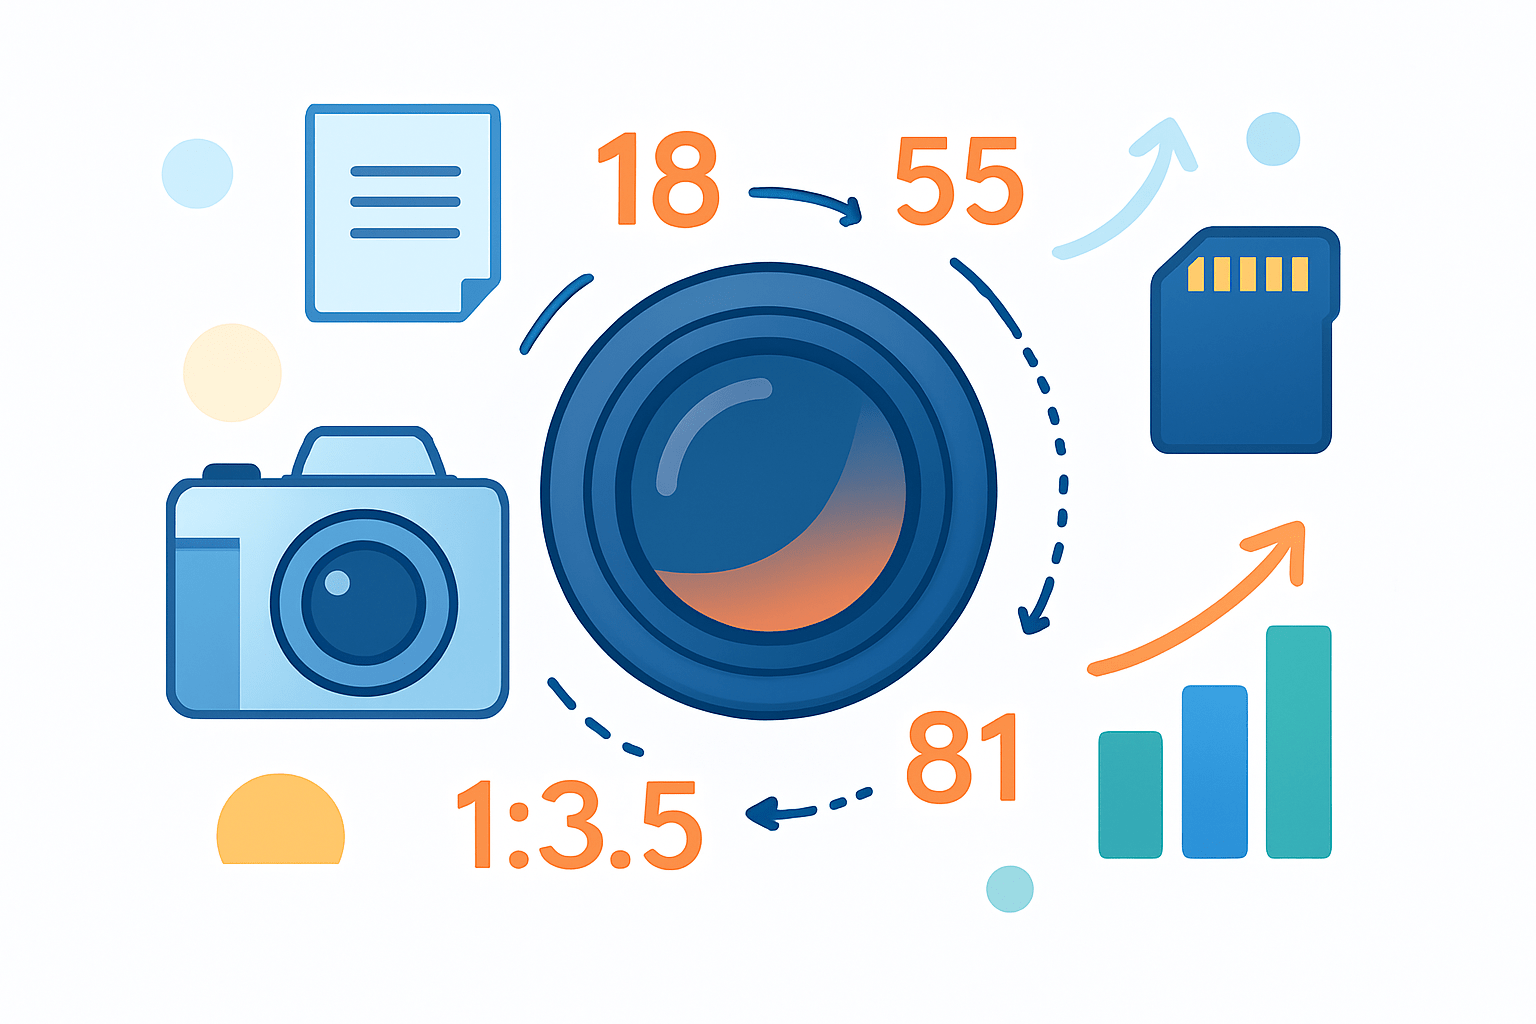
If you want camera lens numbers explained in plain language, start with this idea: every number and letter on the barrel tells you what the lens can see, how much light it can take in, and how it behaves. Read the markings and you’ll know the view, the brightness, the close‑up ability, and which accessories fit.
Here are the markings you’ll meet most often and what they mean in one breath. Focal length is shown in millimeters, like 50mm or 24–70mm, describing how wide or tight the view is. Aperture is the f-number, such as f/1.8 or f/2.8–4, telling you how much light the lens can pass and how blurry the background can get.
Close‑up power is written as magnification, like 1:1 or 1:2, which tells you how big subjects can appear on the sensor. Filter size is the Ø symbol plus a millimeter number, like Ø77, showing which filters screw on. Minimum focusing distance appears as a distance, for example 0.28m / 0.92ft, telling you the nearest point the lens can focus.
You will also see model or name codes, such as 24–70 for zoom range, and a soup of brand abbreviations. Stabilization codes include IS, VR, and OSS. Autofocus motor types include USM and AF‑S, while series badges like L, T, S, and G signal build level, optics class, or generation.
Let’s decode one label end to end because you asked for camera lens numbers explained. EF 24–70mm f/2.8L II USM Ø77 reads like this: EF is the mount, 24–70mm is the focal‑length range, and f/2.8 is the constant maximum aperture across the zoom. L marks Canon’s pro series, II is the second version, USM is the ultrasonic AF motor, and Ø77 means 77mm screw‑in filters.
Now a prime example: Nikon AF‑S 50mm f/1.8G Ø58. AF‑S is the silent wave AF motor, 50mm is a standard‑view prime, and f/1.8 is the maximum aperture for low light and blur. The G indicates a newer generation with no mechanical aperture ring, and Ø58 says it takes 58mm filters, while the side panel may show a minimum focus of 0.45m or similar.
And a popular kit zoom: Canon EF‑S 18–55mm f/3.5–5.6 IS STM Ø58. EF‑S is the mount for APS‑C bodies, 18–55mm covers wide to normal views, and f/3.5–5.6 tells you the maximum aperture shrinks as you zoom in. IS is image stabilization, STM is a smooth, quiet AF motor, and Ø58 is the filter thread size.
To read any barrel fast, check the front ring for Ø and focal length, then the side for aperture, stabilization, and AF motor codes. Expect mm for focal length, m/ft for distances, and Ø for filter size, and don’t mix up a focal‑length range with the sensor’s crop effect. For more clarity on the basics, see this handy overview of numbers on your lens and then come back to decode your own gear.
Millimeters: Focal Length Basics
Those millimeters are the focal length, and they describe how wide or tight your photo looks. A lower number gives a wider angle of view, while a higher number gives a narrower view and greater apparent magnification. Think of 16mm as a room‑filling sweep and 200mm as a tight crop of a distant subject.
On primes, you’ll see a single number like 50mm, which means that view never changes unless you move your feet. On zooms, you’ll see a range like 18–55mm, and that range tells you how wide the lens can go and how far it can zoom in. If the range is large, like 18–200mm, you have huge flexibility but often trade some optical performance.
Photographers group focal lengths into friendly bins so you can pick by subject. Ultra‑wide is under 24mm and fits landscapes, interiors, and dramatic skies in the frame. Wide is 24–35mm for travel and environmental shots, standard is 35–70mm for street and everyday scenes, short telephoto is 70–135mm for portraits, and 135–300mm and beyond is telephoto for sports and wildlife.
Because sensors come in different sizes, you’ll hear about crop factor. The simple rule is equivalent focal length equals lens focal length multiplied by the crop factor. For example, on an APS‑C camera with a 1.5× factor, a 50mm behaves like a 75mm field of view, which is great to remember when choosing a portrait lens and learning focal length.
Focal length also changes how space looks even when you frame your subject the same size. Longer lenses flatten perspective and compress the background, which is flattering for faces, while wider lenses exaggerate distances and stretch lines, which can be dynamic but unforgiving for portraits. If you want the same subject size yet a different background feel, step closer or back and pick a different millimeter.
One last pitfall is to avoid equating the number with “zoom power” alone. A 200mm lens on a small sensor might feel tighter than it does on full frame, while a 24–70mm on APS‑C isn’t truly ultra‑wide. When in doubt, picture the bins above on your own camera and note which range gives the look you love.
Aperture Explained (f-numbers)
The f-number is a ratio that describes the size of the lens opening, and the rule is simple: smaller f-number, larger aperture, more light. A big opening like f/1.8 gathers much more light than f/4, which helps in dim rooms and creates stronger background blur. A smaller opening like f/11 lets in less light but keeps more of the scene in focus.
You’ll see aperture written right after the focal length. On a prime it appears as a single value, like 50mm f/1.8, which tells you the maximum opening that lens can reach. On zooms it could be constant, such as 24–70mm f/2.8, or variable, such as 18–55mm f/3.5–5.6, where the maximum aperture gets smaller as you zoom in.
Exposure changes in “stops,” which are doubling or halving of light. Moving from f/2 to f/2.8 is one stop less light, and f/2.8 to f/4 is another stop less, while f/4 to f/2.8 adds a stop. If your shutter or ISO can’t keep up in low light, opening the aperture by a stop is often the cleanest way to brighten the shot.
Aperture also controls depth of field, or how much looks sharp from front to back. Use wide apertures like f/1.8 to isolate a subject against creamy bokeh, which is perfect for portraits. Stop down to f/8 or f/11 for landscapes and groups, where you want detail from near to far.
Fast maximum apertures make focusing easier and faster because the camera has more light to work with. Pros like constant‑aperture zooms because exposure and blur stay consistent as they reframe, which is vital in events and video. Variable‑aperture zooms are lighter and cheaper, but you’ll see your exposure shift as you zoom unless you compensate.
Cinematographers sometimes talk about T‑stops instead of f‑stops. T‑stops measure actual transmitted light after losses inside the lens, which helps match exposures across different lenses, while photographers usually stick to f‑numbers. When you weigh depth of field against view, it helps to revisit core ideas of focal length in photography, because focal length and aperture together shape the look.
Lens Diameter and Filter Size (Filter Thread Size Explained)
The Ø symbol followed by a number is your filter thread size, and it’s printed on the front or side of the lens. Ø67 means the lens accepts 67mm screw‑in filters like UV, polarizers, and ND filters, regardless of its focal length or aperture. If your filters don’t match the Ø number, they won’t screw on.
Common sizes include 52mm, 58mm, 67mm, 72mm, 77mm, and 82mm, with 77mm and 82mm often found on pro zooms. A smart move is to buy filters in a larger common size and use inexpensive step‑up rings to fit smaller lenses. Avoid step‑down rings on wide lenses because they can cause vignetting, and consider square filter systems for ultra‑wide lenses with bulbous fronts.
Don’t confuse filter size with the physical glass diameter or the lens’s maximum aperture. A lens can have a large Ø thread yet be relatively slow, and a fast prime might take small filters. The Ø number is a threading standard only, not a performance rating.
When shopping, match the Ø number on your lens, think ahead about a kit‑wide filter plan, and keep the lens hood handy to prevent flare. If you switch to step‑up rings, also check that your hood or cap solution still works, and watch for added thickness that might vignette on very wide angles.
What Does 1: Mean on Your Lens? (Magnification, Minimum Focusing Distance & Macro Numbers)
The 1: notation usually refers to magnification for close‑up and macro. A ratio of 1:1 means life‑size on the sensor, so a 10mm object projects as 10mm on the sensor, while 1:2 is half life‑size and 2:1 is twice life‑size. With 1:1 you can fill the frame with a postage stamp, whereas 1:2 is better for flowers and small gadgets.
There’s a second, older use of 1: that shows up on vintage lenses, like 1:2.8, which is just another way to write f/2.8. It is not a magnification number in that context, so always read the full label to decide which meaning applies. If the number sits next to the focal length, it’s aperture; if it’s near close‑focus marks, it’s magnification.
Minimum focusing distance, often shown as something like 0.28m / 0.92ft, tells you how close the lens can focus measured from the sensor plane. Working distance is the space from the front of the lens to your subject, which is always shorter and is what matters for lighting and not scaring bugs. True macro lenses often balance a high magnification with a comfortable working distance so you can add light.
If you care about macro, look for 1:1 and check the minimum focusing distance because the two numbers shape composition and brightness. Short MFDs can make it hard to light the subject, so try a small flash or a ring light, or angle the lens to avoid shade. If your lens doesn’t reach 1:1, extension tubes or high‑quality close‑up lenses can push it further without breaking the bank.
To test at home, lay a small ruler flat, set the lens to its closest focus, and move until the numbers are sharp. If the sensor width equals the width of what fills your frame, you’re at roughly 1:1; if twice as wide is needed, you’re near 1:2. With that, you’ve got camera lens numbers explained not just in theory, but in practice you can try today.
What People Ask Most
What do camera lens numbers mean?
Camera lens numbers explained simply show focal length and aperture. They affect how much of a scene you capture and how much light the lens lets in.
How do lens numbers affect my photos?
They change the field of view and how much background blur you can get. That helps decide if a shot looks wide and immersive or tight and focused.
Why does aperture appear as a number and why does it matter?
The aperture number indicates how much light the lens lets in and how shallow the background can be. A smaller aperture number gives more background blur and better low-light performance.
Do I need to learn all the camera lens numbers to take good photos?
No, start with a few key numbers and practice with one or two lenses. Learning what those numbers do is more useful than memorizing them all.
Can lens numbers tell me which lens is best for portraits or landscapes?
Yes, they hint at field of view and background blur, which help choose the right style. Use wider numbers for landscapes and lenses that produce smooth blur for portraits.
What are common mistakes beginners make with lens numbers?
Beginners often assume a single number makes a lens “better” instead of matching it to the shot. Another mistake is ignoring how numbers affect composition and light.
How can I use camera lens numbers explained to improve my shooting?
Check the lens numbers to pick the right tool for the scene—wide for big scenes and lenses that let in more light for low light or soft backgrounds. Practice switching lenses or settings to see the difference.
Final Thoughts on Camera Lenses
What once looked like a jumble of marks now reads as practical info — focal length, aperture, magnification and filter size tell you what a lens will do and how it’ll behave. Whether you’re choosing a 50mm or a long tele like 270, you can shop and shoot with more confidence. Those markings now point you quickly toward framing, depth of field choices and the filters you’ll need.
One realistic caution: numbers don’t tell the whole story — sharpness, distortion and autofocus still vary, and crop factor or shooting distance will change how a focal length actually feels. This guide helps beginners and hobbyists most, plus travelers and portrait shooters who want quick, practical rules. It’s also handy when you need fast gear choices on trips or client shoots.
You asked for camera lens numbers explained, and we answered by decoding barrel markings, walking through focal-length categories, clarifying f-numbers and filter threads, and demystifying the 1: ratios so you can read a lens at a glance. Now when you see a barrel, those symbols will point you toward the shot you want — your best shots are ahead.


0 Comments