
What is a solar filter and can it really make the Sun safe to look at?
A solar filter is a device that reduces sunlight to safe levels and blocks harmful UV and IR. Good filters cut most visible light and can block about 99.999% of sunlight so you can view or photograph the Sun safely.
This guide answers what is a solar filter in plain language and then covers the main types, common materials, and how each is used. You will also learn how to choose the right filter for telescopes, binoculars and cameras, and which specs and certifications to check.
Safety comes first, so only use certified solar filters and never substitute sunglasses or improvised covers. We finish with practical camera settings, mounting tips, maintenance advice, and a clear safety checklist so you can observe or shoot the Sun with confidence.
What is a solar filter?
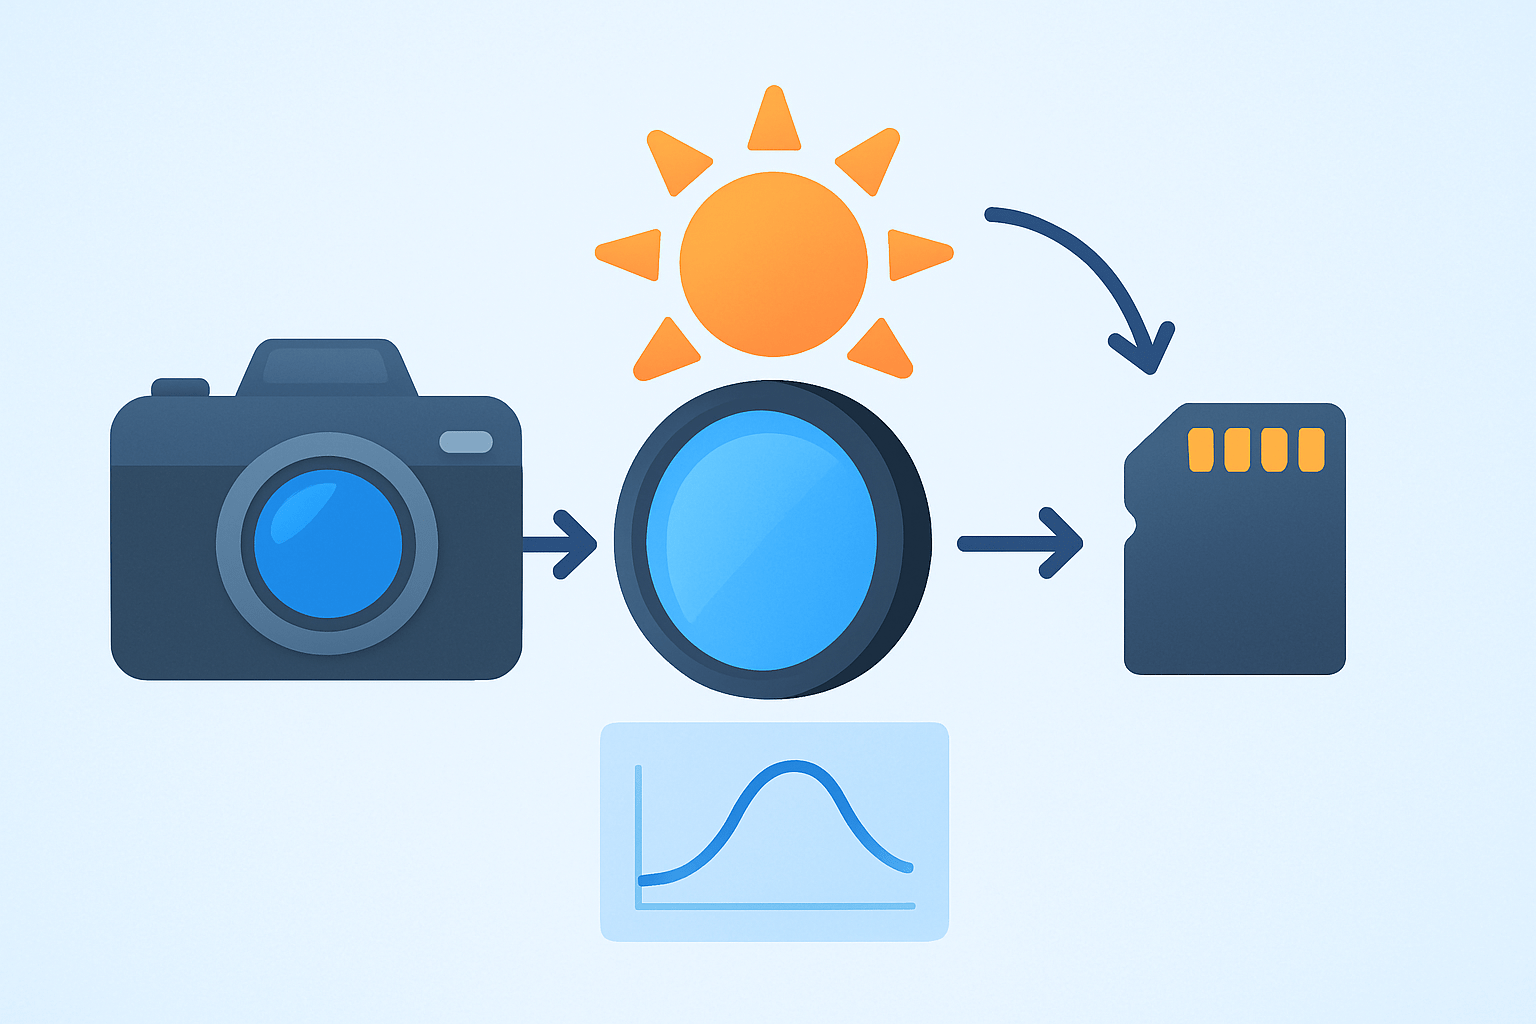
A solar filter is a device that reduces sunlight to safe levels and blocks harmful ultraviolet and infrared radiation so you can view or photograph the Sun. If you have ever wondered what is a solar filter, think of it as heavy-duty sunglasses made for optics, not eyes. It is engineered to turn a dangerous light source into a controlled one.
In simple terms, the filter cuts the visible light to a tiny fraction and stops most UV and IR that can still harm your eyes and sensors. A typical safe white‑light solar filter has an optical density around 5, which means a transmission of about 10^-5, or roughly 0.001%. That is another way of saying it blocks about 99.999% of sunlight, and you should always confirm exact numbers on the manufacturer’s spec sheet.
People use solar filters for visual observing through telescopes and binoculars, for safe eclipse viewing, and for imaging with cameras and dedicated solar telescopes. Researchers use specialized versions to study fine solar structure and motion. The key is the same in every case: control the light before it enters your instrument.
Common materials include black polymer or astro‑solar film for affordable and lightweight safety, coated or metalized glass for higher optical quality and durability, silvered or Mylar‑type film for low cost with a color cast, and narrowband etalon systems like H‑alpha that isolate a thin slice of the spectrum to reveal the chromosphere. Each material balances cost, image quality, and toughness differently. Your choice depends on your goals and gear.
The most important safety takeaway is simple and worth repeating early: only use certified and appropriate solar filters, and never use sunglasses, smoked glass, stacked photo filters, or improvised materials. If you want a quick primer on fitting and first steps, this overview on how you use it is a helpful starting point. Your eyes and cameras are not replaceable, so treat the Sun with respect.
When someone asks what is a solar filter, the best answer is that it is your safety gate and your image quality gate at the same time. It protects your gear and your vision while allowing the Sun to become a clean subject. With the right filter, sunspots, the solar limb, and even delicate edge detail become accessible.
Types of solar filters (white‑light vs hydrogen‑alpha and materials)
There are two big families of solar filters you will hear about: white‑light and hydrogen‑alpha. White‑light filters cut the brightness across the visible spectrum, so you see the photosphere and sunspots in a neutral or near‑neutral tone. Hydrogen‑alpha filters are very narrowband around 656.3 nm and reveal prominences, filaments, and the dynamic chromosphere.
White‑light film options, often called black polymer or astro‑solar film, are popular because they are light, affordable, and easy to fit. Good film from reputable makers is safe when used correctly, though it can scratch if mishandled. Image quality is better than many people expect, especially at modest magnifications.
Metal‑coated or “solar glass” filters use a glass substrate with a deposited reflective coating, and they are prized for durability and consistent optics. They tend to produce a stable, crisp image that is well suited to both visual work and photography. The trade‑off is weight and higher cost compared to film.
Silvered or Mylar‑type films are another budget route that can work well for casual viewing and eclipse use. They can add a golden, brown, or slightly blue‑green cast depending on the brand and coating. The material can be fragile, so careful handling and storage matter.
Mounting methods vary by instrument and preference. Thread‑on filters screw into the front threads of camera lenses and offer a secure, repeatable fit. Full‑aperture sheets or framed filters cap the front of telescopes, binoculars, and spotting scopes, which is the safest place to stop the light, and you can explore more about solar filters if you want a deeper dive into options and use cases.
Hydrogen‑alpha (H‑alpha) filters are a different category entirely because they isolate a narrow slice of red light with an etalon. This narrow passband reveals dramatic prominences arching off the limb and mottled surface structure you will never see in white‑light. These systems are more expensive because the etalon must be precisely made and often tuned or even double‑stacked to tighten the bandpass.
You can buy dedicated H‑alpha solar telescopes where the filter system is built into the instrument, or get front‑mounted etalon modules that fit over an existing telescope. Some designs place the etalon internally with energy rejection ahead of it, which keeps the system safe. For H‑alpha you will choose based on aperture, bandpass width, and tuning method, not just the price tag.
If you want a simple comparison in words, choose white‑light for eclipses, casual visual sessions, and sharp photos of sunspots and the bright solar limb. Choose H‑alpha when your target is prominences, filaments, and active regions dancing over time. A good white‑light filter looks neutral or white, some films add golden or greenish tints, and H‑alpha shows the Sun in deep red.
Selecting the right solar filter (for telescopes, binoculars & cameras)
Start with your purpose and you will narrow your options quickly. If you want to look safely and enjoy an eclipse or check sunspots, a white‑light film or glass filter is the easy choice. If your aim is high‑resolution solar observing of the chromosphere, then you are shopping for an H‑alpha system rather than a simple neutral filter.
Next, consider your optic and its size. For telescopes, the safest and most universal approach is a full‑aperture front filter that covers the objective, no matter whether it is a refractor, reflector, or compound design. Eyepiece‑mounted filters are generally unsafe, and a Herschel wedge is a special case that is only appropriate with refractors because of how it manages heat.
For cameras and lenses, use a professionally made front‑of‑lens filter that matches the diameter of your lens. A secure thread‑on filter or a snug, purpose‑made cap‑style filter is better than a loose sheet taped to a hood. Step‑up rings can help you fit one filter to several lenses, but always check for vignetting and keep the fit tight.
For binoculars, buy matched front objective filters or clamp‑on filters designed for your model. Never try to hold eclipse glasses over the eyepieces, because the magnified sunlight can burn through thin plastic or paper. Both barrels need their own front filters so the light is tamed before it enters the instrument.
Check the specifications with care before you buy. For white‑light viewing and photography, look for optical density around 5 and clear data on UV and IR blocking across the spectrum. Confirm the aperture and mounting method, assess how sturdy the frame is, and read the warranty and return policy so you know the maker stands behind their product.
Certification can be confusing, so it helps to separate categories. Eclipse viewers and handheld solar viewers should comply with ISO 12312‑2, while telescope and camera filters should come with detailed manufacturer test data on transmission and blocking. Ask for a spec sheet and do not proceed if the seller cannot provide one.
If you are comparing prices, film is the budget‑friendly start, glass sits in the middle to high tier, and H‑alpha systems are a serious investment. The extra cost buys optical quality, mechanical durability, tighter tolerances, and in the case of H‑alpha, the etalon technology that makes the view possible. Reputable astronomy brands such as Baader Planetarium, Thousand Oaks Optical, Coronado, and DayStar are common choices to research, and independent reviews are useful cross‑checks.
How to use a solar filter safely (step‑by‑step and warnings)
Safety is not a suggestion with solar work, so make it part of your routine from the start. Camera makers and astronomy educators stress the same message because the risks are real, and this reminder about being safe is worth reading. Build good habits before the Sun is in your viewfinder or eyepiece.
Step 1 is inspection. Hold the filter up to a bright light and look for pinholes, scratches, delamination, or loose frames, then rotate it slowly to check the whole surface. If anything looks damaged, retire the filter and do not try to patch it.
Step 2 is mounting. Fit the filter to the front of the lens or telescope and make sure it sits square and cannot wiggle off when you nudge it. Use the provided clamps, compression rings, or screws as designed, and test the fit indoors first.
Step 3 is securing. Add a strap, a tether, or secondary restraint if the design allows, especially for windy conditions or public events. The goal is to eliminate the chance of a surprise slip at the worst moment.
Step 4 is camera setup. Put the camera on a tripod, use live view to frame and focus, and avoid the optical viewfinder unless your camera and lens are behind the filter. A remote release or self‑timer will keep vibration down and protect your eyes.
Step 5 is telescope and binocular use. Never place eclipse glasses at the eyepiece, and do not use an eyepiece solar filter unless it is part of an approved system designed for that location. Full‑aperture front protection is the rule, and keep children supervised at all times.
During an eclipse, the filter stays on during every partial phase, before and after totality. Only if you are within the path of totality and the Sun is fully covered can you remove the filter briefly for a safe naked‑eye view or unfiltered imaging. The instant the first bead of sunlight returns, re‑apply the filter and verify the fit.
Run a mental safety checklist each session and make it a habit. Confirm the certification or trusted specs, check for damage, verify that the mount is fixed, and reject substitutes like sunglasses or stacked photo ND filters. Avoid eyepiece filters unless they are explicitly engineered for solar use, and never leave curious hands near an unfiltered telescope in daylight.
Debunk the myths before they catch you. Glancing “just for a second” at the Sun is not a valid test of a filter, because damage can be quick and painless. Stacking cheap filters or using smoked glass does not block IR and UV properly, and a proper solar filter is not optional gear when you point optics at the Sun.
Practical tips for photographers and amateur astronomers (settings, maintenance, and quick wins)
For white‑light photography, a simple starting point is ISO 100 to 200, shutter between 1/500 and 1/2000, and around f/8 on a telephoto or small refractor. Every filter has slightly different transmission, so bracket exposures and shoot RAW to protect highlights. Review histograms and adjust until the solar disk shows detail without clipping.
H‑alpha imaging often needs longer exposures and sometimes higher ISO, depending on bandpass and tuning. Many imagers record short video clips and stack the best frames to beat seeing and reveal fine detail. Try short bursts and let the atmosphere settle between sequences.
Use manual focus and magnified live view to nail the limb and sunspot edges. A remote release, electronic shutter, or mirror lock will keep vibrations in check. If the wind picks up, lower your profile, use a weight on the tripod, and keep your filter tethered.
Adopt a simple workflow that rewards good habits. Shoot a range of exposures, consider stacking to sharpen, and use gentle contrast and clarity to reveal sunspots and limb darkening without overdoing it. Flats can help if dust on the filter shows up in your images.
Think about mechanics as much as exposure. Long dew caps or simple baffles can block stray light and protect the filter edge, and a small strap or tape tab adds cheap insurance against blow‑off. If your mount struggles, shrink the sail area or move to a shorter lens.
Care for the filter the way the maker recommends. Clean only with approved methods, store film flat or gently rolled per guidance, and keep it out of heat and pressure that could crease or delaminate it. Replace film that looks scuffed or aged, and retire glass with coating damage.
Before buying, ask for optical density and UV/IR data, read the warranty, and check return terms in case the fit is wrong. Be wary of vague specs, no test data, or “cheap eclipse kits” with no certification, because your safety depends on real numbers. With this knowledge, you can answer what is a solar filter with confidence and use one to make beautiful, safe solar views and images.
What People Ask Most
What is a solar filter?
A solar filter is a protective cover that blocks most of the sun’s light so you can safely view or photograph the sun.
Why do I need a solar filter to look at the sun?
Without one, direct sunlight can permanently damage your eyes and camera sensors, so a filter protects them.
Can I use a solar filter on a camera or telescope?
Yes, solar filters attach to lenses or telescope apertures to let you safely image and observe the sun.
Is it safe to use sunglasses or regular ND filters instead of a solar filter?
No, sunglasses and regular neutral density filters do not block enough harmful light and can still cause serious eye or sensor damage.
Can I make a homemade solar filter?
Homemade filters are risky and often unsafe; use only professionally made or certified solar filters labeled for solar viewing.
How do I know a solar filter fits my equipment?
A proper filter should cover the front of your lens or telescope snugly without gaps and be designed for that type of device.
Do I still need a solar filter during a solar eclipse?
Yes, use a solar filter during all partial phases and annular eclipses; only during totality in the path of totality can the filter be removed briefly.
Final Thoughts on Solar Filters
If you remember the opening question—what is a solar filter?—the quick answer is it’s a device that tames the Sun so you can view or photograph it without risk, protecting eyes and gear while revealing solar detail. Some product names even include numbers like 270, so don’t be surprised if you see that in specs. A good filter gives safe, clear light and makes observing practical rather than perilous.
Across the guide we unpacked how they work, the difference between white‑light and H‑alpha systems, and how to pick the right one for your telescope, binoculars, or camera. The biggest benefit is clear: they let you study sunspots, limb detail and prominences legally and repeatedly—just be realistic about one thing: verify ISO or manufacturer test data and never improvise with sunglasses or scratched film. This info is aimed squarely at photographers and amateur astronomers who want safe, repeatable solar observing.
Follow the safe‑use steps and maintenance tips we covered, and you’ll get good results without gambling with your eyesight or equipment. Enjoy the view—there’s a whole Sun of detail waiting and you’ll be ready to catch it safely.


0 Comments