Ever wanted to freeze the moon’s brief kiss of the sun in a single frame?
Capturing a solar eclipse is a rare mix of timing, gear, and nerve. The payoff can be breathtaking—if you protect your equipment and your eyes.
But the sun is unforgiving. Without a proper solar filter you risk sensor damage and serious eye injury.
A certified lens filter both shields and shapes the image, letting you reveal delicate solar detail without frying your gear. Choices affect sharpness, contrast, color, handling, and how easy the filter is to mount.
This guide breaks down the five best lens filters to consider for eclipse photography, plus clear safety advice, a practical packing checklist, and concise answers to common questions. No jargon, no fluff—just what you need to shoot confidently on eclipse day.

Celestron EclipSmart Solar Eclipse Telescope and Camera Filter (for telescopes, spotting scopes, DSLR)
1. Baader AstroSolar Safety Film Solar Filter

Baader Planetarium AstroSolar BDSF 3.8 140mm Solar Filter
High-contrast precision film for safe telescopic Sun viewing, fitting 140mm apertures and delivering sharp, low-reflection solar detail.
Check PriceAs a photographer who chases eclipse detail, I reach for the Baader AstroSolar safety film when I want the absolute best solar image quality. It’s widely regarded as the gold standard for optical clarity and solar image sharpness, delivering crisp, high-contrast results that reveal limb detail and sunspots clearly.
In practice the film produces sharp, high-contrast solar images with a true-to-life orange-yellow color that requires little color correction. That accurate color reproduction makes composing and exposing solar-disk shots more predictable, especially when you want natural-looking results straight out of camera.
The film arrives flat and is lightweight, so you can cut it to whatever size your custom holder requires. Expect to use a custom or third-party filter holder — the film is not supplied as a screw-in ring — so this is best if you’re comfortable doing a bit of prep work before eclipse day.
Handled correctly, the Baader film is durable and easy to use and is trusted by many solar photographers for consistent performance. Be mindful that the material is delicate and can scratch if mishandled, so keep it protected when cutting, mounting, and storing.
If you’re an experienced photographer who values supreme optical quality and don’t mind making a custom mount, this film will reward you with superior clarity and excellent color accuracy. For anyone wanting a ready-to-screw filter or a completely hands-off solution, this might require more effort than you prefer.
- Superior image clarity and contrast
- Excellent color accuracy (true-to-life orange-yellow)
- Lightweight and easily cut to custom sizes
- Trusted brand among solar photographers
- Requires careful, secure mounting (not screw-in)
- Delicate film — can scratch if mishandled
2. Thousand Oaks Optical SolarLite Glass Filter

SolarLite Solar Filter fits ETX90, C-90, Questar 3.5, Wm. Optics ZS80II ED, Orion OBS-70, AstroView 90, Explorer 90
Universal, easy-install solar accessory for small refractors and spotting scopes; ensures safe, clear views with minimal color cast.
Check PriceThe Thousand Oaks Optical SolarLite Glass Filter is a durable glass option sold in sheets or pre-cut sizes so you can build a custom filter for your lens or scope. As a photographer who travels light but values repeatable results, I appreciate that glass is far less prone to scratches than film and feels more robust in the field.
In practice the SolarLite glass gives clean, safe viewing and is easy to use once securely mounted. It fits both lenses and telescopes and can be cut to size, which makes it flexible for different front-element diameters and custom filter holders.
Two caveats worth noting: some users report a slight blue tint in the captured images, so expect to apply a modest color-cast correction in post. Also, this filter is not safe for direct viewing through an optical viewfinder—you should compose and focus using live view or an electronic screen to protect your eyes.
If you’re a beginner-to-intermediate solar photographer who wants a durable, reusable filter and is comfortable doing a little post-processing, the SolarLite is a practical, affordable choice. The glass surface is easy to clean and handle, and the cut-to-fit flexibility means you can adapt it to a range of lenses without buying multiple screw-in sizes.
- Very durable and scratch-resistant
- Glass surface easier to clean and handle
- Cut-to-fit flexibility for custom sizes
- Affordable with well-documented safe use
- Not safe for optical viewfinder use
- Slight blue color cast needs correction
3. K&F Concept 20-Stop Solar ND Filter

K&F Concept 62mm ND1000000 (20-stop) Neutral Density Lens Filter K-Series
Ultra-dense 20-stop glass for dramatic long exposures; enables creative motion blur and extended daytime or astrophotography on 62mm threads.
Check PriceThe K&F Concept 20-Stop ND Solar Filter is a straightforward, practical choice when you need reliable protection and flexibility for solar imaging. It’s offered in both solar film and glass versions and provides a full 20-stop reduction in sunlight, which is what you want to protect your sensor and get usable exposures of the solar disk.
Mounting is easy: these filters come in a wide range of sizes and are designed for screw-on installation, so you can fit them to many lenses without building a custom holder. That size availability makes it simple to match your lens diameter before eclipse day, which reduces last-minute stress.
Optically, the film and glass options trade places. The film version tends to deliver sharper, higher-contrast images—great if you prioritize crisp edge detail on the solar limb and prominence structure. The glass version is more durable and easier to handle in the field, though it can be slightly less sharp and is generally heavier.
For most photographers—novices and experienced alike—this filter hits a nice balance between quality and practicality. If you want the best contrast and are careful with handling, pick the film option. If you prefer robustness and easier long-term use, go with glass and accept a small hit in peak sharpness. Either way, the 20-stop reduction and screw-on convenience make it a solid, user-friendly choice for eclipse work.
- Wide size availability
- Effective 20-stop light reduction
- Film version: excellent contrast and sharpness
- Relatively lightweight and easy to handle
- Film versions can scratch or tear if mishandled
- Glass versions may be heavier and slightly less sharp
4. Marumi Solar ND Filter OD 5

Marumi 77mm ND100000 (16.5-stop) Neutral Density Filter
Premium 16.5-stop density reduces light for silky water effects and long daylight exposures while preserving true color balance.
Check PriceAs a working photographer I appreciate filters that balance build quality with predictable exposure control, and the Marumi Solar ND Filter OD 5 does exactly that. This Japanese-made premium optical filter carries an Optical Density of 5, reducing exposure by about 16.6 stops, which is plenty to protect your sensor and capture the solar disk safely.
In practical use the Marumi feels solid and delivers good optical performance; images of the sun come through with decent color reproduction and pleasing contrast. The high-quality optical glass and coatings are noticeable in the frame — you won’t see obvious softness or gross color shifts that cheaper solar films can introduce.
The main caveats are its limited size availability and the fact that its light reduction is around 16.6 stops, which is slightly less than some 20-stop options on the market. That means you must be ready to dial in exposure carefully — it’s excellent when your lens diameter matches the available sizes, but it won’t fit every setup without adapters or custom solutions.
Bottom line: if your lens matches one of Marumi’s offered sizes and you want a reliable, glass solar filter with good color and solid construction, this is a strong choice. It’s especially attractive for photographers who prioritize optical quality and don’t need the absolute deepest attenuation that 20-stop filters provide.
- Optical Density 5 (≈16.6 stops)
- Japanese-made, premium glass & coatings
- Solid build and reliable performance
- Good color reproduction
- Limited size range
- Light reduction ≈16.6 stops (not 20)
5. Celestron Fixed-Size Solar Filter 75-100mm
Celestron EclipSmart Solar Eclipse Telescope and Camera Filter (for telescopes, spotting scopes, DSLR)
Designed for eclipse imaging and observation; blocks harmful radiation while delivering crisp solar detail for cameras and opticals.
Check PriceAs a field photographer who’s chased a few eclipses, I appreciate gear that takes the guesswork out of setup. The Celestron Fixed-Size Solar Filter is a pre-assembled, five-sided box filter that clips over lenses or telescope fronts sized 75–100mm diameter, so you don’t need to cut film or build a custom holder.
What I like most is its out-of-the-box convenience. It’s built primarily for telescopes but works on camera lenses with matching diameters, making it a solid choice if your front element falls in that 75–100mm range.
In practical use the filter feels robust and safe, giving full coverage for the correct diameters and making attachment straightforward. That robustness makes it easy to attach and detach quickly during the brief and busy moments around totality, which is a huge advantage when timing is critical.
There are trade-offs to consider. The fixed size reduces versatility — it only fits 75–100mm fronts — so you’ll need the exact diameter or an alternative for other lenses. It’s also bulkier than a screw-in filter, which can affect mobility and how you pack or balance long telephoto setups.
If you own a telescope or a camera lens that matches the size range and you want a reliable, ready-to-use solution without the fuss of custom mounting, this filter is mostly a good fit. For photographers who need flexible sizing or the lightest possible kit, it may feel limiting.
- Ready-to-use assembly — no mounting or cutting required
- Fits 75–100mm diameter fronts
- Durable, safe construction with full coverage
- Easy to attach/detach during eclipse phases
- Fixed size limits compatibility
- Bulkier than screw-in filters
How to Use Solar Filters Safely
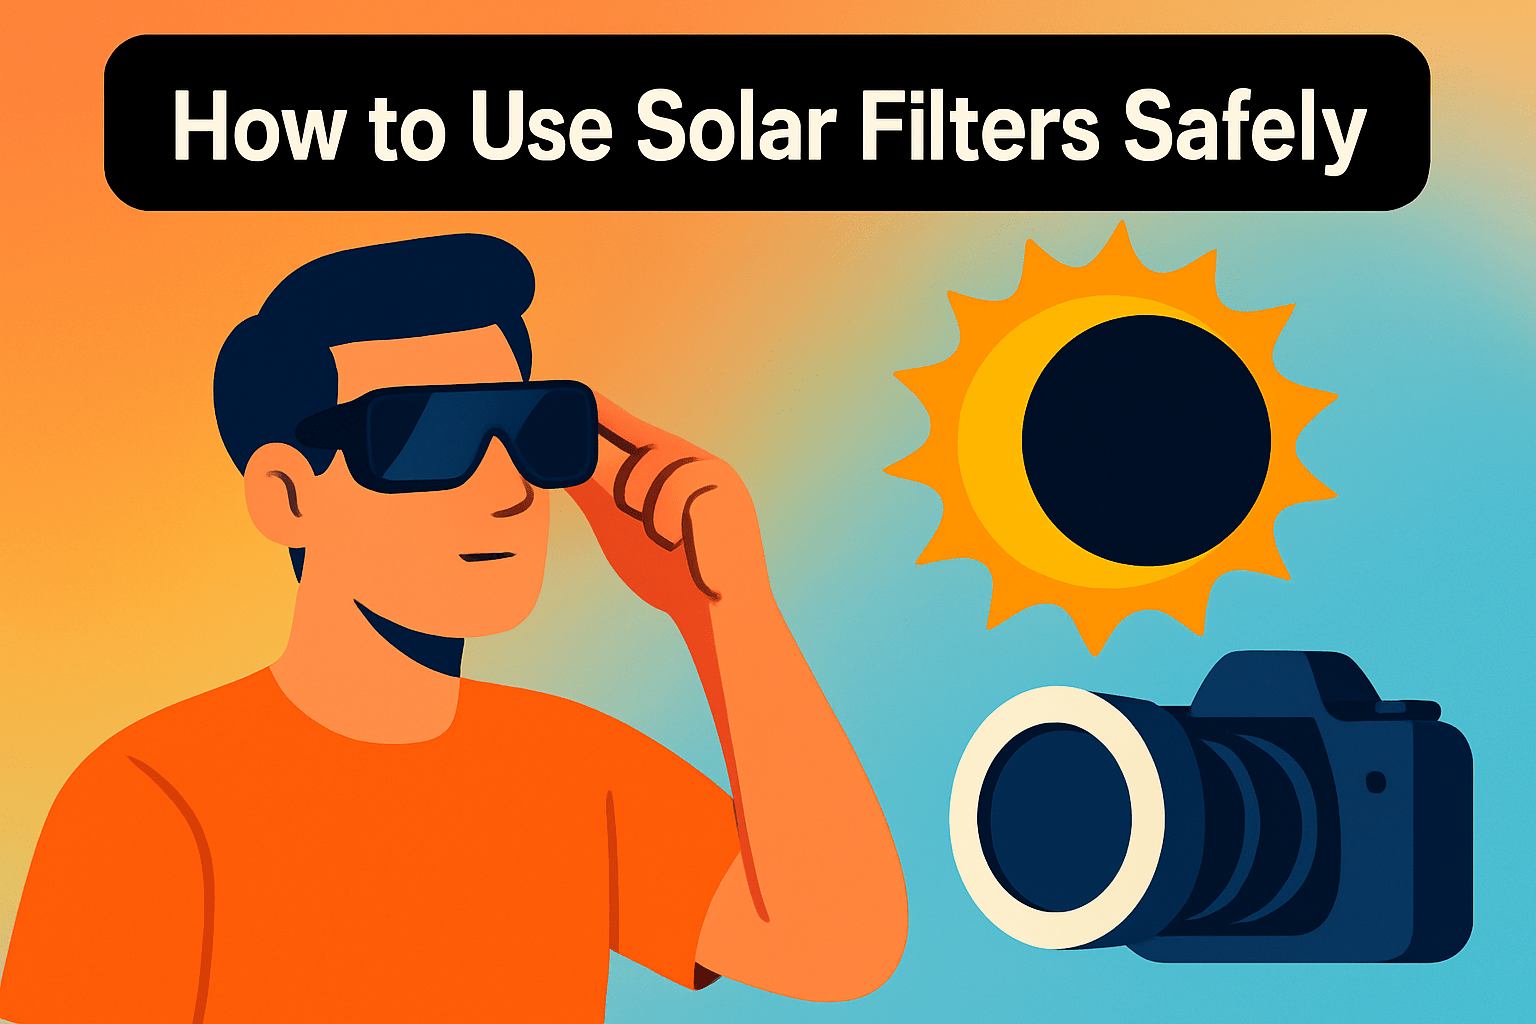
Think of a solar filter as essential safety gear. Always use a certified solar filter (ISO 12312-2) on your camera lens during all partial phases of the eclipse. These filters block harmful UV, visible, and infrared rays that can damage both your eyes and your camera sensor.
Never look at the sun directly without proper solar eclipse glasses, except during the brief totality phase of a total solar eclipse when the sun is fully covered. Even when you’re behind the camera, protect your eyes anytime the filter is off. Keep certified eclipse glasses within easy reach and use them whenever you are not viewing through the camera’s screen.
Do not look through the camera’s optical viewfinder while the solar filter is on; use live view or the LCD screen for composition and focusing. Live view keeps your eye safely away from concentrated sunlight and gives you a magnified preview for critical focus. I always lock focus using magnified live view before I start shooting.
Attach the solar filter securely to the front of your lens — not in the rear filter slot — to avoid accidental exposure of the sensor or your eye. Verify the fit before you point skyward and check again after repositioning the tripod or moving the kit. Treat the filter like a safety helmet: clipped, snug, and inspected.
Practice mounting and shooting with the filter on a clear day well before eclipse day. Test framing, focus, and common exposure values so the settings won’t surprise you when the eclipse happens. A rehearsal eliminates last-minute fumbling and keeps the shoot calm and efficient.
If you are photographing a total solar eclipse only, remember you may remove the solar filter briefly during totality to capture the corona and total phases. Time your removal carefully, shoot quickly, and immediately replace the filter the instant totality ends. If you feel uncertain at any point, put the filter back on — safety first.
What to Pack for a Solar Eclipse
Think about packing as preparing for two jobs: capturing great images and staying safe and comfortable while you do it. Arrive early, set up calmly, and treat the gear you bring as both tools and lifelines for the few minutes you’ll have to work.
Your camera body should allow full manual control—DSLR or mirrorless—and bring at least one telephoto in the 200–500mm range for solar detail. I also pack a wider lens for context shots that include landscape or crowds; switching between lenses is easier when you’ve planned frames ahead of time.
Bring a certified solar filter that matches each lens you intend to use and test the fit before eclipse day. I recommend packing a spare filter or adapter rings so you can change focal lengths without scrambling, and keep filters in a padded pouch to avoid scratches.
A solid tripod is non-negotiable: long glass needs steady support, and a quick-release head speeds lens swaps. Add an intervalometer or remote release for bracketing and time-lapses, plus a small weight or sandbag for windy conditions to keep everything rock steady.
Power and storage are easy to overlook—pack extra fully charged batteries and at least two memory cards, ideally formatted and ready to go. A portable charger or power bank can save you if your live view sessions eat batteries faster than expected.
Don’t forget safety and timing: bring eclipse glasses for when you’re not shooting and use reliable apps or printed timing sheets to know each phase. I also carry a laminated shot list so I can move methodically through exposures without thinking about the clock.
Extras make the day smoother: lens cloths, gaffer tape, zip-lock bags for gear protection, a small multi-tool, and comfortable clothing, water, and snacks. Label gear and keep adapters and spares in one pouch so swaps are quick and stress-free.
Finally, practice everything on a sunny day—mount filters, pre-focus, run through exposures and menu settings until they’re muscle memory. When the eclipse arrives you’ll be glad you rehearsed; calm, practiced moves make the difference between great frames and missed opportunities.
What People Ask Most
What is the best solar filter for camera lenses to photograph an eclipse?
The best choice is a certified solar filter that matches your lens diameter and offers good optical quality and secure mounting. Select a filter made for direct solar imaging and suited to your camera setup.
Do I need a solar filter for my camera lens to photograph a solar eclipse?
Yes, you should use a certified solar filter on your lens during all partial phases to protect your camera and eyes. Only during the brief totality of a total solar eclipse is it safe to remove the filter, and you should replace it immediately when totality ends.
Can I use a neutral density (ND) filter to photograph the sun during an eclipse?
No, standard ND filters are not designed for safe direct solar viewing and may not block harmful radiation adequately. Use a purpose-built, certified solar filter instead.
How do I attach a solar filter to my camera lens?
Attach the solar filter so it fully covers the front element with no gaps and is securely fastened. Use a properly sized screw-in filter or a robust front-mount holder and practice fitting it before eclipse day.
Are eclipse glasses the same as solar filters for camera lenses?
No, eclipse glasses are intended for direct human viewing and are not suitable to mount on camera lenses. For photography, use a certified solar filter designed to cover and protect the lens.
Do I need a solar filter for a telephoto lens or telescope during an eclipse?
Yes, telephoto lenses and telescopes require a certified solar filter during all partial phases to protect equipment and observers. Only during totality of a total eclipse may the filter be removed briefly if the sun is fully obscured.
What is the safest lens/filter combination for viewing and photographing a total solar eclipse?
Use a sturdy, well-mounted lens or telescope fitted with a certified solar filter that fully covers the front element and is securely attached. Pair that with a stable tripod and use live view to avoid looking through an optical viewfinder.
Conclusion for Solar Eclipse Lens Filters
In short, the right solar filter is the one that best balances image quality, durability, mounting method, and size compatibility with your gear and experience level.
Safety comes first: always use a certified solar filter on the lens during partial phases, practice secure mounting and operation beforehand, and only remove the filter in accordance with the rules for totality when it applies.
Spending time rehearsing your setup—tripod, composition, focus, and exposure—will reduce surprises and help you capture cleaner, more confident eclipse images.
If you’d like to deepen your shooting skills and planning, please explore more articles and resources on the site to build technique, timing, and checklist habits that improve results.
Have a question or want feedback on your planned setup or filter choice? Leave a comment below and we usually reply within a few hours.

0 Comments