You’re tired of your camera bouncing at the worst moments or hanging awkwardly at your hip. This camera strap length guide will help you pick a length that gives steadier shots, less bounce, and a faster raise to eye level. You’ll get clear advice on neck, sling, and wrist styles so your gear sits where you want it.
Many folks assume longer straps are always better, but we’ll bust that myth and point out the mistakes most people make. Photographers from beginners to pros, especially travel, event, and wildlife shooters, will get immediate, practical sizing tips they can test on the spot. Expect fewer surprises in the field, quicker raises to eye level, and steadier frames for sharper results.
You’ll learn how industry measurements are taken, which carry styles match body types, and how to pair length with width for comfort. We’ll also cover safety tips to reduce bounce, prevent fatigue, and keep heavy gear from digging in during long shoots. So keep reading because the fix is simpler than you think.
How Camera Strap Length Is Measured
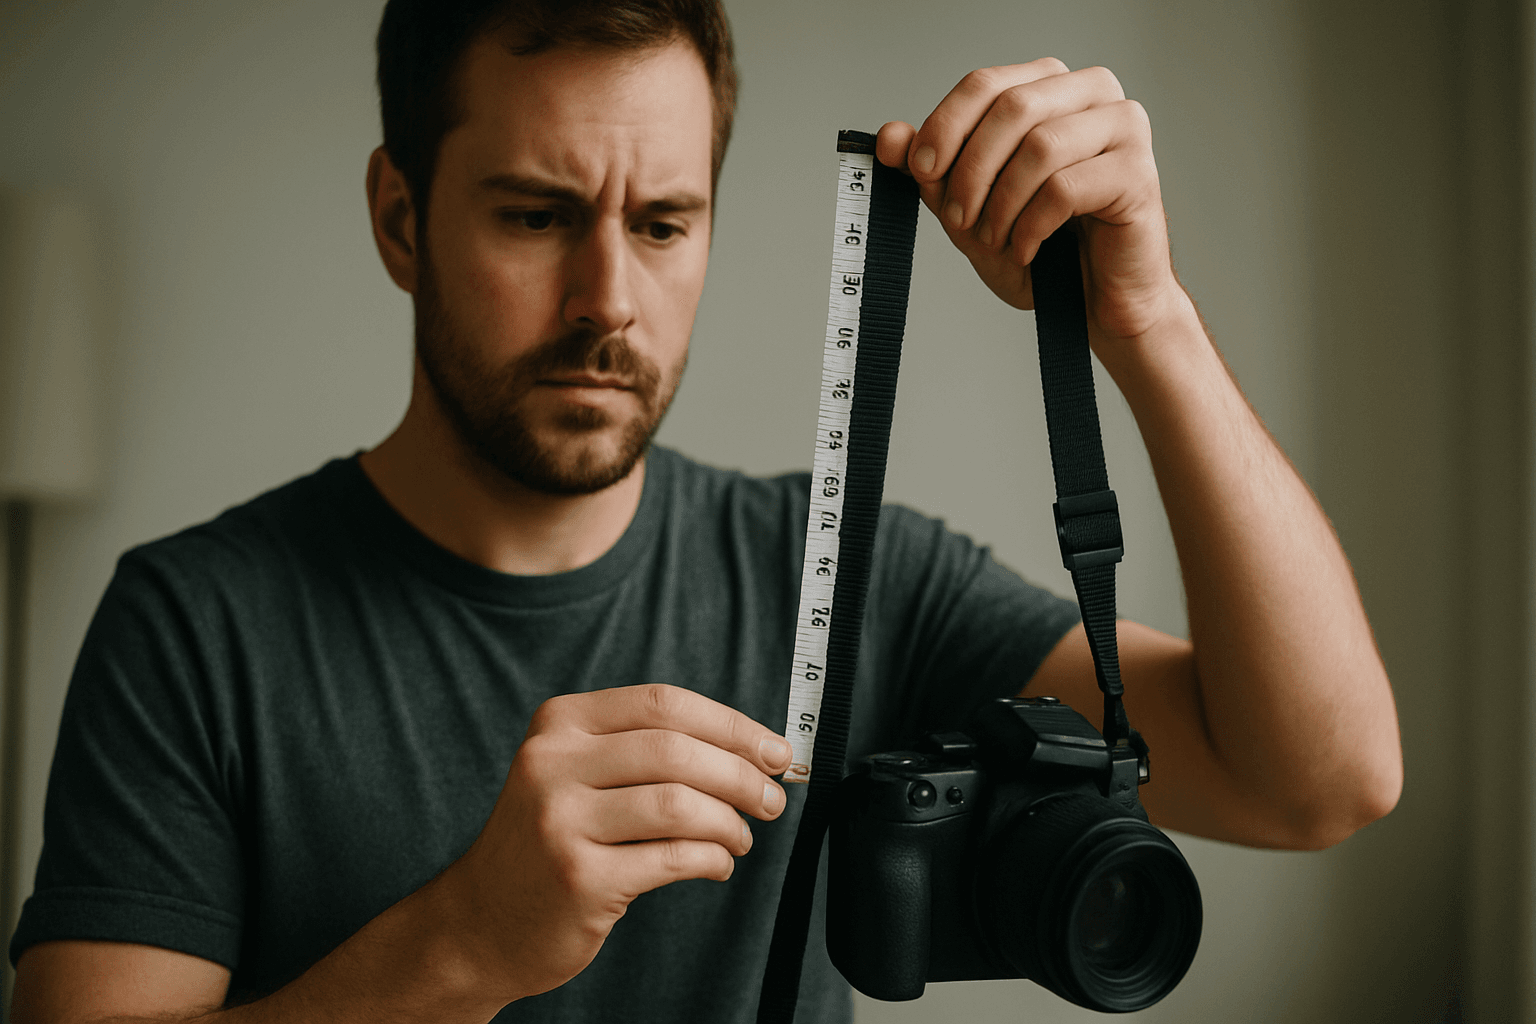
I measure strap length tip-to-tip, including the hardware that attaches to your camera. That means split rings, buckles, and clips are counted in the total. Most brands quote length this same way.
If a strap is adjustable, the range you see is the shortest and longest tip-to-tip settings. Fixed-length straps list a single tip-to-tip number. My first order failed because I measured only the leather.
When in doubt, compare your measurement to a trusted size chart. I like confirming method language in a brand’s size guide on length. This camera strap length guide uses the same industry standard.
Standard Length Ranges and What They Mean
Short straps run 20–36 in (50–91 cm). They suit wrist carries, neck-high positioning, and ultra-compact cameras. Think street shooters who keep the camera close to the chest.
Medium straps run 36–50 in (91–127 cm). They place most cameras at chest or waist on average-height users. For everyday shooting, this range balances speed and comfort.
Long straps run 50–60+ in (127–152+ cm). They’re ideal for crossbody or hip-level carry and taller photographers. If you love crossbody freedom, this camera strap length guide points you here.
How Body Size and Height Influence Ideal Strap Length
Taller photographers usually need longer straps to land the camera at the hip or belt line. Shorter photographers often find medium lengths perfect for chest or waist carry. Torso length matters more than total height.
If your camera hangs too high, you’ll hunch your shoulders when shooting. Too low, and your camera swings and bumps. I aim for the grip to sit at my dominant hand’s natural resting spot.
Layering counts. A winter coat adds bulk and effectively shortens your workable length. I keep an extra two inches in reserve for jackets and messenger bags.
Camera Weight and Strap Length/Width: Comfort & Safety
Heavy cameras compress soft tissue on your neck and shoulders. Wider straps spread that load over more area, reducing pressure. Medium-to-long lengths also let you shift weight to the shoulder or torso.
Full-frame or medium format bodies benefit from 1.5–2 inch wide straps. With long lenses, I favor crossbody carry to distribute mass diagonally. The right length keeps the camera planted near the hip.
Neck strain sneaks up after an hour. If your trap muscles ache, shorten slightly or switch to shoulder carry. The camera should lift to your eye without shrugging or stretching.
Strap Styles and Recommended Lengths Per Style
Each carry style has a sweet spot for length. I pick the style first, then dial the number. That sequence prevents buying a strap that fights your technique.
Neck carry usually fits medium lengths, while crossbody prefers long. Wrist carry lives in the short category. This camera strap length guide builds around those anchors.
When you switch styles during a shoot, adjustable models shine. I set one length for walking and another for action. A quick tweak saves my back and keeps bounce down.
Neck Straps
Neck straps excel with medium lengths, placing the camera at chest or waist for most bodies. That spot balances quick access and manageable swing. Heavier rigs can fatigue the neck quickly here.
For long days, I shorten slightly to reduce pendulum motion. If discomfort persists, I pivot to shoulder carry. A padded neck section also helps on heavy assignments.
Wrist Straps
Wrist or hand straps live in the 20–36 in short category, or even shorter specialized designs. They’re great for small mirrorless or compacts. The camera becomes an extension of your hand.
I use them for street photography with a lightweight prime. They keep the camera ready without dangling. For heavier gear, the hand tires fast and needs a break.
Shoulder Slings / Crossbody
Crossbody loves length—around 50 in (127 cm) or more for most people. The camera sits at the hip, weight draped across the torso. It’s the most stable everyday setup I use.
Adjust length so the grip lands just above the belt line. You’ll lift to eye level smoothly without hiking your shoulder. That biomechanical path saves energy over hours.
Sling/Quick-Draw Systems
Quick-draw rigs rely on adjustable medium-to-long lengths. They should raise to your eye in one fluid pull. Too long, and the camera bounces; too short, and you fight the lift.
I fine-tune in quarter-inch increments until bounce disappears. Locking sliders prevent creep during movement. Set once for action, then re-lengthen for walking comfort.
Adjustable vs Fixed-Length Straps: Pros, Cons & When to Choose Each
Adjustable straps usually cover ~30–55 in, fitting multiple body types and styles. They’re ideal for travel, layering, and shared gear. Slightly more hardware can add weight and bulk.
Fixed-length straps feel clean, quiet, and predictable. Fewer parts mean fewer snags. But you must nail your measurement up front, or the camera hangs wrong all day.
When I mentor beginners, I steer them toward adjustables first. You’ll learn your number while shooting. For further perspective, I like choosing the perfect fit as a cross-check.
Step-by-Step DIY Method to Find Your Personal Ideal Strap Length
Tie a string between your camera’s attachment points. Wear it in your preferred style—neck, shoulder, or crossbody. Load the camera you actually use, not an empty body.
Adjust the string until the camera sits where your hand naturally rests. Practice raising to your eye. You should reach without shrugging, straining, or overextending.
Mark the string, then measure tip-to-tip, including the lugs and any clip allowance. That number becomes your strap’s target length. This camera strap length guide follows the same method.
Test again while walking. If the camera bounces, shorten slightly. If it rides too high with a coat, add an inch and retest.
Safety Considerations: Reducing Bounce, Preventing Fatigue, and Best Practices
Proper length reduces swing and impact on your ribs, lens, and viewfinder. Bounce increases with longer lengths and heavier cameras. Secure the camera near your center of mass for stability.
Watch for neck fatigue during long sessions. Shift to shoulder or crossbody before pain sets in. A wider strap spreads load and delays muscle burn.
Check hardware regularly—split rings, quick-release anchors, and buckles. Micro-cracks and frayed stitching are early warnings. Replace parts before a failure costs you a lens.
Use-Case Recommendations with Example Measurements
Travel photographers often prefer 42–54 in for hands-free comfort and crossbody walking. That range keeps the camera accessible yet secure. I hike at 52 in and shorten to 48 in in crowds.
Event and wedding shooters typically work around 38–48 in. The camera rises quickly without shoulder shrugging. I settle near 42 in for a fast, quiet lift during ceremonies.
Wildlife photographers and taller users lean toward 50–60+ in, especially with crossbody. Hip-level carry tames long-lens swing. For blinds or boats, I shorten slightly to 50 in.
Commercial shooters with heavy rigs do best with medium-to-long lengths plus wide straps. Stability beats speed in studio moves. For more context, see what size strap different setups favor.
Visuals and Examples to Include
I’d add an infographic showing tip-to-tip measurement on a strap, hardware included. Side-by-side human models of different heights illustrate where the camera lands. That instantly clarifies sizing charts.
A simple chart labeled short, medium, and long anchors the ranges. Add typical carry positions beside each. It helps beginners map numbers to real posture.
Finally, I’d shoot 2–3 photos comparing neck, crossbody, and wrist carry on real photographers. Front and side views reveal camera height and angle. Viewers copy what they can see.
Expert Tips & Quick Rules of Thumb
Test strap feel with a fully loaded camera, not an empty shell. Weight changes everything. Walk, jog a few steps, and practice two rapid lifts to your eye.
Prioritize width for heavy setups; prioritize length for crossbody freedom. If you share gear, go adjustable first, fixed later. Keep your measurement taped inside your camera bag.
When uncertain, start medium, then refine. Small changes—half an inch—make a big difference. This camera strap length guide exists so you only buy once, and shoot pain-free.
What People Ask Most
How do I measure the correct camera strap length for me?
I measure tip-to-tip including any hardware (the industry standard) by tying a string between my camera’s attachment points, wearing it in my preferred carry style, adjusting until the raise-to-eye and resting position feel right, then measuring the string tip-to-tip.
What camera strap length is best for a DSLR versus a mirrorless camera?
For heavier DSLRs I usually choose medium-to-long lengths and a wider strap to spread the load, while lighter mirrorless bodies often work well with short-to-medium lengths for quick access and less bulk.
Which strap length prevents camera bounce the most?
A slightly snug medium-to-long length that lets the camera rest against your chest or hip reduces bounce most effectively, and pairing that with proper width and a secure fit helps keep the camera from swinging while you walk.
Can I use the same strap length for neck and crossbody carries?
I don’t usually use the exact same length because neck carry is typically shorter (chest/waist) and crossbody needs longer length (~50 in/127 cm+) for hip-level positioning, though an adjustable strap can be shortened or lengthened to suit both.
Does camera weight affect what length strap I should get?
Yes—heavier cameras benefit from medium-to-long straps and wider webbing to distribute weight and reduce neck or shoulder strain, while lighter setups can be shorter and narrower for comfort and mobility.
How does my height affect the ideal camera strap length?
Your height and torso length matter: taller people usually need longer straps to get the camera to waist/hip level, while average heights typically fit medium ranges for comfortable chest or waist carry.
Are adjustable camera straps better than fixed length?
I find adjustable straps more versatile because they cover a wide span of body sizes and carry styles, while fixed-length straps can be lighter and simpler if you only use one carry style or fit a single user well.
Wrapping Up: Find the Right Fit for Your Camera Carry
As the camera strap length guide showed, finding the right tip-to-tip length cuts through the guessing and gets your gear sitting where you shoot best, solving that opening frustration of a camera that bounces, hangs too low, or strains your neck. It’s most useful for travel and event shooters, taller photographers, and anyone carrying heavier bodies or sharing straps among multiple users.
Keep in mind a realistic limit: no single length is going to be perfect for every posture, camera weight, or outfit, so you’ll have to balance quick access, load distribution, and comfort when you choose. The article’s comparisons and style-specific advice make those trade-offs easier to judge, but you’ll still need some trial to dial in your personal fit.
Think of the recommendations as a framework that ends the uncertainty and lets you tailor your strap to how you actually move and work. Try the suggested ranges, listen to how your body feels with a loaded camera, and enjoy shooting with less bounce and more confidence; you’re likely to notice the difference quickly.


0 Comments