How to carry camera while hiking without missing shots or hurting your neck?
This guide shows clear, practical ways to carry your camera on any trail.
You’ll find ranked methods. They include slings, neck straps, chest harnesses, clips, packs, and hip pods with quick pros and cons.
We explain how to choose the right setup for your camera and hike. You’ll also get packing strategies, strap tips, weatherproofing checklists, sample setups for day, wildlife, and ultralight treks, and quick product picks like Peak Design, Cotton Carrier, and Capture Clip.
Carrying Methods for Your Camera
If you want a clear, simple answer to how to carry camera while hiking, start by choosing between speed and protection. Faster access usually means the camera sits on your body; more protection means it lives inside your pack. Most hikers mix both approaches across the day depending on terrain and weather.
A sling or crossbody strap is the quickest everyday option. The camera rides at your hip or ribcage, and you can raise it in one motion while your pack stays on. It shines with light mirrorless kits and short primes, and BlackRapid-style straps spread weight well, but heavy lenses can still swing and bump if you don’t keep the strap snug.
The classic neck strap is simple and familiar. It keeps the camera ready for quick shots, and it works for short breaks near the trailhead. On longer hikes the neck gets tired fast, so shift to one shoulder or shorten the strap to keep the camera high and stable when you move.
A chest harness or holster, like a Cotton Carrier, locks the camera to your sternum. This is a favorite for wildlife and fast action because there’s almost no bounce, and you can draw the camera quickly even on steep climbs. The tradeoff is front bulk and extra straps, but the security is top-notch for scrambling and snow.
Clip systems such as the Peak Design Capture Clip mount the camera to a backpack shoulder strap or hip belt. The camera clicks in solidly and stays out of the way until you tap the release and shoot. This is one of the best systems for backpacking because it’s hands-free, balanced, and fast, especially when you pair a clip with a backup wrist tether.
Backpack carry keeps the camera inside the pack or a padded pod for maximum protection. It’s slower to access, but it’s the safest choice in rough weather, brush, or when you don’t plan to shoot every minute. Use a padded cube or pod to prevent knocks, and move the camera to a clip or harness when the light turns good.
A fanny pack, hip pouch, or ultralight camera pod, like the Hyperlite pod, splits the difference. Your camera stays protected yet ready at the waist, and you can hike fast with minimal swing. Capacity is limited, so this works best with a single lens or a compact zoom for thru-hiking or high-mileage days.
The guiding rule is simple: choose the tradeoff between accessibility and protection based on your day. Best for short day hikes is a sling or strap for instant shots. Best for wildlife or quick shots is a chest harness or clip, best for wet or rough conditions is the camera inside the pack or a waterproof pod, and best for long backpacking is a clip for quick draw with the camera stored inside the pack for long stretches.
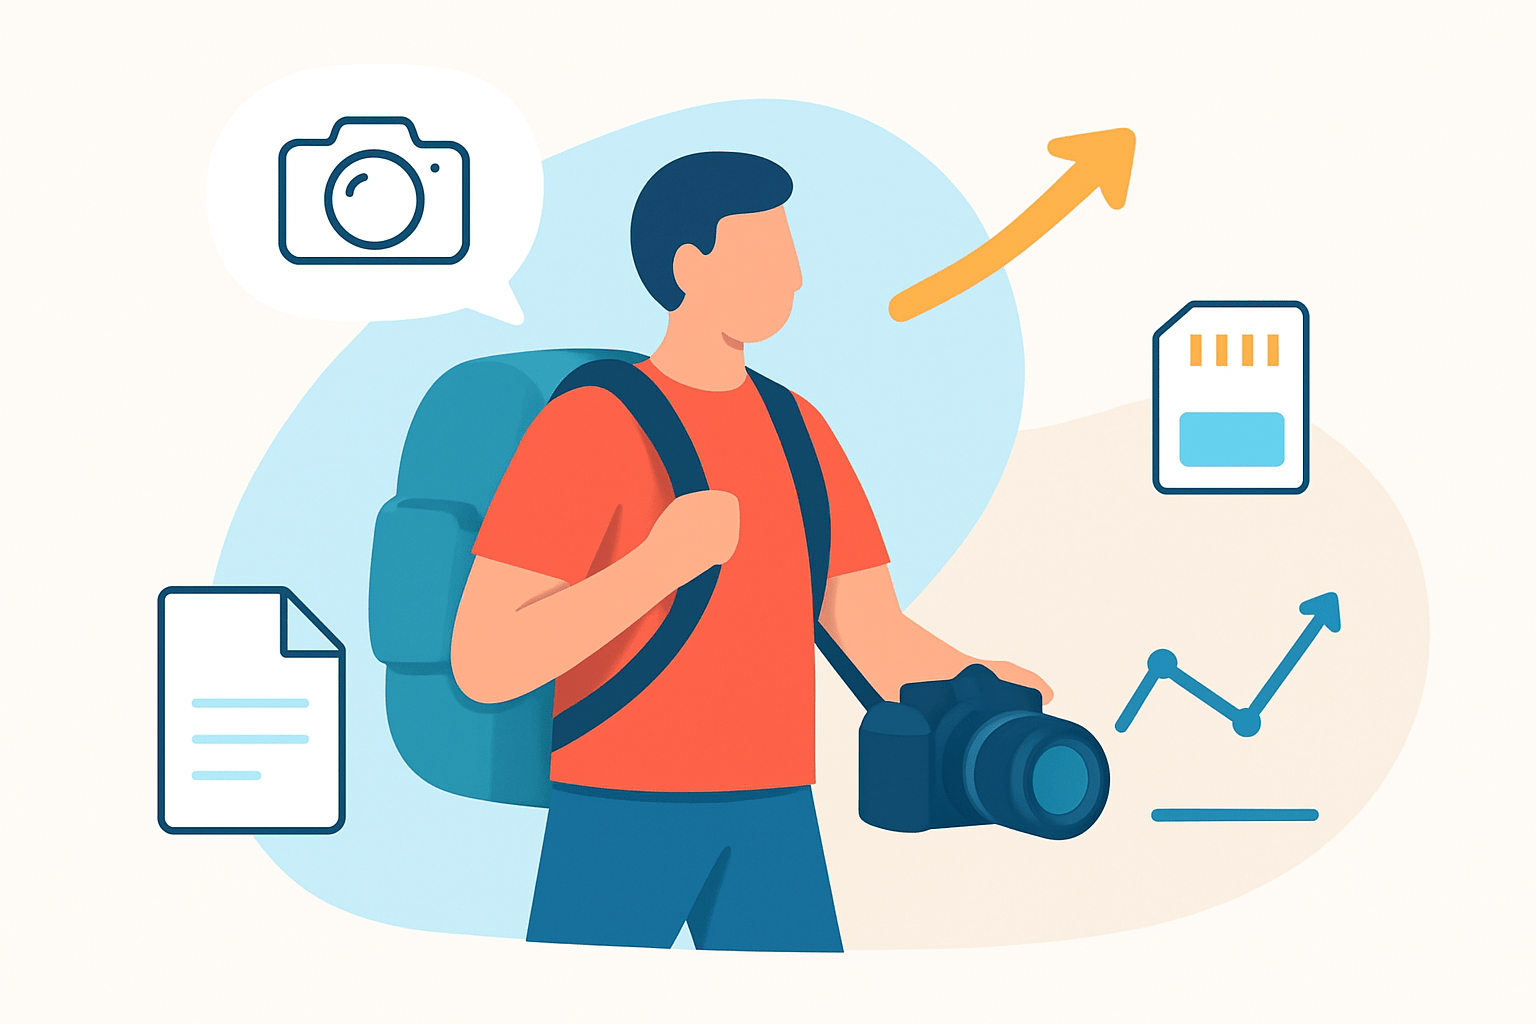
Photo idea: show each method on a real hiker from different angles, then add a one-line caption under each, like “Sling strap — fastest for day hikes,” “Chest harness — secure for wildlife,” or “Pod — ultralight and weather-ready.” Include close-ups of the clip mount and the harness plate so readers can copy the exact fit.
If you also travel with your kit, see what overlaps with camera gear for travel so your strap and pouch choices work both on trails and in cities. Before you hike, charge and check all batteries and SD cards, clean the front element, pack a rain cover, test your strap length, and tighten tripod quick releases so nothing rattles loose on the trail.
Choosing the Right Carrying Setup for Your Hike
Match your carry system to your camera size, lens weight, and hike type. Consider weather and how often you plan to shoot, and think about safety risks like scrambling, river crossings, or crowded trailheads. The heavier the lens and the rougher the trail, the more your setup should shift from a neck strap toward a harness, clip, or pack.
If you shoot every few minutes, fast access matters more than padding, especially with mirrorless bodies and short lenses. If your plan is long miles between shots, keep the camera in a pod or pack and bring it out when the light improves. For security in busy places, low-profile clips and harnesses attract less attention than a swinging camera.
For a day hike with a mirrorless camera and one or two lenses, carry a sling strap or a small camera pouch on your hip belt. Pack a compact tripod strapped to the side of your pack, a rain cover, a spare battery, and cards in a shoulder pocket. This setup balances speed with simplicity, so you stop less and shoot more.
For wildlife or landscapes with a telephoto, use a padded camera backpack with side access plus a chest harness for quick draw. Load a camera with the telephoto attached, a wide zoom for landscapes, a tripod or monopod attached to the pack, a rain cover, and a small bean bag for vehicle or rock support. This mix gives your big lens a safe home yet keeps it ready when the scene appears.
For an ultralight multi-day trip, go minimal with a camera pod or hip pouch, one versatile lens, a light tabletop or trekking-pole-supported tripod, a Capture Clip on your shoulder strap, and a thin drybag for bad weather. Stow one battery in your inner pocket and one in the pod to spread risk. The goal is to reduce weight and keep the camera stable during long miles.
Use this quick rule: if you value speed and access more than protection, pick a harness or clip; if you value protection more than speed, pick a pack or pod. Mirrorless bodies usually ride best on a sling, clip, or small pod, while heavier DSLRs and long telephotos push you toward a chest harness, robust clip, or a camera-specific backpack with side access.
Backpacks & Packing Strategies for Easy Access
There are three main pack paths on the trail. Camera-specific backpacks offer built-in organization, padding, and side or back access doors. Regular hiking packs work great when you add a padded camera cube or a pod, while camera pods can mount outside or ride on the hip for ultralight setups.
Camera backpacks are the most organized and protective option, and many include side access so you can grab the camera without dropping the pack. The downside is extra weight and sometimes less comfortable suspension compared to true hiking packs. If you carry multiple lenses or a big telephoto, the structure is worth it.
Regular hiking packs with a camera cube give you comfort and flexibility. You choose the exact pack volume and hiking fit, then drop in a cube sized to your kit. The tradeoff is slower access unless the pack has side zips, and you need to plan your layout so the camera is reachable without digging.
Camera pods add ultralight, weather-resistant protection that moves where you need it. They attach to a hip belt, shoulder strap, or pack lid, and they keep your camera ready for fast grabs. Capacity is limited, so pods work best with one lens and a simple filter kit.
Pack heavy items close to your hips and spine so the load feels stable and natural. Place fragile items mid-pack surrounded by soft layers, and keep batteries and SD cards in waist-belt or shoulder pockets for quick swaps. A small drybag inside your pack adds a second layer of protection in rain or river spray.
Carry your tripod leg-first in a side pocket with a strap at the top for the fastest setup. The diagonal carry across the pack feels comfortable and balanced on long climbs, but it slows deployment a bit and can snag in brush. Pad contact points with a small cloth to stop rattles and protect the pack fabric.
Yes, you can use a regular backpack if you add a padded insert and place the camera near a side or top access point. A camera-specific backpack is worth it if you carry multiple lenses, a heavy telephoto, or you plan to shoot often while moving, and you can browse backpacking photography ideas to refine your layout and accessory choices.
Camera Straps, Clips & Harnesses — How to Use Them Right
A standard neck strap should be sized so the camera rides high enough to avoid thigh swing and low enough to raise comfortably. Use the strap’s quick-release or safety tether if you often hand off the camera or shoot from awkward angles.
Sling or shoulder straps need careful length tuning so the camera sits at your hip, not your knee. Add two anchor points to spread load and reduce twist, and keep the strap snug in wind or on loose, rocky trails.
Harnesses like the Cotton Carrier work best when the plate is tight and the sternum strap is adjusted to stop bounce. Check that your pack’s chest strap and the harness don’t fight each other, and test drawing the camera with gloves if you expect cold.
Capture Clips and other camera clips mount cleanly on a shoulder strap or hip belt. Practice drawing and re-clipping at home so you can do it without looking and avoid drops on steep ground, and add a light wrist strap for backup security when you unclip.
For comfort and safety, pick wider, padded straps if your setup is heavy, and keep everything snug enough to prevent swing. Low-profile straps and clips draw less attention in towns and busy trailheads, and they reduce snag risks in brush. On-trail quick rules: minimize lens swaps in dust, keep the camera off-body on exposed scrambles, tighten the sternum strap to stop sway, and warm spare batteries in a pocket during cold spells.
Protecting Your Camera Gear & Weatherproofing on the Trail
Weather strategy is part of learning how to carry camera while hiking without anxiety. In light rain, a small rain cover or pod is enough, but in a downpour stash the camera inside the pack until the storm passes. When the sun returns, switch back to a clip or harness for speed and keep a small towel in an outer pocket.
Dust and sand are sneaky, so change lenses in sheltered spots like behind a boulder or inside your jacket. Carry a tiny blower, a microfiber cloth, and keep the lens cap on while you walk; a simple UV filter adds a cheap layer against grit and branches. Wipe before you swap lenses to avoid dragging particles inside.
Cold drains batteries and warm cabins cause condensation. Keep spares in an inner pocket close to your body, and when moving from cold into warmth, seal the camera in a zip-lock until it acclimates to stop fog forming inside. If you must shoot right away, use a second body or a phone while the main camera warms up.
At night, store your camera in a drybag or padded pod with a few silica gel packets. If your tent is damp, keep the kit off the floor and away from the fly to avoid splash. Avoid leaving the camera outside the tent in an unsealed pouch even if the forecast looks friendly.
Carry a small preventative kit: lens cap, microfiber cloth, a rocket blower, two spare batteries, and extra SD cards in a waterproof case, plus zip-lock bags and a tiny towel. For a deeper gear list and field-tested combos, browse this take on hiking camera gear and tailor it to your pack. Protecting small items well keeps your main camera safer because you won’t open the pack as often in bad weather.
Secure gear at camp by keeping the camera inside the tent or a locked pack pocket. If you leave a pod in camp for a short time, use a small cable lock to anchor it to your pack frame or a fixed point, and avoid displaying gear in obvious view. Common mistakes are leaving a camera dangling from a loose strap, swapping lenses in wind, overpacking excess glass, and letting a poorly secured tripod bang against your pack for miles.
Lock your tripod legs, strap it in two places, and pad any metal-on-metal contact to stop rattles. Store it on the side for quick grabs if you shoot often, and put it centered down the back if you need maximum balance on steep, uneven terrain. As you refine your system, keep this line in mind: how to carry camera while hiking is really about choosing speed when it’s safe and choosing protection when it isn’t.
Try this setup next time: pick your hike type, choose one carry method, then add three must-have accessories for that plan. For a day hike, that might be a sling strap, a compact pod for storms, and a small towel; for wildlife, swap to a chest harness, a side-access pack, and a quick-release tripod. Small tweaks before you step off the trailhead make big differences when the light turns golden.
What People Ask Most
What’s the best way to carry a camera while hiking?
Use a comfortable strap or sling that keeps the camera close to your body and a padded case or pack for extra protection when not shooting.
Should I keep my camera inside my backpack or on my body while hiking?
Keeping it on your body gives faster access for photos, while a padded backpack pocket offers more protection when you won’t be shooting for a while.
How can I protect my camera from rain, dust, and bumps on the trail?
Use a rain cover or waterproof pouch and a padded insert, and keep the camera pointed down when moving to reduce exposure to dust and impact.
Is it safe to carry my camera hands-free while hiking?
Yes, a secure sling or chest harness lets you go hands-free while keeping the camera stable and easy to reach.
How do I balance camera weight with other hiking gear without hurting my back?
Keep the camera close to your center of gravity, use a wide padded strap to spread the load, and store it in your pack on long stretches to reduce strain.
Can I change lenses while hiking, or is that a bad idea?
Try to avoid changing lenses in windy or dusty conditions; if you must, find a sheltered spot and work quickly with the camera facing down.
What are common mistakes people make when learning how to carry camera while hiking?
Common mistakes include using a weak strap, not securing the camera during climbs, and leaving it exposed to weather or dust instead of using protective gear.
Final Thoughts on Carrying Your Camera
You’ve now got a practical map for choices—sling, harness, clip, pack or pod—anchored to the simple goal of getting better shots with less fuss, and a small rule of thumb, 270, can help you weigh reach versus load. We recast the core benefit as freedom: being able to react quickly without wrecking your comfort or your gear. If your first question was how to carry camera while hiking, the guide answered it with ranked methods, realistic setups, and packing tips you can use on any trail.
One caution: no system’s perfect, so watch for lens swaps in wind, straps left loose, or relying on speed when protection matters—those choices cost you shots or gear. This is most useful for folks who shoot while moving—day hikers, wildlife chasers, and long-distance trekkers—because it helps them match kit to terrain and tempo. You’ll probably tweak a setup over a few hikes, and that practice will make your gear feel like a natural extension of your walk.


0 Comments