
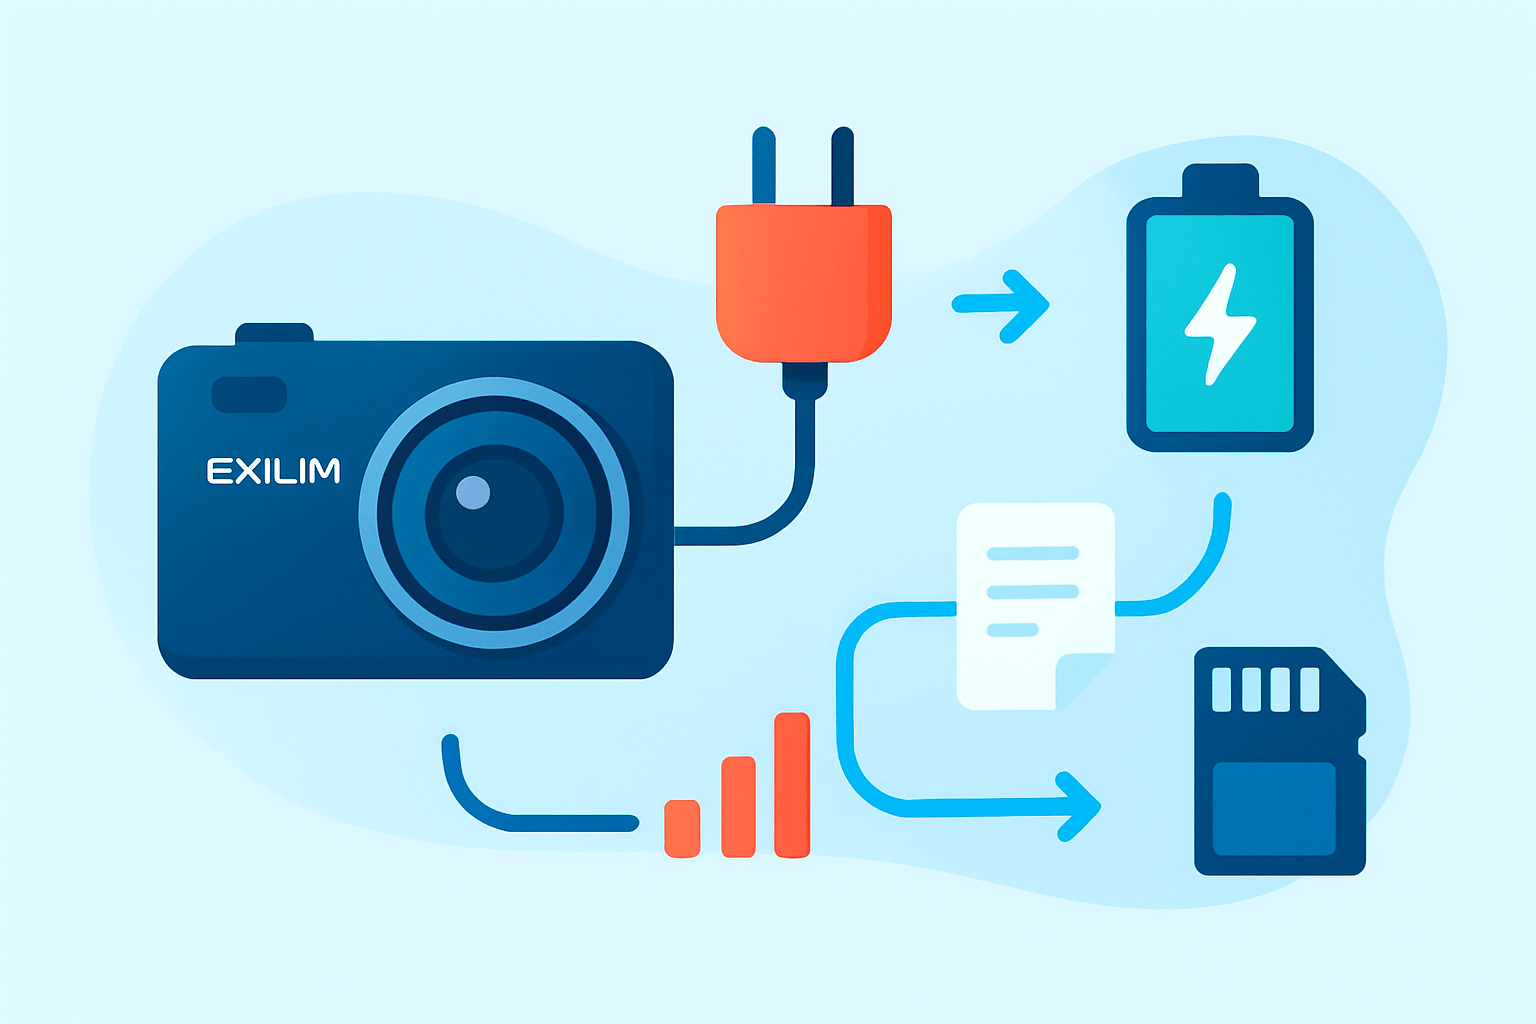
How to charge casio exilim camera quickly and safely?
This short guide gives a clear step‑by‑step answer to that question. You will learn in‑camera USB charging, using an external charger or cradle, and how to verify a full charge.
We also cover charging times, LED and screen indicators, safety tips, and simple troubleshooting. Photos and a quick prep checklist will make the steps easy to follow on any Exilim model.
Whether you are new to EXILIM or need a fast refresher, this article will save you time on shoots and travel. Read on for practical steps and battery care tips to keep your camera ready.
To charge the battery (step‑by‑step)
If you want the quick answer for how to charge casio exilim camera, you have two reliable paths. Most compact models let you charge the battery inside the camera with a USB cable, while others rely on a dedicated external charger or a desktop cradle. Both methods are simple once you know your exact model and the parts that came with it.
Gather what you need before you start so you do not chase cables later. You need the camera model name, the correct battery type, the right USB cable or the official charger or cradle, a stable power source, and a flat surface to keep things steady. Checking the model first helps you avoid using the wrong connector or battery.
In‑camera USB charging is the fastest way to get going on most recent compact EXILIM bodies. Turn the camera off before you connect anything, because many models will not accept a charge while powered on. A powered camera can also take longer to charge or heat up the battery more than needed.
Open the battery door and confirm the battery is seated correctly. Match the arrow or beveled edge on the battery to the guide inside the compartment and push it in until it clicks against the spring tab. If it does not click, remove it, rotate it, and try again without forcing it.
Close the battery and card cover completely and lock it. Several EXILIM models will not start charging if the cover is unlatched or even slightly ajar. A loose door can also interrupt the charge midway and leave you with a half‑full battery.
Find the USB/data/charge port on the camera body. Many EXILIM compacts use micro‑USB or mini‑USB, while older models may use a proprietary connector or a dock port. If the port shape looks unusual, check your model’s labeling, because some ports are marked as DC IN and use a specific cable that came in the box.
Use the correct cable and plug it into the camera gently. Connect the other end to a USB‑AC wall adapter rather than a computer if possible, as a wall adapter is usually faster and more stable. A computer’s port can work, but it often charges slowly and can stop if the computer sleeps.
Make sure the camera stays off during charging. Look for a charging lamp or indicator LED near the USB port or on the top plate, and note its color. Many EXILIM cameras show a steady red or amber light while charging and then switch to green or turn off when finished.
Let the charge complete without moving the camera around. When the indicator changes to its “full” state, unplug the USB cable from the wall adapter first and then from the camera. Power the camera on and check that the battery icon shows full bars before you pack up.
If your kit included a separate charger or a desktop cradle, you can charge the battery outside the camera. Turn the camera off, open the battery door, and slide the tab to release the battery. Lift the battery out carefully so you do not bend the contacts inside the camera.
Place the battery into the official external charger or cradle, aligning the gold terminals to the pins on the charger. Most EXILIM batteries have an arrow or a notch that shows the correct direction, so do not force the fit. A firm seat ensures the LED status light reads the battery properly.
Connect the charger to a wall outlet and watch the charger’s status light. A steady light usually means charging and a green or unlit lamp often means full, but patterns vary by model. When the light indicates completion, unplug the charger, remove the battery, and let it rest for a minute before putting it back in the camera.
For new batteries, give the first charge a full, uninterrupted cycle. This helps the camera calibrate its meter so the battery gauge is more accurate in the next few uses. A complete first charge can also improve early runtime consistency.
If you like to double check, confirm the battery level on the camera screen after you disconnect power. A full battery icon or a “Charge Complete” message on some models means you are set. When in doubt about lamp meanings or port types, check the official manual for your exact model and follow the indicator chart shown there.
Pictures help a lot when you are learning this for the first time. Plan to add photos that show the battery door opening, the correct battery orientation, the location of the USB or DC‑IN port, the battery in a charger, and the full battery icon on the LCD. Keep each image clear and close so the symbols and arrows are easy to see.
Charging methods: USB, USB‑AC adaptor and cradle (pros, cons and model compatibility)
Casio EXILIM cameras have used several charging styles over the years. Many compact models can charge by USB with the battery left inside the camera. Some older or higher‑end bodies rely on a desktop cradle or an external charger, and a few do both.
Charging from a computer is simple because you can use a USB cable you already have. You connect the cable to the camera and a USB port on the computer, then wait for the charging lamp to show activity. This method is convenient when you travel light, but it is slower and can pause if your computer sleeps or the port supplies low current.
Not every EXILIM will accept a charge from a PC port, even if the connector fits. Some models only transfer photos over USB and rely on a wall adapter or cradle for charging. If nothing lights after a minute, try a wall adapter or your official cradle before you assume the battery is bad.
A USB‑AC wall adapter is the most reliable everyday option for in‑camera charging. Use a good 5‑volt adapter rated around 1 amp to 2 amps, because that gives steady current without stress. Avoid phone “quick charge” modes that boost voltage above 5 volts, since the camera is not designed for 9‑volt or 12‑volt charging.
Steps are identical to computer charging, but you plug into the wall instead. You will usually see a faster time to full and fewer interruptions from sleep or low power ports. Keep the adapter cool and the camera on a hard surface so heat can escape.
Many early EXILIM cameras shipped with a desk cradle that acts as both a dock and a charger. You drop the camera into the cradle and the contact pins mate automatically, or you place the battery directly in a battery‑only cradle. If your camera resembles the EX‑Z series with a dock plate, skim the EX-Z4 guide to see how those cradles are used and how the lamps behave.
Battery‑only cradles are perfect if you own spare batteries or need to keep shooting while a pack charges. You remove the battery, seat it in the charger, and keep working with a second pack. This is also the cleanest way to isolate a camera port problem from a battery problem.
Power banks and car adapters work well as long as your model supports in‑camera USB charging. Choose a bank that delivers a stable 5 volts at 1 to 2 amps and does not auto‑shutoff with small loads. In a car, use a quality 12‑to‑5 volt adapter and avoid shared sockets that dip voltage when you start the engine.
If you are at home or at a hotel, a wall adapter or the original cradle is the best blend of speed and safety. If you are traveling light, USB to the computer or a power bank keeps your bag small. If you shoot long days, an external charger with two batteries is the fastest workflow because you can charge one while using the other.
Charging time and indicators (LEDs and lamp status)
Total charging time depends on several things. Battery capacity matters, because a larger NP‑series pack takes longer than a compact cell. The charger’s current, the method you use, and the temperature and age of the battery also change how long it takes to reach full.
As a broad range, a small compact EXILIM battery may take about one and a half to three hours on a good wall adapter or the official cradle. The same battery on a computer’s USB port can take three to five hours or more, especially if the port is low power. If the camera is warm or the battery is old, expect the time to stretch.
Indicator lamps are your friend, but patterns vary across models. Many show a steady red or amber while charging and turn green or go out at full. A blinking lamp often signals an error, heat issue, or bad contact, and the fix is usually to reseat the battery and try again after it cools.
Some cameras also show an icon on the screen when they receive power. You might see a battery outline with an animated fill while it charges and a solid battery icon when it is done. If your screen stays dark, rely on the lamp and check your model notes in the EX-Z29 manual so you know what each state means.
Modern chargers and cameras include protection that stops charging at full. They also pause or slow down if the battery gets too hot, too cold, or if the voltage looks odd. If your lamp does not change after several hours, unplug, let everything cool, reseat the battery, and try a different cable or outlet.
When you finish, confirm with the battery meter on the camera. If the meter drops quickly after a full charge, the pack may be aging or the charge cut short. Try another charging method to compare results and decide whether the battery needs replacement.
Battery care and charging precautions
Safety comes first with lithium‑ion packs. Do not charge a swollen, punctured, or wet battery, and keep batteries away from open flame, heaters, or direct sun on a car dash. Never try to disassemble a battery or a charger, because that can cause short circuits or fire.
Use the original Casio charger, cradle, or a reputable equivalent made for your specific battery type. Cheap unregulated chargers can overheat cells, deliver the wrong voltage, or misread full status. Counterfeit batteries can also trip camera errors or swell early, so buy from trusted sources.
Always turn the camera off before you start charging, even if the cable fits. Wipe the battery contacts with a dry, lint‑free cloth if you see smudges or residue. Do not leave a battery connected to power for days on end, because while modern gear stops at full, long term trickle is not helpful.
Store batteries around half charge in a cool, dry place if you will not use them for a few weeks. Remove the battery from the camera for long storage so the camera’s standby draw cannot drain it to zero. Top up every couple of months so the pack does not sit empty.
Rotate your spares so each one gets regular use. Label them with a date and cycle them in order so wear stays even. Every few months, run one controlled full discharge and full charge to help the meter estimate capacity more accurately.
All lithium‑ion packs age with time and cycles. Try to avoid deep discharges to zero and do more partial top‑ups, because lithium cells prefer staying between about 20% and 80% in daily use. Replace the battery if it loses charge quickly, runs hot, or refuses to accept a full charge.
When a battery reaches end of life, recycle it properly. Local electronics stores and recycling centers often accept camera batteries. Do not throw batteries in household trash, and tape the terminals if you must transport them.
Troubleshooting common charging issues
If charging does not start, begin with the power source. Try a different wall outlet or another USB port and avoid low‑power hubs. Swap in a known good cable and use a wall adapter instead of a computer to rule out sleep and low current.
Remove the battery and reseat it to make sure the contacts are touching. Check the gold contacts for dirt or corrosion and wipe them gently with a dry cloth. If you have an external charger, try it to learn whether the problem lives in the camera, the cable, or the battery.
If the camera will not charge by USB, the port or cable could be the issue, or your model may not support PC charging. Use a USB‑AC adapter or the official cradle and see if the lamp comes on within a minute. If it does, the battery is fine and you can keep using that method.
A flashing charger LED usually means a contact problem, an overheated battery, or a fault. Reseat the battery and let it cool, and stop immediately if it grows hot to the touch. Try another charger if you have one to confirm the diagnosis.
If the battery drains quickly after a full charge, it may be at the end of its life. You can check with a multimeter by measuring the resting voltage on the battery contacts, but be careful not to short the terminals. If the voltage sags well below the rated level quickly, replace the battery.
Intermittent charging often points to heat or an unstable power source. Charge on a hard, cool surface and avoid covering the camera or charger with fabric. If the camera shows a “battery not recognized” message, verify the part number on the battery and replace it with a genuine or fully compatible pack.
Replace the battery if it looks swollen, loses charge rapidly, or refuses to accept any charge. Service the camera if it will not charge known good batteries with multiple cables and chargers. If you need support, note your model and serial number, what you connected, the exact lamp behavior, and how long you waited, and share those details when you contact Casio so they can help you faster.
What People Ask Most
How to charge Casio Exilim camera?
Plug the camera or its removable battery into the appropriate USB cable or charger and connect it to a power source until the charge indicator shows full.
How do I know when my Casio Exilim camera is fully charged?
Watch the camera’s charging light or on-screen icon, which usually changes color or stops flashing when the battery is full.
Can I use a phone charger to charge my Casio Exilim camera?
Yes, you can use a USB phone charger if the cable fits and the charger is in good condition, but choose a reliable charger to avoid problems.
Is it okay to charge my Casio Exilim camera while it is turned on?
It’s best to turn the camera off before charging because charging while on can slow charging and may produce extra heat.
Can I charge the battery outside the Casio Exilim camera?
If your battery is removable, you can use an external charger to charge it, which lets you keep shooting with a spare battery in the camera.
What common mistakes should I avoid when charging a Casio Exilim camera?
Avoid using damaged cables, forcing connectors, leaving the battery plugged in for long periods, or charging near heat and moisture.
How long does it usually take to charge a Casio Exilim camera?
Charging time varies by battery condition but typically takes a few hours, so check the indicator light to know when it’s done.
Final Thoughts on Charging Casio EXILIM Cameras
You came here asking how to charge Casio EXILIM camera, and this guide gave clear, model‑agnostic steps for both in‑camera USB charging and external chargers—useful whether you own an older EX‑S270 or a newer compact. The core benefit is getting a reliable, repeatable routine: know which cable or cradle to use, how to read LEDs and on‑screen icons, and how to confirm a full charge without guesswork.
One realistic caution: stop charging if the battery feels hot, looks swollen, or shows strange LED patterns, and avoid cheap, unbranded chargers that can cause damage. This guide is best for EXILIM owners, travel shooters, and beginners who want a straightforward, safe way to keep batteries ready.
We opened by asking how to charge Casio EXILIM camera and answered with a simple step‑by‑step plus comparisons, indicator meanings, and troubleshooting so you can handle most hiccups yourself. You’ll head into your next shoot with charged batteries and more confidence in how they behave.


0 Comments