How to clean battery corrosion in camera and get it working again?
This short guide gives simple, safe steps you can follow at home. You will learn to spot corrosion, neutralize leaks, and clean contacts with vinegar, Q-tips, and sandpaper when needed.
It also covers safety gear, proper battery disposal, and quick tests to see if the camera is repairable. I explain when to stop and take the camera to a professional.
Follow clear photos, step-by-step instructions, and quick checklists to fix most battery leaks. Read on to start cleaning safely and confidently.
What You’re Dealing With: Battery Corrosion
If you open your battery door and see a white crust or green fuzz, you are looking at battery corrosion. Learning how to clean battery corrosion in camera starts with knowing why it forms and what you are touching.
Alkaline batteries leak a caustic base called potassium hydroxide, which dries into white or gray crystals. When that alkaline meets copper or brass, it can turn green or blue, often called verdigris, and sticky brown or black residue can appear when binders and electrolyte mix with air.
Look for a chalky white ring on the negative spring, green or blue patches around coppery parts, and any shiny metal that now looks dull or pitted. Springs can lose their plating and turn rough, and contact pads can look eaten or spotted.
Corrosion is not only ugly, it is hazardous. The dust can irritate skin and eyes, and it is not safe to breathe, while the residue can create short circuits and slowly destroy PCB traces under the compartment.
Severity is easy to judge with a quick look. A light coating on the contacts is usually fixable at home, while plating damage or chewed springs may need parts, and visible damage on PCB traces or holes in metal means a technician is the right call.
Use a small flashlight and a magnifier, and take a clear “before” photo so you can track progress and reassembly. Remove the batteries immediately, place them in a sealed bag for recycling, and note the battery type and age for your records.
Do not power the camera on while you clean, and do not try to “test it” until everything is dry. Keep the work area calm so you don’t spread powder into the camera body.
If your camera is older and shows copper oxidation or fragile wiring, a focused guide for older gear can help, such as this short vintage camera guide. The steps are similar, but older plastics and foams need a lighter touch.
With the scene understood, you can plan a safe cleanup that restores conductivity and avoids further damage. A careful approach now saves money and protects your camera’s electronics.
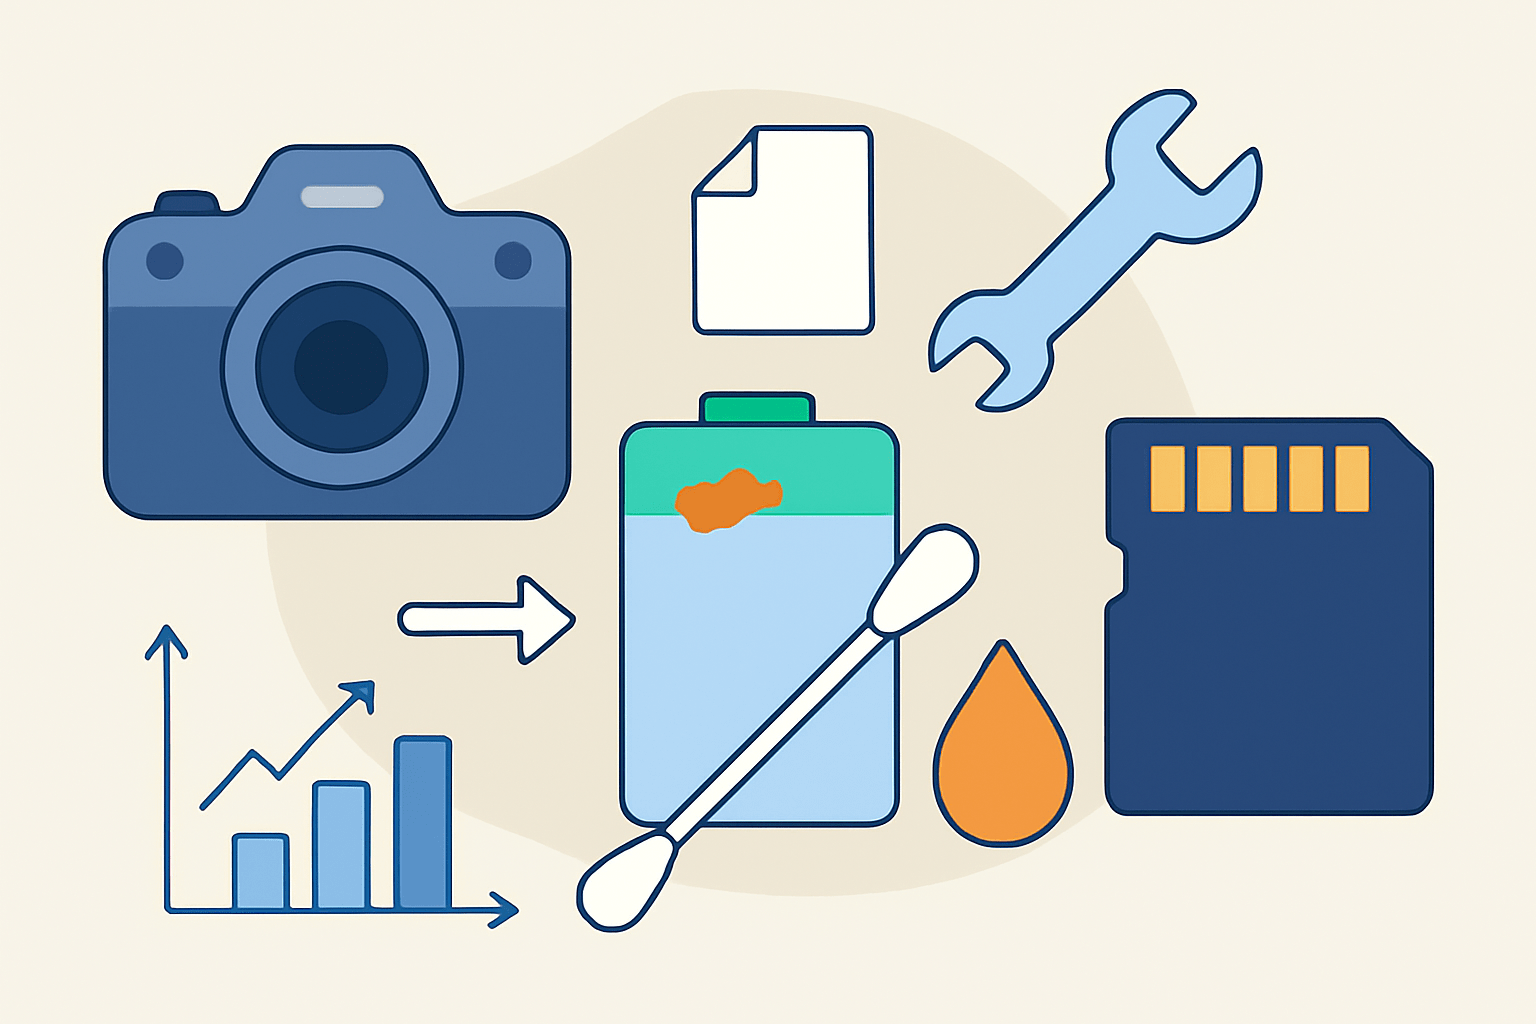
Materials Needed: Vinegar, Q-tips, Sandpaper
You only need a small kit to fix most battery leakage camera cleanup jobs. Keep the setup simple, clean, and ready before you open any bottles.
White vinegar or lemon juice is your main neutralizer for alkaline leaks. It is a weak acid that safely softens the white or gray crust so you can lift it away.
Isopropyl alcohol at 90–99% is for the final clean and fast drying. It helps dissolve salts and leaves very little moisture behind.
Have plenty of cotton swabs and a microfiber cloth. Use many swabs so you do not smear the mess back onto the contacts, and keep a small cup to dampen tips without flooding parts.
A soft nylon brush or an old soft toothbrush loosens loose powder without scratching. A plastic spudger or wooden toothpicks let you lift softened crust while avoiding metal-on-metal gouging.
Fine-grit sandpaper in the 600–1200 range is only for stubborn metal corrosion. It is a last resort for contacts, not for PCB traces or delicate plated parts.
A can of compressed air, tweezers, and a small flashlight or magnifier make the job easier. Wear nitrile gloves and safety glasses to protect your skin and eyes from the irritant dust.
Optional helpers include DeoxIT for restoring metal contacts after cleaning, a tiny bit of Goo Gone for sticky tar-like residue, and baking soda paste for rare acidic leaks. A multimeter is very useful to confirm continuity and proper voltage after cleaning, and you can source replacement springs or doors from camera service shops or electronics parts suppliers.
Do not use steel wool, metal picks, or strong acids or bleach on your camera. Do not soak the PCB or flood the compartment with liquid, because capillary action can pull fluid where you do not want it.
Avoid tap water because minerals can stay behind and cause new problems. If you must rinse something, use a drop of distilled water and dry it completely, but prefer high-purity IPA and a tiny amount of vinegar for best results.
Step-By-Step Guide to Cleaning Battery Corrosion
Here is the practical part on how to clean battery corrosion in camera with simple tools. Work slowly, keep liquids minimal, and stop if you see damage you cannot fix.
Power off the camera and eject memory cards or film. Remove the batteries and seal them in a bag for recycling, then set up a bright, clean workspace with gloves and eye protection on.
Take a clear close-up photo of the battery compartment before you touch anything. This helps you put springs and pads back in the right alignment if something shifts.
Start by removing loose powder so it will not spread. Use compressed air with short bursts or a soft nylon brush over a paper towel, and never blow with your mouth.
Keep your face away from the opening and avoid inhaling dust. Wipe the area around the door with a dampened microfiber so no powder sneaks into the body.
If the crust is white or gray from alkaline cells, dampen a cotton swab with vinegar until it is moist but not dripping. Gently touch the corrosion and let the acid soften it, and you may hear a faint fizz as it reacts.
If you suspect an acidic leak from old zinc-carbon cells or you see a brown, tar-like mess without the white fluff, use a tiny baking soda paste on a swab to neutralize. Color clues help: white or gray powder points to alkaline; dark sticky film with little white may be acidic, and if you are unsure, start with isopropyl alcohol to avoid a bad reaction.
Lift the softened residue using a plastic spudger, toothpick, or the side of a fresh swab. Keep pressure light because plated contacts scratch easily, and replace swabs often so you always wipe with a clean tip.
When the visible buildup is gone, switch to isopropyl alcohol. Swab the contacts and springs several times to flush salts, then use dry swabs to wick away any moisture and follow with a short burst of air.
Let the compartment air dry completely. Give it at least 30 minutes for a light cleanup and several hours or overnight if you used more liquid, and never close the door or power the camera while anything is damp.
Inspect the metal closely under a flashlight. Look for pitting, flaking plating, weak spring tension, or lifted PCB traces, and check continuity with a multimeter if you can touch both ends of a contact path.
Install fresh, non-leaking batteries and never reuse the old ones. Power on and test the LCD, shutter, flash, and any motors, and on film bodies check the meter and advance.
If the camera will not power on, recheck the contacts for residue and make sure the battery door switch is making contact. Measure voltage at the compartment with a multimeter, look for damaged or darkened traces, and stop if you see eaten copper or parts moving off the board.
Know when to stop and call a pro. Missing metal, lifted traces, and repeat failures after cleaning point to a repair that needs tools and parts you do not have.
If you want extra guidance, you can cross-check these steps with clear step-by-step tips for similar cameras. Seeing the sequence once makes the second cleanup much easier.
Removing Thick Corrosion with Sandpaper
Some deposits refuse to budge, even after vinegar and alcohol. Sanding is a last resort because it removes plating and metal, and heavy sanding can shorten the life of a contact.
Use very fine paper in the 600–1200 grit range, or a fiberglass pencil if you have one. A clean pink eraser can polish light film without cutting too deeply, which is safer for thin plating.
Stabilize the camera so the part does not move, and fold a tiny piece of paper for control. Make light, short strokes only on the contact face and stop as soon as you see uniform, shiny metal.
Avoid sanding the very ends of springs or the thin edges of leaf contacts where pressure is critical. Your goal is to restore conductivity, not make the part look perfect.
Blow away abrasive dust with compressed air and follow with an IPA wipe. Recheck spring tension with a gentle press and confirm continuity with a multimeter before reassembly.
If the metal looks thin or deeply pitted, replacement is smarter than more sanding. Consider contact-cleaning pencils, a light touch of DeoxIT on metal pads, or replacing the entire spring or contact block.
Never sand PCB traces or pads on a board. If traces are corroded or lifted, stop right away and consult a repair technician to avoid permanent damage.
Final Steps After Cleaning Battery Corrosion
Finish with a clean slate so the fix lasts. Give the compartment a final IPA wipe, blow out any remaining particles, and let the camera dry overnight in a dust-free spot.
Install fresh batteries and test every function you can reach. Power, menus, LCD, shutter, autofocus, and flash should run smoothly, and test with and without a lens if your camera allows it.
If the problem remains, gather details before you seek repair. Write down the symptoms, photograph the cleaned area, note the battery type and age, and include any multimeter readings you captured.
A service center may replace springs and contacts, repair or jumper damaged PCB traces, or swap the entire battery compartment. For low-cost point-and-shoot cameras, replacement may be cheaper, but vintage or high-end bodies usually deserve proper repair.
Think about value and future use. If it is your main or a collectible camera, repairing it is often the best path; if it is a spare, you may move on after saving the images and cards.
Prevent the next leak by removing batteries during long storage and avoiding mixed old and new cells. Use high-quality brands, consider NiMH or lithium cells that leak less often, and store the camera dry with a small silica gel pack.
Dispose of the damaged batteries safely by keeping them bagged and taking them to a local recycling point. Do not throw them in household trash where prohibited, and never burn them.
If you hit a snag while testing, it helps to compare notes with practical community advice. Many power issues after cleaning come down to one stubborn contact or a door switch that needs an extra wipe.
With patience and care, you now know how to clean battery corrosion in camera, restore reliable power, and keep the compartment healthy for years. Keep your kit ready, act early when you see residue, and your camera will thank you with a clean start every time.
What People Ask Most
How to clean battery corrosion in camera safely?
Turn off the camera and remove the batteries, then gently wipe the corrosion with a cotton swab dampened with a small amount of distilled water or white vinegar, drying thoroughly afterward.
Can I use vinegar or lemon juice to clean battery corrosion in camera?
Yes, a small amount of white vinegar or lemon juice can neutralize alkaline corrosion, but use it sparingly and dry the area completely to avoid moisture damage.
Will cleaning battery corrosion in camera damage my camera?
If you clean gently with minimal liquid and proper drying, you can often remove corrosion without damage, but aggressive scrubbing or soaking can harm delicate parts.
How often should I check for battery corrosion in camera?
Check batteries and the compartment every few weeks if the camera is stored unused, or each time you change batteries to catch corrosion early.
What supplies do I need to clean battery corrosion in camera at home?
Prepare cotton swabs, distilled water or white vinegar, a soft toothbrush, and a lint-free cloth for safe, basic cleaning.
Can I still save a camera with heavy battery corrosion?
Sometimes heavy corrosion can be cleaned, but if contacts or internal parts are badly eaten away, professional repair or replacement may be needed.
What is a common mistake when cleaning battery corrosion in camera?
Using too much liquid or metal tools is a common mistake because it can push corrosion deeper or short circuit electronic contacts.
Final Thoughts on Cleaning Battery Corrosion in Cameras
Battery corrosion can look scary, but a careful, methodical approach often brings a camera back to life and saves your images. 270. You learned what causes the white and green deposits, which tools to use, and the exact swab-and-neutralize steps that clear superficial leaks without harming delicate parts.
That upside comes with a realistic caution: stop and seek professional repair if you see eaten‑through traces, missing metal, or if sanding would remove vital plating — those are beyond simple home care. This routine is best for camera owners and hobbyists comfortable with small tools; pros will step in for anything that risks PCB damage.
We opened by asking if a leaky battery always means the end of your camera, and the hands‑on steps, photos, and testing checklist here showed when you can fix it yourself and when to hand it off. Take your time, stay safe, and you’ll give many cameras a second chance.


0 Comments