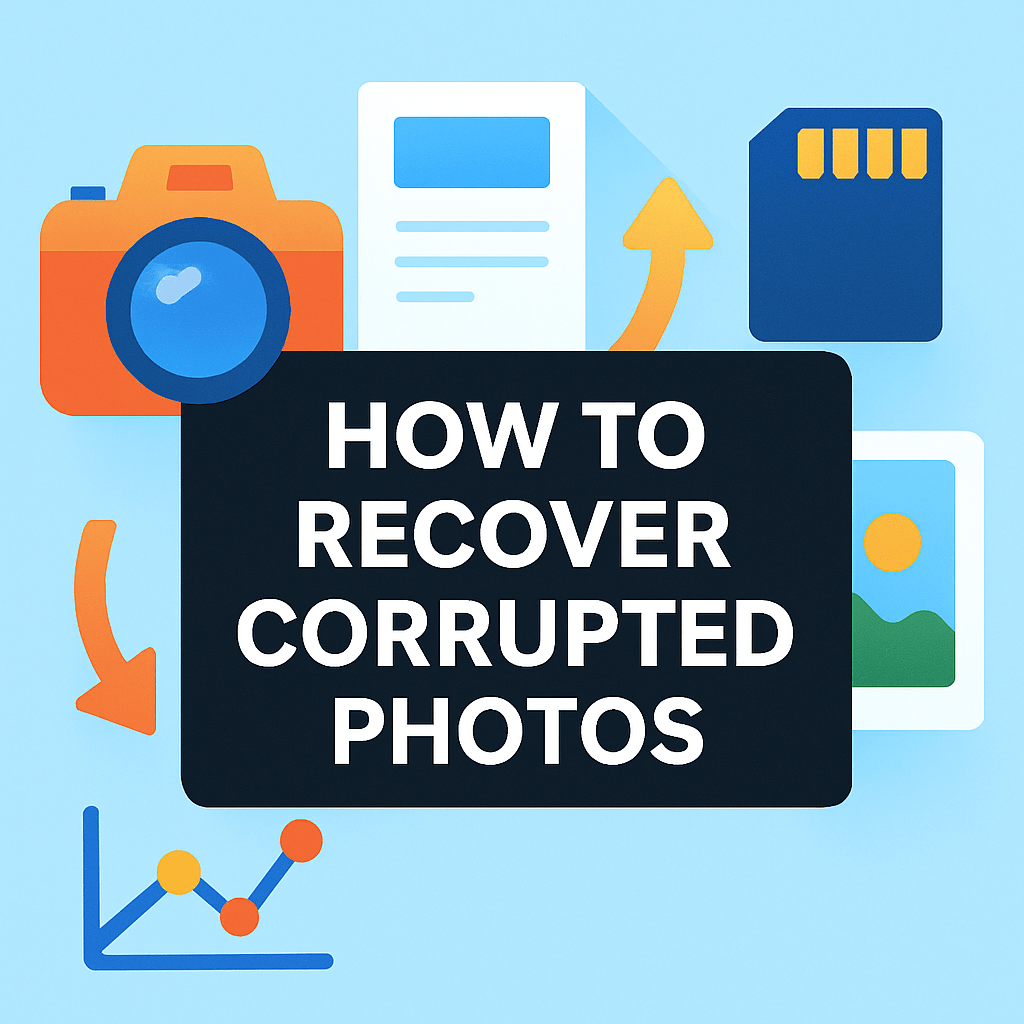
How to recover corrupted photos — can you get back those lost moments?
This guide gives clear, safe steps you can follow now and keeps technical jargon to a minimum.
First, stop using the device and make a safe disk image to avoid overwriting files. You will get a printable immediate-actions checklist and simple imaging tools for Windows, macOS, and Linux.
Then follow a step-by-step path that answers how to recover corrupted photos safely: quick fixes, free JPEG repairs, and dedicated recovery software if needed. We also cover RAW and memory-card tips, when to call a pro, and include screenshots, a flowchart, and real case examples to guide you.
Essential First Actions: Do this immediately to maximize recovery chances

Every move you make now affects your odds of recovery because new writes can overwrite damaged data and some corruption can spread when apps try to “fix” files on the fly. Act slowly, and act safely.
Do stop using the device that holds the photos, whether it’s a camera, phone, SD card, SSD, or external drive. Power it down, unmount or eject it cleanly, and remove the card or cable so no app writes temporary files to it.
Do work only from a copy of the device or a disk image and keep the original offline. Create a dated folder for all working copies so you can roll back if a method makes things worse.
Don’t save any new files to the problem drive and don’t export recovered items back to it. Don’t run blind repairs like chkdsk, Disk Utility First Aid, or a format without imaging first, and do not keep shooting on a suspect card.
To make a safe copy, create a disk image or clone of the card or drive. On Windows, FTK Imager and HDD Raw Copy Tool are free options; on macOS use Disk Utility to make a read-only image; on Linux and macOS, ddrescue can clone flaky media more safely than dd; Clonezilla can image whole disks cross‑platform.
Store that image on a different physical drive with plenty of free space and verify it mounts or opens. Only then begin any repair or recovery attempts on the image, never the original.
Back up recovered files to a second location as you go, such as another external drive and a temporary cloud folder. This protects your progress if a scan crashes or a disk fails mid‑recovery.
With your originals protected, you’re ready for a calm, step‑by‑step journey through how to recover corrupted photos without making the damage worse.
How to Recover Corrupted Photos (Step-by-Step guide)
Step 1 is to identify the symptoms so you choose the right fix. If the photo won’t open, previews are truncated, dimensions look wrong, or colors are wildly distorted, you’re likely facing header corruption or partial data loss rather than a deletion.
Success here means you can describe what’s wrong in one line and group files by symptom. Avoid opening the same damaged file in many apps because some programs write sidecar or cache files that risk accidental overwrites.
Step 2 is to work from your forensic copy or disk image created earlier. Mount the image read‑only if possible, and confirm its size matches the original device so you know the copy is complete.
Success looks like browsing the image without errors and seeing the same folder structure. If the image won’t mount, reimage with ddrescue or try another reader, then move on only when your copy is dependable.
Step 3 is to try quick, non‑destructive fixes. Rename the file to the correct extension, open it in an alternate viewer, or convert it to another format, because sometimes a clean container rebuilds a damaged wrapper.
Success is a clean preview or a new file that opens end‑to‑end. If an app tries to auto‑save on open, cancel or change preferences to avoid writing to the source.
Step 4 is to run repair tools that target file‑level issues. Many can rebuild JPEG headers, fix Huffman tables, or reconstruct EXIF if enough data remains, and some RAW tools can repair camera‑specific blocks.
Success shows up as fewer artifacts, correct dimensions, and intact metadata. If a repair makes the image worse, discard that attempt and try an alternate tool or revert to your untouched backup; for extra reading, this overview on how to repair corrupted photos can help you choose the right approach.
Step 5 is for missing files, formatted cards, or unreadable folders: run photo recovery software on the image or device. Start with a quick scan to rebuild the file table, then escalate to a deep signature scan that carves known image patterns from raw sectors.
Success is lots of previews you can scroll through without errors, grouped by type like JPEG, PNG, and camera RAW. If previews are blank or chaotic, switch tools, change the scan mode, or scan the original through a read‑only adapter only if your image fails.
Step 6 is to preview and export recovered files to a different drive. Keep the folder structure if the tool restores it, and write notes in a text file beside the exports that list which tool, version, and scan mode produced them.
Success is simple: you can open the exports in more than one viewer and they look consistent. Pitfall to avoid is writing back to the card or drive you’re rescuing, which can erase still‑recoverable blocks.
Step 7 is escalation for tricky RAW formats, camera‑specific issues, or physical damage signs. Use software with explicit support for your camera model, or contact a professional lab if readers click, the card smells burnt, or multiple passes find nothing new.
When a step fails, move forward methodically and keep your originals untouched. Label every set with the date and the method used so you never lose track of what worked.
Think of the flowchart at the top of this guide as your roadmap: protect the source, try easy container fixes, run targeted repairs, then invoke deep recovery only if needed. That order answers how to recover corrupted photos in the safest possible way.
A quick real‑world example brings this home. An SD card from a wedding was accidentally formatted; the image was cloned with ddrescue, PhotoRec carved RAW and JPEGs, and Disk Drill handled folder names, resulting in 98% of the gallery restored without ever touching the original card.
Free DIY Repair Methods for JPEGs and common formats
Free fixes are often enough when corruption lives in the header or metadata rather than the pixel data. You’ll know you’re in that zone when thumbnails appear but the file won’t open, or the image opens with wrong dimensions.
First, restore the original extension because a stray rename breaks many viewers; switch .jpeg and .jpg, and make sure RAW files keep their exact camera suffix like .CR3 or .NEF. If the file opens after that, copy it to your safe drive and stop there.
Next, open the file in different apps like Photos, Windows Photo Viewer, IrfanView, GIMP, or macOS Preview. Alternate decoders sometimes ignore tiny header flaws and let you re‑save a clean copy.
If that works, convert the file to a fresh format to rebuild the wrapper. Free tools such as XnConvert or ImageMagick can turn a broken JPEG into a good PNG or TIFF, and the convert command often rewrites the container cleanly without touching your original.
Another path is a web‑based repair, which is convenient but limited by file size and privacy concerns. If you try one, upload only a duplicate and avoid sensitive images.
Built‑in system tools offer quick checks too. On Linux and macOS, the file command can verify a header’s declared format, and on macOS Preview’s export often rewrites metadata, while Windows Photos sometimes reads past minor Huffman errors.
For stubborn JPEG headers, advanced users copy a working header from a photo shot with the same camera and settings using a hex editor. This is risky, so only test on duplicates and verify with a viewer and EXIF reader afterward.
Work safely by testing a single file first, writing notes about what you tried, and keeping every attempt in a separate dated folder. For more community wisdom on a single image, this discussion of a corrupted JPEG file shows common pitfalls and cures.
Here’s a quick case study many shooters recognize. A sunset JPEG showed gray bands at the bottom; exporting from macOS Preview failed, but ImageMagick’s convert rebuilt the wrapper and the new PNG opened cleanly, which answered how to recover corrupted photos with nothing more than a container rewrite.
A small, free toolbox goes a long way: IrfanView for quick opens, GIMP for re‑saving and basic repairs, ImageMagick and XnConvert for mass conversions, and a handful of reputable online JPEG repair services for last‑ditch attempts. Install ImageMagick via Homebrew on macOS or your Linux package manager, and via the official Windows installer on a PC.
Photo Recovery Software: Best picks, how it works, and a generic how-to
Use dedicated recovery software when files are deleted, a card was formatted, or a partition went missing. This is different from repairing a single corrupt file and focuses on reading raw storage to rebuild lost photos.
Most tools scan the file system to reconstruct directory entries, then fall back to signature‑based carving that looks for JPEG, PNG, and RAW patterns sector by sector. Deep scans take longer but can resurrect images even when the file table is gone.
Recuva is free and quick for Windows, making it great for recent deletions on a healthy drive. PhotoRec is open‑source, powerful at carving many formats, but its text interface demands patience and careful filtering.
Disk Drill pairs an easy interface with solid previews on Windows and macOS, which helps you judge quality before saving. Stellar Photo Recovery and EaseUS lean commercial, yet they excel with RAW support and camera‑specific nuances that basic tools miss.
R‑Studio targets advanced users and labs, offering granular control, RAID support, and imaging features. It rewards experience but can overwhelm if you’re new.
Regardless of the tool, begin by scanning your disk image rather than the original card whenever possible. Choose a quick scan first, escalate to deep scan if results are thin, then filter for JPEG and your exact RAW extensions to cut noise.
Preview items and export only to a different drive, never back to the source, then verify integrity by opening in two viewers and checking dimensions and EXIF. Catalog your wins by renaming with dates and camera info so the library stays organized.
Most apps offer free trials that preview files but restrict saving or cap recovery size. Plan for that, and purchase only after the preview proves the photos you need are actually recoverable.
If you want a text‑only “table” in plain language, here’s the gist: Recuva is free on Windows for simple undeletes with limited RAW support; PhotoRec is free on all major OSes with strong carving and broad RAW signatures; Disk Drill runs on Windows and macOS with paid tiers and reliable previews; Stellar and EaseUS cost more but shine on camera formats; R‑Studio is pricier and cross‑platform with the deepest professional toolkit.
Recovering RAW Files, Memory Cards & When to Seek Professional Help
RAW files are different because their headers and metadata blocks are camera‑specific, and the files are larger and fragment more easily. That means generic JPEG tricks won’t always work, and you may need tools that list your exact camera model.
Start with the camera maker’s software, then try tools known for RAW, such as Stellar Photo Recovery or pro suites that show explicit support for CR3, NEF, ARW, ORF, and RAF. Some issues vanish when the original decoder interprets metadata correctly.
For memory cards, avoid reusing the card and mount it through a read‑only adapter if you can. Make an image and run all scans on that image, not the card, so each pass is harmless and repeatable.
Seek professional help if the drive clicks, the card smells burnt or heats up, or several tools fail to produce clean previews, especially for client work. A reputable lab will image the device first, attempt repairs in a controlled environment, and many offer no‑recovery‑no‑fee policies, though costs and timelines vary and success is never guaranteed.
Expect a lab to discuss cloning, clean‑room hardware work if needed, and staged deliverables for you to review. If you prefer a DIY recap before calling, this guide on how to restore them easily outlines the typical flow you’re about to delegate.
Once your images are safe, retire any questionable cards, set up a 3‑2‑1 backup with versioned cloud sync, and test restores monthly. Building that habit means you may never have to ask how to recover corrupted photos again.
What People Ask Most
Can I recover corrupted photos from my phone?
Yes, you can often recover corrupted photos from a phone using built-in backups or recovery apps, depending on the damage. Try restoring from cloud backups or running a recovery tool before overwriting the storage.
Is it possible to recover corrupted photos for free?
Yes, some free tools and methods can recover corrupted photos, especially if files are only slightly damaged or backed up. Free options may have limits but are worth trying first.
Will recovered photos look the same as the original files?
Sometimes recovered photos are fully restored, but in some cases parts may be missing or colors altered. The result depends on how badly the file was corrupted and the recovery method used.
What should I do immediately after finding corrupted photos?
Stop using the device or storage to avoid overwriting the files and try a recovery tool or restore from backup as soon as possible. Quick action improves the chance of successful recovery.
Can recovery software damage my photos further?
Most reputable recovery tools only read data and won’t harm your files, but low-quality programs can cause problems. Use trusted software and work on a copy of the storage when possible.
How can I recover corrupted photos from an SD card or USB drive?
Use a photo recovery program that supports external drives, or try running a repair utility from your computer after making a disk image. Avoid formatting the card or drive before attempting recovery.
How can I prevent photo corruption in the future?
Regularly back up photos to cloud storage or another device, safely eject storage devices, and keep your software updated to reduce corruption risk. Consistent backups make recovery much easier.
Final Thoughts on Recovering Corrupted Photos
If you followed the immediate steps and step-by-step guide here, even a stubborn set of corrupt files labeled 270 can often be reclaimed — bringing back the shots and the stories they held. The real benefit is practical recovery: a clear path that turns panic into manageable actions for photographers with basic technical comfort, but remember there’s no guarantee and you shouldn’t keep using the damaged card.
We answered the question you likely started with — can lost images be rescued? — by giving a simple do/don’t checklist, imaging and repair workflows, free tricks, and a shortlist of recovery tools so you know what to try next and when to hire professionals. That structure keeps the messy work from compounding and points you to the least risky fixes first.
Keep originals, work from disk images, and log what you try so you’ll learn faster and protect your archive going forward. With patience and the right steps, many photos can be restored, and you’ll be better prepared for the next mishap.


0 Comments