
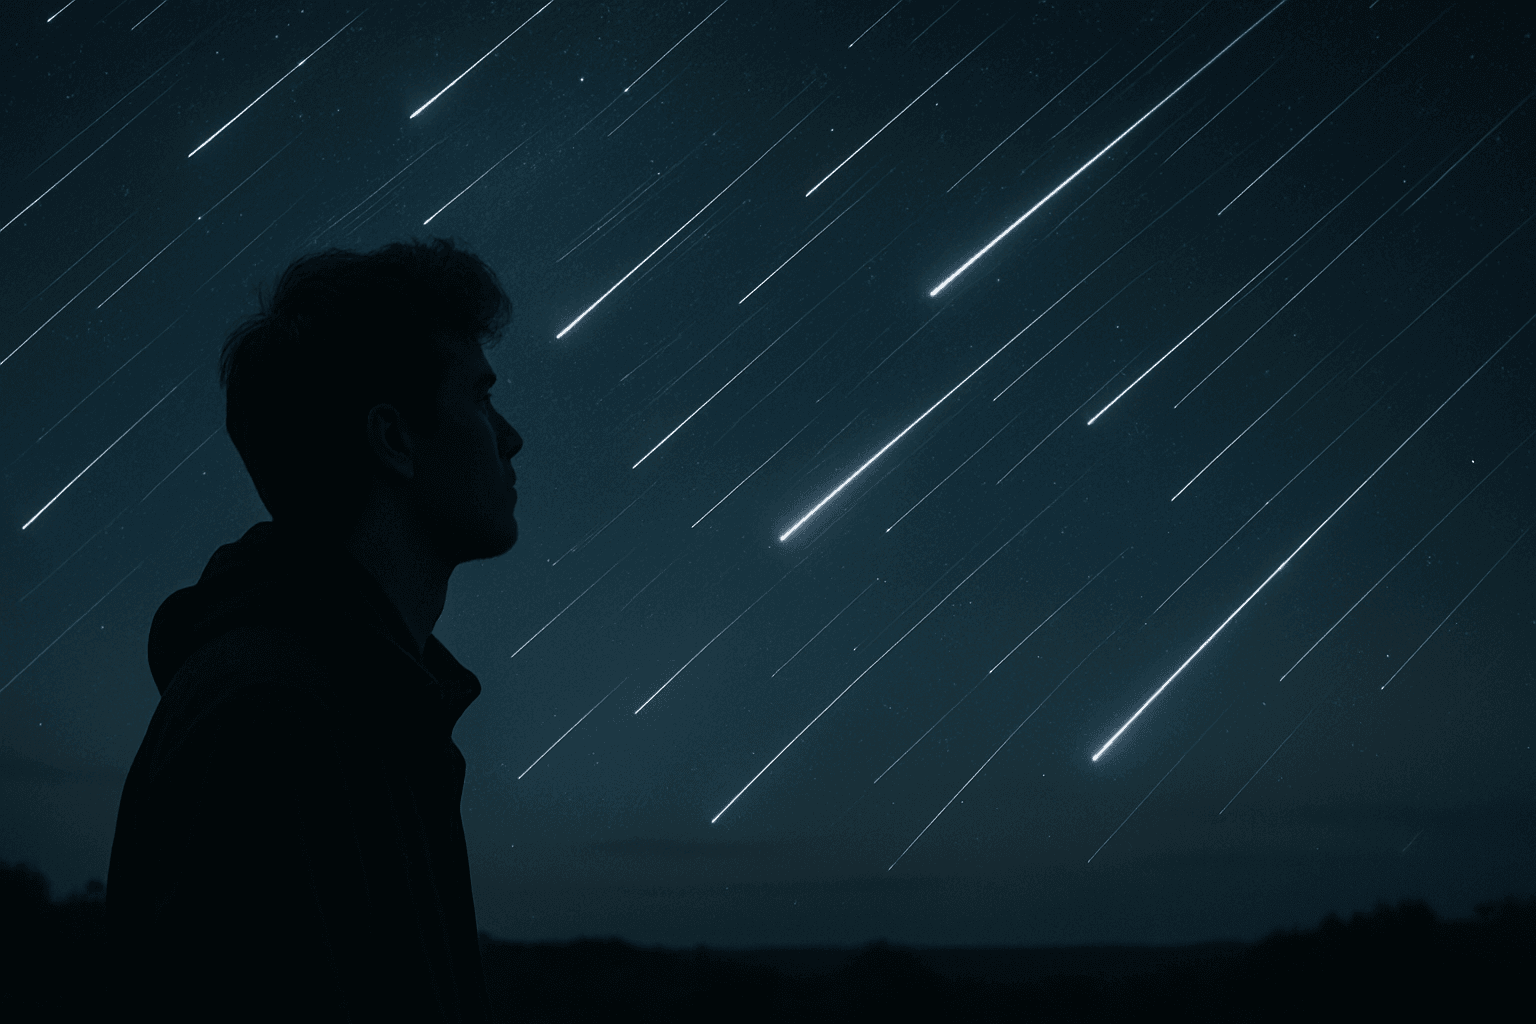
You’ve lost shots to blur, noise, or bad timing and it stings when the sky puts on a show. In this guide we’ll nail the settings for a long exposure meteor shower so you don’t miss dramatic streaks. You’ll get clearer stars, fewer distortions, and faster field decisions.
I’ll show practical starting points, sensible ranges, and reliable workflow tips that reduce noise and trailing. You’ll also find out one surprising mistake most people make when they try to capture meteors.
This is aimed at beginners and intermediate photographers who shoot from backyards to dark‑sky sites with wide lenses and tripods. If you shoot timed intervals, manual RAW, or want presets by focal length, this will save you time and frustration.
Expect field‑ready advice on exposure times, apertures, ISO choices, and framing. So your next session yields sharper meteors and cleaner skies — keep reading because the fix is simpler than you think.
Optimal Camera Settings for Long Exposure Meteor Shower Photography
I start with a simple recipe: 25 seconds, f/2.8, ISO 1600–3200. That balances faint-star detail with acceptable noise on most modern cameras. It’s my baseline for a long exposure meteor shower night.
Manual mode keeps exposure consistent as the sky changes. I shoot RAW so I can recover faint meteors and adjust white balance later. Stability is everything, so tripod and remote come first.
Before the shower peaks, I make a short test series and check for star trailing at 100%. If stars smear, I shorten the shutter speed. Then I lock in settings and start the interval timer.
Shutter Speed / Exposure Time
Meteors are brief, so typical frames run 20–30 seconds to catch them between shutter clicks. Longer single frames invite star trailing and sensor heat, which lifts noise and dulls contrast.
Instead of one very long exposure, I shoot many shorter frames and stack later. Stacking means combining multiple images to reduce noise while preserving sharp stars and meteor streaks.
Aperture
Open the lens wide to gather light. If your lens is f/2.8, use it. With very fast glass like f/1.4, stop down slightly to f/2.0–f/2.2 to reduce edge aberrations and coma.
Each lens has a sweet spot for stars. I test at f/1.8, f/2.0, and f/2.2 and compare corners. A tiny stop-down often cleans star shapes without sacrificing too much meteor brightness.
ISO
ISO 1600–6400 works well, with ISO 3200–6400 common for meteor showers. Higher ISO brightens faint meteors but also amplifies noise, so judge by your sensor’s tolerance.
High-resolution sensors show noise earlier when lifted aggressively. I’d rather underexpose slightly at ISO 3200 and recover in RAW than push to 12800 and fight blotchy skies.
Exposure Time Calculation: 500 Rule and Alternatives
The 500 Rule gives a quick ceiling to avoid star trailing: max seconds equals 500 divided by focal length on full-frame. At 24 mm, that suggests about 20 seconds.
High-resolution sensors reveal trailing sooner, so I often prefer 400 or even 300 in the formula. At 24 mm on a 45 MP body, 12–18 seconds looks cleaner on close inspection.
Crop sensors need the focal length multiplied by the crop factor in the calculation. These rules are guides; I always verify trailing at 100% and adjust for my specific setup.
Lens Choice and Focal Length Impact
Wide-angle lenses in the 14–24 mm range maximize sky coverage, boosting your odds of catching multiple meteors. They also tolerate longer shutter speeds before trailing becomes visible.
Longer focal lengths compress the sky and demand shorter exposures. At 20 mm, I often cap shutter speeds around 10–15 seconds on high-resolution bodies to keep stars pin-sharp.
Choose glass with clean corners and minimal coma. A 14 mm f/2.8 is a workhorse for big skies and a forgiving starting point for long exposure meteor shower nights.
Interval Shooting vs Single Long Exposures: Comparison and Workflow
Shooting continuous intervals multiplies your chances of catching meteors and keeps noise manageable. Single long exposures invite heat buildup, bigger star trails, and less flexibility in post.
My workflow is simple: 20–30 second frames, minimal gap between shots, and a two-hour continuous sequence. The intervalometer does the heavy lifting while I monitor focus and dew.
Later, I stack a clean subset for low-noise stars, then blend standout meteor frames over that base. This approach keeps detail crisp while showcasing the best streaks.
Focusing Techniques for Sharp Stars and Meteors
I switch to manual focus and use Live View at maximum magnification on a bright star. I roll past infinity, then nudge back until the star is the tiniest possible pinpoint.
Infinity marks aren’t reliable, so trust what you see. Tape the focus ring to prevent bumps, and re-check hourly because temperature shifts can move the focus point.
Planning Composition: Radiant, Framing Strategies, and Foreground Inclusion
Meteors radiate from a point in the sky called the radiant. Framing 30–60 degrees away shows longer streaks while still hinting at direction. I keep the radiant just off-center.
Foreground anchors the scene and tells the story of place. I scout trees, dunes, or ridgelines before dark, then align the sky wedge where meteors will arc above them.
AR planning apps map the radiant over time. I use the meteor shower photography guide to time peaks, then dial in compositions that evolve through the night.
Environmental Factors: Moon Phase, Light Pollution, and Timing
A dark, moonless sky is the biggest booster. I target new moon windows or wait for the moon to set, and I drive away from city glow to gain an extra magnitude or two.
Meteor showers strengthen after midnight as Earth turns into the debris stream. From midnight to dawn, rates typically climb, and meteors appear brighter and more frequent.
For a refresher on visibility and timing, see shooting a meteor shower. Combining that guidance with local forecasts saves wasted nights.
Common Challenges: Noise Management and Star Trailing
Noise creeps in from high ISO, warm sensors, and stretching in post. Shorter stacked exposures tame noise better than one long frame because random grain averages out.
Star trailing happens when exposure time exceeds the sky’s tolerance for your focal length. I shorten shutter speeds, lower ISO a touch, and shoot more frames to compensate.
Stability prevents micro-blur that looks like soft focus. I use a sturdy tripod, a cable release, and electronic first curtain if available, plus disable image stabilization on a tripod.
Post-Processing Considerations for Long Exposure Meteor Images
RAW files hold highlight detail in bright meteors and subtle sky tones. I set white balance around 3800–4200K for natural skies, then fine-tune tint to neutralize color casts.
I stack a batch of star-only frames for a clean sky, using median or sigma-clipping to suppress noise. Then I blend individual meteor frames using Lighten mode or masked overlays.
Protect meteor cores while lifting the faint tail. Gentle contrast and selective dehaze bring structure without crushing the Milky Way, and localized noise reduction keeps stars crisp.
Recommended Gear and Stability Essentials
A fast wide-angle lens, a camera that handles ISO 3200–6400 in RAW, a sturdy tripod, and an intervalometer form the core kit. Dew heaters help keep optics clear overnight.
For setup tips and camera features that help at night, browse this concise astrophotography guide. It pairs well with field testing to find your camera’s sweet spot.
Stability wins the night. I hang a small bag from the tripod hook, shield the rig from wind, and use a remote release to avoid contact during long exposure meteor shower sequences.
Practical Field Workflow: Example Settings by Focal Length and Sensor Trade-offs
With 14–24 mm on full-frame, I start at 20–30 seconds, f/2.8, ISO 1600–3200. On very high-resolution sensors, I shorten to 15–20 seconds and nudge ISO up if needed.
At 20 mm, expect shorter practical limits of about 10–15 seconds to keep stars tight. When I must shorten exposure, I compensate with ISO and collect more frames for stacking.
Every choice trades noise for trailing. For a clean long exposure meteor shower result, err on crisp stars, accept slightly higher ISO, and let stacking recover the quiet sky you want.
What People Ask Most
How can I avoid star trails when photographing meteor showers?
I avoid star trails by keeping each exposure short enough (use the 500 Rule or shorter for high-resolution sensors) and shooting many interval frames to stack later; I also use a solid tripod and a remote or cable release to prevent camera shake.
What is the best ISO setting for long exposure meteor photography?
I typically start around ISO 3200 and adjust in the 1600–6400 range depending on my camera’s noise performance, because higher ISO increases sensitivity but also adds noise.
Should I use one long exposure or several shorter exposures for meteor showers?
I prefer several shorter exposures (20–30 s) with an intervalometer so I can stack frames to reduce noise and avoid star trailing; a single very long exposure risks increased noise and streaking.
How do I focus my lens for sharp meteors and stars at night?
I switch to manual focus, use Live View and zoom on a bright star, then adjust until the star is a pinpoint and lock the focus, checking again periodically as temperature changes.
What focal length lens is best for capturing meteor showers?
I choose a wide-angle lens (around 14–24 mm full-frame) to maximize sky coverage and increase the chance of capturing meteors, while noting that longer lenses need shorter exposures to avoid trailing.
When is the best time to shoot during a meteor shower?
I aim for dark locations around new-moon windows and shoot from midnight to dawn when meteor rates are typically higher, and I avoid light-polluted areas for the clearest skies.
How do I calculate the maximum exposure time with my lens?
I use the 500 Rule (max seconds = 500 ÷ focal length on full-frame) as a starting point to prevent star trailing, and I shorten that value (e.g., use 300–400) for high-resolution sensors or longer focal lengths.
Wrapping Up: Night-Sky Strategy for Meteors
After walking through the settings, composition, and workflow that actually get meteors on sensor, this long exposure meteor shower primer shows you how to turn nights of wasted frames into predictable results. If you opened this piece because you were tired of coming home with empty black rectangles, the specific presets, interval strategy, and focusing tips we’ve laid out address that pain point and give a clear path forward.
Be realistic: sky conditions, moonlight, and your camera’s noise floor will still limit results, and even with ideal technique you won’t catch a bloom every exposure. That said, dedicated hobbyists and aspiring pro astro shooters who adopt the suggested exposure ranges, interval shooting, and composition strategies will see the biggest jump in usable captures.
The article leaves you with a simple truth — good planning and modest restraint on exposure times beat impulsive fifty‑minute shots when you’re chasing streaks. Try the methods on a moonless night, watch your keeper rate climb, and keep tweaking as you learn the subtle balance between sensitivity, time, and sky.


0 Comments