What is a diptych in photography, and why do two photos together speak so loudly? A diptych pairs two images to compare, contrast, or tell a short visual story.
In this guide I’ll give a clear definition and a quick art‑history note. You’ll see how photographers use diptychs in landscape, portrait, street, and documentary work.
You’ll get step‑by‑step shooting and editing tips for making strong pairs. We also cover pairing strategies, storytelling techniques, and how to display diptychs on web and in print.
The article includes annotated examples, simple exercises, and a publishing checklist to help you try diptychs right away. Read on to learn easy techniques that make two images work as one.
What is a diptych?
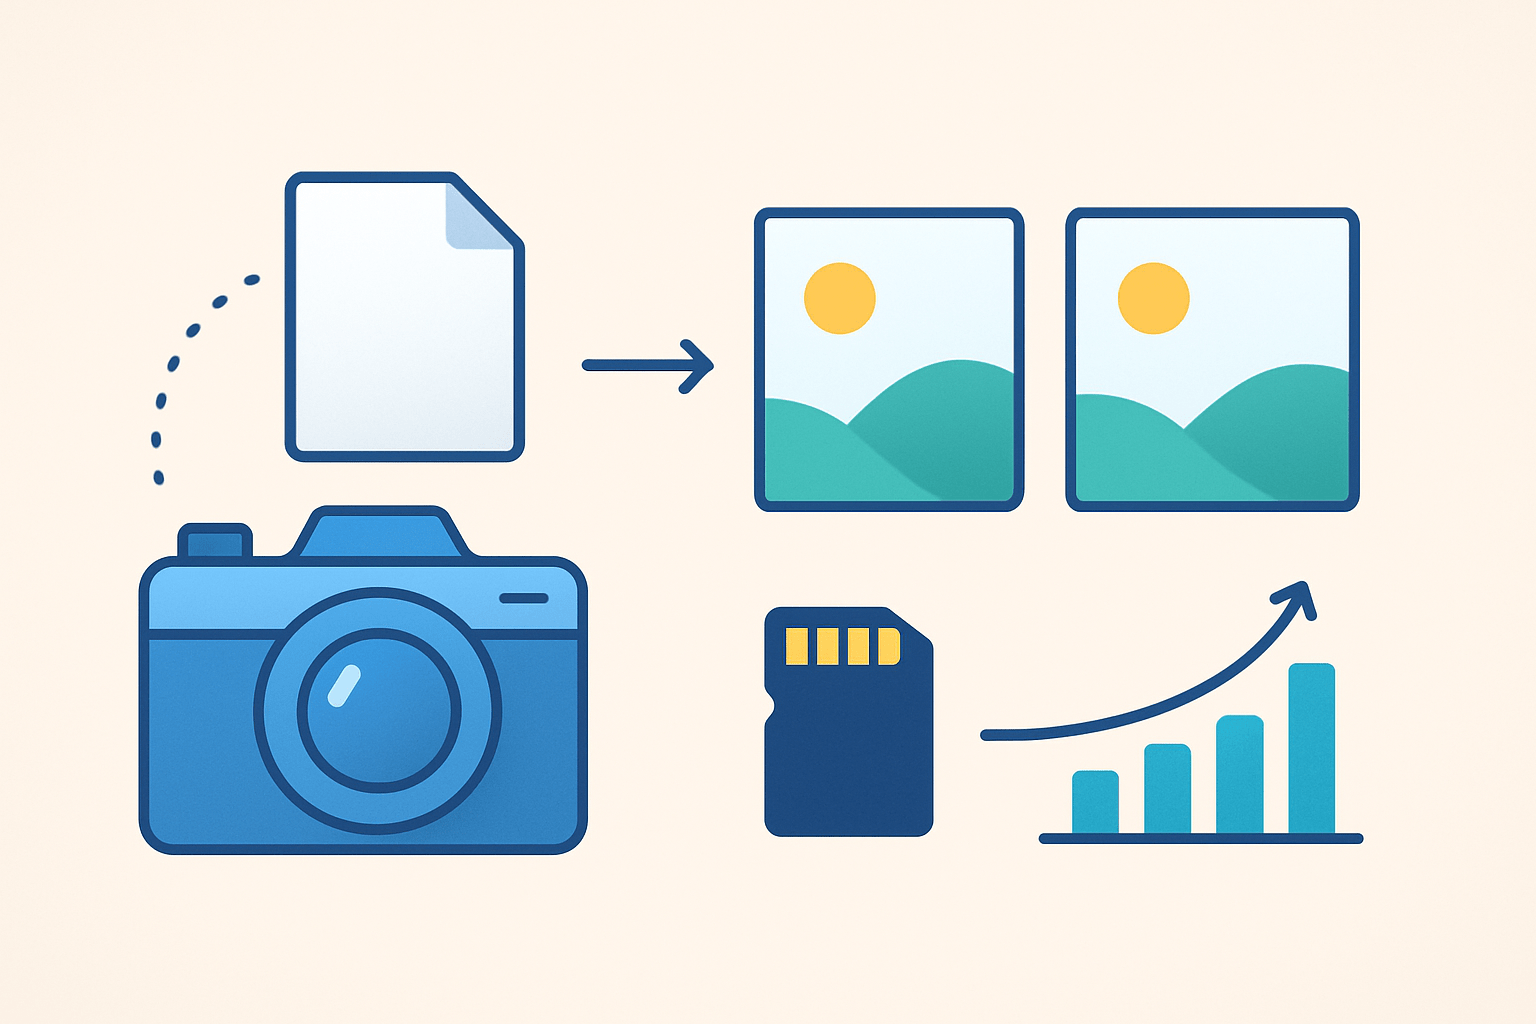
A diptych in photography is two images presented together to create comparison, contrast, or a small story. Side-by-side or stacked, printed or digital, the pair becomes one conversation.
What is a diptych in photography? It is a composed pair of photos shown as a single work so the images speak to each other and transform meaning through their relationship.
The idea comes from art history, where painters and icon makers hinged two panels to read as one. Photographers adopted the form to explore narrative, scale, and visual rhythm with modern tools.
The two frames can sit side-by-side or one above the other. You can print them as a single sheet with a gutter or as two separate prints hung close together, and both are correct.
A diptych uses two images, while a triptych uses three, and a polyptych uses more than three. The fewer panels you use, the stronger the focus on the relationship between parts.
Photographers use diptychs to compare similar subjects, highlight contrasts, show a before-and-after, or imply time passing. The pairing creates a visual dialogue that adds layers the single images cannot carry alone.
Example diptych: On the left, a child’s hand gripping a paintbrush; on the right, a finished watercolor of a seaside. Caption: Two moments linked by process and result, 35mm, f/2.8, 1/400s, ISO 200.
Think of this format as a small stage. Two images enter the frame, and what happens between them is the story you give your viewer to read.
Creating a photographic diptych (step‑by‑step)
Start with the relationship. Decide whether your pair should complement each other, clash in contrast, describe a sequence, hint at a metaphor, or move from detail to wider context.
Some diptychs are planned at the shoot, while others are discovered later by mining your archive. Both work, and you can learn a lot from exploring creating diptychs with intent and with play.
If you shoot both frames at the same time, you gain continuity of light, mood, and environment. This method reduces editing friction and yields a cleaner visual match.
Two cameras or quickly changing settings can help you capture moments that echo each other. The tradeoff is needing speed and a clear concept while you work.
Shooting frames at different times gives you more freedom to build meaning after the fact. You can pair yesterday’s cloud study with today’s portrait to invent a fresh connection.
The downside to separate sessions is inconsistency in light, color, or perspective. You may need more post-production to unify the pair, or you can lean into the differences for effect.
While shooting, capture variations of each subject. Bracket exposures, switch angles, and shoot both vertical and horizontal frames to give yourself pairing options.
Leave extra negative space on at least one side of each photo. That margin becomes your sculpting room for balanced crops and a clean gutter between images.
Decide whether to match or intentionally vary your white balance, exposure, depth of field, and focal length. Matching creates cohesion, while differences can emphasize contrast or a change in time.
Keep the same aspect ratio by default to reduce visual noise. Mixing ratios can work, but use it to say something clear, not by accident.
Compose with anchors that can talk across the gutter. Align horizons, echo shapes, and let leading lines point from one frame into the other to guide the eye.
For editing, build a collection in Lightroom or use Bridge to gather candidates. Flag, rate, and compare in Survey or Compare view until a relationship emerges.
Synchronize color grading to unify tone, or grade each frame differently if you want to underline a contrast. Converting both to black and white can instantly harmonize color clashes.
Assemble a single canvas in Photoshop by creating a new document and placing both images with a consistent gutter. For complex grids or print templates, InDesign makes spacing and text easier.
On the web, you can export one wide JPEG with both frames, use a gallery that shows them together, or present a two-slide carousel read left to right. Choose the format that preserves your pairing.
For prints, keep both images the same physical size and density. A narrow gutter, usually 1–3 cm depending on print size, or a shared mat board helps the pair read as one unit.
Screenshot: Lightroom Grid view showing two flagged frames in a collection. Screenshot: Photoshop canvas at 6000 px width with two placed images and a 120 px gutter. Diagram: Arrows indicating reading flow across the gutter.
Choosing images and pairing strategies
Pairing is part intuition, part craft. Study the shapes and tones first, then ask what the two frames say when they live side by side in silence.
Mirror or echo pairings repeat a subject in different moments, like two waves breaking at different heights. The rhythm suggests continuity across time.
Complementary pairings lean on shape, color, or texture that fits well together. A red umbrella against a grey street pairs nicely with a red door in soft light.
Contrast or juxtaposition works with opposites, such as young and old or big and small. The differences sharpen meaning and invite a second look.
Sequence or before-and-after shows motion and consequence. A diver in midair paired with a splash tells a whole action in two beats.
Macro versus context pairs a close detail with the wider scene. Show the cracked paint up close, then reveal the weathered lighthouse it belongs to.
Archival pairing mixes an older frame with a new one to show change. Place a family shop in the 1980s beside the same storefront today, and time becomes the subject.
For visual coherence, aim for similar tonal balance and matching contrast or grain. Your pair should feel like parts of one sentence rather than two different languages.
Balance the compositions so neither side dominates by accident. Compare shapes and negative space to keep visual weight even across the gutter.
Check narrative clarity and decide how much you want to reveal. Some pairs work best when the relationship is clear, while others hum with a bit of ambiguity.
Use the thumbnail or squint test to see if the pair reads cleanly at a glance. If one side collapses or screams too loudly, re-crop or swap candidates.
Desaturate both images temporarily and judge tonal harmony without color. If the values clash, fix it with curves before you bring color back.
Crop both to the same aspect ratio and test with and without a gutter. Flip one image horizontally to align reading direction if your eye gets stuck.
Match white balance and luminance when cohesion is the goal. Use precise crops to align anchor points like horizons, eyes, or strong verticals.
If color fights the relationship, convert both to black and white. Form, texture, and light will take the lead and often resolve the tension.
For more pairing intuition, this simple guide expands on what to look for in tone, shape, and rhythm.
Mini-example 1: Two portraits of the same person, eyes left in one and eyes right in the other, 50mm, f/2, 1/200s, ISO 100; the gaze connects across the gutter.
Mini-example 2: Blue glass texture beside a blue sky with contrails, 24mm, f/8, 1/1000s, ISO 200; color ties them as texture shifts scale.
Mini-example 3: Crushed soda can next to a polished silver teapot, 85mm, f/4, 1/125s, ISO 400; materials clash to form a witty contrast.
Mini-example 4: A worker’s hands stitching leather followed by the finished boot on a stool, 35mm, f/2.8, 1/160s, ISO 320; process and result sing together.
Using diptychs for storytelling and visual impact
Diptychs create narrative by arranging a visual dialogue. Image A poses a question, and Image B responds, reframes, or deepens the subject.
Juxtaposition can work like commentary or irony. A cheerful billboard beside a bleak alley turns into social critique without a single word.
They also show time passing and memory shifting. Two frames can compress hours, years, or generations into one coherent beat.
Cause and effect is simple and powerful. Show scaffolding under construction, then the finished façade, and viewers feel completion.
Then and now makes history tangible. A historical photo paired with your modern shot of the same viewpoint pulls time into the present.
Process to result clarifies craft. Hands rolling pasta, then a steaming plate of tagliatelle, turns labor into reward with one clean cut.
Emotion pairing ties people to place. A tight portrait reveals an expression, and the second frame shows the environment that explains it.
Reading order matters, especially for Western left-to-right readers. Compose to cue flow with gestures, leading lines, and light direction that travel across the gutter.
Captions can guide interpretation while keeping mystery. A short line naming time and place is often enough, and the images do the rest.
In street photography, diptychs link gestures or echoes across different corners. In documentary and photojournalism, they can show problem and consequence without heavy text.
Portraits benefit from pairing a close-up with a meaningful object or setting. Landscapes work with weather change or scale shifts, while still life thrives on texture and color play.
Archival work gains impact by pairing past and present prints. The conversation becomes about loss, resilience, or evolution across time.
For longer series, sequence multiple diptychs to create rhythm and rest. Hang with equal spacing and consistent frames so content carries the energy, not the hardware.
If you prefer a guided walkthrough, this concise how to make diptychs resource offers practical prompts to spark narrative thinking.
Practical tips, techniques and creative ideas
Keep a consistent aspect ratio unless you break it on purpose for effect. Align horizons and key anchors, and match grain or noise and sharpening so the pair feels unified.
Think about depth of field as a glue or a contrast. Two shallow frames whisper intimacy, while one sharp and one soft can imply memory versus reality.
Color is your volume knob. Grade both images with the same palette when you want harmony, or let one run warm and the other cool if you want tension.
Use complementary or analogous colors to add punch without chaos. Balance highlights and shadows so neither side feels dull or blown out by comparison.
For print, export at 300 ppi with the same physical dimensions for both images. Leave a 1–3 cm gutter and consider a shared white mat for a calm, gallery-ready look.
For web or social, 1:1 or 4:5 composites display well, and a single combined JPEG keeps the pair together in one post. Carousels also work, but they depend on swipes and may break the read.
Export sRGB for web to avoid color surprises, and embed your color profile for print. Soft-proof if you can, especially when matching tones across the pair.
If a pair feels off, strip the color and judge composition first. Align crops, tune tonal match with curves, and even flip one image to test reading flow before giving up.
If a pair reads cluttered, add breathing room. Crop tighter to remove distractions or use more negative space so the conversation between frames gets louder.
Try creative techniques like pairing a wide angle with a telephoto of the same scene. Blend an intentional blur with a tack-sharp frame, or mix an archival photo with a contemporary echo.
Use prompts to build a practice habit: door and window, sunrise and streetlamp, reflection and subject, hand and tool, footsteps and destination, macro detail and wide scene, old and new, smooth and rough.
More prompts: rain and shine, noise and silence, seed and flower, sketch and finished painting, city and nature, light and shadow, face and place, pattern and break, water and stone, empty and full.
Annotated example 1: Fisherman tying knots beside a finished net on a dock, 35mm, f/4, 1/250s, ISO 160; graded warm to unify wood tones; subtle vignette to hold the eye.
Annotated example 2: Storm clouds over wheat and the same field in sun, 24mm, f/8, 1/640s, ISO 100; synchronized white balance; split-toned shadows for continuity.
Annotated example 3: Studio still life of blue ceramics beside a street scene with blue signage, 50mm, f/5.6, 1/125s, ISO 200; calibrated color, matched micro-contrast, aligned horizontals.
Annotated example 4: Portrait close-up and the subject’s workshop, 85mm and 28mm, f/2 and f/5.6; graded to the same contrast curve; caption explains role and place.
Before/after grading pair: two city textures unified by a shared teal-orange palette, lifted shadows, and matched midtone contrast; the color treatment turns two times of day into one mood.
Alt-text template you can reuse: “Two related images showing [subject A] and [subject B] paired to emphasize [relationship]; diptych in photography example.” Short, descriptive, and helpful for screen readers.
Before publishing, confirm the definition with the keyword appears near the top. Include at least four annotated examples, a clear step-by-step, captions with EXIF, and accessible alt text for each image.
Make sure SEO basics are in place with the primary term “what is a diptych in photography” in a heading and early body text. Keep the tone friendly and visual so beginners feel welcome and eager to try.
What People Ask Most
What is a diptych in photography?
A diptych in photography is two images shown together to make one combined idea or story. They’re usually placed side-by-side or stacked to highlight a relationship.
How is a diptych different from a single photo?
A diptych uses two photos to show contrast, continuation, or comparison that a single image can’t convey. It adds context or a second viewpoint for more meaning.
Why should I use a diptych instead of one photo?
Diptychs help you tell a short story, show before-and-after changes, or emphasize differences and similarities for stronger impact. They can make simple scenes more interesting and engaging.
Can I create a diptych with phone pictures?
Yes, you can make a diptych with phone photos using basic editing apps or collage tools, and good composition matters more than expensive gear. Just crop and align the images so they work together.
What types of subjects work well in a diptych?
People, portraits paired with details, landscapes with close-ups, and before-and-after shots all work well in diptychs. Choose subjects that have a clear visual or thematic link.
How should I arrange the two images in a diptych?
Place them side-by-side or stacked with consistent framing, color, or tone so the eye moves naturally between them. Use symmetry, contrast, or a connecting element to guide the viewer.
What common mistakes should beginners avoid when making a diptych?
Avoid pairing images that clash in lighting, scale, or style, and don’t force a link that isn’t clear—aim for a simple, obvious connection. Keep edits balanced so one image doesn’t overpower the other.
Final Thoughts on Diptychs in Photography
A diptych lets two images speak together, amplifying meaning and shaping a short visual conversation — think of it as a two-frame lens that nudges a viewer toward a deeper idea, even a 270 turn in how you see a scene. We started with the simple question “what is a diptych in photography” and then walked through planning, shooting, pairing, editing and presenting so you can build one yourself. That journey shows how small choices make a pair feel intentional.
The real payoff is a richer, more economical storytelling — two frames can create contrast, show sequence, or reveal scale faster than a single image. One caution: pairs that don’t share tone, scale, or a clear relationship can leave viewers puzzled, so spend time matching crop, light, and rhythm. This approach suits storytellers, photojournalists, portrait artists and anyone who loves visual puzzles; it’s especially useful for beginners and intermediates wanting to build a coherent body of work.
If you wondered how a diptych could change your work, this piece mapped the whole process from definition to display. Try pairing a detail and a context, and see what new stories unfold.

0 Comments