What is photo quality paper and can the right sheet make your prints look professional?
In this guide I explain it in plain words. You’ll learn which specs matter: weight, paper base, coatings, sheen, tint, optical brighteners (OBAs) and archival life.
You will get a simple, step-by-step checklist to pick paper for portfolios, galleries, albums or social media. I also compare inkjet vs laser and explain when to choose glossy or matte.
Practical tools include a 4×6/8×10 test-print routine, a buyers’ checklist, handling and storage tips, and color-management steps. Read on and you’ll be able to choose and test photo quality paper with confidence.
Photo Paper Quality
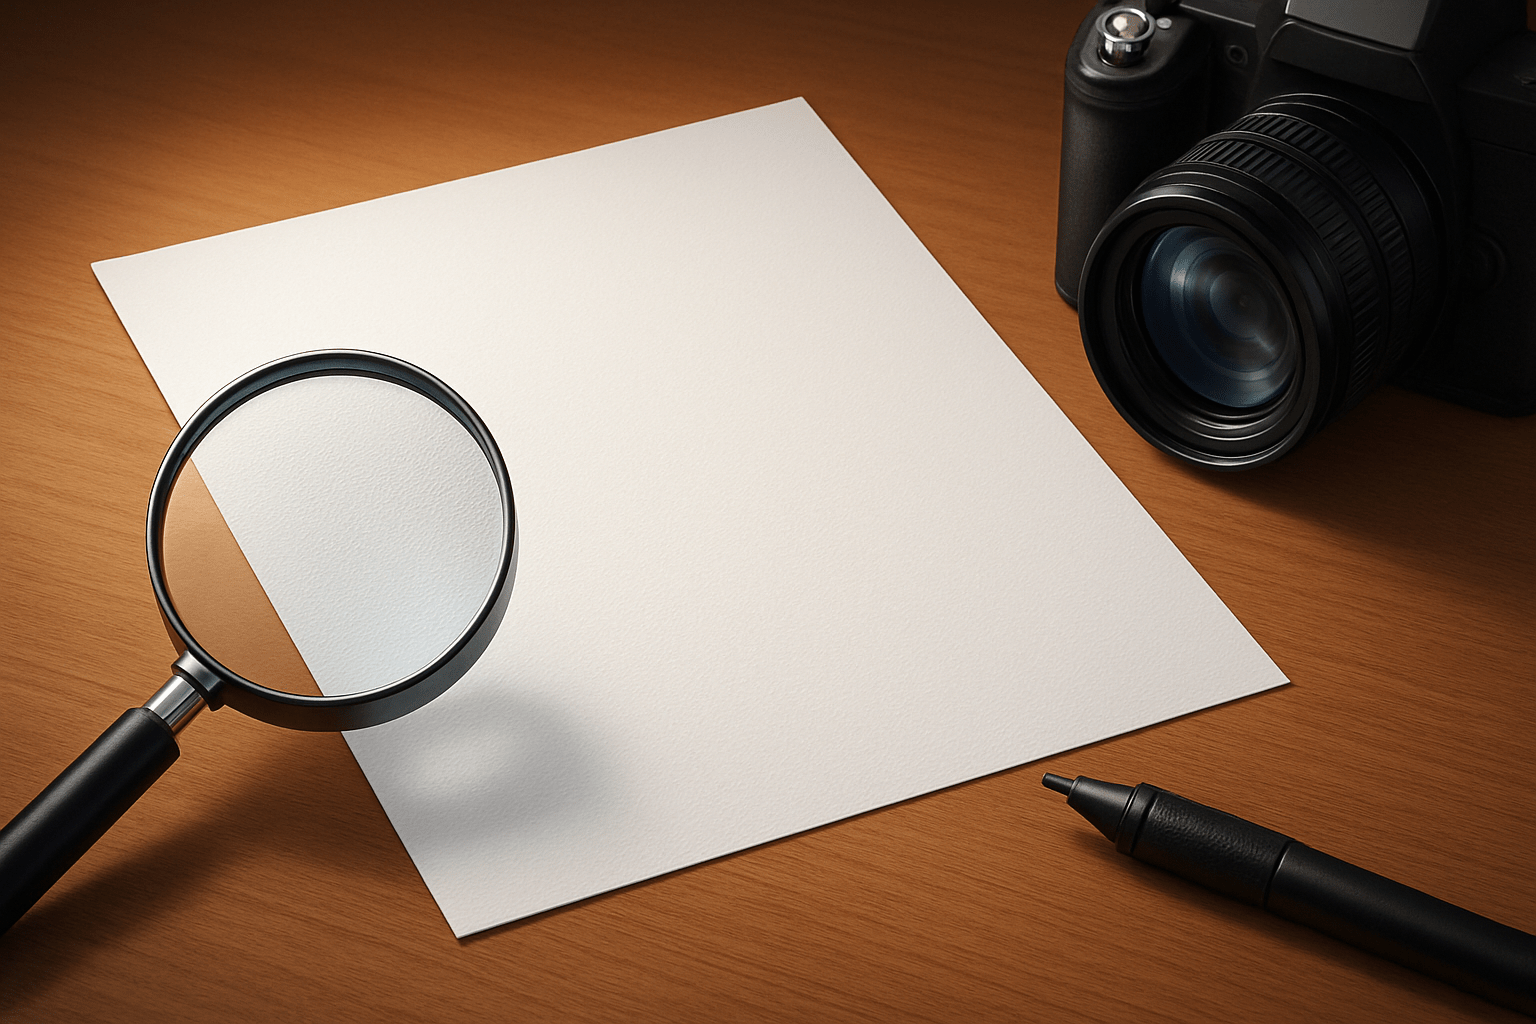
Photo quality paper is a specially coated, heavier, archival-friendly sheet that controls ink absorption and surface sheen, delivering accurate color, crisp detail, smooth tonal transitions, and long-term print stability.
If you are asking what is photo quality paper in practice, start with weight. Heavier stocks feel substantial, lay flatter, and resist show-through, which preserves sharp edges and reduces dot gain for cleaner, sharper prints.
Base type matters. Resin-coated (RC) papers use a plastic barrier for fast drying and vivid gloss, while fiber/baryta bases mimic traditional darkroom papers with deeper blacks, rich micro-contrast, and a fine-art feel.
Coatings control how inks spread and set. Microporous and swellable layers regulate absorption, so colors stay saturated, blacks stay deep, and fine details don’t blur, all while improving drying time and scuff resistance.
Surface sheen and texture shape dynamic range and perceived sharpness. Glossy and luster finishes maximize contrast and punch, while matte and textured surfaces soften specular glare, deepen tonal nuance, and prioritize a tactile, artistic look.
Base tint shifts mood and skin tones. A cooler, brighter base boosts crispness and vivid color, while a warm base flatters portraits and black-and-white, protecting delicate highlights from appearing harsh or clinical.
Optical brightening agents increase perceived brightness but can fade under UV, potentially shifting color over time. For longevity, many archival papers reduce or eliminate OBAs to keep whites stable for decades.
Archival signals like acid-free and lignin-free matter for long-term display. These specs, plus buffered cores and stable coatings, protect against yellowing, preserve highlight and shadow detail, and extend the life of the print.
Typical weights range from about 180–320 gsm, with 240–300 gsm feeling premium without overwhelming most home printers.
Quick rule: RC for fast, high-gloss lab-style color and everyday durability; fiber/baryta for gallery-level depth, classic tonality, and museum presentation.
If you want a broad overview of finishes and bases before buying, explore types of photo paper for context on how each option behaves.
When to choose RC vs fiber: choose RC when you want maximum pop, fast drying, and easy handling, especially for glossy and luster. Choose fiber/baryta when tonal subtlety and a traditional fine-art aesthetic are the priority.
How to Choose a Paper for Printing Your Photos
Begin with the end use. Portfolio pages, framed gallery pieces, client deliveries, albums, or scans for social media each demand different durability, sheen, and cost considerations.
Match subject and style to the finish. Highly saturated landscapes and products often sing on glossy or luster, while portraits, editorial work, and black-and-white benefit from matte, baryta, or subtle-texture fine-art stocks.
Check printer type and inks. Pigment inks excel on matte and baryta for longevity and nuanced tone, while dye inks often punch harder on glossy RC; always consult the manufacturer’s media list and ICC profiles.
Think about weight and presentation. Heavier papers resist waves when displayed unmounted, but extremely thick sheets may challenge some feed paths; test a 240–300 gsm option before committing to a bulk purchase.
Balance archival goals with budget. If the print must last, go OBA-free, pH neutral, and lignin-free; for casual use, bright OBA paper can be cost-effective and visually striking under indoor light.
Imagine a simple decision matrix: portraits and editorial lean to matte or luster on neutral-warm bases; saturated landscapes to glossy or luster on bright RC; black-and-white to matte or baryta; product and food to glossy RC.
Buyers’ checklist: confirm printer compatibility and ICC profiles, choose finish for your subject, pick weight that your printer and framing can handle, decide on OBA presence, and verify archival specs if longevity matters.
Run a smart test-print routine. Crop a representative area to 4×6 or 8×10 at 300 ppi, soft-proof, select the correct media setting and ICC, print at high quality, let it dry, and judge under the same light used for display.
For color management, calibrate your monitor regularly, enable soft proofing in Lightroom or Photoshop, and use manufacturer or custom ICC profiles; this prevents surprises and protects highlight and shadow detail.
Quick settings that work broadly: set 300 ppi, let the application manage color with the correct profile, disable printer color management, choose the precise media type, and use Relative Colorimetric with Black Point Compensation for most photos.
Handle and store prints thoughtfully. Allow 24 hours of curing before stacking, avoid touching surfaces, store flat with interleaving sheets, keep humidity moderate, and frame with acid-free materials and UV glazing when possible.
If you need a fast primer on options and brands, this concise photo paper guide can help you shortlist stocks to test.
Top print mistakes to avoid include using the wrong media setting, allowing double color management, and stacking prints before they fully cure, which can cause gloss marks and smudges.
Inkjet Vs. Laser Photo Paper
Inkjet photo papers are engineered for liquid inks, with coatings that accept droplets, hold them in place, and dry fast. They offer the widest range of finishes and the best color gamut and tonal subtlety.
Laser photo papers are designed for toner and heat fusing, so coatings and bases prioritize fusing strength and speed. They can look decent for quick office photos but rarely match inkjet for fine detail and smooth gradients.
Always check your printer manual, the paper vendor’s compatibility notes, and available ICC profiles. Using media not intended for your device risks poor adhesion, banding, color shifts, or even paper jam and fuser damage.
For anyone asking what is photo quality paper, most premium choices are optimized for inkjet chemistry. Use laser-optimized photo paper only when the vendor explicitly certifies it for your exact laser model.
If color fidelity, deep blacks, and archival potential are priorities, choose inkjet-optimized papers and the correct profiles; reserve laser for fast proofs or bulk prints where longevity and gamut are less critical.
Glossy
Glossy photo paper has a high-sheen, reflective surface that maximizes color saturation and contrast. It often yields the sharpest perceived detail and punchy blacks, ideal for bold, commercial-looking images.
The strengths are vivid color, crisp micro-contrast, and a smooth finish that accentuates fine textures. Landscapes, travel, product shots, and colorful portraits tend to sparkle on a well-made glossy RC stock.
Glossy can be unforgiving to fingerprints, scratches, and glare under gallery lights or behind glass. Handle by the edges or with gloves, and allow full drying and curing to avoid scuffs.
For framing, consider anti-reflective glazing to tame hotspots. Use accurate profiles and media settings to prevent oversaturation or blocked shadows, and evaluate prints under the same lighting they will be displayed in.
Small prints, albums, and client handouts benefit from glossy’s pop and immediacy. When you need maximum wow-factor from saturated files, glossy remains the fastest route to impact.
Matte paper characteristics and uses
Matte photo paper has little to no sheen and often a subtle texture, which softens specular highlights. It produces gentle tonal transitions and a refined, tactile look favored in fine-art presentation.
Pros include zero glare, excellent handling of fingerprints, and graceful tonality in portraits and black-and-white. Under gallery lighting, matte papers keep attention on content rather than reflections.
Drawbacks include lower perceived saturation and contrast compared with glossy, and some ink sets may show bronzing if profiles and settings are off. Soft-proof for matte and dial back contrast and sharpening slightly.
For gallery and museum work, many photographers choose baryta or cotton-based matte stocks; explore fine art paper options to refine your aesthetic. Portraits, editorial spreads, and muted landscapes often look timeless on matte.
What People Ask Most
What is photo quality paper?
Photo quality paper is specially coated paper designed to produce clearer, more vibrant prints for photos and artwork than regular copy paper.
When should I use photo quality paper?
Use it for printing photos, greeting cards, framed prints, or any project where image color and detail matter.
Will photo quality paper make my prints last longer?
Yes, it can help colors look better and resist fading, especially when paired with the right inks and proper storage.
Is photo quality paper only for photos?
No, it also works well for posters, portfolios, craft projects, and marketing materials that need a professional look.
Can I use photo quality paper in my home printer?
Many home printers can handle it, but you should select the correct paper type in your printer settings for best results.
What’s the difference between glossy and matte photo quality paper?
Glossy paper gives a shiny, vibrant finish while matte paper reduces glare and offers a softer, more textured look.
Will using photo quality paper make a low-quality image look professional?
It can improve appearance, but a high-quality source image and proper printer settings are still important for professional results.
Final Thoughts on Photo Paper Quality
Choosing the right photo paper transforms a good digital file into a print that sings — whether a 270‑gsm sheet or a lighter stock, the right base, coating and finish let color, contrast and detail translate faithfully. We started by defining “photo quality paper” and broke down weight, base, coatings, finishes and printer compatibility so you can match materials to your vision; that clarity is what turns files into gallery-ready prints for pros and serious hobbyists. If you want prints that match your on-screen edits or hold up in a show, the practical checklists, test-print routine and handling tips here cut through the guesswork.
Be realistic: profiles, test prints and careful handling matter, and you’ll hit snags — not every paper behaves the same with every printer, and some finishes will need adjustments in sharpening, contrast or drying time. But for photographers who value image fidelity, archival life and the mood of a print, this guide gives a clear, practical roadmap for choosing materials that suit both vision and workflow. Trust your eye, keep testing, and enjoy how each print brings your vision off the screen and into the world.


0 Comments