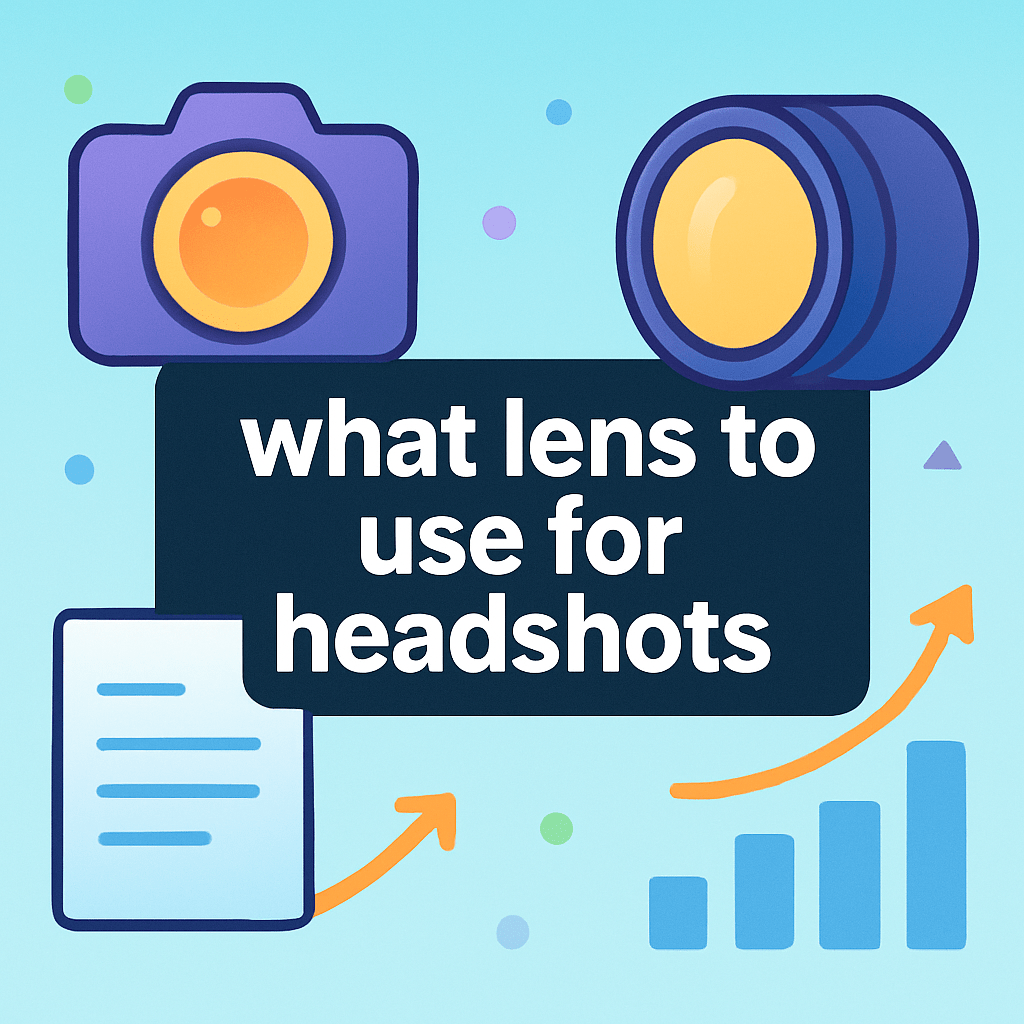
What lens to use for headshots?
Short answer: for full-frame cameras the best lens for headshots is in the 85-135mm range, with 85mm the most versatile. Use about f/2–f/2.8 for nice background blur and sharp eyes, and multiply focal lengths by 1.5–1.6× for APS-C or 2× for MFT.
This article shows why lens choice matters — compression, perspective and distortion — and gives clear focal-length recommendations and working distances. You’ll also get prime vs zoom advice, practical shooting tips, quick-pick lens lists, and sample EXIF so you can copy the results.
Whether you shoot in a tight studio or on location, this guide will help you pick and use the right headshot lens with confidence. Read on for quick answers, visual comparisons, and a handy cheat-sheet to save time on set.
Best lens for headshots (short, direct answer — what lens to use for headshots)

If you want the short answer to what lens to use for headshots, choose 85–135mm on full frame, with 85mm being the most versatile for most people. Use f/2–f/2.8 for pleasing background blur while keeping the eyes crisp, and remember to multiply focal lengths by 1.5/1.6 on APS-C or 2x on Micro Four Thirds.
For fast corporate studio work, 85mm at f/2.8 gives consistent sharpness and clean separation. For tight actor headshots, 105–135mm at f/2–f/2.8 gives elegant compression and a refined, editorial look.
When you need the environment in the frame, a 50mm works well if you keep a respectful distance and watch the edges for distortion. In cramped spaces, stick with 50mm for head-and-shoulders framing or move to 85mm if you can back up a bit.
If you are on a budget and unsure what lens to use for headshots, start with a 50mm f/1.8 on APS-C or an 85mm f/1.8 on full frame. Both are inexpensive, lightweight, and produce beautiful results when used at f/2–f/2.8.
Quick picks to make decisions simple: best single-lens choice is an 85mm prime (f/1.8–f/1.4). The versatile option for studio and location is a 70–200mm f/2.8. For tight rooms, the compact 50mm f/1.8 or f/1.4 is the practical pick.
Sensor size changes everything, so adjust your plan before you buy. On APS-C, an 85mm behaves like roughly 127–136mm, and on Micro Four Thirds a 45mm mimics the classic 90mm headshot look.
Why lens choice is critical for good portraits (focal length, compression, perspective and distortion)
Focal length controls how you stand relative to your subject, and that distance sets the perspective. Longer lenses compress facial features gently, which flatters most faces, while wider lenses exaggerate whatever is closest to the camera.
When a lens is too wide and you step in close, noses appear larger, foreheads bulge, and ears recede. This is why 35mm and wider lenses can look strange for tight headshots, even if they are tack sharp.
Compression is your friend because it narrows the space between features without flattening them entirely. At 85–135mm you get enough compression to subtly refine the face, but not so much that the subject looks pasted onto the background.
Longer focal lengths also help the background melt away. With an 85mm at f/2 or a 135mm at f/2.8, the background softens and colors blend, letting the subject pop without heavy retouching.
Working distance shapes the experience of the shoot as much as the image. Standing two to four meters away gives your subject space to breathe, while still allowing clear direction and eye contact through the lens.
Imagine three frames of the same person: at 50mm you stand about 1–2 meters away for a head-and-shoulders portrait, and you’ll see more of the room with slightly stretched features if you get too close. At 85mm you back up to about 2–3.5 meters, features look neutral and flattering, and the background softens nicely.
At 135mm you step even farther back, around 3–6 meters, and the face looks refined with a very soft backdrop that feels almost painterly. Use these comparisons as a mental guide, and consider creating side-by-side examples in your portfolio to show clients how each look changes the mood.
On crop sensors, this perspective effect is easy to match if you pick the right focal length. For example, an 85mm on APS-C acts like about 127mm, which is perfect for tight crops, while a 50mm on APS-C mimics the full-frame 75–80mm range and is great for head-and-shoulders framing.
If you want to dive deeper into why these choices matter, this concise portrait lens guide breaks down focal length behavior with clear examples. Learn the theory once, then trust the look you see in your viewfinder.
Lens focal length recommendations (85mm to 100mm range + when to choose 105mm/135mm/50mm)
Start with 50mm when you are stuck in tight rooms or want a looser, more contextual headshot. Work around 1–2 meters or 3–6 feet, and keep your aperture near f/2.8–f/4 so both eyes remain sharp while your background is still pleasantly soft.
For most full-frame headshots, 85mm is the sweet spot that balances flattering compression, comfortable working distance, and subject isolation. Expect to stand roughly 2–3.5 meters or 6–12 feet from your subject, and use f/1.8–f/2.8 depending on how much blur and forgiveness you want.
When your brief calls for tight head crops or a polished editorial look, move to 105–135mm. You will stand around 3–6 meters or 10–20 feet away, gain maximum compression, and achieve a creamy background, especially at f/2–f/2.8.
If you prefer flexibility, a 70–200mm f/2.8 covers the most useful headshot range in one lens. Work between 70–135mm for classic frames, and explore 135–200mm outdoors for dramatic subject-background separation without moving your lights or changing your set.
Crop sensors change the numbers but not the logic. A 50mm on APS-C behaves like roughly 75–80mm, a 56mm gives an 85mm-like look, and a 45mm on Micro Four Thirds mirrors a 90mm on full frame with similar working distances scaled down slightly.
Aperture is your control dial for depth and forgiveness. At 85–135mm, try f/2–f/2.8 for creamy backgrounds while keeping the nearer eye reliably sharp; at 50mm in small rooms, f/2.8–f/4 keeps the face within the focus plane without sacrificing style.
Create a simple cheat-sheet graphic you can keep on your phone or print: focal length, typical distance, recommended aperture, and crop equivalents. It becomes a quick reference that saves time when you walk into a new office, studio, or living room.
If you want a broader look at options across brands and budgets, skim this roundup of the best portrait lenses. Use it to shortlist candidates, then test the few that fit your style and space.
Prime vs. zoom lenses for headshots — pros, cons and recommended models to research
Primes are popular for headshots because they offer superb sharpness, wide apertures, and beautiful bokeh. They are often lighter than big zooms and nudge you toward consistent, repeatable framing that helps speed up your workflow.
The downside to primes is flexibility when your space changes suddenly. If the room shrinks or a background becomes unusable, you may need to move furniture or swap lenses to adjust your composition.
Zooms give you flexibility on the fly, which is gold during fast-paced sessions or corporate days with long queues. A pro 70–200mm f/2.8 delivers excellent optical quality with fast autofocus, though it is heavier and more conspicuous.
If you are building a studio headshot kit, combine one prime and one zoom. An 85mm prime covers your hero look while the 70–200mm f/2.8 lets you reframe instantly for wider or tighter crops without moving lights.
For event or corporate shooters who work solo, lean on a 70–200mm f/2.8. A 24–70mm f/2.8 can help for environmental portraits, but avoid the wide end for close headshots and keep it nearer to 70mm for flattering perspective.
Beginners on a budget should start with an 85mm f/1.8 on full frame or a 50mm f/1.8 on APS-C. These classic lenses are inexpensive, bright, and sharp, and they teach distance discipline that will benefit you for years.
Recommended models to research include 85mm primes from Canon, Nikon, Sony, Sigma, Tamron, and Samyang. Also look at 105mm and 135mm primes like the Sigma Art line or brand-native 105/135 options, and staple 70–200mm f/2.8 zooms from Canon, Nikon, Sony, Sigma, and Tamron.
If you shoot mirrorless, consider native lenses first for the best autofocus and eye-detection performance. Adapters can work very well, but double-check AF consistency and balance, especially with heavier DSLR-era glass.
When in doubt, rent before you buy and test in your real spaces with your lighting. A lens that looks perfect on paper may feel too long in your home studio or too short in a big conference room.
For more perspective across budgets and mounts, skim this practical guide to lenses for portraits. Cross-reference your shortlist, then try two or three in a single session to feel the differences quickly.
Practical shooting tips: aperture, focus, working distance, background, and essential gear
The sweet spot for most headshots is f/2–f/2.8 because it blends flattering blur with a forgiving focus plane. Ultra-wide apertures like f/1.2–f/1.4 are gorgeous but razor-thin, so test carefully and ensure your nearest eye is the point of highest sharpness.
Use single-point autofocus on the nearer eye and confirm focus with magnified playback when time allows. If your camera’s eye-AF is reliable, use it, and consider back-button AF so recomposing does not refocus on the ear or hairline.
Keep shutter speed at least 1/125–1/200 to freeze subtle motion from breath and expression. As a baseline for handheld work, use 1 divided by your focal length and raise ISO rather than risking motion blur from a subject’s blink or shift.
Image stabilization helps with your hand movement but not your subject’s face. If you are shooting handheld with natural light, combine stabilization with a faster shutter to hold crisp eyes predictably.
Give your subject space from the background to improve blur and separation. Six to ten feet is a good starting point, and more distance lets you shoot at slightly narrower apertures without losing that creamy, professional look.
Light with a soft, broad source like a large softbox or umbrella for smooth skin and gentle shadows. Add a hair or rim light to carve the face from the background, and use a reflector just off-axis to lift shadows under the chin.
Compose with intention by placing the eyes near the upper third and watching the crop at the top of the head. Ask for a tiny chin-forward and down move to define the jawline, and angle shoulders slightly for a slimmer, more dynamic posture.
Establish a consistent working distance before the first frame by marking the floor with tape. It speeds your session, keeps your framing consistent, and prevents you from creeping too close with a 50mm where perspective gets less flattering.
Tether when possible so clients can approve quickly and you can spot flyaway hair or soft focus early. Use a tripod for repeatable frames, bring a collapsible reflector for fill, and keep a lens hood and microfiber cloth handy to protect contrast and clarity.
Watch for common mistakes such as using a lens that is too wide for a tight crop, shooting wide open without checking focus, or letting the subject blend into a busy background. Step back, close down one stop if needed, and move the subject farther from the backdrop to regain control.
Strengthen your portfolio with comparison assets that educate clients and refine your taste. Create side-by-side sets showing 50mm vs 85mm vs 135mm, and f/1.4 vs f/2.8 vs f/4 on the same focal length, with EXIF displayed so readers can replicate your look.
A small cheat-sheet graphic pinned to your phone or laptop is invaluable on set. List focal length, distance, aperture, and crop equivalents so you can answer what lens to use for headshots in any space without hesitation.
As you practice, keep notes on what distances and apertures flatter different face shapes, hair styles, and glasses. This habit turns technical choices into instinct, and your question about what lens to use for headshots will feel less like a guess and more like a confident decision.
What People Ask Most
What lens should I use for headshots?
Use a lens that lets you frame the face naturally without distortion and create a softly blurred background for separation.
Is a zoom lens or a prime lens better for headshots?
Both work well; primes give a consistent look and zooms offer flexibility to adjust framing quickly.
Do I need a fast lens for headshots?
A fast lens helps in low light and gives creamier background blur, but good lighting can make any lens look great.
Can I use a wide-angle lens for headshots?
Wide-angle lenses can distort facial features, so it’s usually better to avoid shooting too close with them.
Will my phone camera work for headshots?
Yes, modern phone cameras can capture excellent headshots if you use portrait mode and good lighting.
How does lens choice affect background blur in headshots?
Lenses that let you stand a bit farther from the subject and compress the scene create smoother background blur.
What common lens mistakes should beginners avoid for headshots?
Shooting too close with a wide lens and choosing busy backgrounds are common mistakes that hurt the final look.
Final Thoughts on the Best Lens for Headshots
Even if you sometimes grab a long lens like a 270 for dramatic compression, the sweet spot for headshots stays in the 85–135mm range because it preserves facial proportions while giving pleasing background separation. Choosing the right lens is mostly about flattering perspective, comfortable working distance and reliable eye sharpness, which makes your portraits feel honest and polished.
Along the way we covered focal lengths, compression, and aperture choices so you can recreate flattering headshots reliably. One realistic caution: don’t shoot too wide in tight spaces or at ultra-wide apertures — you’ll risk distortion and missed focus. Studio pros, corporate shooters and eager beginners will benefit most from these clear, practical rules.
So when someone asks what lens to use for headshots, remember the 85–135mm zone is your starting point and the guide’s quick picks, focal-distance notes and aperture tips make the choice simple. Keep experimenting with one setup at a time, and you’ll steadily build the instincts that turn good portraits into great ones.

0 Comments