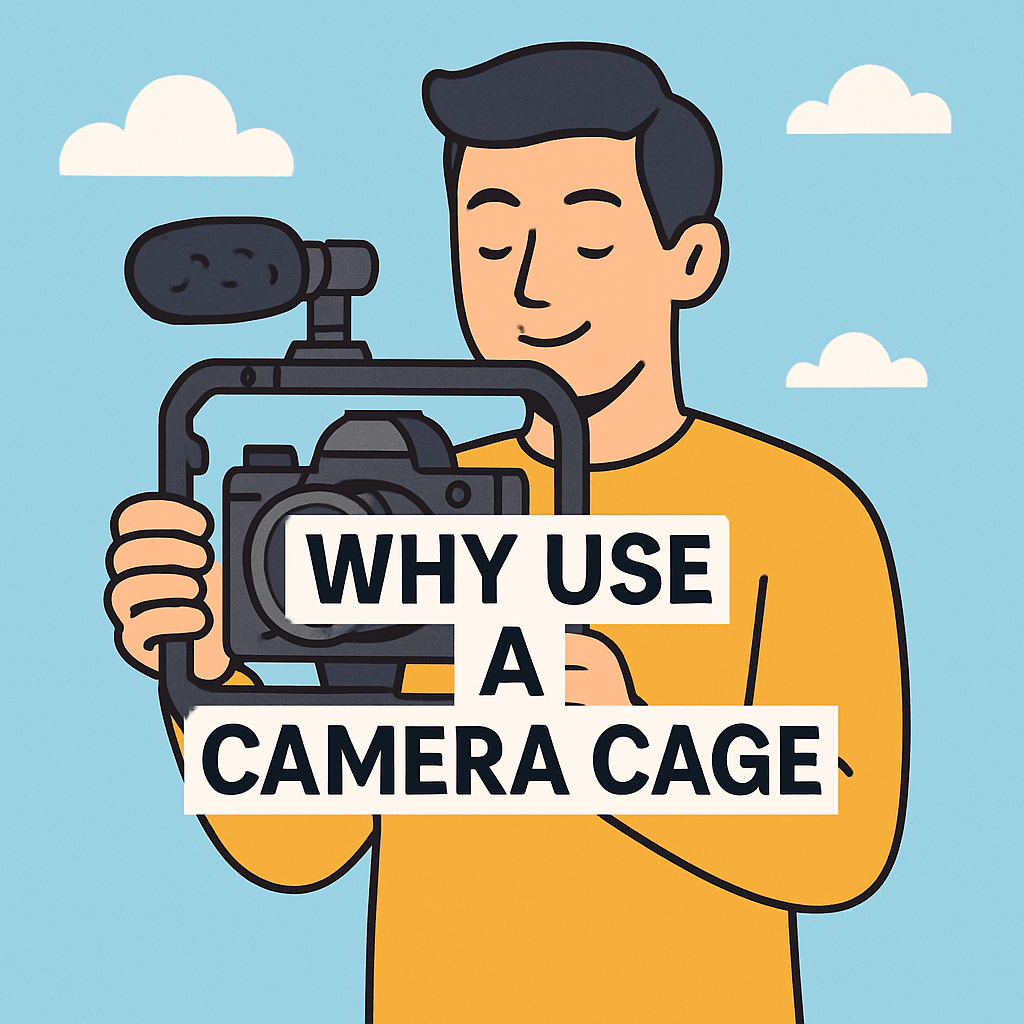
Tired of scrambling after a slipped cable or blaming soft footage on bad luck? If you’ve wondered why use a camera cage, this guide’ll show how a frame protects your body and gives clean mounting points. You don’t have to guess which rig will survive a weekend shoot.
You’ll get fewer ruined takes, tidier cables, and steadier handheld shots. We’ll also cover lighter setups, quick accessory mounting, and how to keep ports safe without complicated mods. That means sharper footage, cleaner setups, and fewer interruptions.
Many shooters think cages just add ugly bulk, but a common myth hides a big benefit. We’ll expose that mistake and explain why a smaller cage can often be the smarter choice. We’ll also separate real benefits from marketing fluff.
It’s aimed at hybrid shooters, indie filmmakers, and anyone who works handheld or on-location and wants faster, more professional setups. You’ll learn which trade-offs are worth it for different shoots. If you’re tired of bulky rigs or guesswork, keep reading because the fix is simpler than you think.
What Is a Camera Cage?
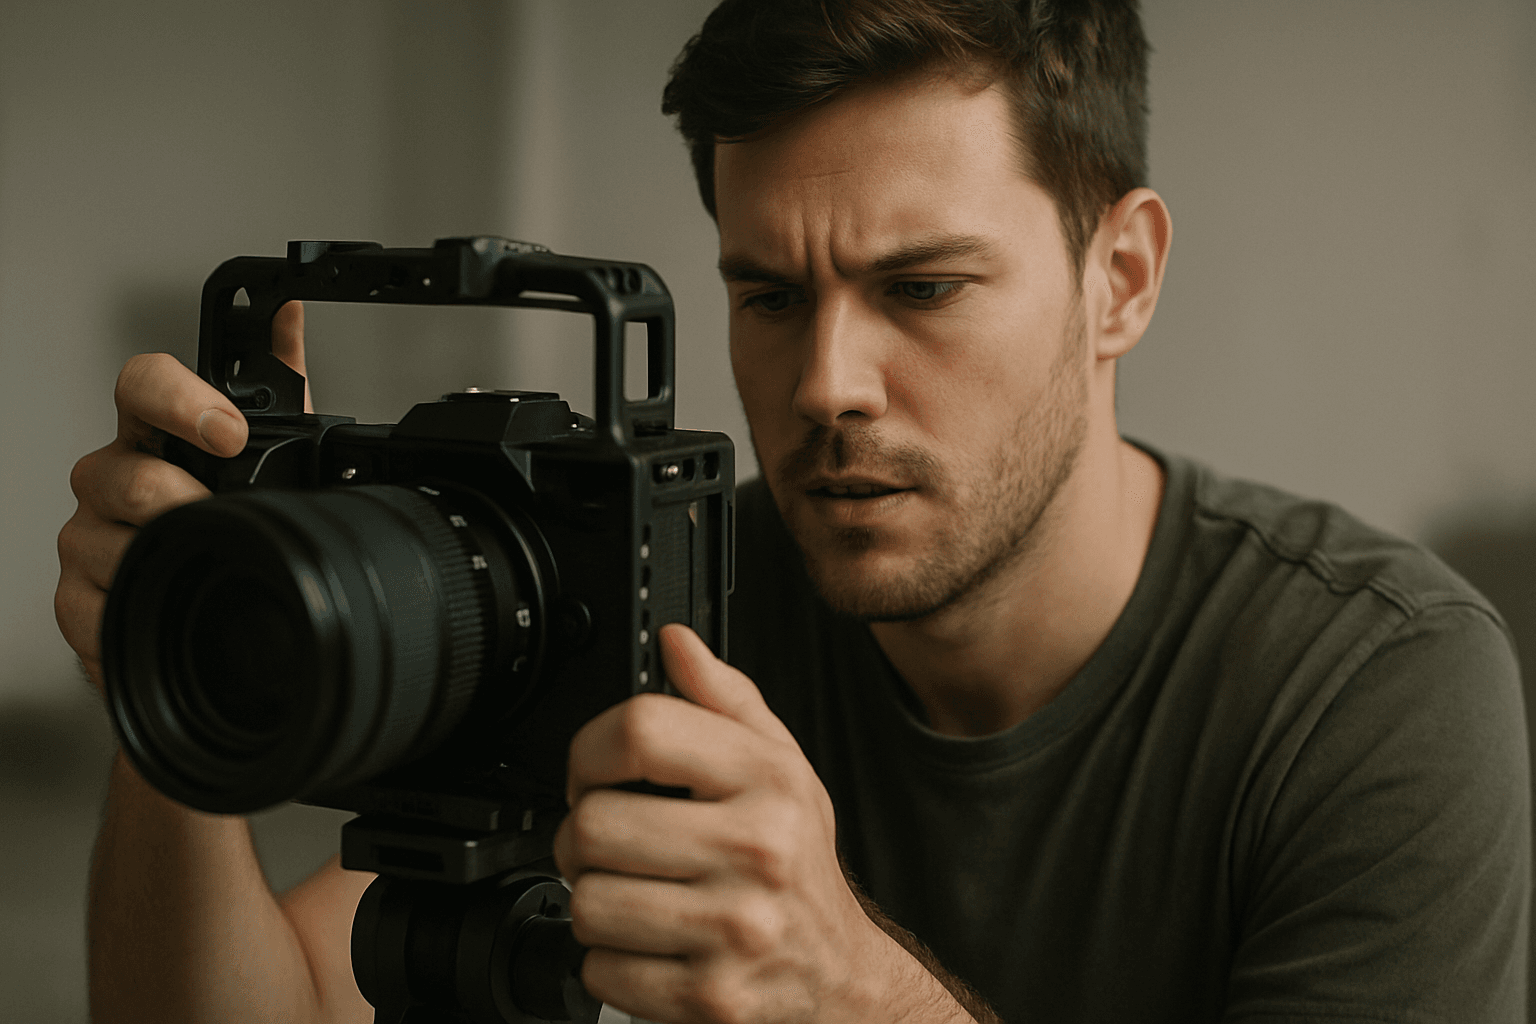
A camera cage is a protective metal frame, usually aluminum or steel, that wraps around your DSLR or mirrorless body. It adds roughly 300 g of rugged structure without sealing the camera. The big promises are protection, mounting points, and better handling.
I like to think of it as a roll cage for your camera. It takes the hits so the body doesn’t have to, while giving you safe places to bolt on accessories. It also spreads stress away from fragile hot shoes and port doors.
If you’ve ever wondered why use a camera cage, the answer is simple: it transforms a delicate gadget into a configurable filmmaking tool. You gain durability, organization, and confidence under pressure. That confidence shows up in your footage.
Cages come in model-specific versions that hug contours and keep doors clear. Universal options fit many bodies, but may feel bulkier and need careful setup. Either way, the cage becomes the backbone of your rig.
Types of Camera Cages: Full vs Half and Variants
Most cages fall into full or half designs, with a few modular variants in between. Full cages surround the camera, while half cages protect one side and the base. Both create threaded real estate for accessories.
Modular systems might add NATO rails, side plates, or top plates as needed. This lets you start light, then scale up when your rig grows. It’s a flexible path for evolving kits.
When I teach beginners, I frame the choice around their day-to-day shooting. If you’re asking why use a camera cage, first decide if your priority is maximum protection or minimal bulk. That narrows the field quickly.
Full cages
Full cages surround the camera with a complete frame, maximizing protection and mounting density. They usually offer 1/4″-20, 3/8″-16 with anti-twist pins, and multiple cold shoes. It’s a small studio of attachment points.
On Canon R5/R6 bodies, the SmallRig 2982 is a common reference point. This SmallRig 2982 example shows how a full frame preserves access to doors while adding cable clamps and top-handle options. It’s robust without being overbearing.
Half cages
Half cages keep the footprint slimmer by covering one side and the base. You still get key threads and maybe a cold shoe, but with less metal and weight. They’re great for travel and hybrid shooters.
I lean on half cages for gimbals and long handheld days. You get the protection you need and room for a mic or light, yet the camera still feels nimble in the hand. It’s a smart compromise.
Protection and Port Safety
Cages absorb bumps and scrapes that would otherwise mark your camera shell. The frame also shields corners, hot shoes, and the base from hard surfaces. It’s cheap insurance during fast moves.
Ports, especially micro HDMI, are the weak link on many bodies. A cage gives you cable clamps that grip the connector and add strain relief, preventing torque from cracking tiny sockets. Right-angle adapters further reduce leverage.
I route cables along the cage, not the camera, then lock them with the clamp. This keeps plugs from wiggling and protects the port door from snagging. If you’ve debated why use a camera cage, port safety alone can justify it.
For an overview of impacts and shielding principles, see camera cage protection. Think of the cage as a perimeter that manages force and cable stress before it reaches delicate internals. Your repair budget will thank you.
Mounting Options and Accessory Management
The first thing you notice is the grid of 1/4″-20 and 3/8″-16 threads. Many include ARRI locating holes that stop accessories from twisting loose. Cold shoes add easy mounts for lights or receivers.
NATO rails and rosettes speed up reconfiguration. Slide a top handle on for low-angle shots, or snap on a side grip for handheld work. The cage becomes your modular toolkit.
Monitors sit on a stubby arm, microphones move to a cold shoe, and a small LED lives up top. Everything has a proper home, so nothing dangles or blocks doors. It’s tidy and reliable.
Cable clamps and zip-tie points guide HDMI and audio lines along the frame. I leave gentle service loops near connectors, then secure the run. Clean routing prevents snags and signal dropouts.
Ergonomics, Handling and Stability
Top handles change how you move, shifting grip above the lens line. It stabilizes low shots and makes navigating crowds safer. Your wrist stays neutral, and the frame absorbs bumps.
Side grips add contact points and distribute weight across your hand. The extra mass of the cage can dampen micro jitters, especially with rolling-shutter sensors. It’s subtle, but visible in footage.
There’s a trade-off: bulk. A caged camera is larger and can feel blocky for stills. I mitigate that with slim handles, a wrist strap, and a quick-release plate for fast tripod moves.
Balance matters too. With heavy lenses, a top handle closer to the center of gravity prevents wrist fatigue. If a rig feels front-heavy, slide the handle or add a rear-mounted battery.
Benefits for Professionals and Aesthetics
A caged camera looks like a purpose-built tool, which changes how clients react. It signals preparedness and professionalism before you hit record. That perception makes collaboration smoother.
On set, repeatability is priceless. A cage lets you mark positions, lock accessories, and rebuild on day two exactly the same. That consistency saves time and avoids continuity headaches.
During a commercial tabletop shoot, my monitor, focus motor, and HDMI lock were all cage-mounted. We moved from tripod to slider without rerigging. The crew kept pace, and the client noticed.
If you want a broader overview of rigging advantages, the benefits of camera cages go beyond safety. They streamline workflow and help your kit scale with bigger asks.
Downsides and Trade-offs
Weight and bulk are real. Add a cage, handle, and clamp, and your camera may gain 400–700 g. That’s noticeable in long handheld sessions and when packing carry-on bags.
Ergonomics can suffer for stills-first shooters. Extra metal near dials or the shutter may feel awkward at first. Model-specific cages help, but it’s still a different hand feel.
Setup complexity increases too. You’ll learn thread patterns, torque habits, and what loosens under vibration. A dab of blue thread locker and routine checks keep everything quiet.
Finally, cages don’t fix weather sealing or overheating by themselves. Some designs add heat dissipation, but be realistic about your camera’s limits. Tools help, but technique still rules.
Choosing the Right Cage: Practical Buying & Field Tips
Match the cage to your camera model for perfect door and dial clearance. Check that the battery, card slot, and lens release remain accessible. Small conveniences matter in the field.
Decide between full and half based on risk and mobility. If you’re asking why use a camera cage for casual shooting, a half cage might be enough. For production environments, go full and add clamps.
Verify mount patterns before purchase: 1/4″-20, 3/8″-16 with locating pins, and accessory positions you’ll actually use. Built-in NATO rails and cold shoes reduce extra parts. It’s less to carry and lose.
Make sure the base supports ARCA or your quick-release system to keep swaps painless. Test gimbal clearance with your lens choices. The right cage fits your workflow, not the other way around.
Real-world Case Studies and Visuals
Construction site doc, Day 3: a steel beam kissed my rig while I squeezed past scaffolding. The cage took a gouge; the camera didn’t. The micro HDMI clamp prevented a hard yank on the port.
Mountain interview at dawn: icy wind and gloves made buttons clumsy. A top handle and side grip gave me precision without bare fingers. We nailed steady shots without a gimbal.
Run-and-gun festival coverage: I mounted a wireless receiver, tiny LED, and monitor on the cage. Cable routing along the frame kept snag hazards away from crowds. Nothing popped loose all night.
When teaching, I show quick comparisons of a bare body versus a caged rig. You’ll see cleaner cable runs, better hand placement, and safer accessory spacing. The differences are immediate on screen.
What People Ask Most
Are camera cages necessary for beginners?
Not strictly—if I’m just starting I might skip a cage to keep my kit light, but a cage gives extra protection and mounting points that become useful as I add accessories.
How do camera cages protect micro HDMI ports?
I rely on a cage to shield the camera body and the area around ports, and many cages include cable clamps or routing points so a plugged-in micro HDMI (the small video output) isn’t accidentally tugged or damaged.
What’s the difference between a full cage and a half cage?
Full cages wrap the entire camera for maximum protection and attachment density, while half cages are lower-profile and lighter but offer fewer mounting points; I choose full for heavy rigs and half when I want less bulk.
Can camera cages be used with action cameras?
Yes—there are cages and mini-cages designed for action cameras, but I always check fit and mount pattern since action cams have different shapes and attachment points than DSLRs or mirrorless bodies.
How do camera cages impact handheld shooting ergonomics?
Cages add handles and grip options that often improve stability, but they also add weight and bulk that can tire me on long handheld shoots, so I balance comfort against functionality.
Do camera cages support ARCA Swiss plates?
Many cages include ARCA‑Swiss compatible dovetail mounts—ARCA‑Swiss is a common quick‑release plate system—so I can mount the rig to tripods easily, but I always verify the manufacturer’s specs.
Are camera cages essential for professional videographers?
Not universally essential, but I find them very useful professionally because they tidy accessory management, speed on-set workflow, and present a more robust, client-ready rig.
Final Thoughts on Camera Cages
If you’re asking why use a camera cage, the short answer is practical: it makes a mirrorless or DSLR more protective, modular, and reliable on real shoots. You opened this article worried about scratched ports, loose cables and shaky handheld footage, and the explanations and case studies showed how a cage turns those weak spots into manageable parts of your workflow. Creators who juggle monitors, mics, lights, or who shoot in rugged conditions will see the biggest gain from fitting their body into a frame like this.
That doesn’t mean it’s perfect—adding a cage brings added weight, more gear to manage, and sometimes a clunkier feel on long handheld jobs, so balance matters. For shooters who value durability, neat accessory mounting and a more professional-looking rig, the trade-offs usually pay off in steadier captures and fewer on-set surprises. Try a modest setup in the field and you’ll quickly see whether the benefits change how you work.


0 Comments