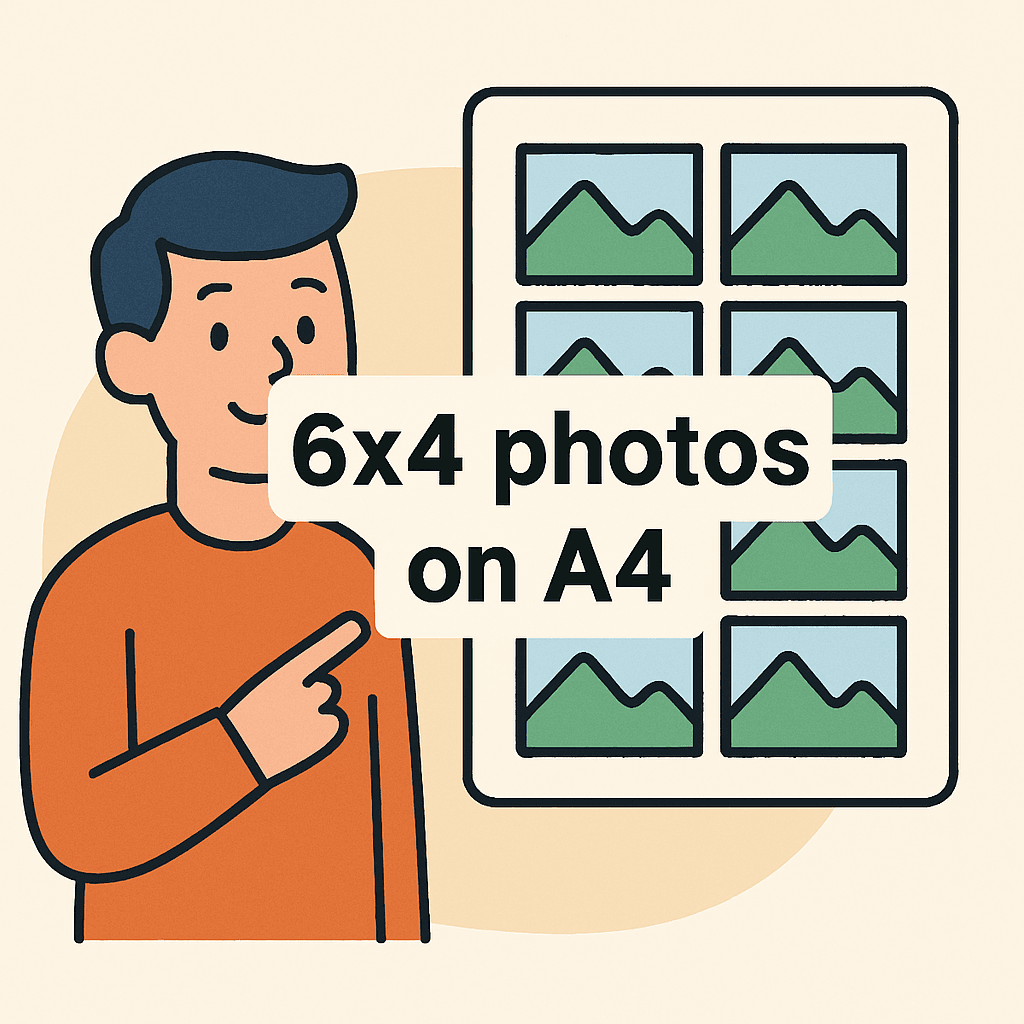
You’re tired of wasted paper and awkward borders when you try to batch-print shots for friends or clients. If you’ve typed how many 6×4 photos fit on a4 into search, you want a clear, usable answer — fast. You’ll get layout rules that make prints sharper, cut border surprises, and speed up your printing workflow.
This primer’s great for hobbyists, event shooters, small studios and anyone printing batches at home or in a shop. We’ll explain simple layout choices — rotation, cropping and resizing — so you can preserve composition or maximize count. And we’ll bust a surprising myth about fitting four unaltered 6×4 prints on one A4 sheet.
You’ll also get quick tips on trimming, printer margins and templates so your final prints are precise and usable. We’ll point to easy apps and simple Photoshop templates used by pros and beginners alike to save time. You’ll stop guessing and print smarter — keep reading because the fix is simpler than you think.
Paper and photo dimensions (A4 vs 6×4)
If you’re wondering how many 6×4 photos fit on a4, start with sizes. A4 measures 210 x 297 mm, which is roughly 8.27 x 11.7 inches. A 6×4 photo is exactly 152.4 x 101.6 mm.
The inch-to-millimeter conversion is 1 inch = 25.4 mm. I use that to sanity-check layouts, especially when mixing metric A4 and inch-based photo sizes.
Because A4 is taller than it is wide, orientation matters. Turning the paper or the photos 90 degrees can make the same dimensions behave very differently on the page.
Maximum number of 6×4 photos that fit on A4 without resizing
The short math answer to how many 6×4 photos fit on a4 without changes is two. You can arrange them side-by-side or stacked, depending on paper orientation.
Three full 6×4 prints don’t fit on A4 without cropping or shrinking. Four full 6×4s need a 2×2 grid of 8 x 12 inches, which exceeds A4’s 11.7-inch height.
Rotating the sheet to landscape can help the two-photo layout breathe. But it still won’t make three or four standard 6×4 prints fit without adjustments.
How printer margins and hardware limit usable print area
Most desktop printers have non-printable margins, often 3–5 mm per edge. Those margins reduce the usable A4 area and can squeeze tight layouts.
If your model doesn’t support borderless, two 6×4 prints can collide with margins. Some drivers also auto-scale, shrinking images to “fit” the printable region.
Borderless modes can add overspray or slight expansion to create edge-to-edge coverage. That expansion may clip a hair of the photo, so preview carefully.
Orientation: portrait vs landscape for photos and paper
Paper in landscape with photos rotated to portrait is my favorite two-up layout. Two prints at 4 inches wide each total 8 inches across, comfortably under A4’s 8.27-inch width.
Alternatively, keep the paper portrait and stack two landscape 6×4 prints vertically. The 6-inch width fits easily across 8.27 inches, and 8 inches tall sits well within 11.7 inches.
Switch orientations if your printer margins threaten one dimension more than the other. The goal is to place the tight side away from the widest margin.
Layout options to increase photo count on A4
When two isn’t enough, I lean on three tactics: rotation, cropping, and resizing. Each option trades something—either composition, absolute size, or both.
Rotation preserves the full frame and often yields the cleanest two-up arrangement. Cropping preserves print size but trims edges, while resizing keeps composition intact.
To squeeze three or four, resizing is usually gentler than cropping. When the story lives at the edges, consider small uniform scaling instead of cutting content.
Rotation and arranging side-by-side
Place A4 in landscape and rotate both photos to portrait. Two 4-inch-wide images sit side-by-side at 8 inches total width, and 6 inches tall fits with room to spare.
Trying to fit three across fails the math: three portrait widths total 12 inches, exceeding 8.27 inches. Three landscape-wide also reach 18 inches, far beyond A4’s width.
Cropping vs reducing size to fit 3–4 photos
Cropping retains the 6×4 label but sacrifices edges. It’s best when the subject is centered and the borders aren’t critical to the story or design.
Resizing preserves composition but makes smaller prints. For four on A4, reducing height to about 5.8 inches per image clears the 11.7-inch page height, before accounting for margins.
Post-print trimming techniques to maximize usable prints
One approach is to print with thin gutters and trim carefully after. Use a sharp craft knife and metal ruler to separate clean edges without nibbling the image.
For near-full-size sets, scale down minimally to clear margins, then trim off white borders. Precision matters; a cutting mat and measured guides save time and reprints.
Software and printing tools for multi-photo layouts on A4
Manufacturer apps like HP Smart, Canon Easy-PhotoPrint Editor, and Epson iPrint handle simple two-up jobs. They’re quick, but often rigid about margins and templates.
On Windows, the built-in print dialog can place multiple images; see this guide to print a picture. For more control, I build a custom A4 canvas in Photoshop Elements.
If templates fight you, search a printer community thread or an Adobe forum discussion. User-shared presets often fix quirky driver defaults and layout constraints.
Implications of resizing on image quality and composition
Scaling down reduces physical size but usually boosts apparent sharpness. At smaller print dimensions, pixels pack tighter, often exceeding 300 ppi for crisp detail.
Cropping, by contrast, cuts pixels and can limit enlargement later. If you’ll reprint larger, keep the full frame and downsize only for this A4 layout.
Before any reduction, check resolution at the final size. I aim for 300 ppi or higher; below that, edges may look soft or textured in continuous tones.
Practical workflows and real-world tips for fitting 3 or 4 photos on A4
I start by creating an A4 document at 300 ppi, then add guide margins. Next, I import the photos, rotate to test two-up, and note where margins pinch.
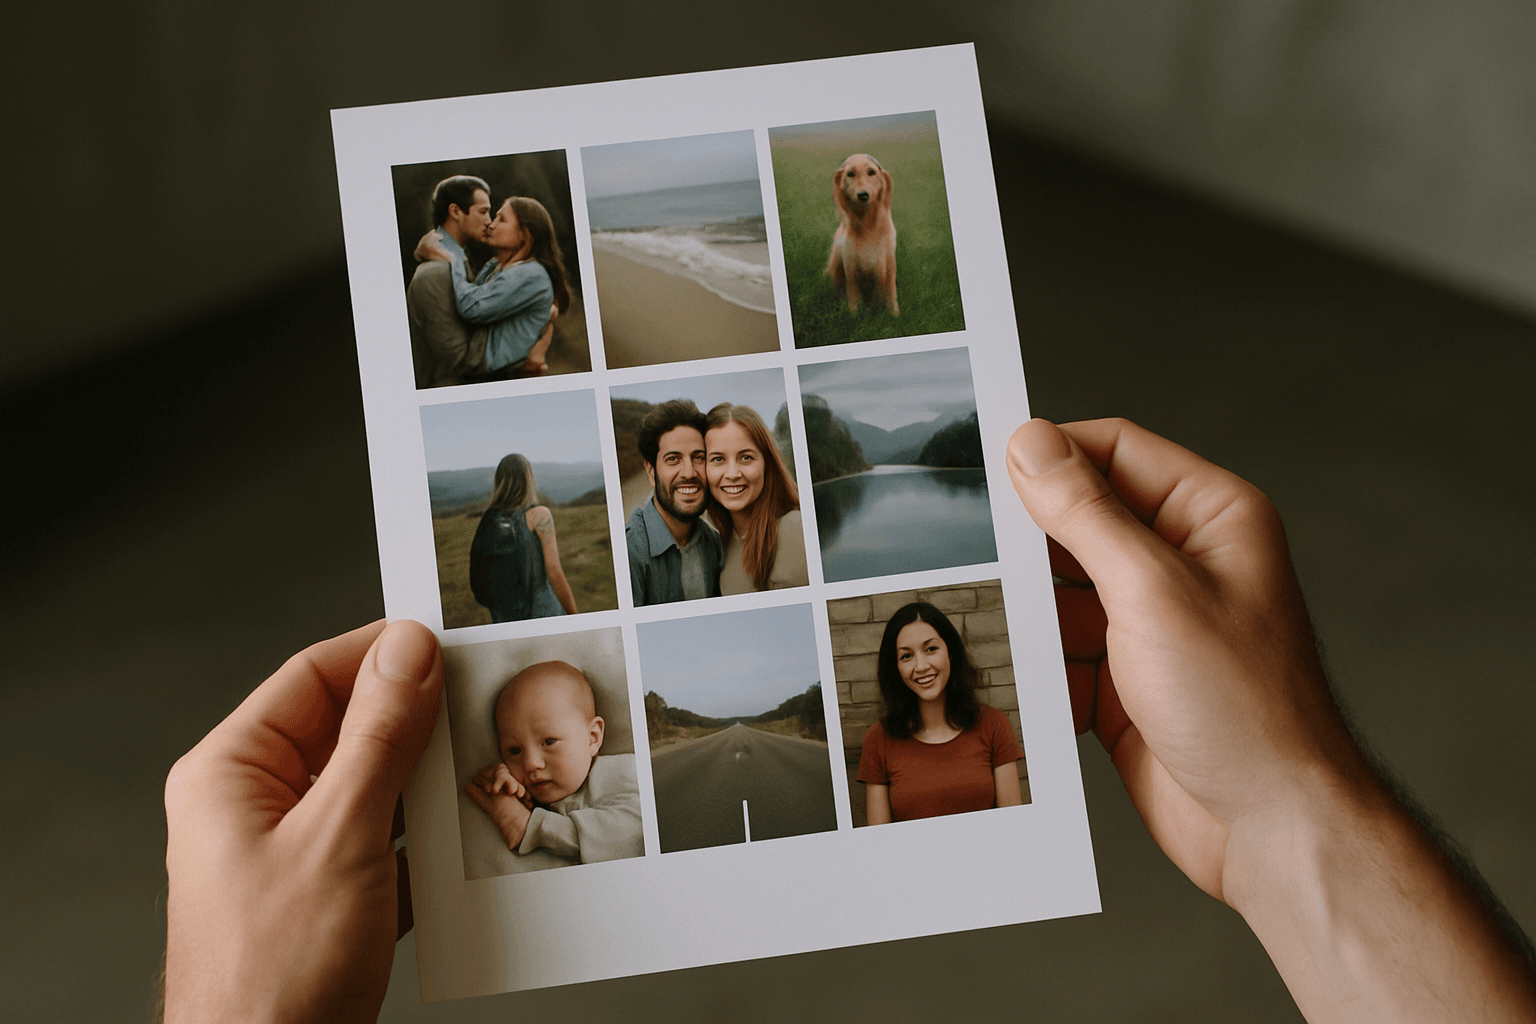
For three, I often scale all to about 5 x 3.33 inches and arrange two on top, one below. For four, I try roughly 5.8 x 3.87 inches, then nudge to clear gutters.
Always print a draft on plain paper and check the printer preview. Friends often ask how many 6×4 photos fit on A4; the proof sheet answers that in seconds.
Comparing A4 with other paper sizes for 6×4 photo printing
A4 is 8.27 x 11.7 inches, while US Letter is 8.5 x 11 inches. Letter is wider but shorter, which changes where margins bite your layout.
Two 6×4 prints side-by-side benefit slightly from Letter’s extra width. However, the reduced 11-inch height can complicate stacked or 2×2 arrangements.
In practice, A4 often favors vertical stacking, while Letter favors side-by-side placements. Test both orientations to see which dimension is your bottleneck.
Creating precise templates in Photoshop (essentials the writer must show)
Templates save time and prevent margin headaches. I build one master A4 file and keep separate layer groups for two, three, and four-photo variants.
- Set an A4 canvas at 300 ppi with units in inches or millimeters.
- Add guides for your printer’s safe margins and gutters.
- Create 6×4 boxes (or scaled boxes) as clipping masks.
- Lock guide layers and save as a reusable template.
On print day, drop images into the boxes and check alignment at 100% zoom. This workflow quickly answers how many 6×4 photos fit on a4 for your specific printer and margins.
What People Ask Most
How many 6×4 photos can I print on one A4 sheet?
In practice I can fit a maximum of two unaltered 6×4 prints on an A4 sheet depending on orientation and printer margins; three or four won’t fit without resizing, cropping, or trimming. A4 is 210×297 mm and a 6×4 is 152.4×101.6 mm, so the dimensions limit how many full prints fit side‑by‑side.
Can I fit four 6×4 photos on an A4 piece of paper without cropping?
No—four standard 6×4s don’t fit on A4 without reducing their size or cropping, because their combined width/height exceeds the A4 printable area.
What is the best way to position 3 or more 6×4 photos on A4 paper?
I typically create an A4 document, set safe printer margins, then use rotation, careful resizing, or selective cropping to pack three or four images while previewing resolution and composition. Rotation helps layout space, cropping preserves printed size at the cost of edges, and resizing keeps composition but makes smaller prints.
Does rotating photos help fit more photos on an A4 print?
Yes—rotating the 6×4 photos or switching the paper between portrait and landscape can let two prints sit more efficiently side‑by‑side, but rotation alone won’t allow three landscape‑wide photos to fit because the total width still exceeds A4. I always test orientations in a mockup first.
Which software allows printing multiple 6×4 photos per A4 sheet?
I use HP Smart or other printer OEM apps for quick multi‑photo layouts, and Photoshop Elements or Photoshop for precise manual placement; many printers also include “picture package” templates though they can be limited. These tools let you set A4 canvas size, add guides, and position 6×4 boxes.
How do print margins affect how many photos fit on an A4 page?
Printer non‑printable margins reduce the usable A4 area and can prevent even two side‑by‑side 6×4s depending on the model, so I always check the printer’s printable area and set guides before arranging images. A small margin difference can be the reason a layout fails to fit.
Is it better to crop or resize photos to fit more prints per A4 sheet?
It depends on your goal: I crop when I must keep the final print size exact but can lose edges, and I resize (scale down) when I want the whole composition preserved but accept smaller prints and potential softness. Always check image resolution before scaling to avoid quality loss.
Final Thoughts on Packing Photos onto A4
If you came in wondering how many 6×4 photos fit on a4, this guide turns that vague worry into a practical layout decision you can actually execute at the printer. Instead of guessing, you’ll now have a clear sense of the layout trade-offs—when to rotate, crop, or scale—and the tools and template checklist to make results repeatable. That clarity was the very fix for the opening pain point about wasted paper and awkward compositions, and it’ll help home printers, hobbyist photographers, and scrapbookers get consistent prints.
Be realistic: printer hardware and margins, and the image loss you accept when you crop or scale, will limit how many pictures you can cram onto a sheet and how they ultimately look. Those who print at home or produce small runs will benefit most from following the guidance, while pros who need absolute fidelity should weigh the trade-offs carefully. With the templates, margin checks, and a little practice you’ll be able to lay out pages confidently and start turning that frustration into tidy, usable prints.

0 Comments