

You want clean, reflection-free shots but glass often turns scenes into smudged mirrors. If you’ve ever searched for how to photograph through glass, this guide will help. We’ll keep recommendations practical so you can shoot better right away, without swapping every lens you own.
You’ll get sharper shots, fewer distortions, faster workflows, and reliable results even in mixed or backlit scenes. We’ll cover simple cleaning habits, manual-focus techniques and lighting moves that actually make a visible difference in camera. And we’ll bust a surprising myth about the one tool many people trust first, showing when it helps and when it hurts.
This is aimed at curious beginners, street shooters, portraitists, and pros who wrestle with windows, aquariums, and display cases. No deep theory or dense gear lists—just field-tested steps and quick setups you can use on location, even when time is short. So keep reading because the fix is simpler than you think.
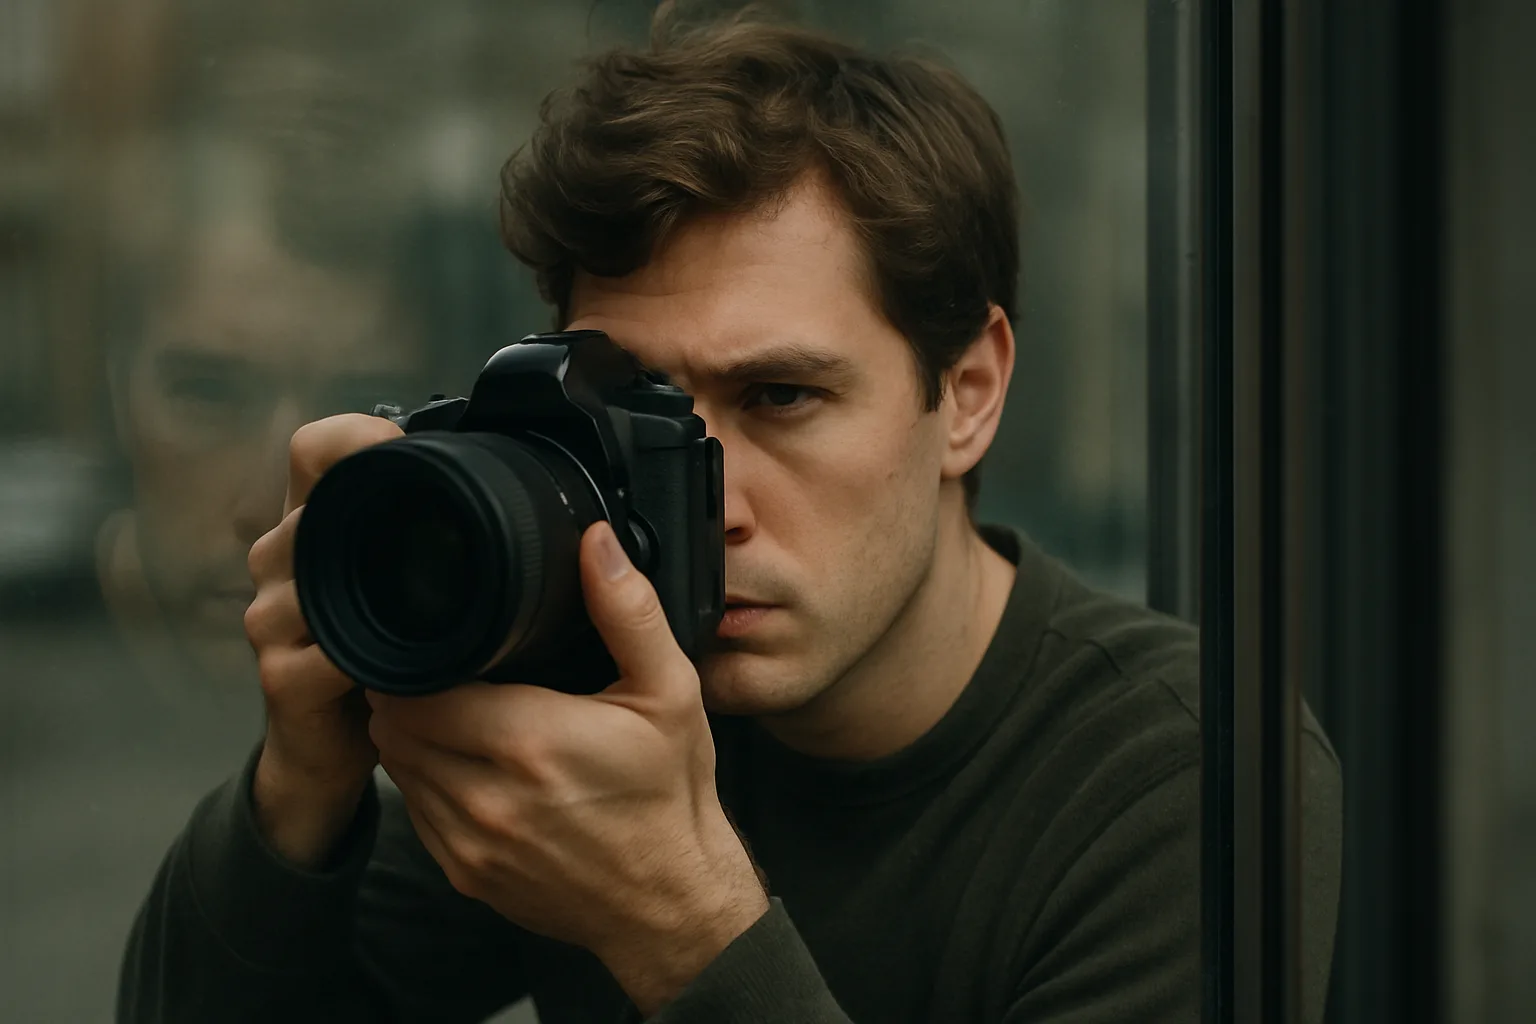
Preparing and cleaning the glass surface before shooting
Before anything else, I clean the glass like I’m prepping a lens. Smudges and dust reflect light and smear contrast, especially at night. If you’re learning how to photograph through glass, start here.
I wipe the camera-side area and then the entire pane. Dirt anywhere can bounce stray light back into the frame. A microfiber cloth and a little lens solution prevent streaks and haze.
I like making a quick test: one shot before cleaning, one after. Zoom to 100% and compare edge detail and blacks. The difference proves the invisible grime you just removed.
If I can’t reach the far side, I still clean my side thoroughly and shade the lens. Pressing a rubber hood or jacket to the glass blocks room reflections and boosts clarity immediately.
Manual focus techniques to avoid autofocus errors on glass reflections
Autofocus loves latching onto reflections, fingerprints, or tiny chips. I switch to manual focus so the camera stops guessing. It’s the surest answer to how to photograph through glass.
I use focus peaking, which outlines sharp edges in color, or magnified live view. Both let me confirm the actual subject beyond the pane is sharp, not the glass itself.
When the subject is moving, I pre-focus on a static object at the same distance. I also watch for double reflections, which can trick my eye. Trust your magnified view over habit.
Choosing lenses and handling wide-angle challenges
Modern, flat window glass is better than many expect. With wide-angle lenses, degradation is often minimal in the center, yet edges can show distortion or layered reflections from double glazing.
Position matters more than brand here. I shift slightly left or right to keep strong reflections off-axis. A lens hood pressed to the pane helps tame flare and cleans up contrast.
Wide angles can exaggerate perspective and reveal edge warping. If straight lines matter, I back up and zoom a bit. That reduces distortion and avoids the worst of the glass edges.
Using polarizing filters to reduce reflections and glare
A circular polarizer selectively blocks polarized light, which is what most glare from glass is. I rotate the filter while watching reflections fade, then stop where the reduction looks best.
Polarizers cost light, usually 1–2 stops, so I raise ISO or slow the shutter. They’re my primary tool for reflection control, though they work best at off-angle views, not head-on.
If I’m uncertain, I run a quick test burst with different rotations. It’s amazing how a small twist rescues color and contrast. For more ideas, see these tips for shooting through glass.
Natural lighting conditions ideal for shooting through glass (avoid direct sunlight)
Direct sunlight turns glass into a mirror. I prefer side light, shade, or overcast skies. Diffused light softens reflections and keeps the scene beyond the glass richer and more detailed.
Shooting at a slight angle reduces reflections and hides tiny scratches. The tradeoff is minor perspective distortion, which I correct later. That angle often reveals texture and depth, too.
Twilight is magical for interiors seen from outside. Interior lights glow while the sky still holds color. It’s a favorite window for anyone exploring how to photograph through glass.
Flash and strobe lighting setups to control or remove reflections on glass
On-camera flash paints a bright dot on the pane. I disable it and switch to off-camera lighting. The goal is lighting the subject, not the glass surface in front of me.
Fast shutter speeds plus flash can overpower ambient reflections. I work near my camera’s sync speed and keep the room around me dark. The darker the camera-side environment, the cleaner the frame.
When I need a primer beyond these basics, I study practical examples of using flash to control reflections. Seeing angles in diagrams helps me place lights confidently.
Off-camera flash placement and power control
I place strobes so their reflection misses the lens. Think “angle in equals angle out.” I skim light across the subject rather than sending it straight into the glass.
Power is a balancing act. I dial flash just bright enough to lift the subject while keeping the background believable. Lower power often means subtler reflections and less cleanup later.
Using flags, black cloth and light modifiers to block unwanted reflections
Flags and gobos—simple blocks for light—are my secret weapons. A black cloth or foam core panel placed off-camera absorbs stray reflections and cleans the glass of visual clutter.
Softboxes and grids shape light away from reflective hotspots. I feather the modifier so its brightest edge misses the pane. This small tweak often erases a stubborn specular highlight.
Effects of glass curvature and texture on image distortion and artistic effects
Curved or textured glass bends light, a phenomenon called refraction. Straight lines wobble, and edges shift. It can be frustrating for sharpness, yet wonderful for surreal storytelling.
Pressed patterns, frosts, and ripples act like tiny lenses. Faces stretch, colors smear, and bokeh turns painterly. I embrace it when I want mood more than forensic detail.
Aquariums are perfect practice. Thick, curved panels magnify and distort fish as they approach. I time shots when subjects are centered to reduce warping and lean into the dreamlike look.
Shooting through specialized glass types (aquariums, reinforced or textured glass)
Aquariums demand careful angles and higher ISOs. I shoot slightly off-axis to cut glare and wait for subjects to glide into the flattest section. A polarizer can help, but not always.
Curved display cases throw reflections everywhere. I move my feet more than my lights, hunting the sweet angle. If permitted, I use a small flag near the lens to blackout my reflection.
Reinforced or coated glass can add color casts or grid patterns. I customize white balance and avoid angles that trigger moiré. Testing a few positions quickly reveals the cleanest transmission.
Compositional tips: framing and leveraging reflections creatively
Framing through glass suggests distance and mystery. I use door frames, mullions, or signage to layer context. That voyeuristic feel adds story without a single extra prop.
Reflections aren’t always enemies; they’re layers. I align them with leading lines or faces so they echo shapes. When they align, chaos becomes composition, not distraction.
If you enjoy curated guidance, these Shooting through windows tips reinforce the idea of treating glass as a storytelling partner, not just a barrier.
Post-processing strategies to clean or enhance images shot through glass
I start with basic contrast, Dehaze, and Texture to cut film-like haze. Then I use the Clone/Heal tool to remove faint ghosts, dust spots, or tiny flare artifacts.
Local adjustments are powerful. I paint a subtle negative Dehaze on reflection streaks, while lifting exposure and clarity on the true subject. That separation clarifies intent instantly.
Finally, I compare before and after. If the cleaned shot beats the dirty one—and it will—that confirms your prep and lighting. It’s the quiet proof of how to photograph through glass.
Field-tested workflow and case studies for reflection-free glass photos
My workflow is simple: clean the pane, shade the lens, switch to manual focus, and fit a polarizer. I set exposure for the scene beyond, then add off-camera flash only if needed.
At aquariums, I work at an angle, wait for fish to center, and shoot bursts when the water clears. Most failures are reflections; most wins are patience plus angle.
For patterned office partitions, I light the subject from the side and flag everything else. Before: milky glare and double images. After: crisp edges, controlled reflections, and intentional texture.
What People Ask Most
How can I avoid reflections when photographing through a window?
I clean both sides of the glass, place the lens close to the pane, and shoot at an angle when possible to minimize reflections; I also use a polarizer and flagging (black cloth or gobos) to block stray light.
When shooting through glass, should I use manual or autofocus?
I usually switch to manual focus because autofocus can lock onto reflections or smudges; I use focus peaking or magnified live view to make precise adjustments.
What is the best filter to reduce glare on glass surfaces?
A circular polarizing filter is my go‑to because it selectively blocks polarized light reflected from glass; I rotate the filter until glare is reduced to the desired level.
Can flash be used effectively when photographing through glass?
Yes, but I avoid on‑camera flash because it usually creates reflections; instead I use off‑camera strobes angled to illuminate the subject and/or raise shutter speed so flash overpowers ambient light.
How does the angle of the camera affect reflections on glass?
Shooting at an angle generally reduces visible reflections and hides dirt, but I watch for increased distortion or perspective changes that can affect composition.
What lighting setups help eliminate reflections on glass?
I favor side or diffused light and use off‑camera strobes aimed at the subject, plus flags or black cloth to block unwanted reflections and specular highlights on the glass.
How do curved or thick glass panes distort images?
Curved or textured glass refracts light and can bend or blur parts of the image, creating creative effects but complicating sharpness and focus, so I adapt lighting and focus strategies accordingly.
Wrapping Up: Mastering Glass in Your Frame
If you’ve ever been frustrated by glare, lost detail, or autofocus hunting, learning how to photograph through glass ties the craft together and gets you predictable, usable images that actually tell the story beyond the pane. The article opened with that streaky, reflective window that seemed to ruin every shot, and the guidance here turns that exact pain point into manageable control so your subject reads clearly. You can now spot what to fix in the moment and make deliberate choices that keep the window from stealing the story or turning your subject into a washed-out silhouette.
Don’t expect perfection every time—curved, textured, or heavily coated glass will still bend light and demand trade-offs between clarity and creative effect, and sometimes you’ll have to accept distortion as part of the image. The recommendations will help photographers who work through windows, aquariums, display cases, or storefronts the most, whether you’re shooting portraits, street scenes, or still life. Take this confidence into your next shoot and watch how small adjustments change what the lens can see.



0 Comments