You’re tired of blurry, dull photos and feeling lost at the controls when you pick up your camera. This guide shows you how to use a camera step by step so you won’t guess at settings anymore and basic menu choices make sense from day one.
You’ll get sharper shots, fewer weird distortions, and a faster workflow you can repeat on any shoot while saving time during edits. I’ll also debunk a surprising beginner myth that causes more ruined photos than faulty gear and explain the quick fix.
This is aimed at beginners, new DSLR users, and hobbyists shooting portraits, landscapes, or dim indoor scenes and folks switching from smartphones. You don’t need prior theory to improve; you’ll learn practical moves for steadier hands and better focus and faster composition.
I’ll guide you through camera parts, simple settings, and a clear capture workflow that saves time so you’ll feel confident shooting right away. So keep reading because the fix is simpler than you think.
Camera parts and the best way to hold it
Before we shoot, let’s name the parts you’ll touch most: body, lens, viewfinder, mode dial, shutter button, and playback/menu buttons. If you’re wondering how to use a camera step by step, start here.
A DSLR, or Digital Single-Lens Reflex, uses a mirror to reflect light up into the optical viewfinder. When you press the shutter, the mirror flips, letting light hit the sensor to make the photo.
The lens controls focus and aperture; the body houses the sensor and brains. The mode dial selects how the camera makes exposure decisions; the shutter button half-press focuses, full press captures.
For stable holding, tuck your elbows into your ribs, support the lens with your left hand, and keep feet shoulder-width apart. Exhale gently as you press the shutter to reduce shake.
If you want a visual walkaround, this DSLR guide pairs parts with clear photos, which reinforces what your hands will feel.
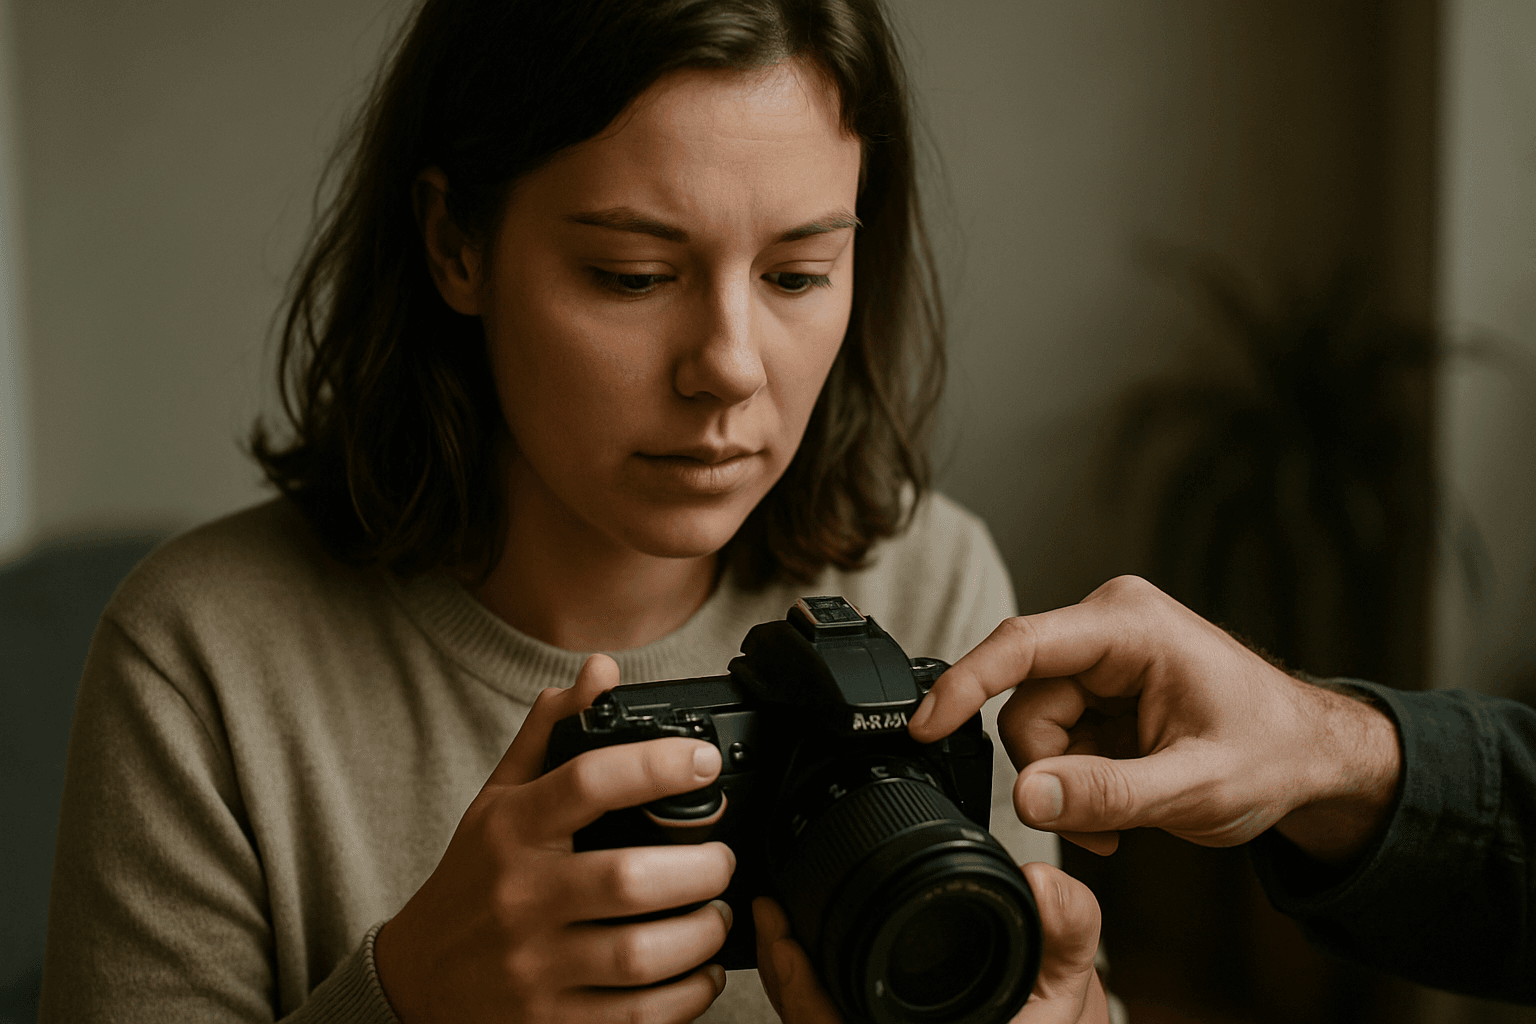
First-time power on and initial setup
Insert a charged battery and memory card, then attach the lens until it clicks. Power on, and if prompted, set language, date, and time so your files stay organized later.
Press the Menu button and navigate with the directional pad. Set language and date/time if you skipped the prompts, and choose a time zone that matches your travel plans.
Enable Auto ISO so the camera raises sensitivity for you, and set Auto White Balance for natural color. These beginner-friendly defaults let you focus on composition and timing.
Turn off any demo modes, and set image stabilization to On if your lens offers it. With these basics dialed in, you’re ready to explore how to use a camera step by step.
Choosing image quality and file format (RAW vs JPEG)
RAW files preserve maximum data, like a digital negative, and allow deeper editing. JPEGs are processed in-camera, smaller, and ready to share but less flexible for heavy adjustments.
If you plan to learn editing, shoot RAW or RAW+JPEG to keep options open. JPEG alone is fine for quick sharing, but it offers limited highlight recovery and fewer color tweaks.
Set White Balance to Auto, even with RAW, so previews look neutral while you learn. You can always fine-tune white balance later when processing RAW files.
RAW files are bigger and can slow burst shooting on some cameras. If you notice delays, upgrade your memory card or use RAW for important sessions and JPEG for casual snaps.
Exposure basics: aperture, shutter speed, and ISO
Exposure is a balance of three settings known as the exposure triangle. Aperture controls depth of field, shutter speed controls exposure duration, and ISO controls sensor sensitivity and noise.
Fast shutter speeds, like 1/8000s, freeze motion; long speeds, like 30s, blur movement and capture light trails. Aperture shapes background blur, while ISO rescues brightness when light runs short.
Every camera handles noise differently, but many stay clean up to ISO 1600–3200. For deeper reading, see these Photography basics that visualize the triangle beautifully.
Aperture (what it does and when to change it)
Aperture is the lens opening expressed as f-numbers. Lower f-numbers like f/1.8 create shallow depth of field; higher numbers like f/8 increase sharpness front-to-back.
For portraits, choose f/1.8–f/2.8 to separate your subject from the background. For landscapes, pick f/8–f/11, and consider a tripod to avoid blur from slower shutter speeds.
Shutter speed (motion control and sharpness)
Shutter speed decides how long light hits the sensor. Use 1/1000s or faster for sports and wildlife; use multi-second exposures, up to 30s, for silky waterfalls or night scenes.
To avoid handshake, follow the reciprocal rule: use at least 1 divided by focal length. For a 50mm lens, start at 1/60s or faster, and rely on stabilization when available.
ISO (brightness vs noise)
Raising ISO brightens the image but adds noise, which looks like speckled grain. On many APS-C cameras, try staying at or below ISO 1600–3200; full-frame cameras often handle ISO 3200–6400 gracefully.
Enable Auto ISO with a minimum shutter speed to guard against blur. This lets you concentrate on aperture and composition while the camera juggles brightness smartly.
Camera shooting modes explained (Auto → Manual)
Auto mode handles everything and is great for quick snapshots. Program (P) lets you shift combinations while keeping exposure balanced, offering a gentle step toward control.
Aperture Priority (A/Av) lets you choose depth of field while the camera sets shutter speed. Shutter Priority (S/Tv) lets you control motion blur while the camera picks the aperture.
Manual (M) gives full control of aperture, shutter speed, and ISO. I suggest Aperture Priority for most beginners, because controlling depth of field quickly shapes the look of your photos.
If you want a deeper tour of modes, this camera settings guide shows how each mode behaves in common scenarios.
Using autofocus modes and selecting AF points
Use Single AF (AF-S/One Shot) for stationary subjects like portraits or landscapes. Use Continuous AF (AF-C/AI Servo) for moving subjects like kids, pets, or cyclists.
Letting the camera auto-select AF points is fast but can pick the wrong subject. Manually choosing a single point gives you precision and builds good focus habits.
For most beginner situations, choose Single AF with a single point near your subject’s eye. Recompose gently after focusing, or move the point to avoid reframing errors at wide apertures.
As you progress, try back-button focus to separate focusing from shutter pressing. This keeps focus locked while you recompose and shoot multiple frames.
Metering modes and how the camera measures exposure
Evaluative/Matrix metering analyzes the entire frame and is a great default. It considers overall brightness and often nails exposure with minimal input.
Center-weighted prioritizes the middle area, helpful for portraits where your subject fills the center. It’s less easily fooled by bright edges or a bright sky.
Spot metering measures a tiny area, perfect for tricky light like a backlit face. Aim the spot at the mid-tone you care about, then lock exposure or recompose.
If a photo looks too bright or dark, use Exposure Compensation. Dial negative compensation for bright scenes like snow, positive for dark backdrops that fool the meter.
Viewing, reviewing, and deleting photos on the camera
Tap Playback to see your last shot, then use the arrows to scroll. Press Info to cycle overlays like histogram and highlight warnings that show if you clipped detail.
A histogram is a brightness graph; spikes at the right edge mean potential blown highlights. If you see blinking highlights, reduce exposure slightly and reshoot.
Use the Magnify buttons to check focus on eyes or key details. If a shot is clearly unusable, press Delete once to confirm and free space for a better take.
Review mindfully, but don’t get stuck chimping. Capture the moment, then check a few frames to confirm exposure and focus before moving on.
Practical step-by-step workflow: from setup to capture
Mount the lens, power on, and check the lens is seated. Set RAW with Auto White Balance, and confirm Auto ISO if your camera offers it.
Select Aperture Priority and choose an aperture for your scene. Pick Single AF for static subjects, and select one AF point on your subject’s eye.
Half-press the shutter to focus and meter, then refine your composition. Fully press the shutter smoothly to capture, then review the histogram briefly.
This repeatable flow is how to use a camera step by step in real life. With practice, it becomes muscle memory and frees your mind for creativity.
Common beginner mistakes and troubleshooting
Everyone makes the same few mistakes at first. The quick fixes below save sessions and build confidence fast.
- Blurry photos: Your shutter is too slow. Raise ISO, open the aperture, or use a tripod.
- Missed focus: AF picked the wrong subject. Use Single AF with a single AF point on the eye.
- Wrong exposure: Metering misread the scene. Try Exposure Compensation or switch metering modes.
- Color looks off: Mixed lighting fooled white balance. Use Auto WB and adjust later if shooting RAW.
If you keep missing shots, simplify settings and return to Aperture Priority. Rebuild the scene with your step-by-step checklist, then add complexity gradually.
Practical shooting scenarios with suggested beginner approaches
Portrait: Aperture Priority at f/1.8–f/2.8, Auto ISO with minimum shutter 1/250s, Single AF on the eye. Use Evaluative metering and step closer to simplify the background.
Landscape: Aperture Priority at f/8–f/11, low ISO 100–200, Single AF on a point one-third into the scene. Use a tripod if shutter drops below 1/60s and consider a two-second timer.
Low light indoors: Aperture Priority at the widest aperture your lens allows, Auto ISO capped around 3200–6400, minimum shutter 1/125s. Use Continuous AF if subjects move, and stabilize with walls or furniture.
Quick tips for continuing practice and learning resources
Practice the same loop every time: settings, focus, compose, review, adjust. Repetition builds speed, and speed lets creativity breathe in the moment.
Make a simple diagram labeling your camera’s buttons and dials. Tape it in your camera bag and mark your most-used controls for quick reference.
Set weekly mini-assignments like “three portraits at f/2” or “sunset silhouettes.” Limiting variables helps you truly learn how to use a camera step by step.
When you want a broader view, read a structured Photography basics guide and compare your results after applying each concept. Keep curiosity alive; the camera will follow your lead.
What People Ask Most
How do I start using my camera for the first time?
I power the camera on, set the date/time and language in the menus, enable Auto ISO and Auto white balance for beginners, and attach the lens securely; then I follow a simple workflow (choose RAW + Auto WB, set Aperture Priority, pick an aperture, and use Auto ISO if available) to take test shots.
What are the basic camera settings beginners should know?
I focus on image quality (RAW vs JPEG), exposure mode (Auto, Aperture Priority, etc.), ISO, auto white balance, autofocus mode, and AF point selection because those control how the image looks and how the camera behaves.
Which camera settings control brightness and exposure?
I use aperture (how wide the lens opens), shutter speed (how long the sensor is exposed), and ISO (sensor sensitivity) to control brightness, with each affecting depth of field, motion, and noise respectively.
How do aperture, shutter speed, and ISO work together?
I think of them as the exposure triangle: aperture sets depth of field, shutter speed freezes or blurs motion, and ISO brightens the image at the cost of noise, so I balance them to get correct exposure and the look I want.
When should I use manual mode versus auto or program modes?
I use Auto or Program for quick snapshots, Aperture Priority (A/Av) as my go-to beginner mode to control depth of field, and Manual when I need full control over both aperture and shutter for precise results.
How do I focus my camera properly for sharp pictures?
I use single-AF for still subjects and continuous-AF for moving subjects, select a specific AF point when I need precise focus, and half-press the shutter to confirm focus before fully pressing to take the shot.
What common mistakes should beginners avoid when using a camera?
I avoid slow shutter blur by using faster speeds or a tripod, fix wrong exposures by checking metering and ISO, and prevent focus errors by choosing the correct AF mode and confirming focus before shooting.
Final Thoughts on Getting Confident with Your Camera
This guide on how to use a camera step by step takes that first‑time dread of confusing buttons and menus and turns it into a clear, repeatable plan you can actually use. Instead of overwhelming you with jargon, the article focused on the practical payoff: a compact way to think about parts, exposure, focus, and a simple shooting routine that keeps decisions intentional. If the opening image of a cluttered camera left you unsure where to begin, that initial panic is addressed—new photographers will gain the most by following the steady approach laid out here.
Do keep a realistic expectation: cameras and lenses vary, and automatic defaults won’t replace practice, so you’ll still have to experiment to see how settings behave on your kit. Treat the guidance as a reliable map rather than a guarantee, refining technique through short, focused sessions. Now take the sequence into the field and let repeated practice make these steps feel instinctive and rewarding.

0 Comments