
You’ve probably wasted time toggling apps and still not got a smooth show for family or work. If you’ve wondered how to make a photo slideshow windows 10 that actually looks polished, you’re not alone. You’ll learn which built-in tool—Photos app, File Explorer, or Video Editor—gets you smooth playback, exportable files, and faster workflow.
You might be surprised that a quick preview tool can also create shareable video files with music. This guide is aimed at beginners, parents, hobbyists, and casual event shooters who want solid-looking slideshows without a steep learning curve. We’ll bust the common myth that you need costly third-party tools for decent results.
Expect faster workflows, fewer playback glitches, cleaner exports, and easy ways to add music, captions, and titles. I’ll point out smart organizing tips, version quirks, and simple workarounds when a feature seems missing. So keep reading because the fix is simpler than you think.
Overview of Windows 10 slideshow options (Photos app, File Explorer, Video Editor)
Windows 10 gives us three built-in paths to a slideshow: Photos, File Explorer, and the Video Editor. Each suits a different moment on your creative walk.
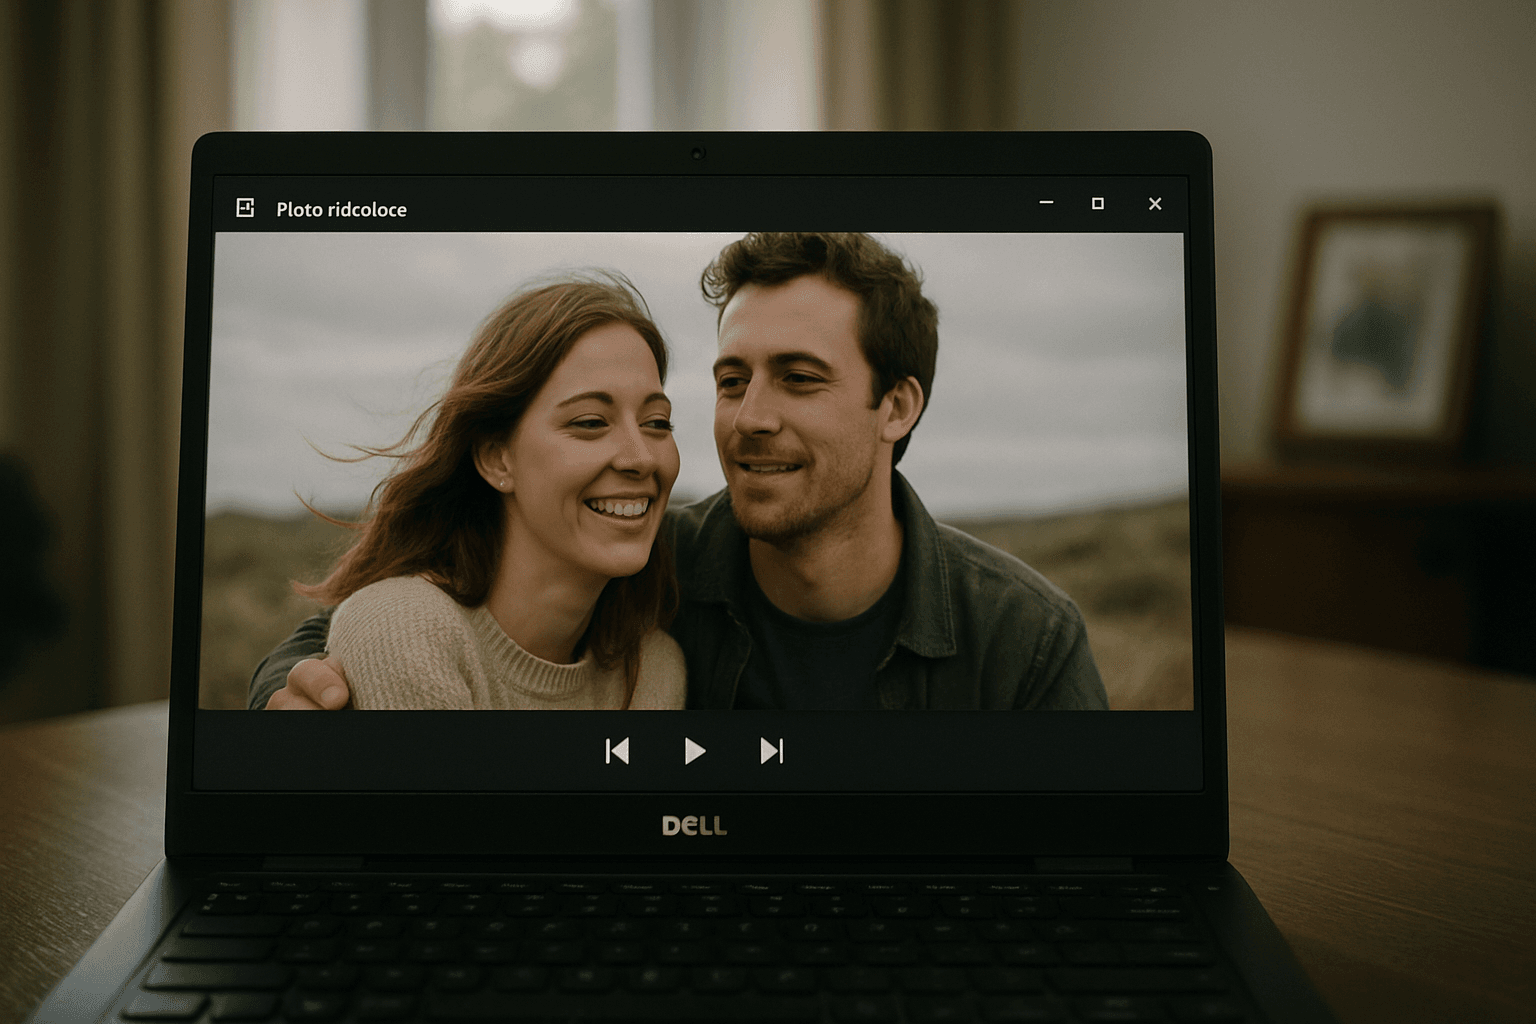
The Photos app is the fastest. Right-click any image and choose Start slideshow, or press F5, and you’re rolling with basic pause and skip controls.
File Explorer’s Picture Tools slideshow (Windows 10 only) adds more on-screen controls like speed, shuffle, and loop. When you need a shareable movie, the Video Editor builds an exportable MP4.
If you’re searching “photo slideshow windows 10,” these tools cover quick viewing, light edits, and full video output. I switch among them depending on time and audience.
Quick comparison: Photos app vs File Explorer vs Video Editor
Photos is ideal for a rapid check or a living room show-and-tell. It can also auto-create a video with music, but manual edits are limited after generation.
File Explorer shines when you’ve already curated a folder. It’s simple multi-image playback with speed and shuffle options, exclusive to Windows 10.
The Video Editor uses a timeline, so you can arrange images, add text, music, and effects, then export a standard video. It’s best when storytelling matters.
Photos app: create a basic slideshow (step-by-step)
I use Photos when someone says, “Can we see them now?” It opens fast, and the slideshow starts in a heartbeat. The controls are minimal but dependable.
Photos also includes a one-click “Automatic video with music.” It selects pacing and a soundtrack, which is perfect for a quick share or classroom recap.
For a simple “photo slideshow windows 10” experience, this app balances speed and simplicity. When you need more polish, you can always pass the baton to Video Editor.
Automatic slideshow
Open Photos and click Create, then choose Automatic video with music. Select your images and videos, name the project, and let Photos build an instant sequence.
Preview the result and swap images as needed. You can remove shots, add a few more, change the music, and re-generate until the mood feels right.
Manual slideshow
To start a manual slideshow, open any image in Photos and press F5, or right-click and select Start slideshow. It launches full screen immediately.
Use the spacebar to pause, and the arrow keys to go forward or back. Tap Esc to exit. It’s wonderfully lightweight for quick culls or living-room viewing.
Video Editor (Clipchamp/Story Remix): make a custom slideshow video
When the story needs rhythm and titles, I move to the Video Editor. Start a new video project, name it, and import photos from your PC or online collections.
Drag images to the timeline in the order you want. Adjust each duration, add motion (subtle pans and zooms), and sprinkle transitions where they help.
Click Text to add captions or lower-thirds, then add background music or your own audio. Simple filters and speed changes can finesse the mood.
When it’s ready, export as a video file and pick your resolution. For deeper reference, see Microsoft’s Video Editor overview. Full features require Windows 10 version 1809 or later.
File Explorer slideshow: selecting and playing images directly
Inside File Explorer, open a folder and select the photos you want. The Picture Tools ribbon appears; click Slideshow for instant full-screen playback.
Move your mouse to reveal controls, or right-click for options like speed, shuffle, and loop. It’s perfect when the folder is already curated.
Note that this Picture Tools slideshow exists in Windows 10 but was removed in Windows 11. If you miss it, fall back to Photos or the Video Editor.
Organizing photos before you build a slideshow
Good slideshows begin in the folder. Group similar images, keep the strongest frames, and remove near-duplicates so the story breathes.
Rename files in a logical sequence like 01, 02, 03. It makes timeline ordering painless and helps you spot gaps in the narrative flow.
Create a fresh folder or album per project. When you import to Photos or Video Editor, everything arrives tidy and your “photo slideshow windows 10” build goes smoothly.
Exporting, saving, and sharing slideshows
Both Photos’ automatic video and the Video Editor export standard MP4 files. MP4 plays on most devices, projectors, and smart TVs without fuss.
After export, copy the file to a thumb drive or upload to cloud storage. I often keep a 1080p version for sharing and a smaller one for email.
Windows also offers share prompts after export. Use them to send directly to a friend, drop into Teams, or post to your preferred platform.
Adding music, captions, and simple effects
In the Video Editor, click Background music for curated tracks, or add your own audio file for a personal touch. Trim the track to match your finale.
Use the Text tool for captions and titles. Keep copy brief and legible; short lines read well on phones and televisions.
If you need fast results, Photos can auto-pick music for its generated video. It’s a solid starting point for a quick “photo slideshow windows 10” demo.
Limitations of built-in Windows 10 slideshow tools and practical workarounds
Built-in tools are convenient, but they’re not full editors. Knowing the limits helps you choose the right workflow from the start.
- Photos app offers limited manual editing after auto-generation.
- Fewer transition and effect options than pro software.
- File Explorer slideshow lacks export and exists only on Windows 10.
- Text and audio controls are basic compared to dedicated editors.
Workarounds are straightforward. Use the Video Editor’s timeline for precise timing, captions, and audio fades, then export a polished MP4.
When you need advanced effects or intricate compositing, consider a third-party editor. You can still organize in Windows, then finish elsewhere.
Compatibility and version requirements
For the full Video Editor feature set, you need Windows 10 version 1809 or later. Older versions may lack some timeline or export options.
Windows 11 changes the landscape slightly; File Explorer’s slideshow button is gone. Plan to use Photos or Clipchamp for similar tasks.
If features seem missing, run Windows Update and check your version. A quick update often restores the tools you expect.
Troubleshooting common slideshow issues
Can’t find the File Explorer slideshow? Confirm you’re on Windows 10; it’s removed in Windows 11. In Windows 10, check the Picture Tools ribbon.
If Photos doesn’t show Start slideshow, close and reopen the app, then reboot if needed. You can also explore Photos app slideshow tips for community fixes.
Exports failing usually signal low storage or mismatched settings. Free disk space, try a lower resolution, and avoid special characters in file paths.
Third-party alternatives worth considering
When clients ask for cinematic transitions and advanced titles, I reach for a dedicated editor. It’s the next step beyond Windows’ basics.
Filmora is a friendly option with templates, effects, and some AI helpers. If that sounds useful, see this concise Filmora slideshow guide to explore features.
I still prep folders in Windows, then round-trip to a third-party app for polish. That hybrid approach keeps me fast and flexible.
Tips for creating engaging slideshows
Sync big moments to musical peaks. Let a laugh, a kiss, or a sunset land right when the chorus hits, and the room leans in.
Keep slide duration brisk—three to five seconds per photo is a good starting point. Add captions sparingly, focusing on names, places, or dates.
Always preview the exported file on the destination screen. That last check prevents surprises and perfects your “photo slideshow windows 10” presentation.
What People Ask Most
How do I make a photo slideshow on Windows 10 without third-party software?
You can use built‑in tools: I either start a quick slideshow in the Photos app (right‑click an image or press F5), use File Explorer’s Picture Tools slideshow in Windows 10, or build a custom video in the Video Editor by importing images to a timeline and exporting.
Can I save a Windows 10 slideshow as a video file and share it?
Yes—I export slideshows from the Video Editor (and the Photos app auto‑video option) as standard video files you can copy to a thumb drive or upload to social sites.
What is the difference between the Photos app slideshow and the Video Editor in Windows 10?
The Photos app is for quick viewing and can make an automatic video with music but has limited edits, while Video Editor is timeline‑based so I can arrange clips, add text/music, apply effects and export a finished video.
How do I add music or captions to my photo slideshow on Windows 10?
I add music tracks and text captions in the Video Editor (timeline tool) for full control; the Photos app also offers an automatic music option for quick slideshows with minimal tweaking.
Why isn’t the slideshow feature showing in my File Explorer on Windows 10?
That feature was removed in Windows 11, so if you’re on Windows 11 you won’t see it; if you’re on Windows 10, I recommend checking for updates or restarting the Photos/File Explorer apps.
Is there a way to create automatic slideshows with music in Windows 10?
Yes—the Photos app has “Create > Automatic video with music” which auto‑assembles selected photos/videos with music, and you can tweak the input before exporting.
Does Windows 11 have the same slideshow features as Windows 10?
No—Windows 11 removed the File Explorer slideshow and some UI elements changed, so I suggest checking your Windows version and using Photos or Video Editor alternatives if features are missing.
Final Thoughts on Building Slideshows in Windows
If you came in frustrated about how to turn scattered memories into a shareable video, this guide shows how built-in options can bridge that gap. The photo slideshow windows 10 tools let you move from quick viewing to exportable videos without third-party clutter.
In practice, the big win is choosing the right built-in path for the job—fast previews when you just want to flip through images, and the editor when you want a polished file to share. That said, these native tools do have limits: they’re not a replacement for full-featured editors if you want advanced effects or granular control, and hobbyists, parents, and casual creators will benefit most from following this approach.
By starting with organization, comparing the three options, and knowing compatibility caveats, you should no longer be stuck wondering which method to use. You can now pick a workflow that fits your timeline and technical comfort, and get that slideshow made instead of letting those photos sit unused. Give one a try with a small set of favorites and see how it changes the way you share memories.


0 Comments