What is a4 photo size and why does it matter for your prints?
This guide gives a single-line answer and the exact dimensions (210 × 297 mm / 8.27 × 11.69 in). You will learn the A4 aspect ratio (1:√2 ≈ 1:1.414) and how it differs from US Letter.
See clear pixel dimensions for common print resolutions from 72 to 600 ppi and a simple rule: aim for 300 ppi for photo quality. You will also get step-by-step advice on cropping, bleed, color profiles, file formats, and sharpening.
Finish with practical printing tips, borderless vs standard settings, and a printable cheat-sheet with 300 ppi pixel sizes. Scroll down for the quick-answer box, visuals, and a checklist to avoid common mistakes.
What photo size is A4?
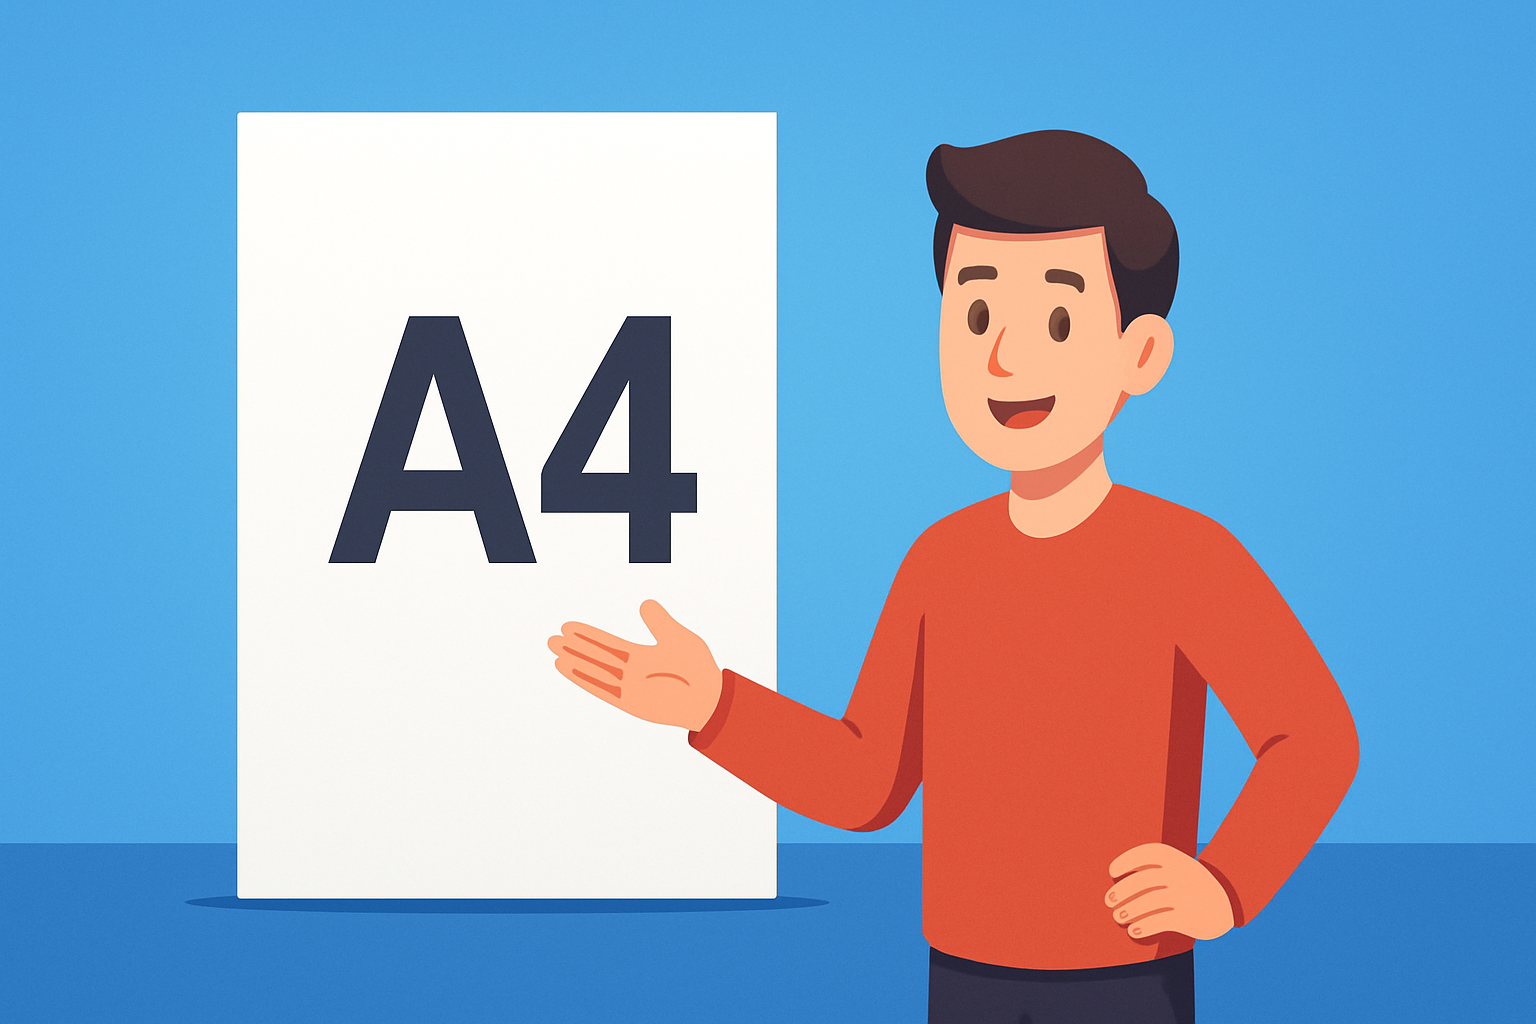
A4 = 210 × 297 mm (8.27 × 11.69 in).
If you’re asking what is a4 photo size, it’s a standard ISO 216 A‑series paper size used for documents and photo prints. It’s larger than 4 × 6 or 5 × 7 prints, and it differs slightly from US Letter.
A4 keeps the 1:√2 aspect ratio, so you can halve to A5 or scale up to A3 with no crop. Quick answer: at 300 ppi it equals 2480 × 3508 pixels, which is the sweet spot for crisp photo quality.
A4 print size dimensions
The A4 print size is 210 × 297 mm, or 8.27 × 11.69 inches, with a 1:√2 (≈1:1.414) ratio. If someone asks what is a4 photo size in exact terms, those are the numbers.
On screens or in layout apps that use points, A4 is about 595 × 842 points at 72 ppi. That helps when setting up simple mockups or a quick PDF.
US Letter is 8.5 × 11 inches, so it’s a little wider and shorter than A4. This small difference can matter for framing, margins, and auto-scaling, so check the paper sizes before you print. Picture a diagram that places A4 between A3 and A5, beside US Letter.
Image resolution and pixel dimensions for A4 printing
PPI is pixels per inch in your image; DPI is the printer’s dot density. For photo prints, use 300 ppi for top quality, 240 ppi for very good results, and 150 ppi for pieces viewed farther away.
At 72 ppi, A4 equals 595 × 842 pixels. At 150 ppi, it is 1240 × 1754 pixels. At 200 ppi, use 1654 × 2339 pixels.
At 240 ppi, target 1984 × 2806 pixels. At 300 ppi, go for 2480 × 3508 pixels. At 600 ppi, it becomes 4961 × 7016 pixels.
As a rule of thumb, aim for 300 ppi when quality matters, and avoid going below about 150 ppi for prints people will hold. For more context on sizes and use cases, see this concise A4 guide.
How to prepare images for A4 printing
Start by checking your image pixels, then set Image Size to A4 at your target ppi in Photoshop or Lightroom. The Image Size dialog or Export panel will confirm the numbers and preview scaling.
Crop to the A4 ratio so nothing important is cut off, and add 3 mm bleed on each side if you need borderless edge‑to‑edge printing. Keep key details inside a safe margin to avoid trim loss.
Match the color space to your lab, and embed the ICC profile. sRGB is common for consumer labs, while many pro labs accept Adobe RGB for a wider gamut.
Save as TIFF for maximum quality, or a high‑quality JPEG with minimal compression for most labs, and flatten layers. Apply gentle output sharpening, avoid heavy upscaling, and if you must enlarge, use smart interpolation or dedicated tools; then soft‑proof and run a small test print. If you are new to A4 specs, this overview of A4 size paper is a handy refresher.
Printing at A4 size: tips and quality considerations
In your print dialog, set scale to 100% or Actual Size, and turn off any Fit to Page option. Choose the exact paper type in the driver so the printer lays down ink correctly.
Paper finish changes the look in a big way. Gloss and luster boost punch and apparent sharpness, while matte reduces glare and can soften contrast; heavier GSM stocks feel premium and often hold color better.
Borderless printing may clip edges slightly, so add bleed and keep content inside a safe area. Standard bordered printing avoids edge stretch but leaves a margin that you can frame neatly.
Use the correct ICC profile and avoid double color management by letting either the app or the printer handle color, not both. If you ever wonder what is a4 photo size during setup, remember the 210 × 297 mm frame and check the 2480 × 3508 pixel target for 300 ppi, then do a quick proof before the full run.
What People Ask Most
what is a4 photo size?
A4 photo size is a common paper format used for printing photos and documents, often chosen for frames and presentations.
How is A4 photo size used for printing photos?
It’s used for larger prints for portfolios, displays, and framed photos, and most home and shop printers accept A4 paper.
Can I crop a photo to A4 size without losing quality?
Yes, you can crop to A4, but make sure your photo has enough detail so it stays sharp after cropping.
Is A4 the same as US Letter size?
No, A4 and US Letter are different standards, so check which size your printer or frame uses before printing.
Will an A4 photo fit standard frames and albums?
Many frames and albums are made to fit A4 prints, making this size a convenient choice for display and storage.
When should I choose A4 over smaller sizes?
Pick A4 when you want a larger, more visible print for presentations, gifts, or wall displays instead of small snapshots.
What are common mistakes when printing in A4 photo size?
People often forget to check print settings or use low-quality images, which can cause unwanted cropping or blurry prints.
Final Thoughts on A4 Photo Size
Knowing the exact A4 dimensions and matching pixel sizes gives you predictable, crisp prints instead of wasted paper and surprise crops. A setting like 270 ppi often balances quality and file size, but aiming for 300 ppi is the safest bet for photo-quality prints. This guide was written for photographers, designers, and hobby printers who want reliable, professional-looking results.
One realistic caution: don’t let automatic “fit to page” or low-resolution files slip through, because soft or cropped prints are a common disappointment. We started with the quick answer at the top and then walked through pixel dimensions, PPI recommendations, color profile choices, bleed and export steps so you’ll know exactly how to prepare files without guessing.
With the cheat-sheet, visual comparisons, and proofing steps we recommended, you’ll be able to set up A4 files confidently and get prints that match your intent. Use the simple pixel table and sample export settings in the article to save time when you prepare files, and keep experimenting with paper and proof prints — you’ll soon nail the look you want.

0 Comments